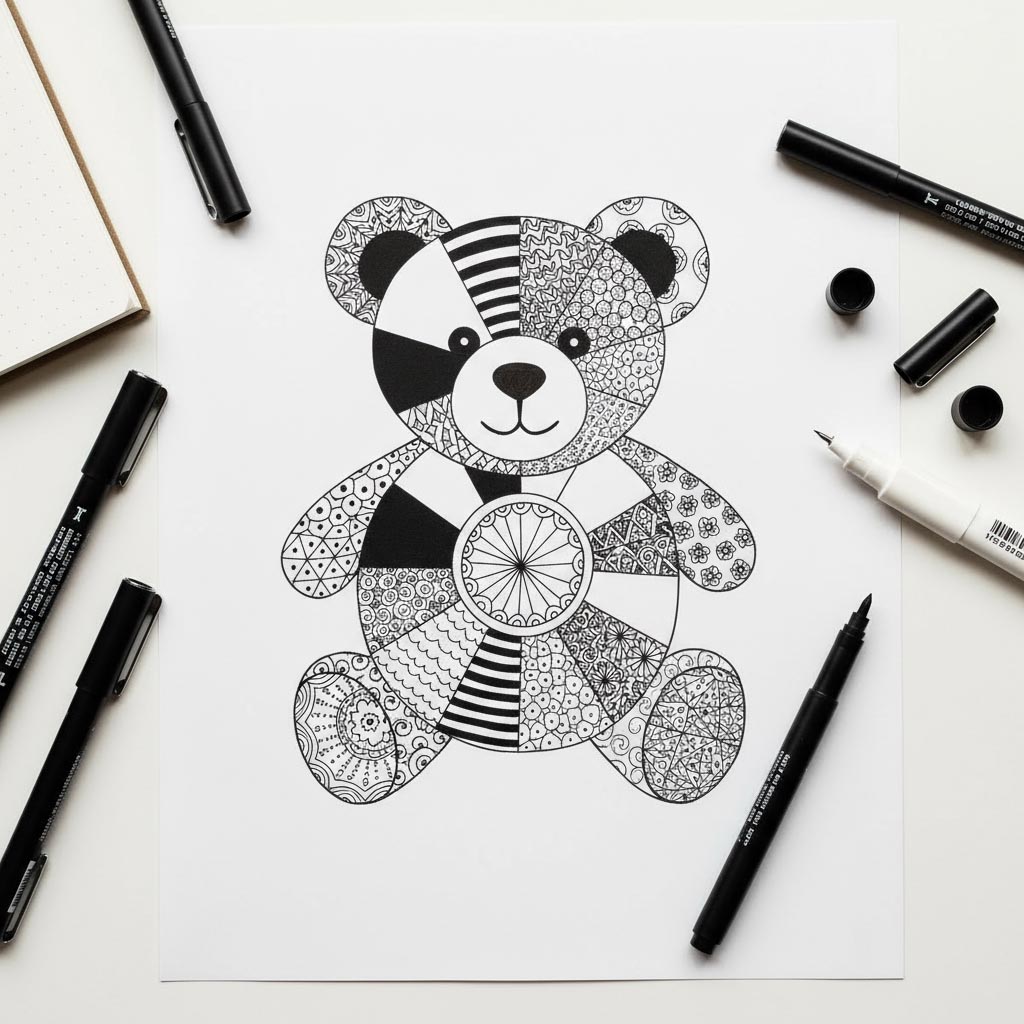
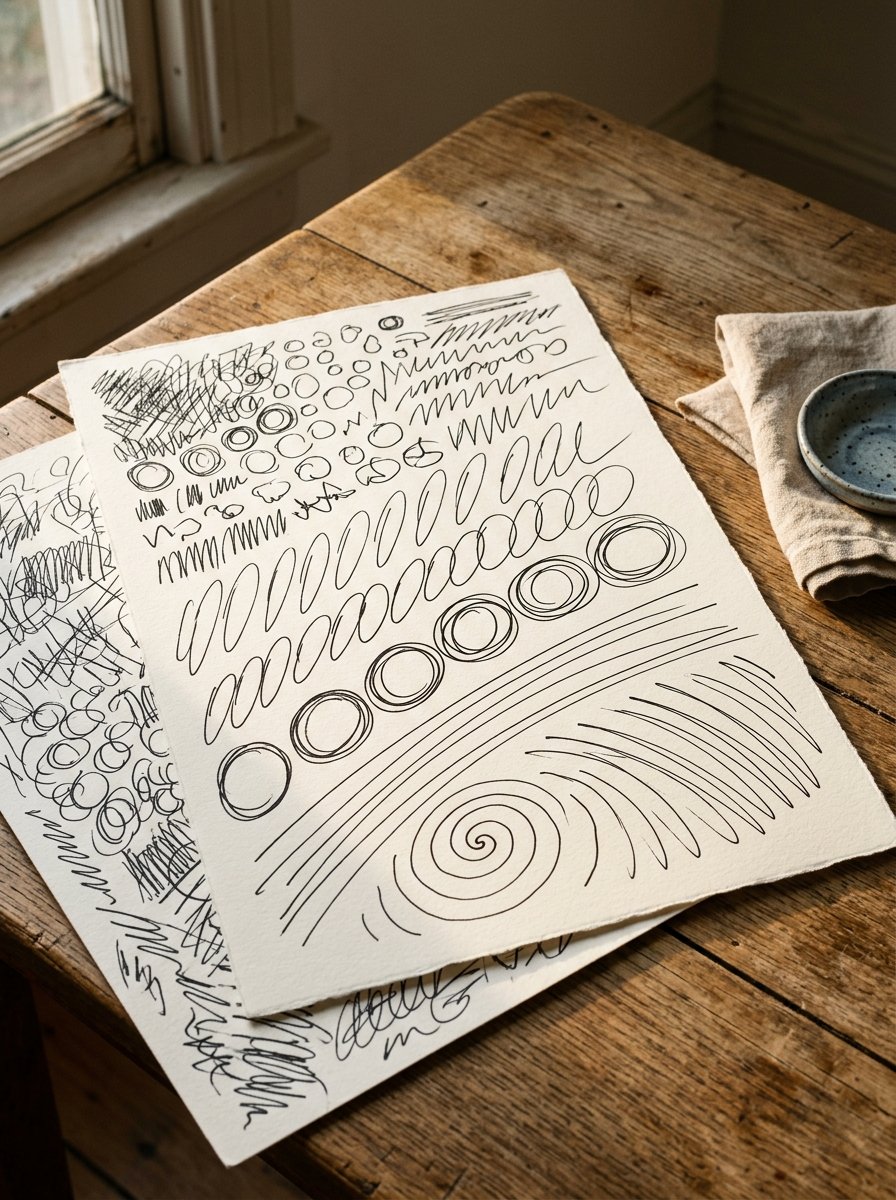
A French drawing course published between 1868 and 1873 opened on nothing but warm-ups. Every serious studio since has done the same, and drawing warm up exercises take under a minute.
The first circle is an egg. The 6th is a circle. Nothing about you changed in between.
What changed is the joint doing the work. Circle 1 came from your fingers. Circle 6 came from your shoulder. (I read that for years as a talent that showed up late and left early.)
Below are 15 warm-ups, in the order a cold hand wants them. Each one takes under a minute.
Start with the free warm-up sheet. It is already ruled, so you warm up instead of measuring.
Download the free warm-up sheet →
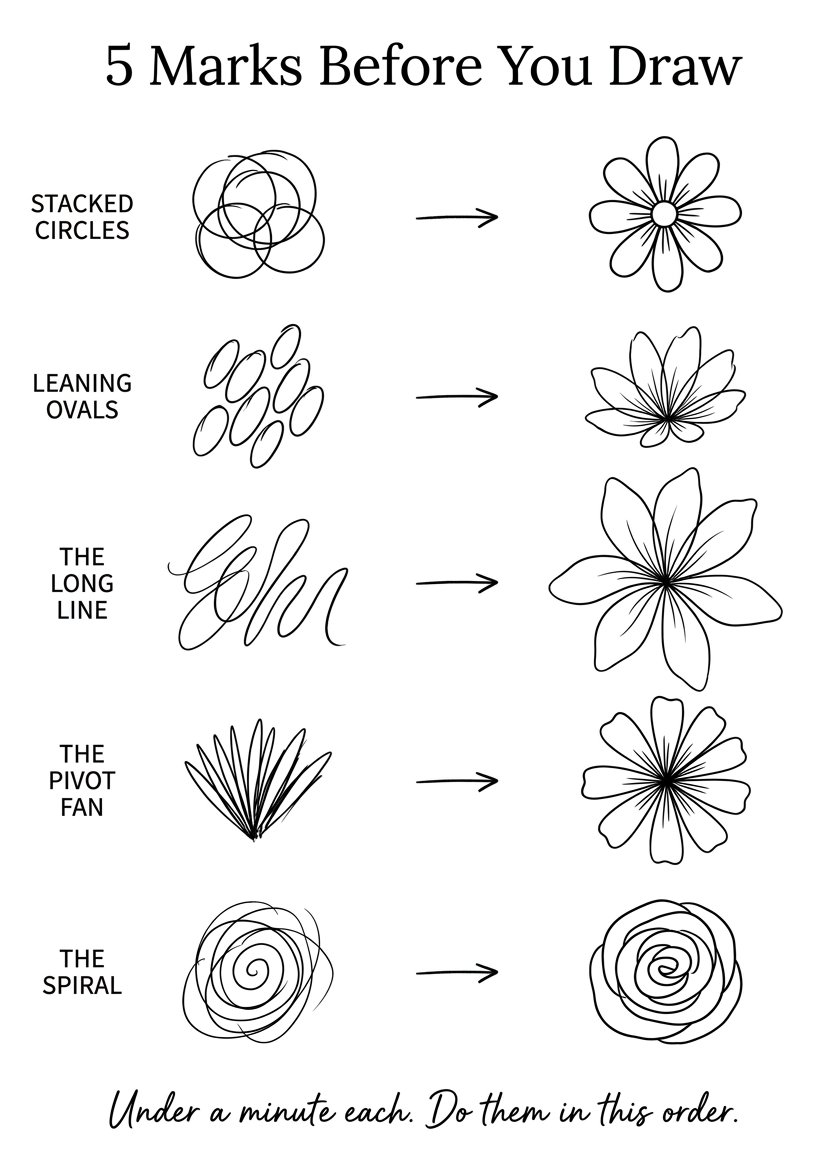
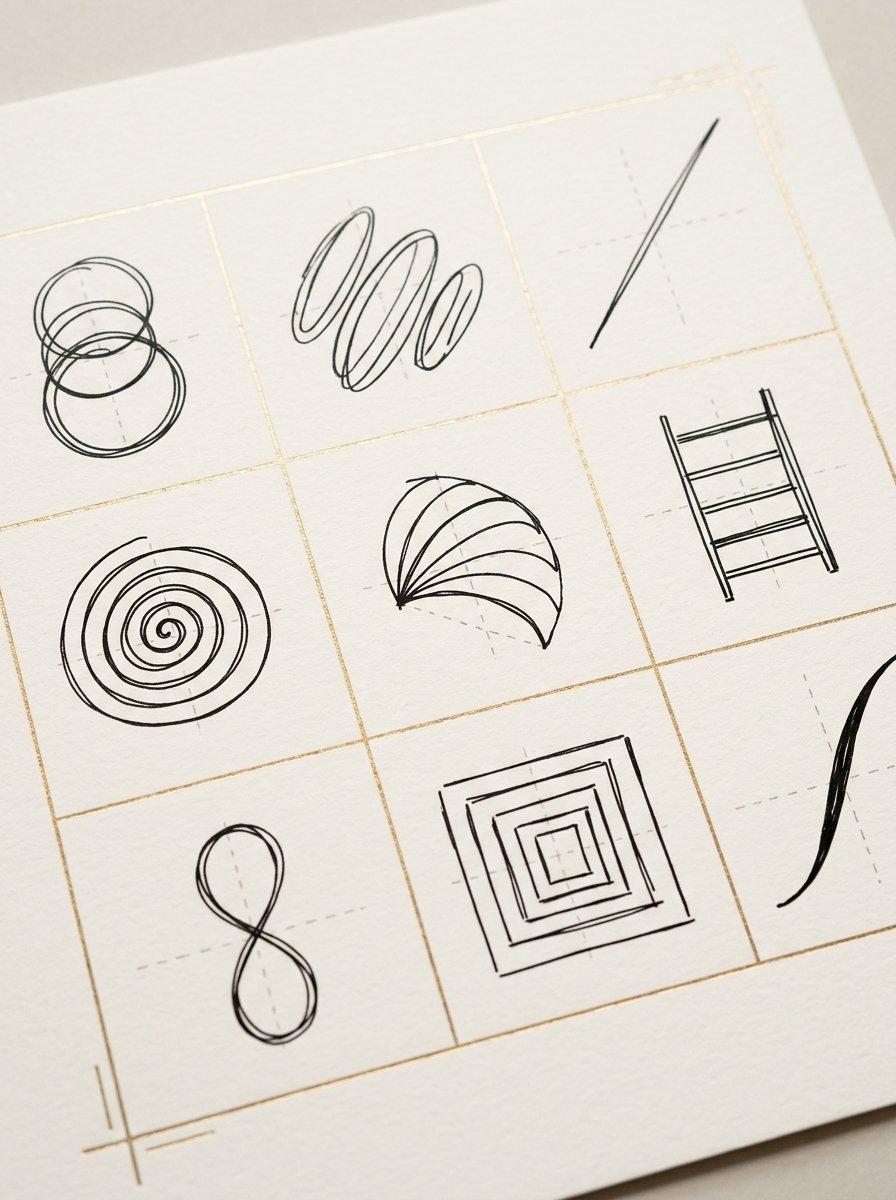
The sheet holds 5 rows. Each row shows a loose mark on the left. On the right is the calm shape it turns into.
Print it at actual size, never fit to page. (Printers hold strong views about margins. Ignore them.)
Work the rows left to right and do not skip the first one. The note at the bottom says it plainly: under a minute each.
Repeat the top row most. It is the row that teaches the shoulder to take over.
Keep the sheet beside you, not under your hand. You are copying the mark, not tracing it.
You do not need good paper for this. A warm-up page is a page you throw away. That is most of why it works.
Keep everything hand-sized. A mark bigger than your palm is a mark you will start being careful with. (I have made some very careful marks that were no use to anybody.)
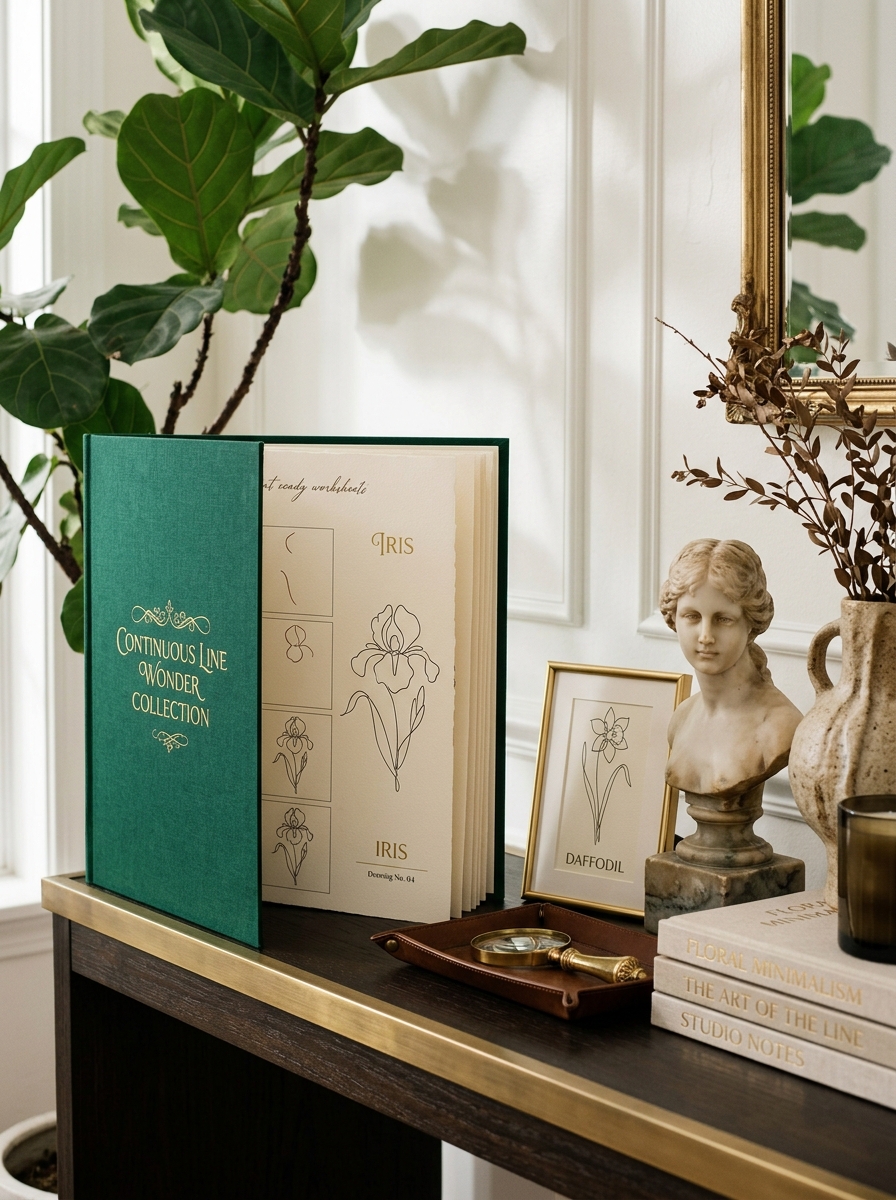
A loosened hand then needs somewhere to go. That is what Continuous Line Wonder is for. This post grew out of it. Every flower in it starts as the same loops you have just drawn.
The Collection
CONTINUOUS LINE WONDER — 30 flowers, and every one of them starts as a loop.
Take the loosened hand straight to a flower. Each sheet breaks its bloom into three steps, so the line always knows where it goes next. What you get: an evening that starts with circles and ends with something you would put in a frame.
Back to the cold hand. Every section below names a claim, then what is actually happening underneath it.
Warming up looks like time stolen from the drawing
Here is the charge against it. You have 40 minutes. You spend 10 of them on loops. So you drew for 30.
The loops cost a third of the evening. They produced nothing you can keep.
It is a tidy argument. It is also how almost everybody I know quietly stopped doing it.
The flaw is in the accounting. It counts the loops as spending and the drawing as earning.
But the first 10 minutes of the drawing were not earning either. They were the loops. You just did them on the thing you cared about.
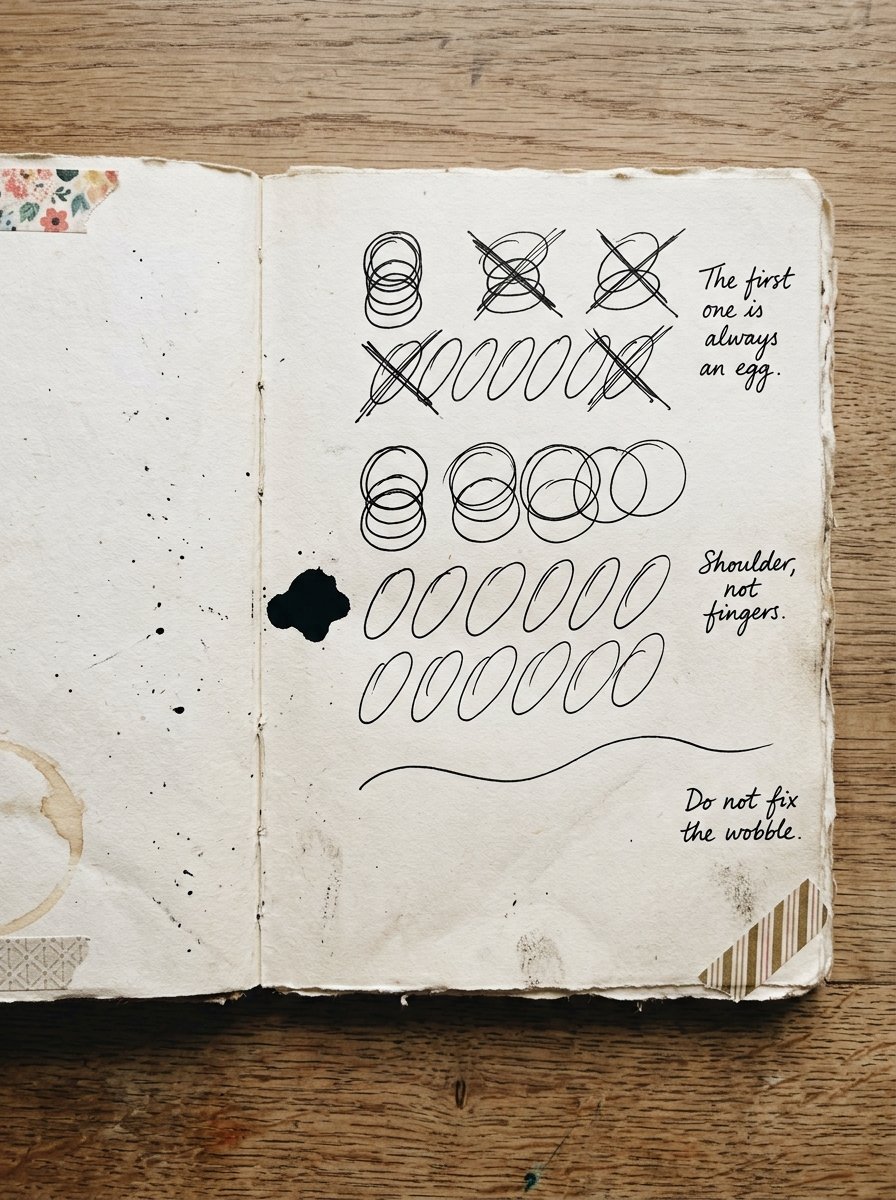
The stiff first 10 minutes get mistaken for having no talent
This is the real cost, and it is not the clock.
A cold hand draws from the fingers. Finger lines are short and cautious. They stop and restart.
The pen presses too hard, because pressing feels like control.
So the first flower of the evening comes out tight. A beginner reads that page and draws a conclusion about herself.
She is not looking at her ability. She is looking at a cold joint. (I have binned work that was fine, on the evidence of its first 4 lines.)
The page is not a verdict on the hand. It is a report on which joint was steering.
The second flower is always better. Almost nobody stays long enough to meet it.
Drawing warm up exercises work on the joint, not the picture
There are 4 joints available and they do different jobs.
Fingers draw small and stop often. The wrist draws arcs about the width of a postcard. The elbow draws a sweep the width of the page.
The shoulder draws the long confident line that beginners think is a personality trait.
A warm-up is simply a mark that forces a bigger joint to take over. That is the whole mechanism.
Stacked circles do it fastest. Draw them small and your fingers cope. Draw them the size of a teacup and they cannot, so the shoulder arrives to help.
Here is the tell. Rest your forearm flat and try a long curve. It will wobble.
Now lift the wrist so only the hand rides on the paper. The same curve smooths out.
Nothing about your hand improved. You changed which part of the arm was steering. (Which is either very encouraging or very annoying, depending on how long you have been blaming yourself.)
A small dose every day beats a long session now and then
The oldest complete handbook of European painting is very clear about the dose.
It was written in Tuscany in the 1390s by a painter called Cennino Cennini. He had trained under a master in Florence.
It is a working manual. Brushes, panels, pigments, and how to begin.
The chapter on starting to draw is blunt. Copy the easiest subjects you can find. His translator’s phrase for it is to get your hand in. Which is a 600-year-old way of saying warm up.
Then it sets the dose. Practise drawing, he says, only a little each day. The reason he gives is that you may not lose your taste for it.
The oldest instruction on the shelf is not draw more. It is draw a little, today.
He was not soft on effort. His schedule runs a year on the panel, then 6 years in a shop, then 6 more.
All of it, in his words, drawing all the time, never leaving off, either on holidays or on workdays.
So the man who asked for 13 years still capped the daily dose. (I find that oddly comforting at 9pm on a Tuesday.)
Free Starter Pack
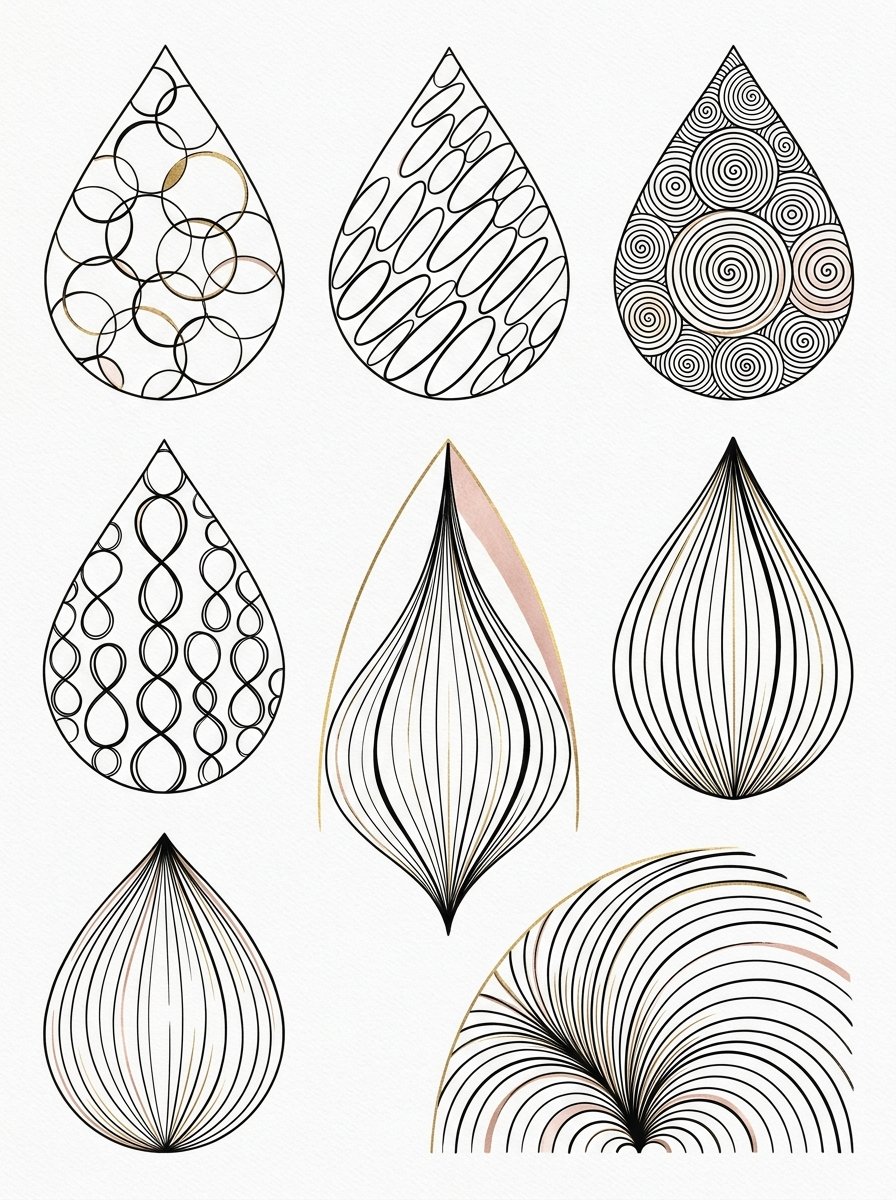
Get 10 free pattern templates for the warmed-up hand.
Sent tonight. Loops, scallops and spirals, sized to fill a page fast.
Unsubscribe in 1 click, no hard feelings
Copying plates was once the whole of the training
There is a stronger version of this, and it was once an industry.
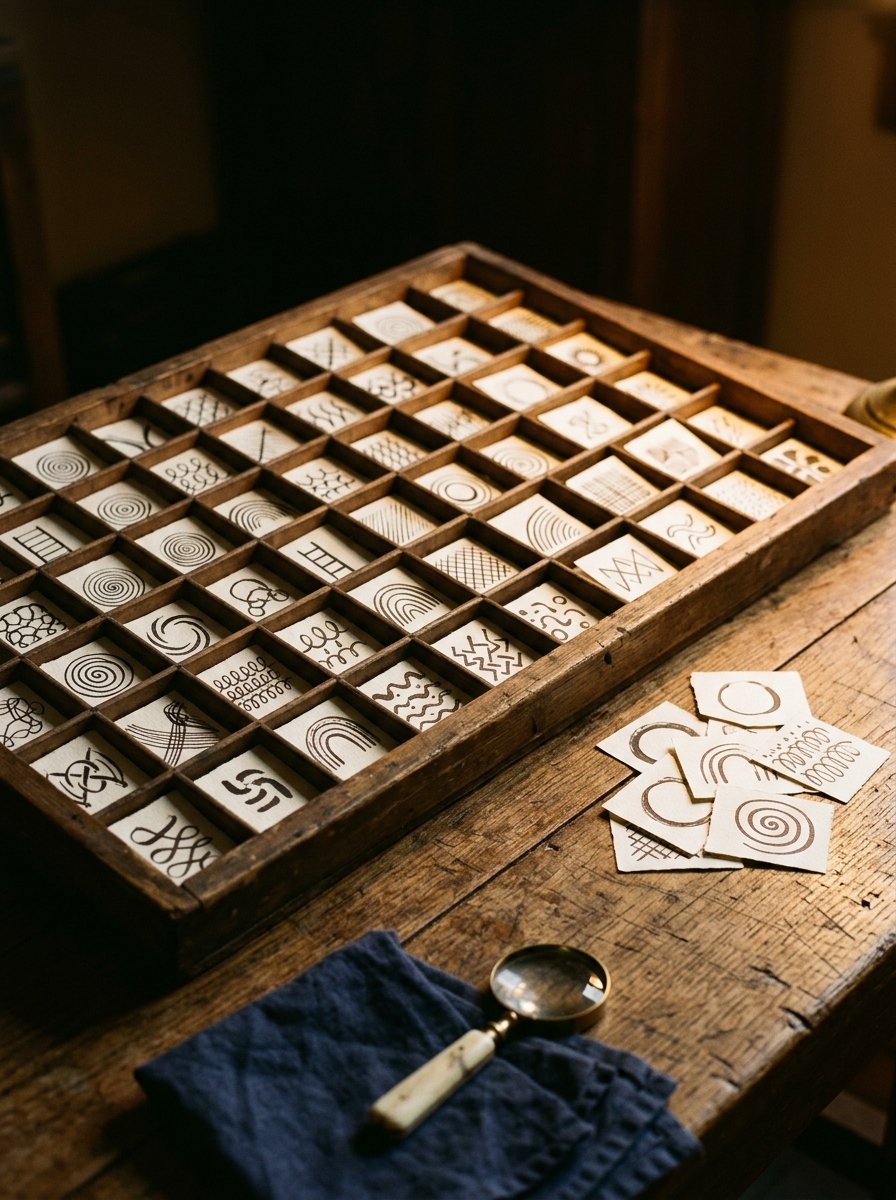
Between 1868 and 1873 a French artist called Charles Bargue published a drawing course. It came as 197 separate lithographic plates.
Students bought them loose and copied them one at a time.
The order matters more than the number. Part 1 is nothing but plaster casts. Part 2 is drawings by old masters. Only in Part 3 does a living model appear.
Read that as a timetable and it is startling. A student could work for a year and never once draw a real thing.
Every plate was, in our terms, a warm-up. Bargue simply refused to call it preparation.
He did not call the copying a warm-up for the course. The copying was the course.
His plates were still being copied by the most celebrated painters of the next generation. (I think about that whenever a page of loops feels beneath me.)
The best drawing warm up exercises keep the pen down and the eyes up
The other half of a warm-up is where you are looking.
In his later years Rodin drew models who were not posing. They moved about the studio as they liked.
He sketched them, in his biographers’ words, without taking his pencil from the paper or his eyes from the model.
Read that twice. It holds 2 separate instructions. The pen does not lift. The eyes do not come back to check.
In July 1906 he watched a troupe of Cambodian court dancers and drew them the same way. Those sheets are among the most loved things he made.
Here is what it does for a stiff hand. Looking at the paper makes you correct. Correcting makes you slow. Slow makes you press.
Take the eyes away and there is nothing to correct with. The hand just travels.
The line comes out wrong in shape and right in quality. (Mine usually comes out looking like a map of somewhere windy.)
The drawing warm up exercises, in the order a cold hand wants them
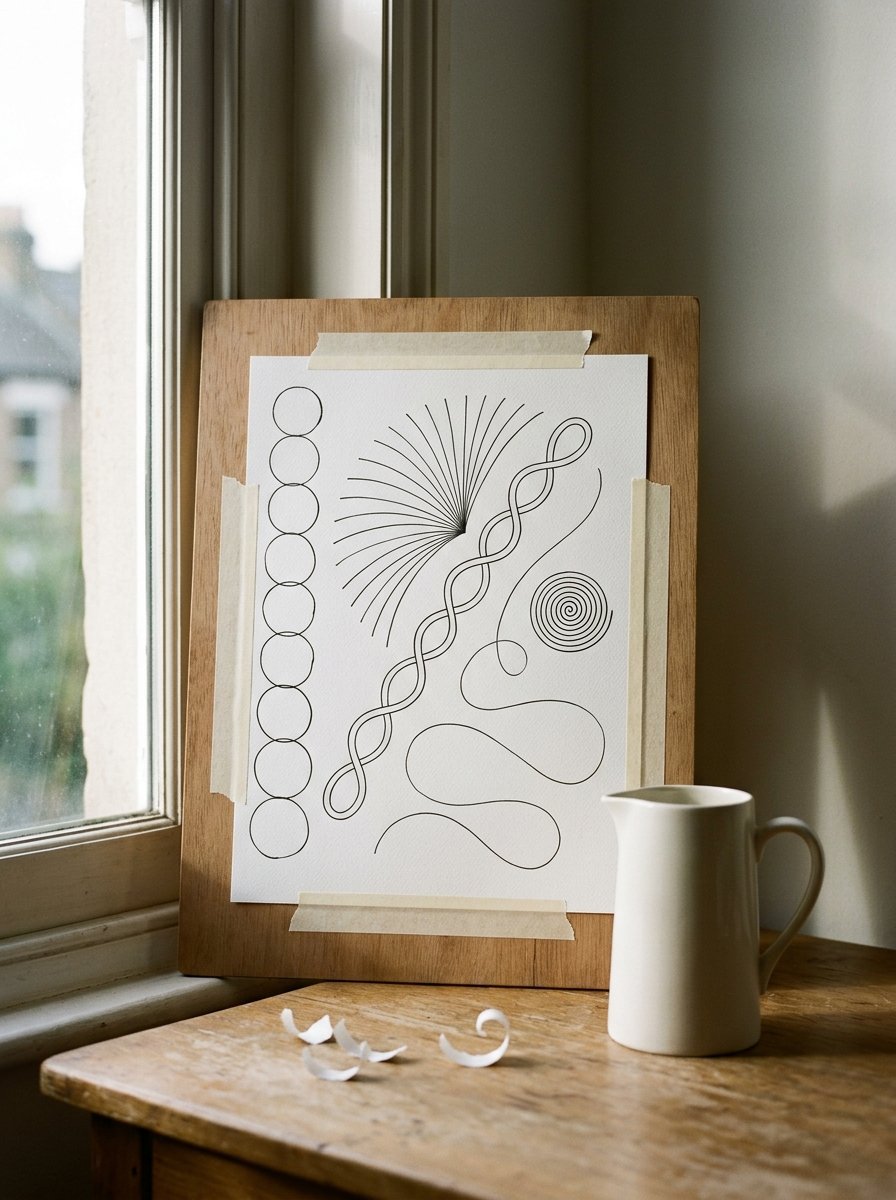
These 15 run about 5 minutes end to end. Each one is under a minute.
The order climbs from fingers to shoulder, then comes back down to control.
Start with the round ones, because circles expose a cold joint at once. Stacked circles means 20 circles drawn over each other in one motion, teacup size. The first is an egg, always, because the fingers are still steering. Keep going and do not tidy it.
Leaning ovals is a row of 12 ovals tipped the same way. They drift upright as you go. The fix is to turn the paper, never the hand. The spiral in and out winds to the centre and unwinds back without stopping. It goes wrong when the gaps close up, which means you are gripping.
Then the long ones, which is where the shoulder arrives. The long line is one pass from edge to edge of the page. Watch the end of it. Most people slow down and curl in the last inch. The eye watches the paper edge approach and the hand flinches. Fix it by looking at the far corner, not the nib.
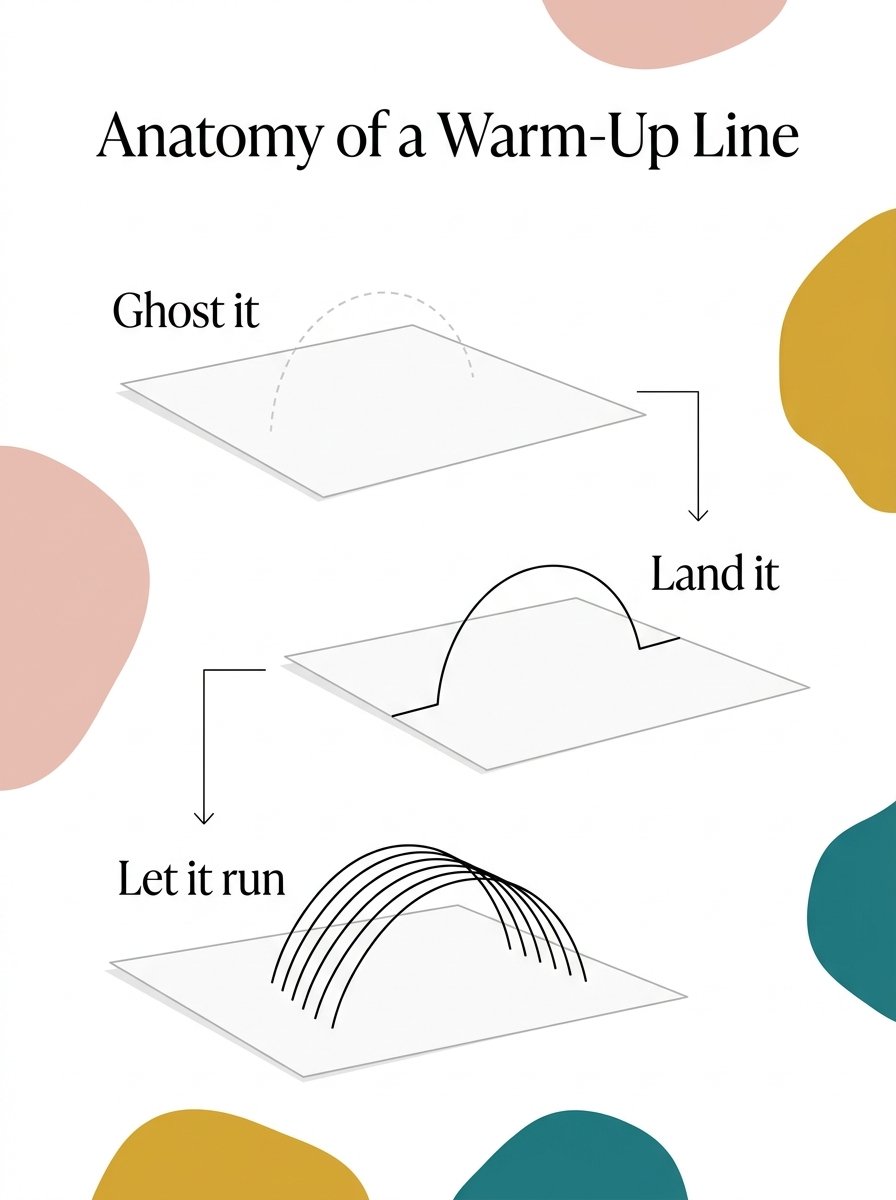
The ghost pass is 3 hovering rehearsals above the paper. Then you land and draw the line for real. The pivot fan parks your elbow on the table and sweeps 8 arcs from that fixed point.
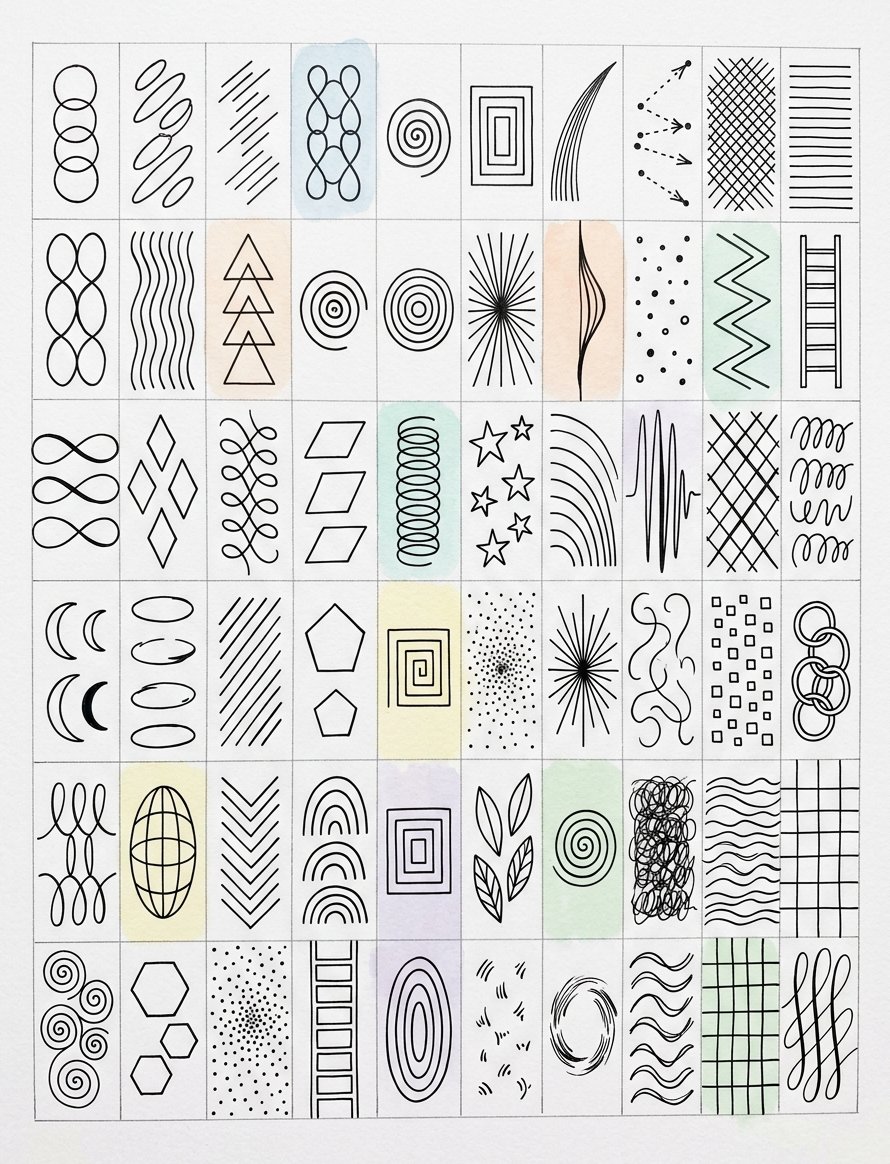
The straight ones teach spacing, which is what makes a page look deliberate. The parallel ladder is 10 lines with equal gaps. The gaps go wrong, never the lines. They go wrong because you watch the line you are drawing. Watch the one before it instead.
The shrinking square nests squares inward until the middle closes. It is the fastest way to find out whether your corners are square or hopeful. Dot-to-dot darts means marking 2 dots a hand apart. Join them in a single stroke, 10 times over.
Now the ones that loosen the grip rather than the joint. Pressure swell runs one long line from thin to thick and back to thin. It feels unnatural for about 4 attempts.
The wobble line asks for a deliberately wavy line, then a straight one under it. Doing the bad one on purpose takes the fear out of the good one. The figure-8 chain links 8 loops across the page. It is the best marker I know for a ready hand.
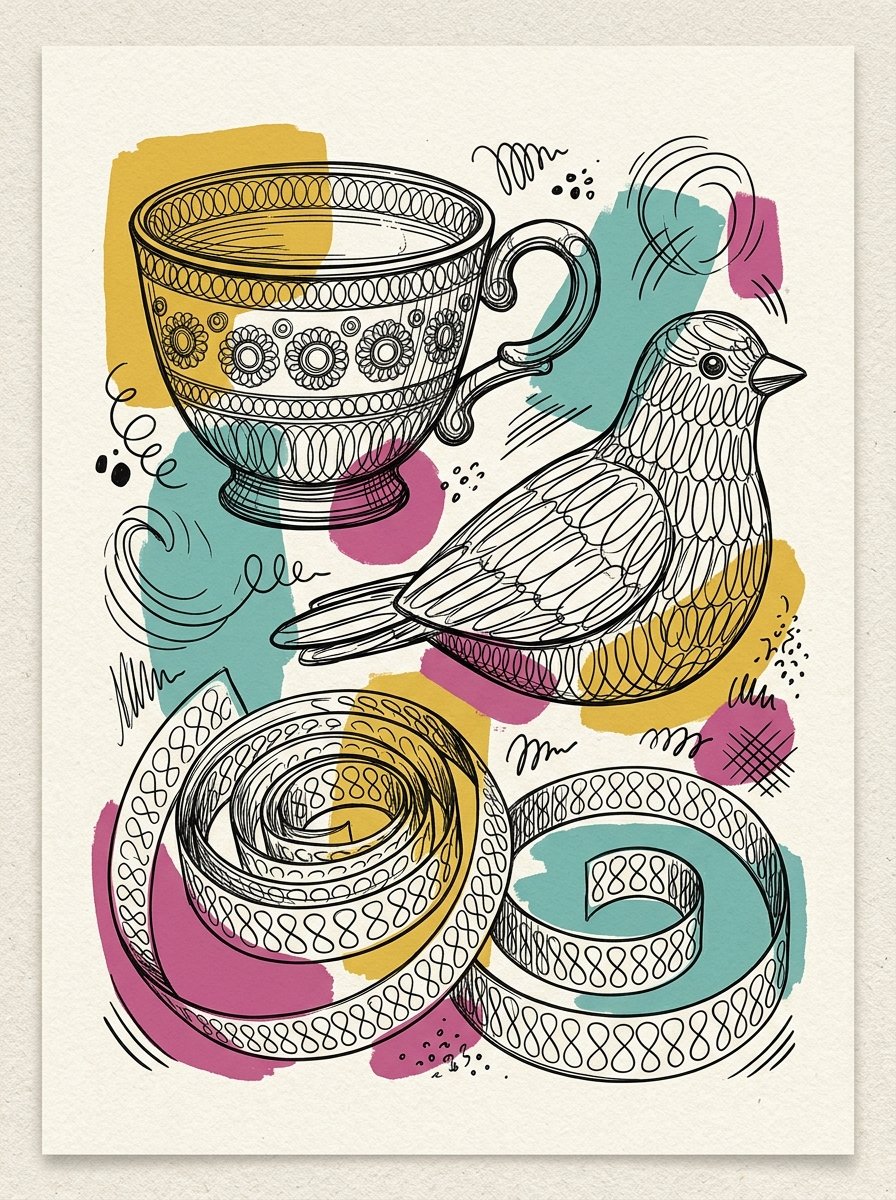
Finish with the 3 that bring the eyes back into it. The contour walk is the eyes-up one. Pick any object, put the pen down, and trace its outline while looking only at the object. It comes out lopsided and alive.
The blind circle is 5 circles with your eyes fully shut. It is oddly the roundest circle of the evening. The name loop is your own signature as one unbroken looping line, 5 times, faster each time. (Mine turns into weather by the 4th, which I have decided is character.)
The free sheet holds 5 of these drawing warm up exercises
The sheet at the top of this page is the short version. Stacked circles, leaning ovals, the long line, the pivot fan, the spiral.
Print it, put it beside you, and work the rows in order.
Then turn it over and use the back as the throwaway page. A warm-up sheet you are precious about is not doing its job.
One habit is worth building. Do the warm-up on a separate sheet from the drawing, always.
The moment the loops are on the good paper you will start trying to make them nice. A nice loop is no longer a warm-up.
You are not warming up in order to draw. For the first minute, the warm-up is the drawing.
The one line drawing guide picks up exactly where this puts you down.
I still do the stacked circles before anything that matters. It takes 40 seconds. (It is also the only routine I have kept longer than a fortnight, which probably says something about the length.)
Loops on a scrap are the start. Continuous Line Wonder is where they go next. Every flower is built from continuous lines, with the three steps drawn out. The hand always knows where it goes next.
30 flowers, every one built from continuous lines
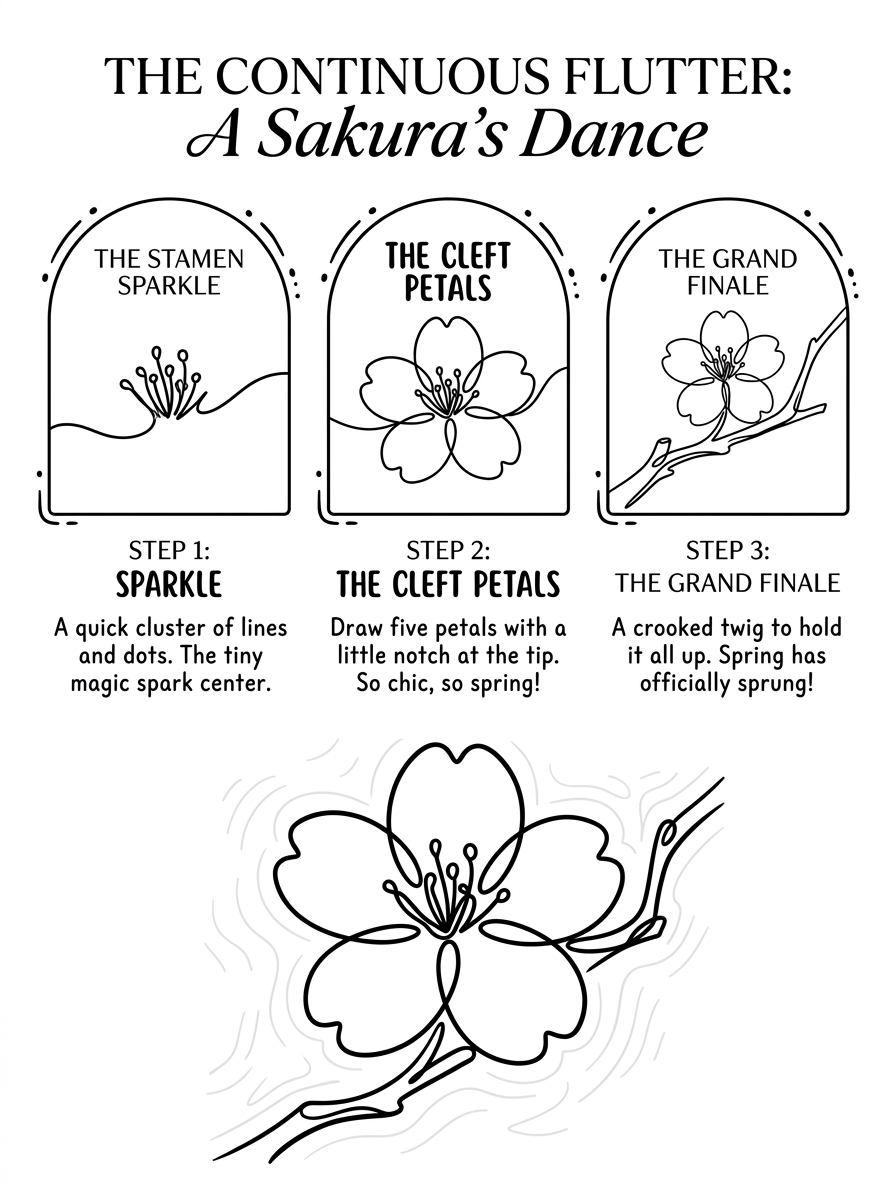
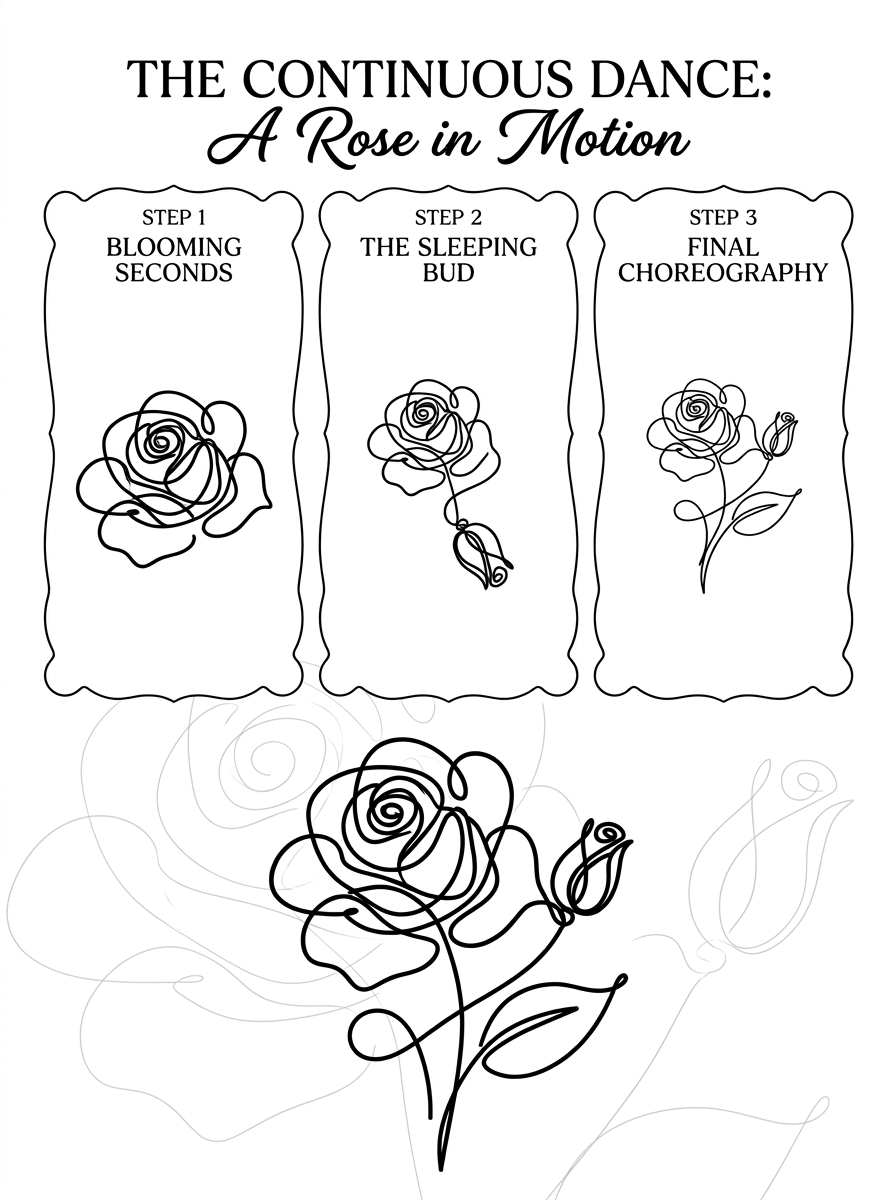
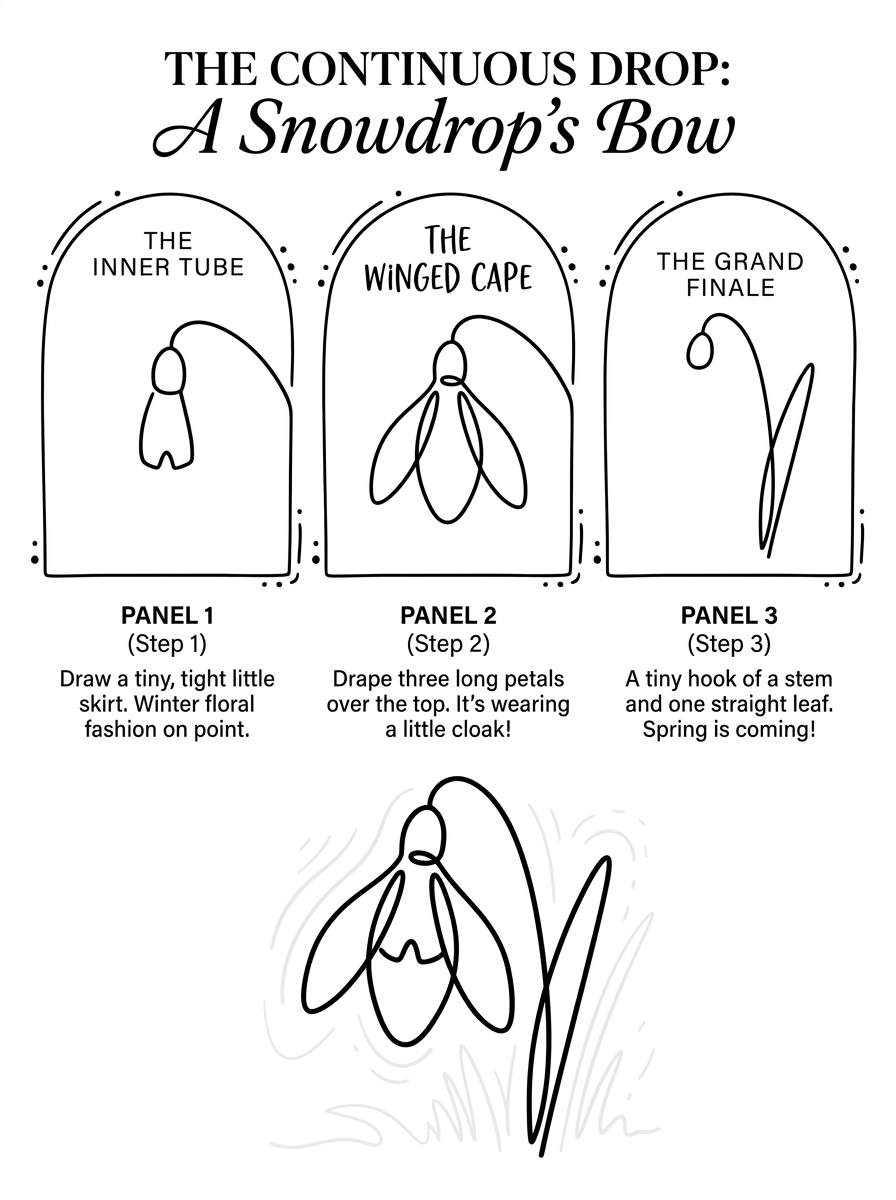
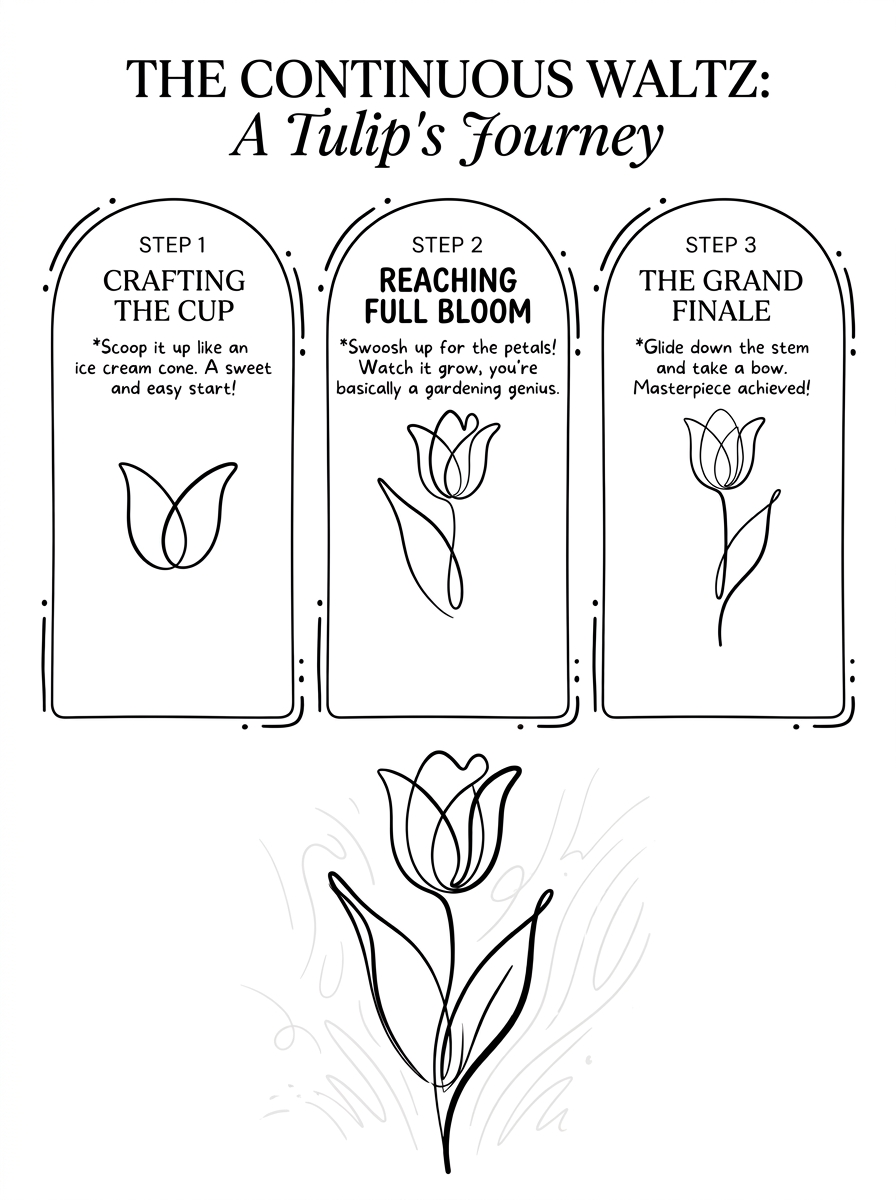
Warm the hand on a scrap, then open one sheet. Each flower is drawn in three steps. There is never a blank page, and never a decision to make at speed. I do the circles first and the flower second. The second one is always better.
Instant download · print at home
A cold hand is not a small talent. It is a joint that has not been asked yet, and it answers in about a minute.
“The artist must have the patience of water that eats away the rock drop by drop.”
Auguste Rodin
Mirabelle wrote this. No training, strong opinions, many pens. Peer reviewed by a cat who warmed up by walking across the page twice.