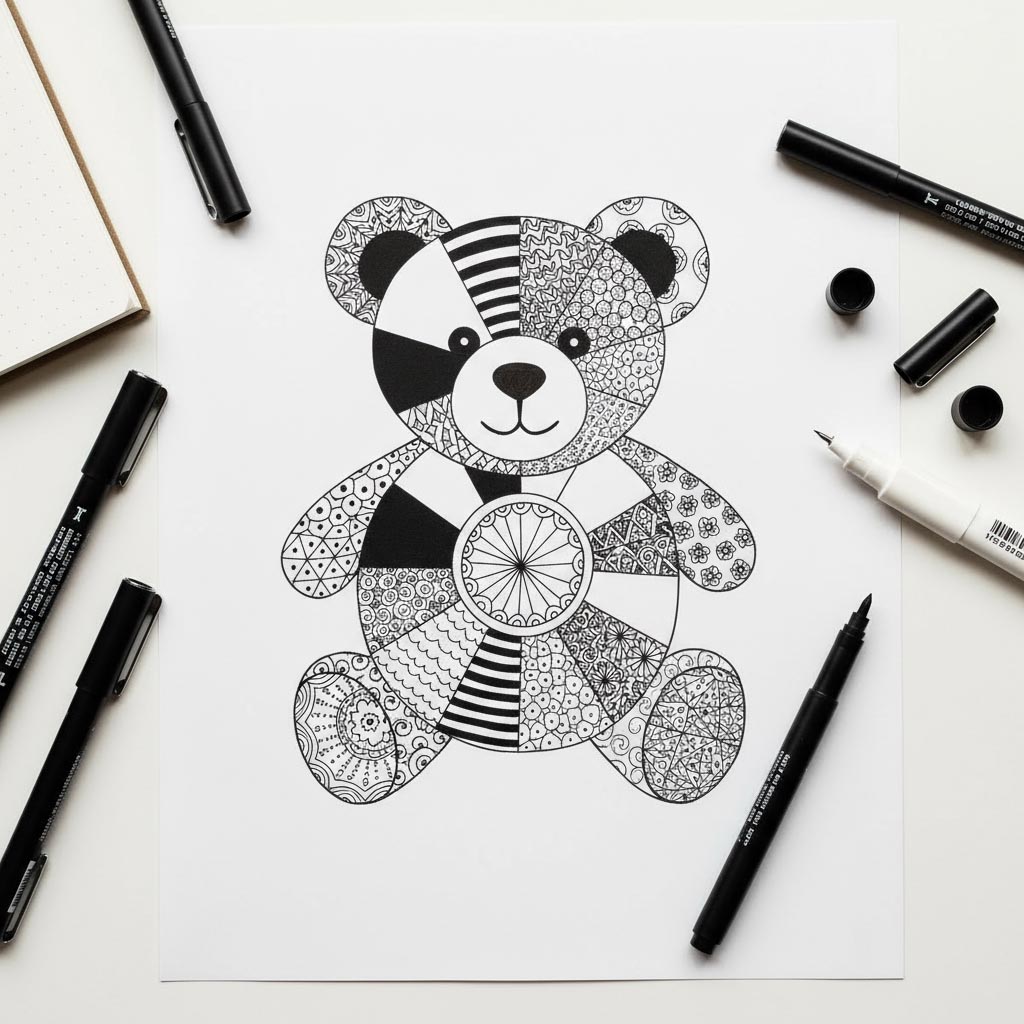
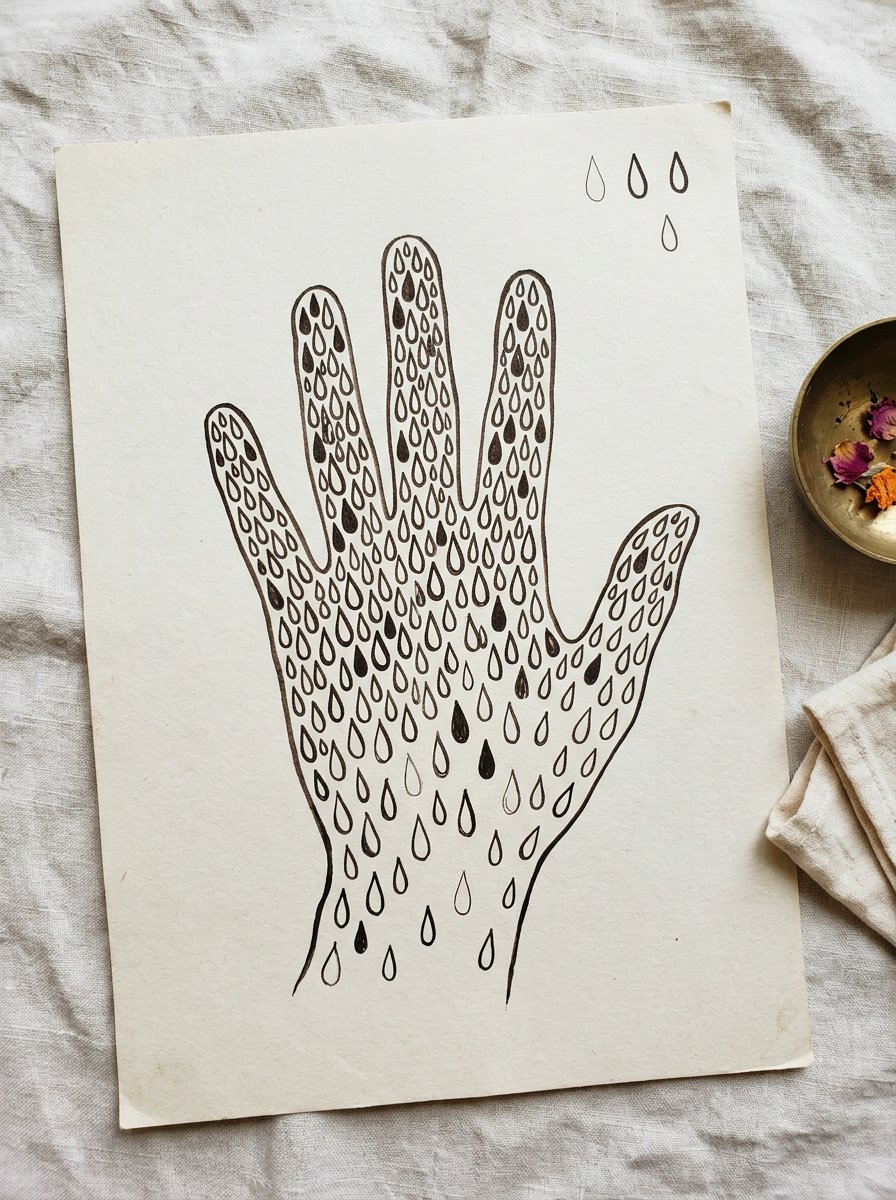
In 1917 the head of an art school in Madras wrote down how the cloth painters of southern India actually worked. Every shape in henna designs on paper is in there, and there is only one of them.
Not a family of similar shapes. That one, drawn bigger, drawn smaller, and turned to face another way.
(I spent years assuming these panels held hundreds of separate marks. They hold one mark with a very good memory.)
Everything below builds one panel from that shape, in order. The free practice sheet comes first.
Download the free teardrop practice sheet →
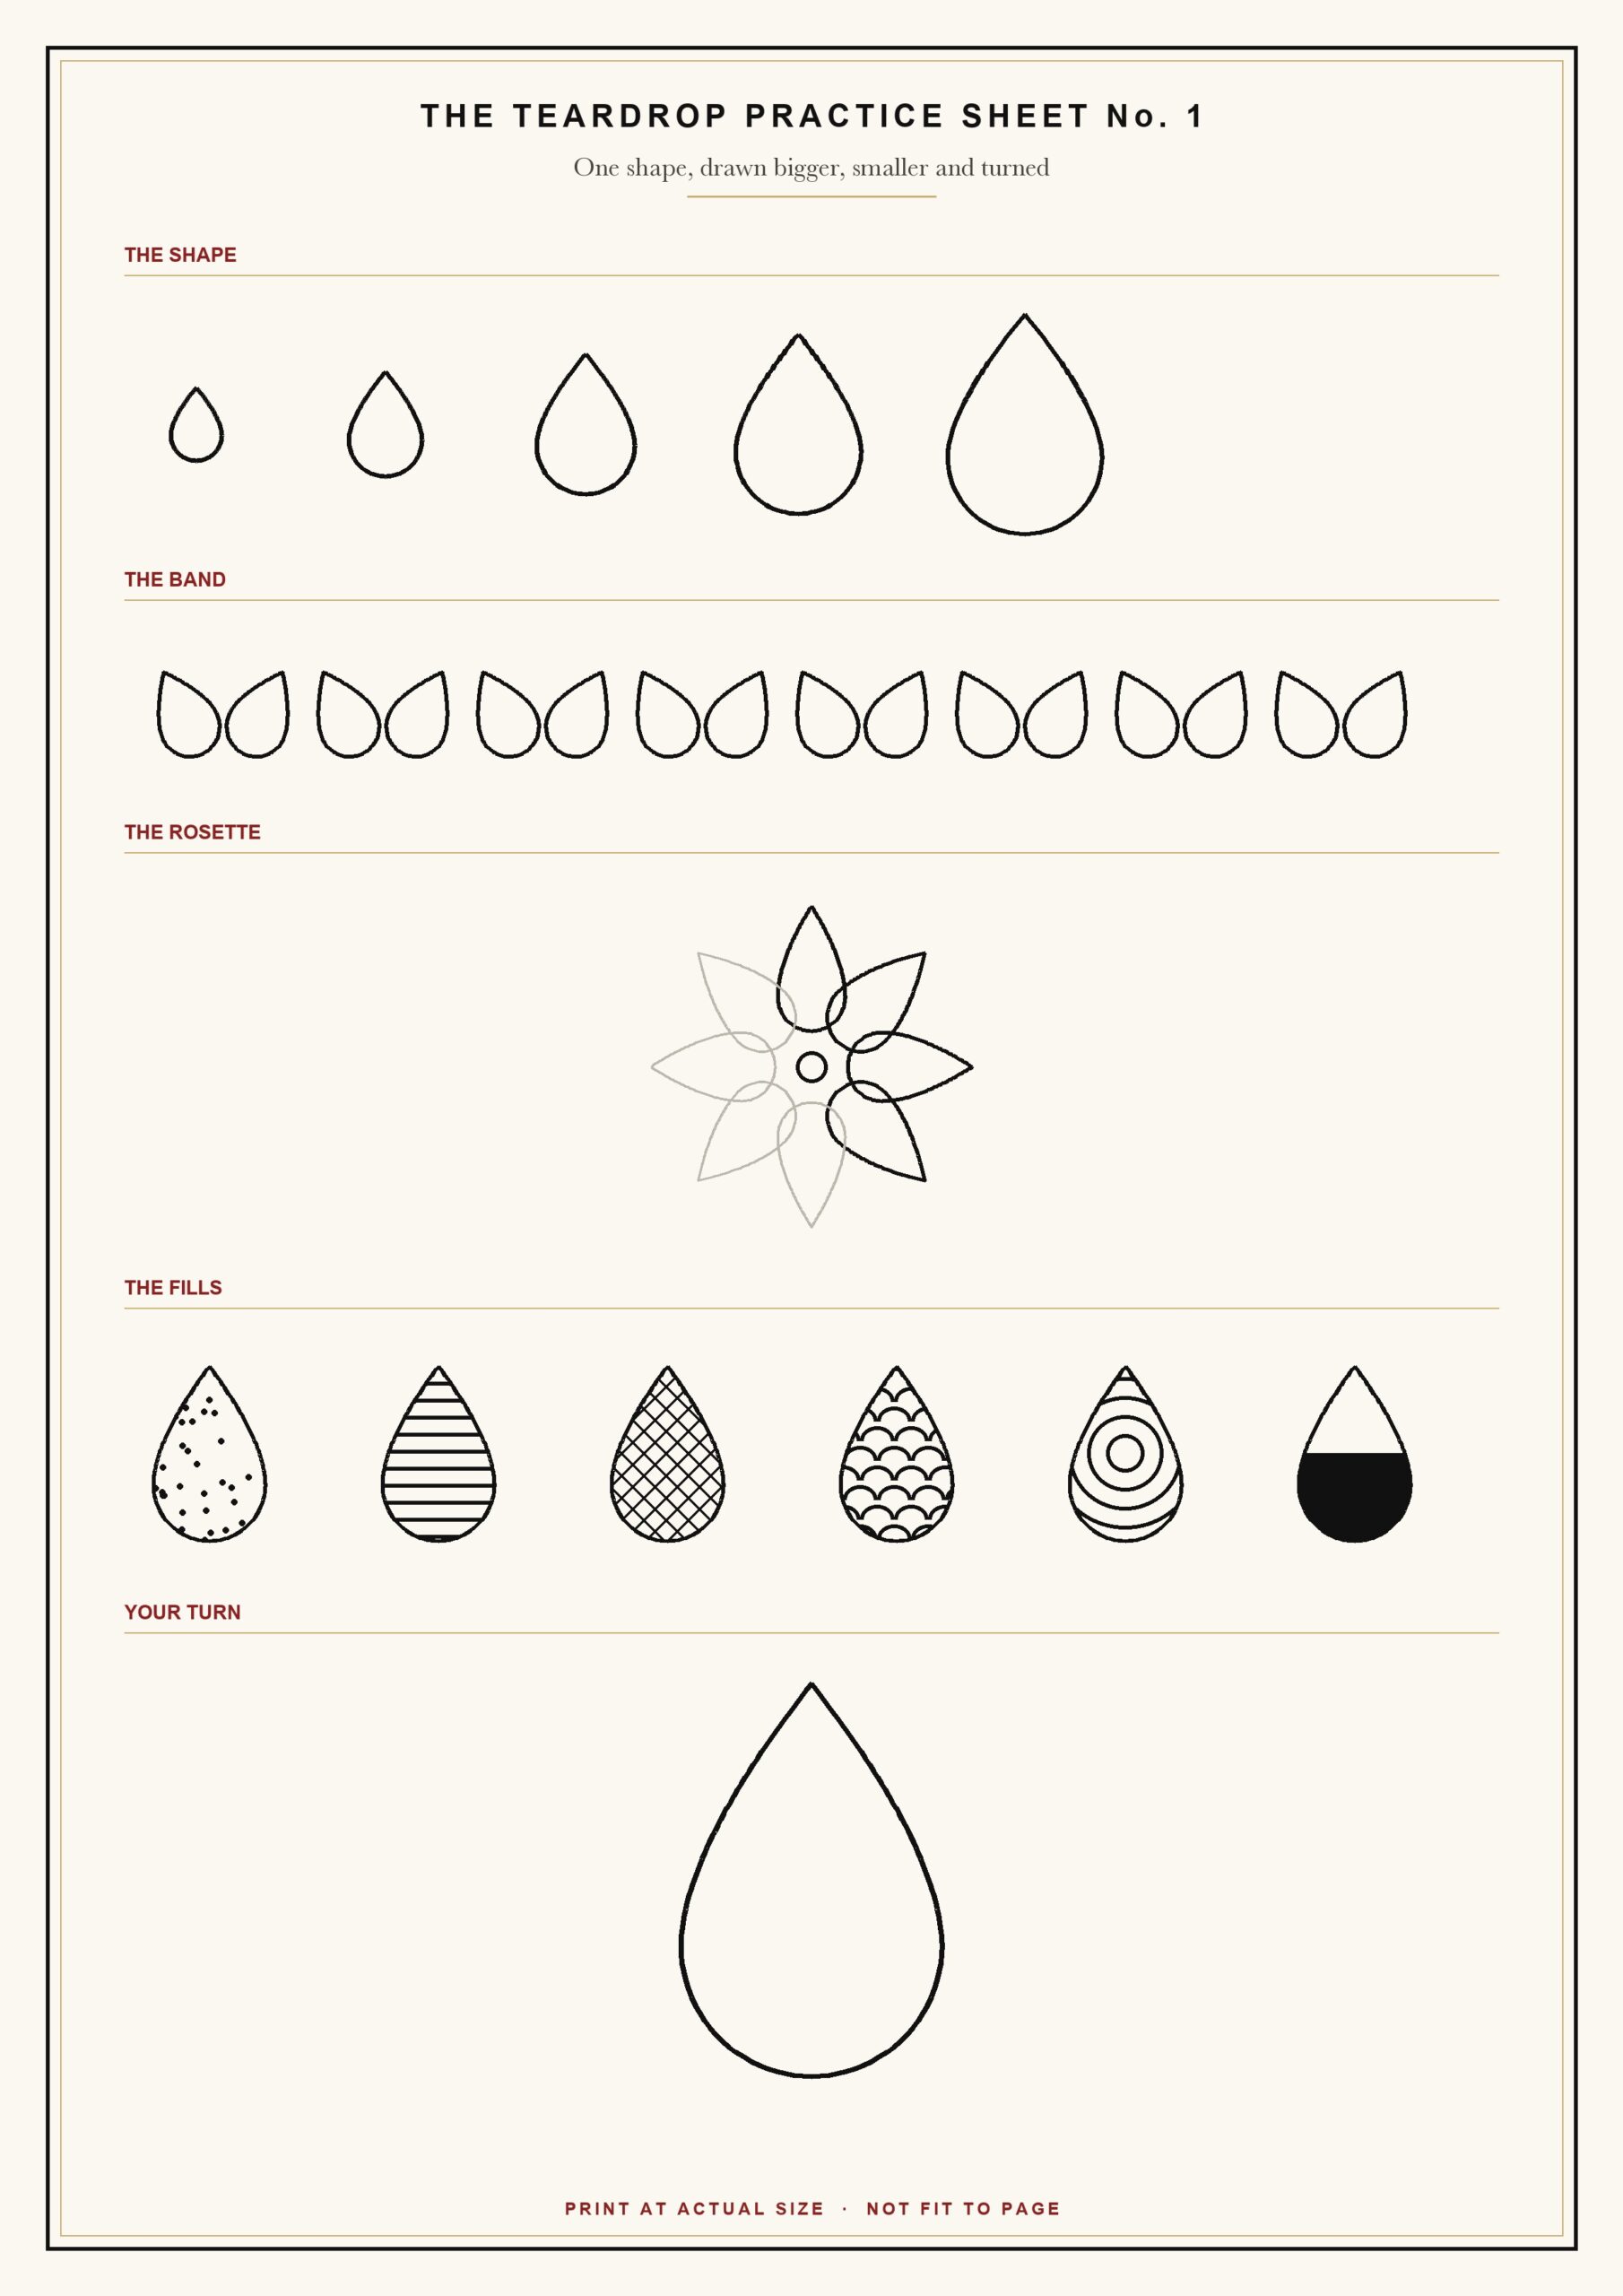
It is called The Teardrop Practice Sheet No. 1. It carries 5 bands. They run in the order your hand needs them.
In the print box choose actual size, not fit to page. (Your printer will offer to shrink it. It is guessing.)
Band one is the shape at 5 sizes. Band two runs it along a line. Band three closes 8 of them into a rosette.
Band four is the fills. Band 5 is one big empty outline. That last one is the exercise.
Work band two the most. A run that keeps its spacing is the difference between a pattern and a pile.
You need no special paper. Anything that takes a pen will do.
Draw the shape about the size of a thumbnail. Small teardrops forgive a wobble. Large ones report it. (Mine were confident and enormous for a fortnight.)
Now the part nobody mentions. All of this is drawn on paper here, as practice for the hand. Paper is the better teacher at this stage.
Paper does not move. It does not dry while you think. You can turn it round, and turning it is most of the skill.
A teardrop gives you an outline and leaves the inside empty. That empty inside is the second half of the job.
Which is what the Complete Mandala Creation Toolkit is for. That collection is where this post began. It holds the ruled structure, and the small parts that sit inside an outline.
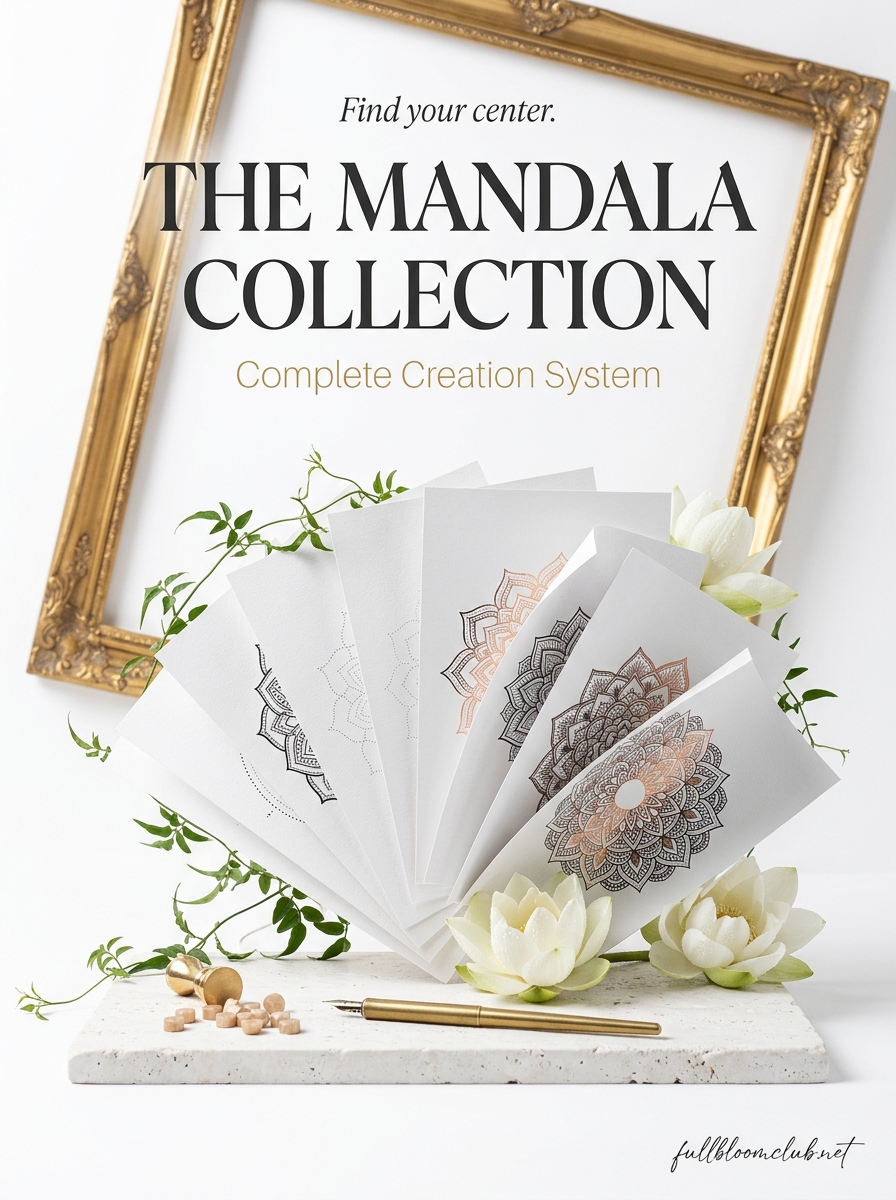
The Collection
What goes inside the shape once the outline is right?
THE MANDALA TOOLKIT. Rings, wedges and 88 small parts, ready to drop inside a shape. For the evening the outlines are placed and every one of them is still empty. (An empty outline is not a finished drawing. I found that out slowly.) Inside: 8 master grids, 88 elements, and 8 short videos that show the order. What you get: an hour that is not scrolling, and a page that looks planned.
Back to the shape, because the shape is doing all the work.
Step 1 — Draw the shape that all henna designs on paper are made of
Put the pen down at the widest part of the curve. Not at the point.
Draw one curve up to where the point will be. Lift. Come back to the widest part. Draw the other side up to meet it.
The point is not drawn. It is what happens when two lines arrive at the same place.
That is the whole trick. It took me an embarrassing number of pages to notice. I had been drawing the point first, then hanging a shape off it.
If it looks wrong, the point is too long. It is almost always too long.
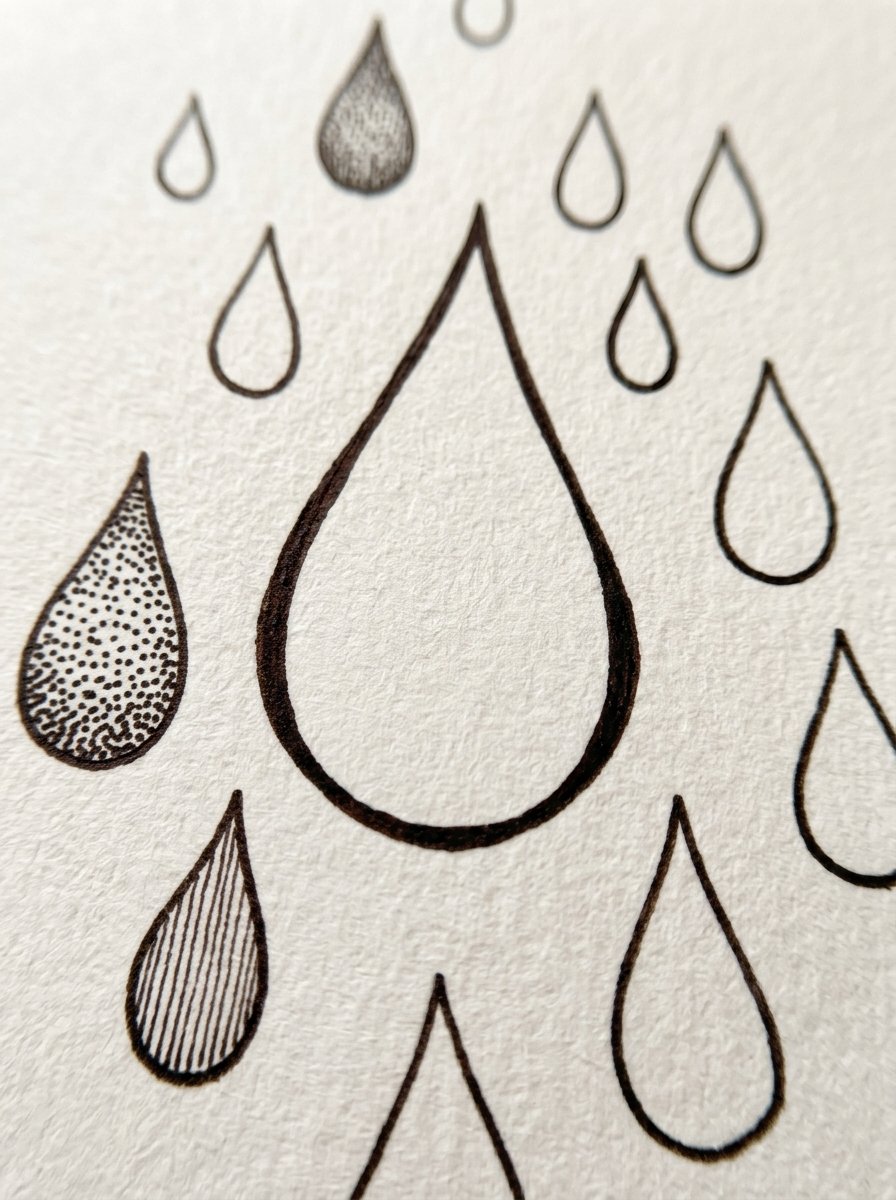
Run 20 on a scrap before you commit one. They start behaving around number 12.
Step 2 — Run them along a line
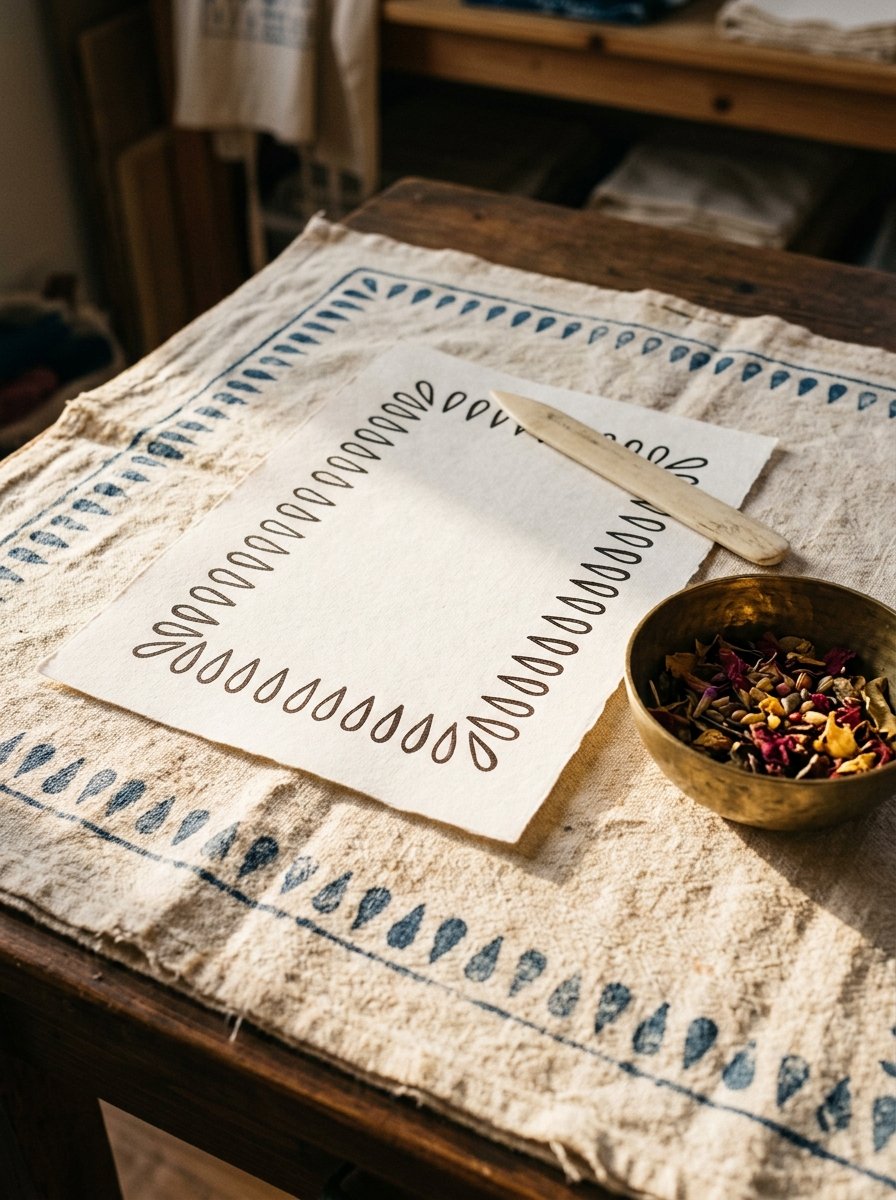
Draw a faint pencil line across the page. Sit the teardrops on it, all the same way up.
Now tilt them. One leans left, the next leans right. Alternate all the way along.
Keep the gap between them the same. The gap is the pattern. The shape is only the excuse.
(Nobody talks about the gap. It is the hard part, and it is why shop-bought patterns look calm.)
What ruins a run is changing the shape halfway. The eye compares every copy to the first one. It reports the difference immediately.
So draw a plain one first, on purpose, and copy that. Matching a plain shape is easy. Matching a beautiful accident is not.
Step 3 — Close 8 of them into a rosette
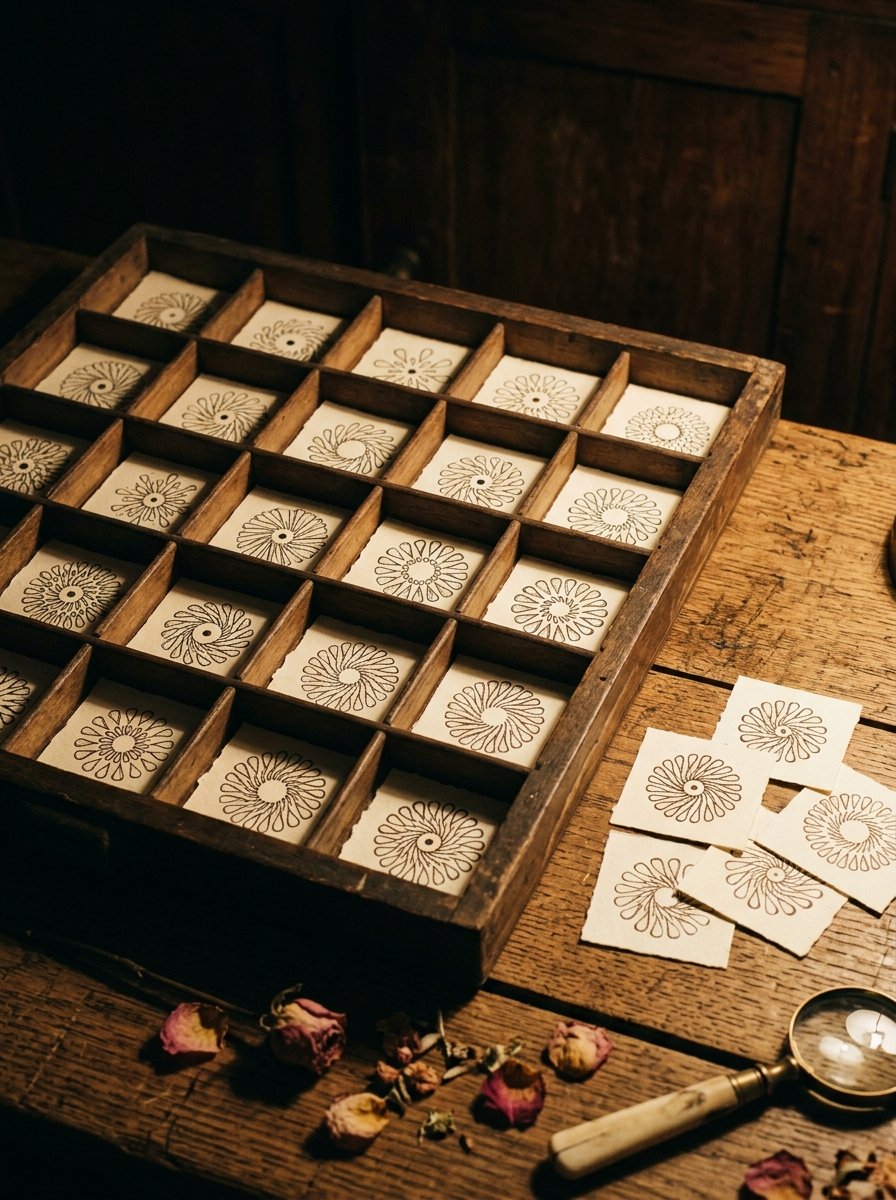
Mark a dot. Draw one teardrop with its point facing the dot.
Draw the opposite one. Then the two that halve the gap. Then fill the 4 gaps left.
Work opposites, never round the clock. Going round the clock leaves the last one to fit whatever space remains. It never fits.
I learned that the slow way. The slow way involved many final petals shaped like a wedge of cheese.
If the rosette leans, your first teardrop was not pointing at the dot.
Step 4 — Fill them, because henna designs on paper are mostly inside
This is the step where people put the pen down. It is worth knowing why.
The outline is finished and the panel now looks bare. It reads as unfinished rather than as a start. So it feels like failure.
It is not. It is a container waiting for its inside.
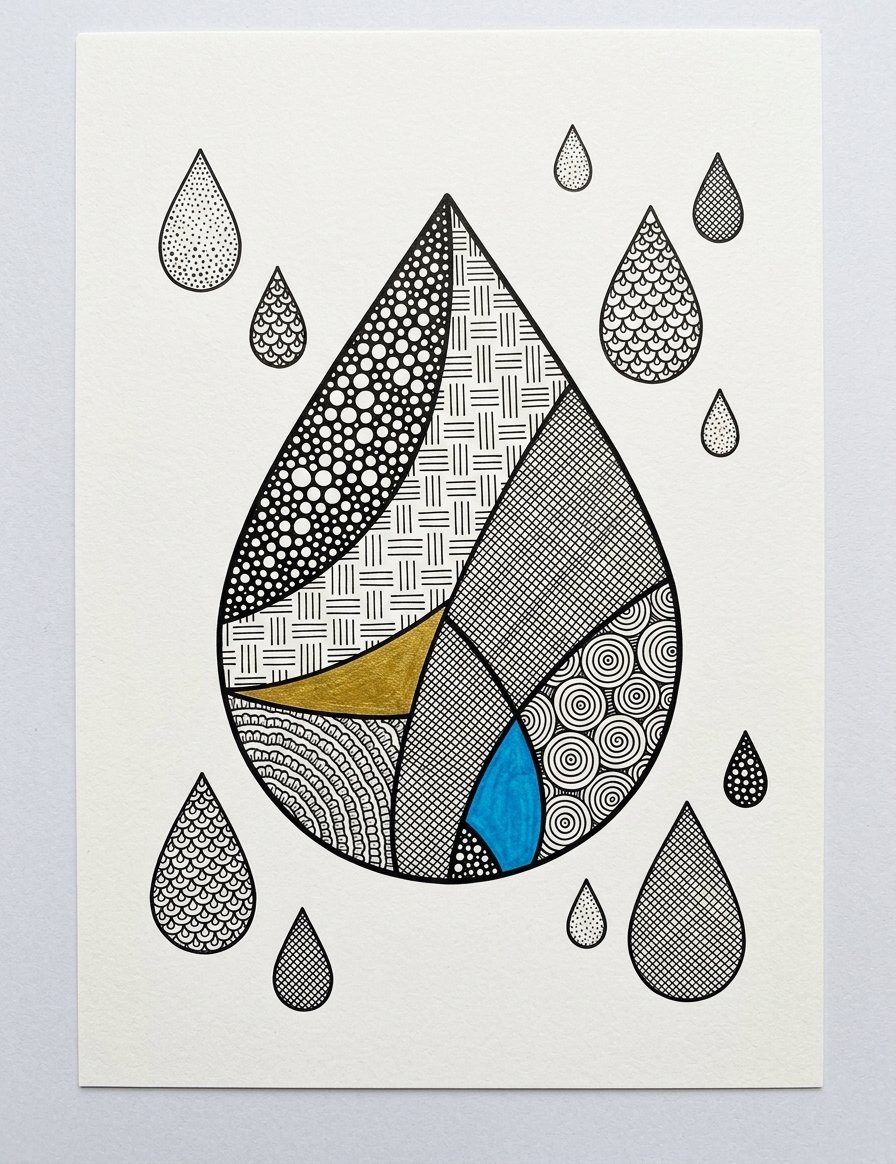
Give each teardrop one fill and one only. Dots in this one. Straight lines in that one. Crossed lines. Small scallops. Rings. One side solid.
Vary which fill goes where. Never put two fills in one shape.
Two fills inside one outline is mud.
(I have made mud. It looks like a shape that could not decide what it wanted to be.)
A draughtsman is worth knowing about at exactly this point. Nainsukh worked in the hill courts of Guler and Jasrota in the 1700s. Around 100 of his works survive, 4 of them signed.
Some of those surviving sheets were never taken past the drawing stage. They stopped where yours feels like stopping. Museums keep them anyway.
That is the useful part. A panel that is outlined and not yet filled is a real object, not a failed one. Put it in a drawer and come back to it.
Step 5 — Join them with a trailing line
Draw one thin line that wanders between the motifs. It should touch them, not slice them.
Where it passes a rosette, let it curve around and carry on. Where it ends, end it on a small teardrop. Never in mid-air.
This line turns separate marks into one design. It also hides a multitude of uneven gaps, which is its real job.
Mine looked like handwriting for a fortnight. (The fix was drawing it slower than felt reasonable, which is the fix more often than I would like.)
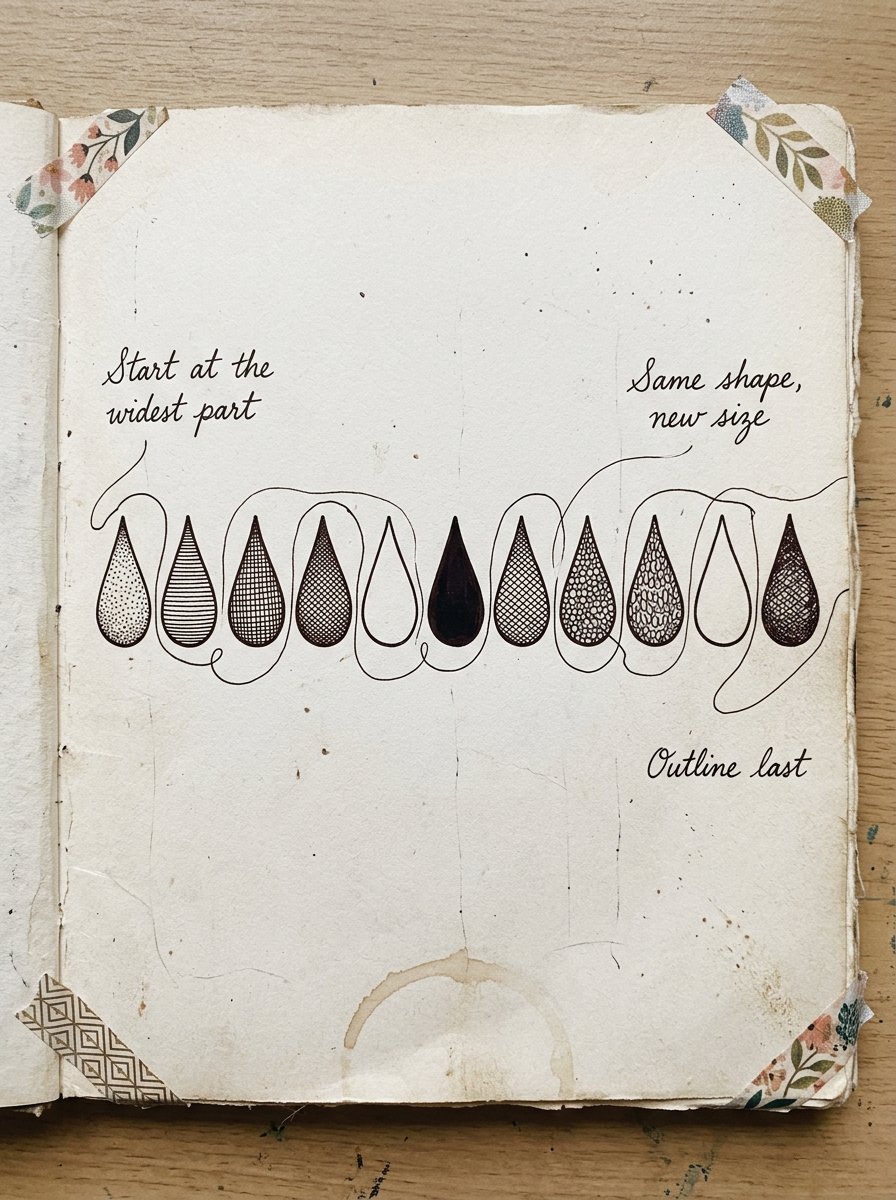
Step 6 — Outline the whole panel last
Draw the border round the outside of everything. Draw it at the very end.
Do it first and you have built a box. Then you must fit a drawing into it. Every spacing decision gets made for you, badly.
Done last, the border goes where the drawing actually finished. It also covers every wobbly edge at the boundary. It will cover a lot of them.
(This one change made my panels look finished rather than abandoned.)
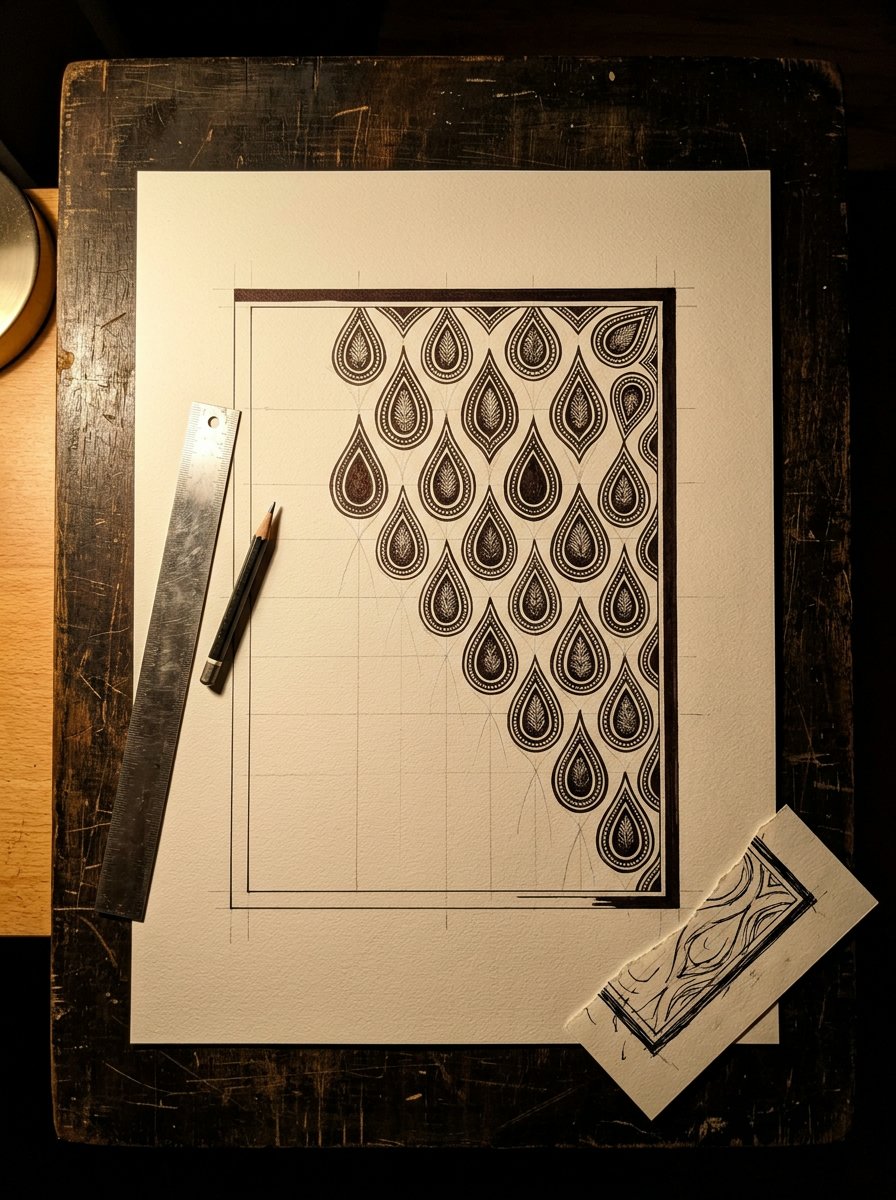
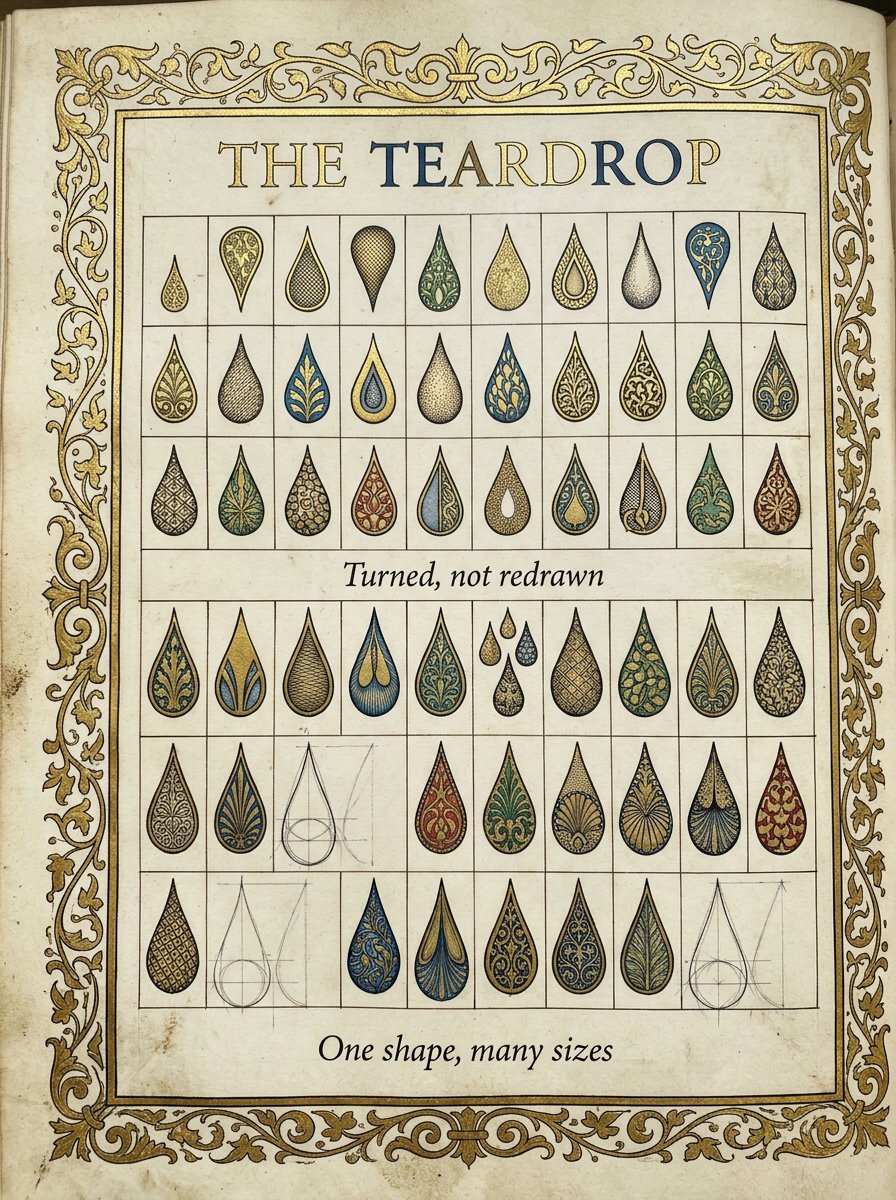
Step 7 — Turn one shape into 40 henna designs on paper
Now the variants. This is where the shape earns its keep.
Take the same teardrop. Draw it at half the size. Draw it at twice the size. Turn it upside down. Lay it on its side.
Put a small one inside a big one. Put 5 small ones in a fan where one big one was. Stretch it long and thin. Squash it short and round.
Each is the same shape under new instructions. That is why a panel holds together.
None of those is a new shape.
The teardrop has a long documented life as a motif. The boteh is a teardrop with a curved-over top. It is Persian in origin, and it reached Kashmir in the 1400s.
Mehndi is a living tradition across the Indian subcontinent, North Africa, East Africa and the Middle East. Its recorded motifs include vines, leaves, flowers and paisleys.
South Asian work runs to small intricate pattern and line. Work in the Middle East runs more floral. African work runs more geometric.
Which brings in a man who wrote the method down. William Snelling Hadaway was an American artist, a book illustrator and a metal designer. From 1907 he ran the Madras School of Arts.
In 1917 he published a survey of how the cloth painters of southern India actually worked. One sentence in it matters here.
Here is his process for any complicated pattern. He writes that it is “to first draw it on paper, after which the outline is pricked through with a fine point”.
Drawn on paper first. By the people whose whole trade was putting it on cloth.
I find that freeing. The paper stage is not the amateur version of the thing. It is the stage the professionals also worked through.
Step 8 — The 4 things that go wrong, in the order they happen
First, every teardrop comes out the same size. The panel then reads as printed rather than drawn.
Second, they crowd. When in doubt leave more space than feels right. You can always add another later.
Third, the pen presses harder as you concentrate. The last row comes out heavier than the first. Rest your hand more often than you think you need to.
Fourth, filling starts before the shapes are placed. Place every outline first. Fill nothing until the panel is laid out.
(I do the third one constantly. I have started turning the page instead of turning my wrist, which helps more than it should.)
Free Starter Pack
10 pattern templates, for the outlines you left empty.
Sent tonight. Small fills, each one cut to sit inside a curved shape.
Unsubscribe in 1 click, no hard feelings
How do you fit henna designs on paper into a corner?
Start at the corner point itself. Put one large teardrop there, angled to face diagonally inward.
Then run two lines of smaller ones along each edge, away from that corner. The big one anchors it. The small ones lead the eye off.
Do not centre anything. A corner design is deliberately lopsided. That is what makes it read as a corner.
I get this wrong whenever I try to make it balanced.
Balanced corners look like accidents.
Do you draw around your own hand, or draw the hand freehand?
Draw around it. Lay your hand flat on the paper and trace it with a pencil. Then put the pen work inside that outline.
Tracing the outline is not cheating. It hands you the right proportions while your attention stays on the pattern. The pattern is the part you are practising.
Fill from the fingertips down toward the wrist. Fingers take a single line of small teardrops. The back of the hand takes one rosette and a trail.
(My first attempt went the other way. The wrist ended up wearing everything, and it looked like a cuff.)
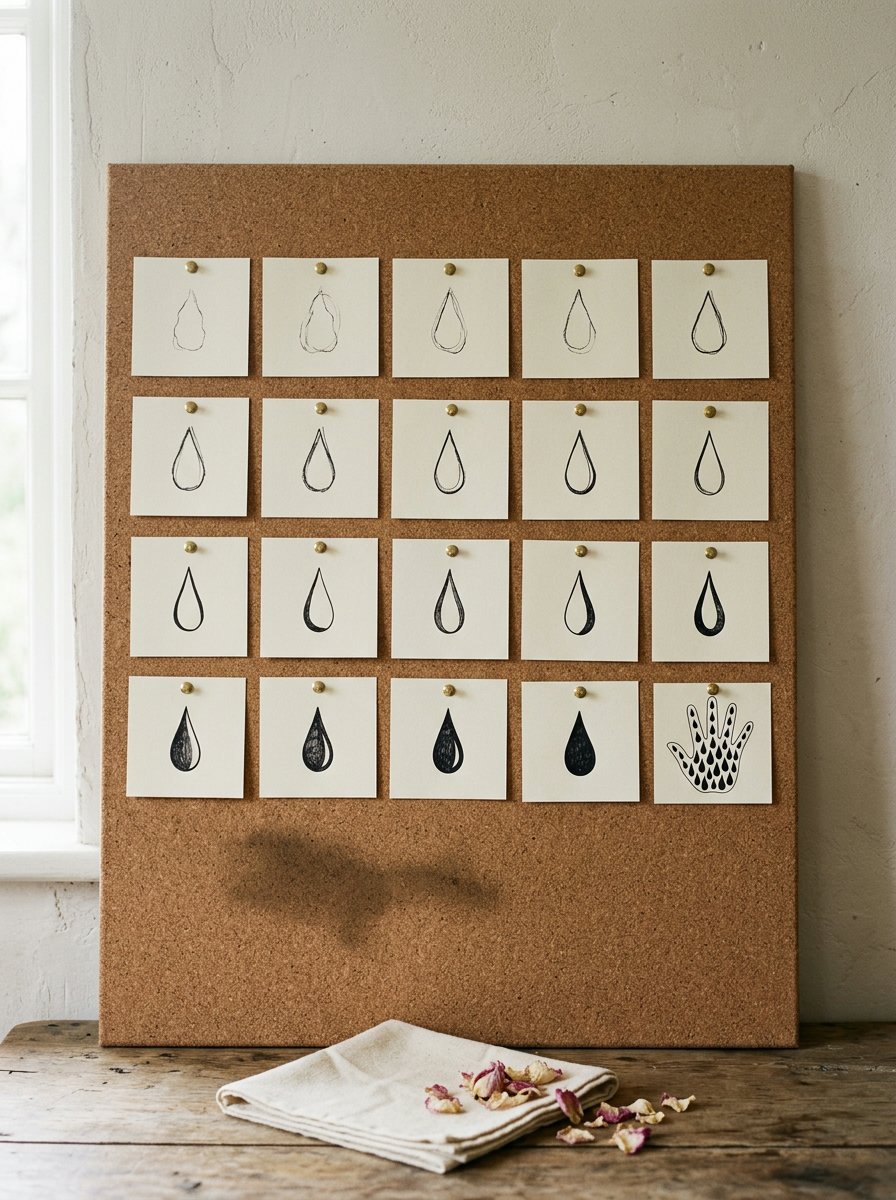
One shape, placed carefully and then repeated, is the entire method. The Complete Mandala Creation Toolkit is built on the same idea from the other end. Inside are 8 master grids that hold the structure, and 88 elements to drop in once the frame is settled.
88 elements that drop straight into a settled outline
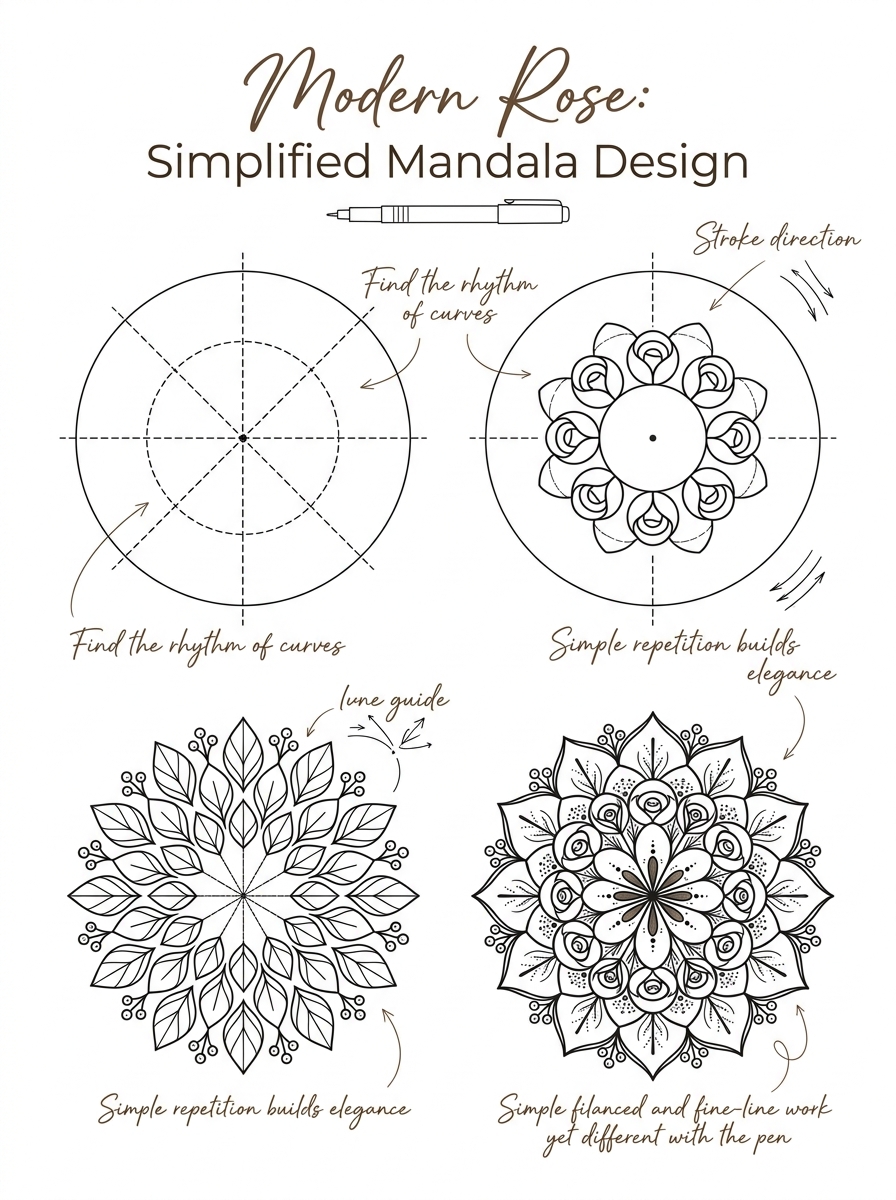
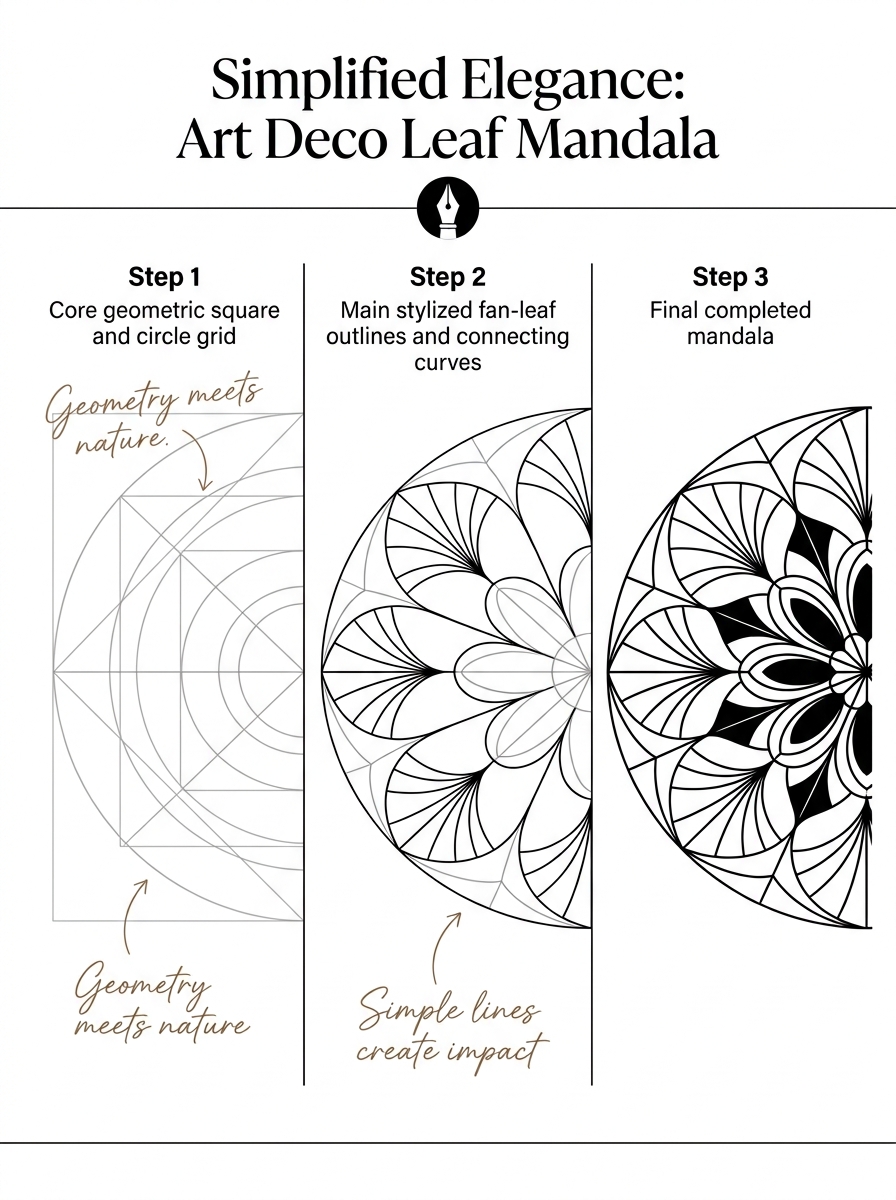
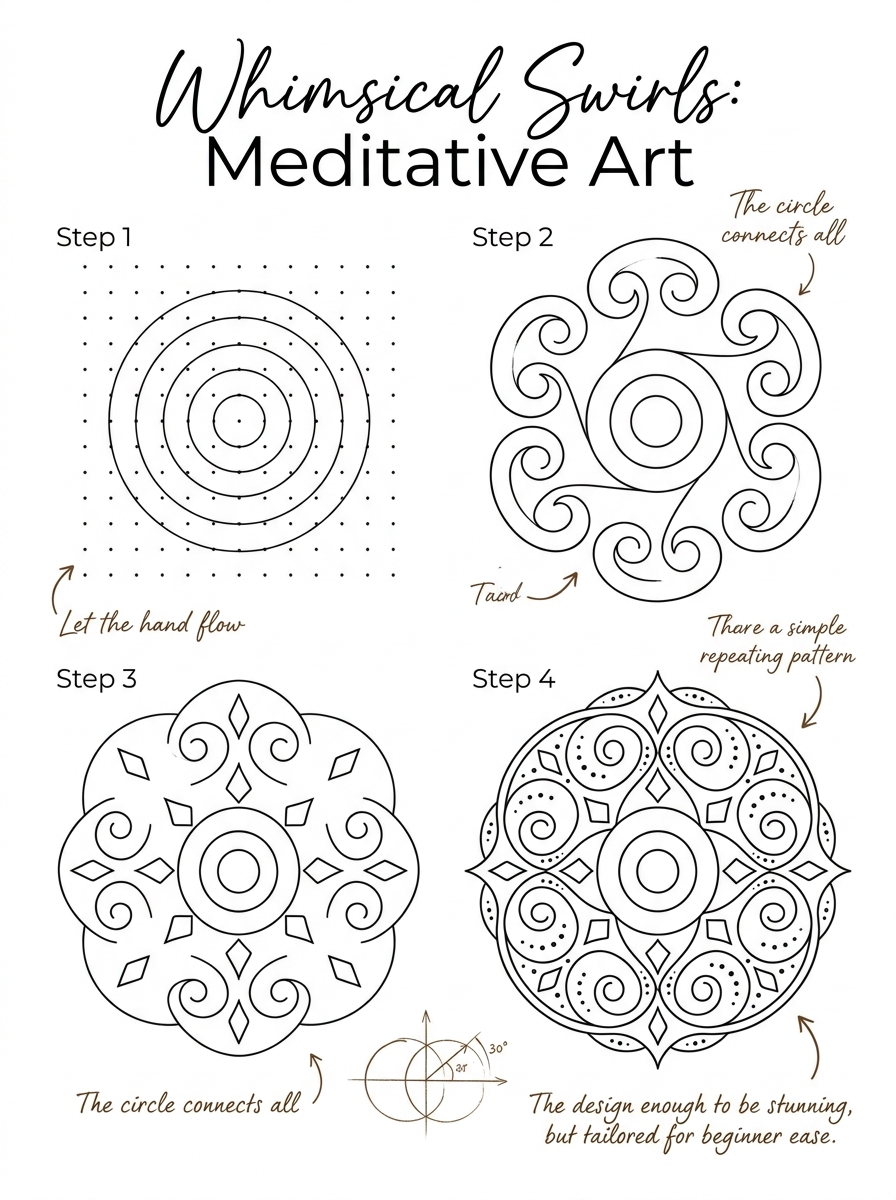
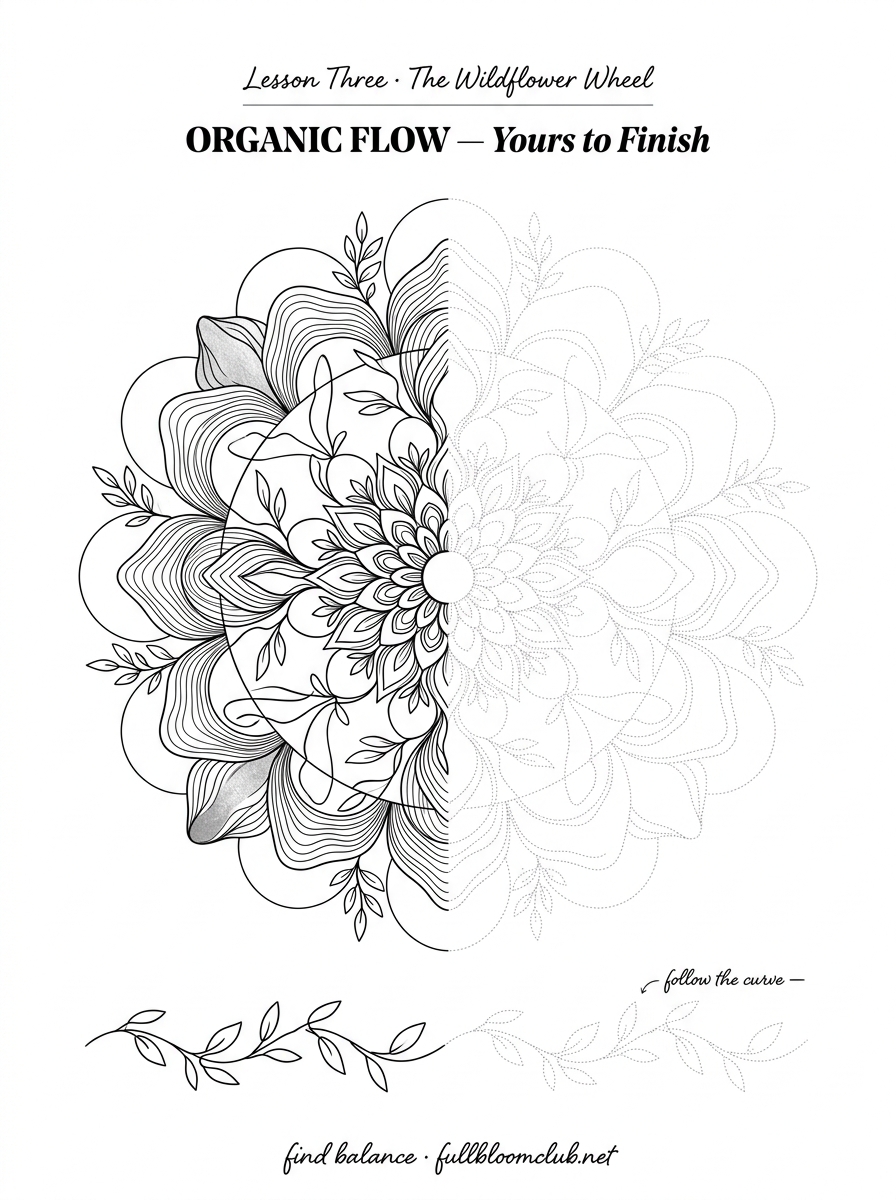
Rule the grid tonight, then start at the centre. Inside: 8 master grids, 88 elements, and 8 short videos that show the order. Each grid holds the straight lines, so the only decision left is what goes in each wedge. I print mine and then copy them again freehand, which is the pass that teaches. It is always a freehand one that ends up pinned above the desk.
Instant download · reprint it whenever you like
Your hand already knows this shape. It has been drawing it in the margins of telephone notes for years, waiting for somebody to say it counted.
“This is one fairly good test of a repeating pattern, which should gain in beauty by repetition.”
W. S. Hadaway, Cotton Painting and Printing in the Madras Presidency, 1917
Mirabelle wrote this. No training, strong opinions, many pens. Peer reviewed by a cat who sat in the middle of the practice sheet and would not be moved.