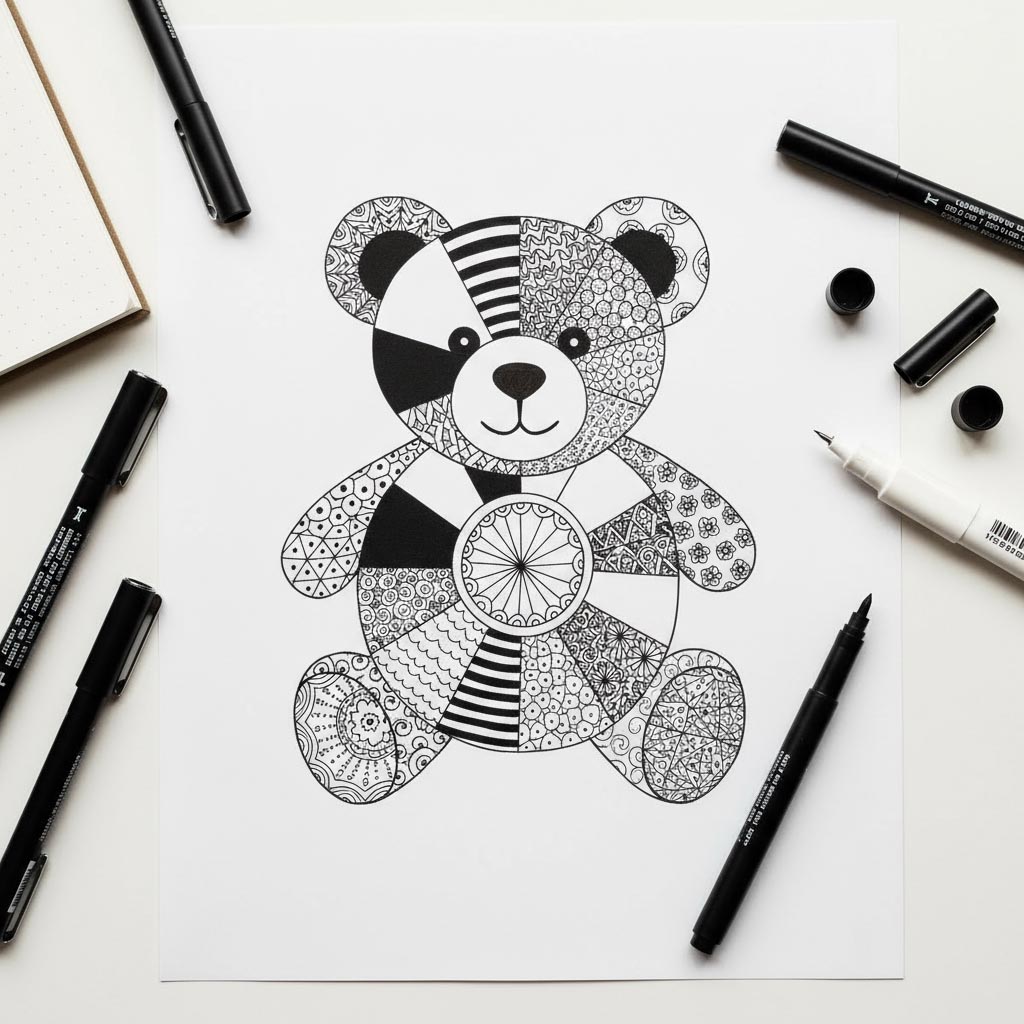
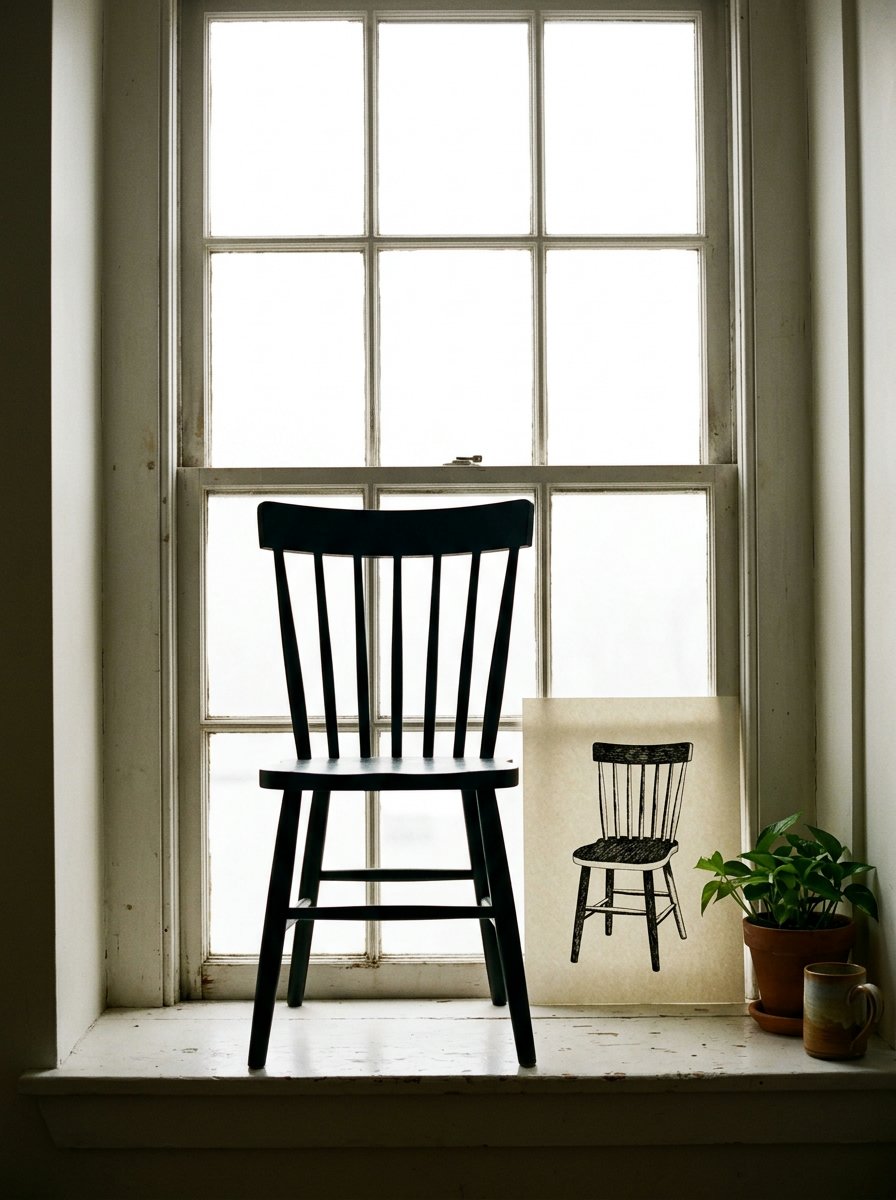
A mug handle is far easier to draw as the hole it makes than as a handle. That is negative space drawing, and the mug turns up anyway.
The hole has no name. Your hand cannot tidy it into what a handle is supposed to look like.
Naming is the whole problem. Think “handle” and you draw the handle you remember. Not the one on the table.
Below: which gap to draw first. Why the edge of the paper does half the work. And the two places this goes wrong.
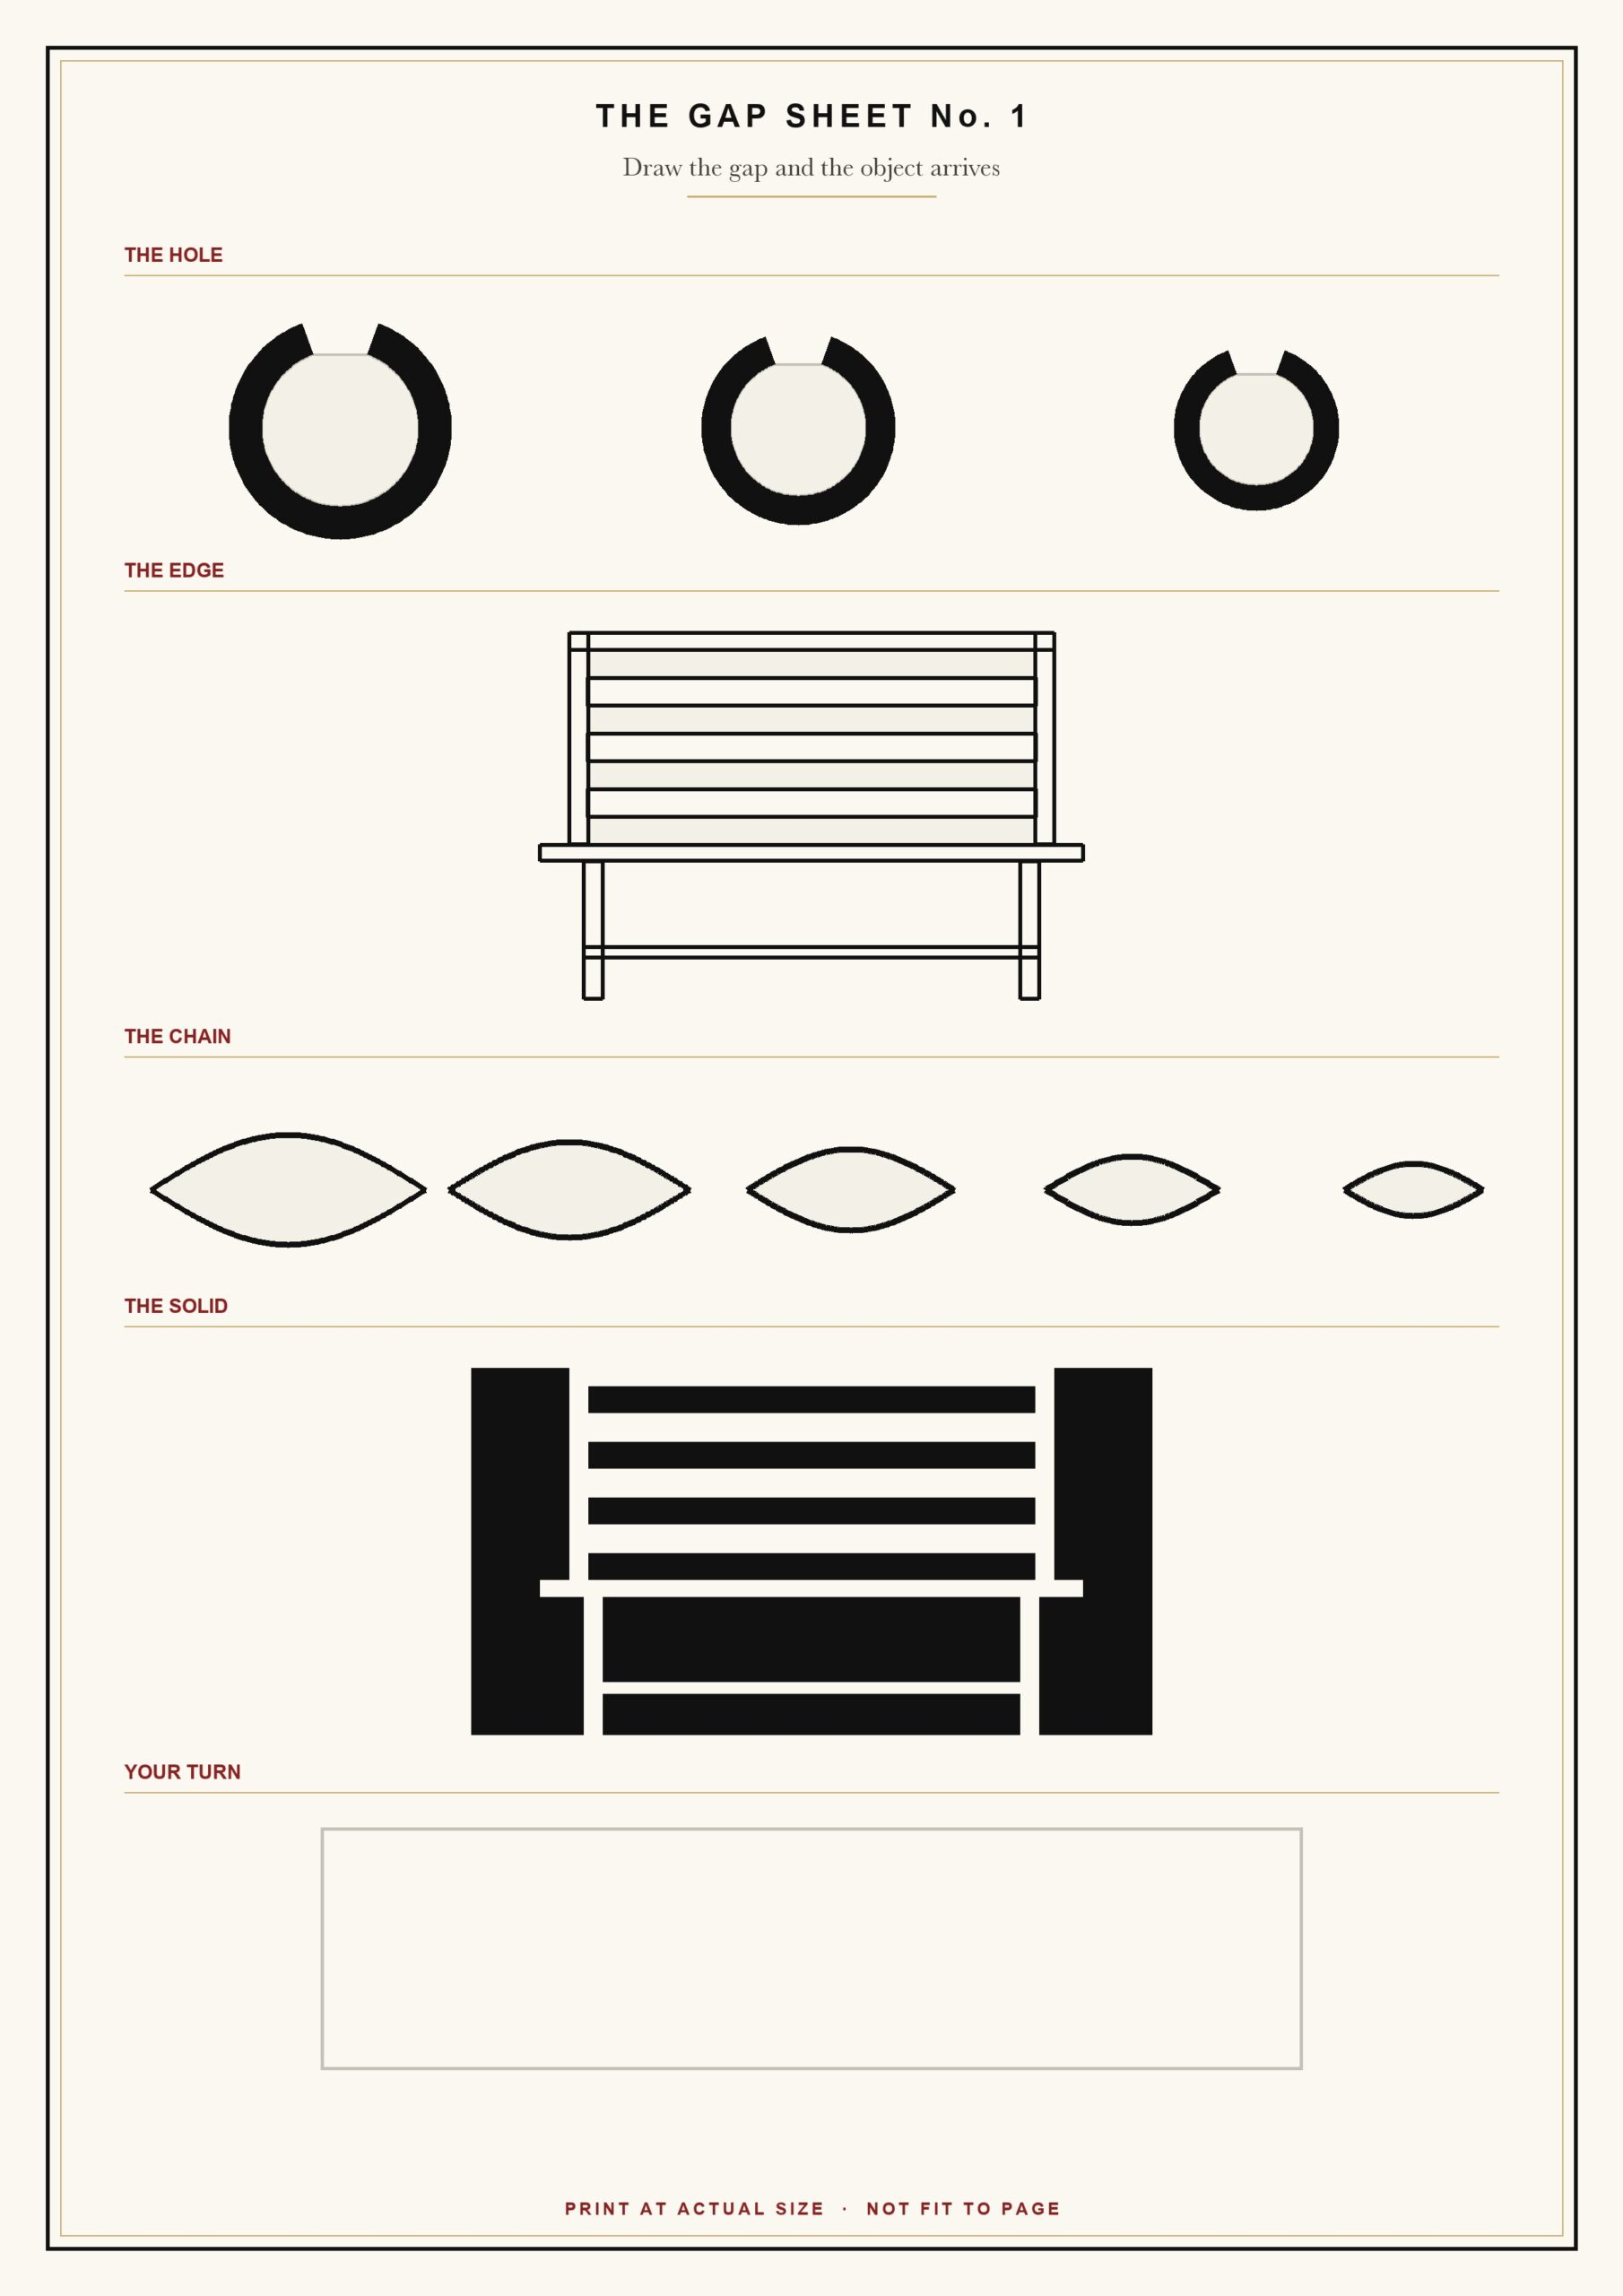
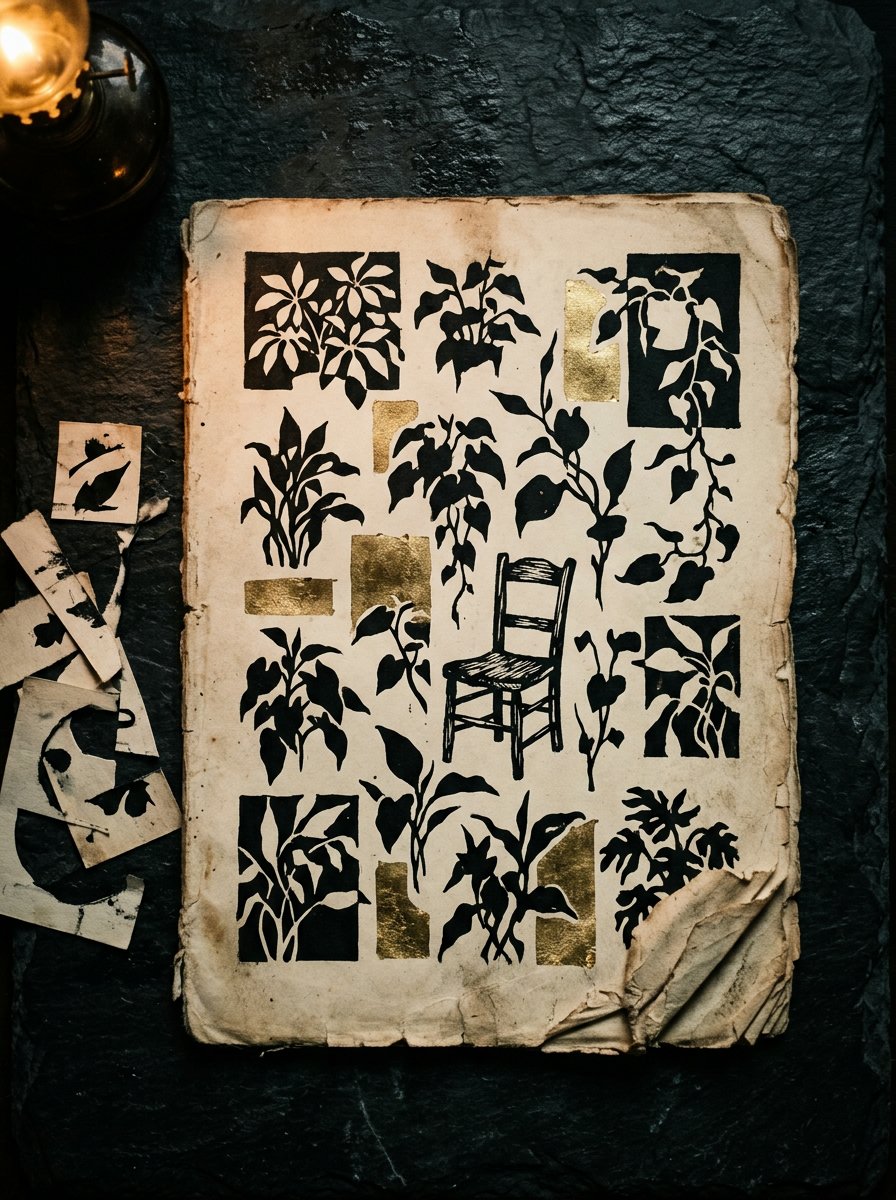
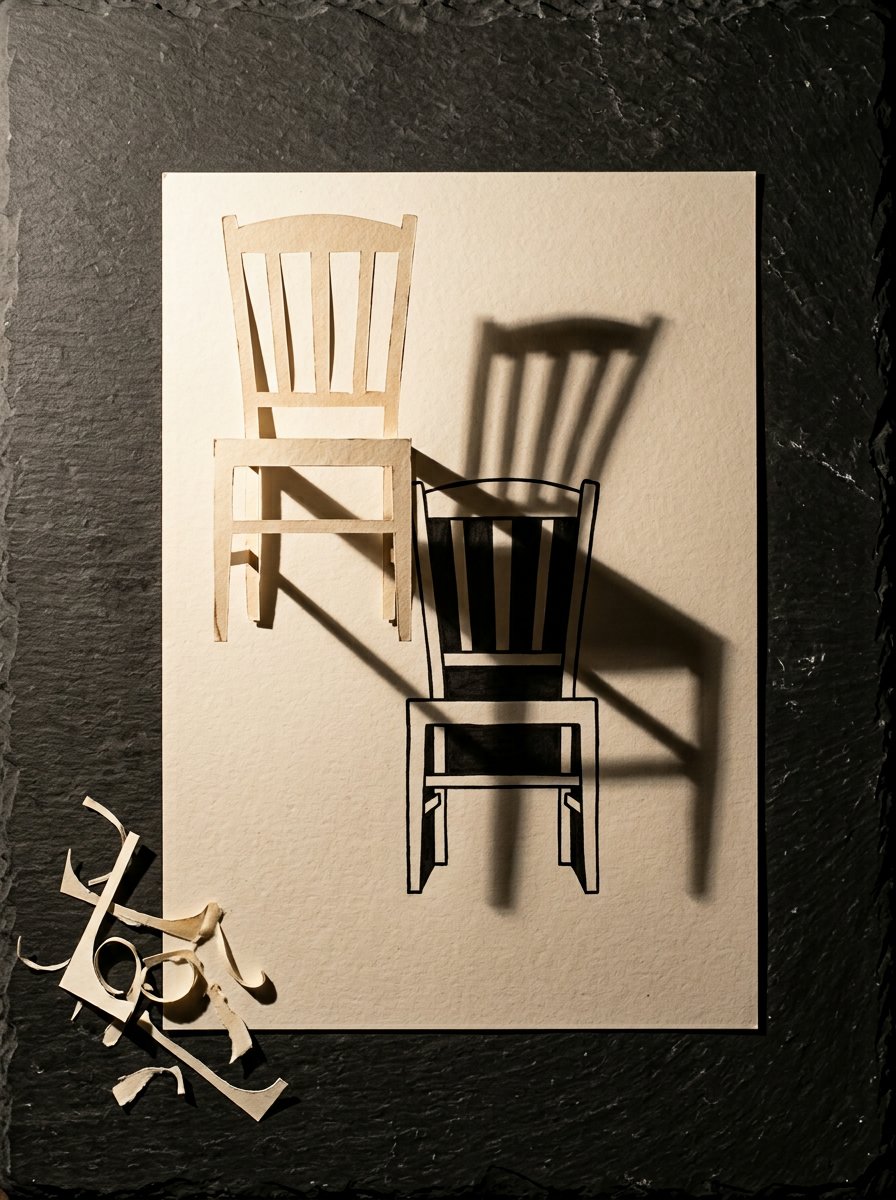
The sheet carries three handle rings, a chair, a row of gaps between crossing stems, and one empty frame. The gaps are printed faint. You ink them.
Work down the page in order. The rings are forgiving. The chair is not. Its gaps run off the edge, and you have to trust the edge to close them.
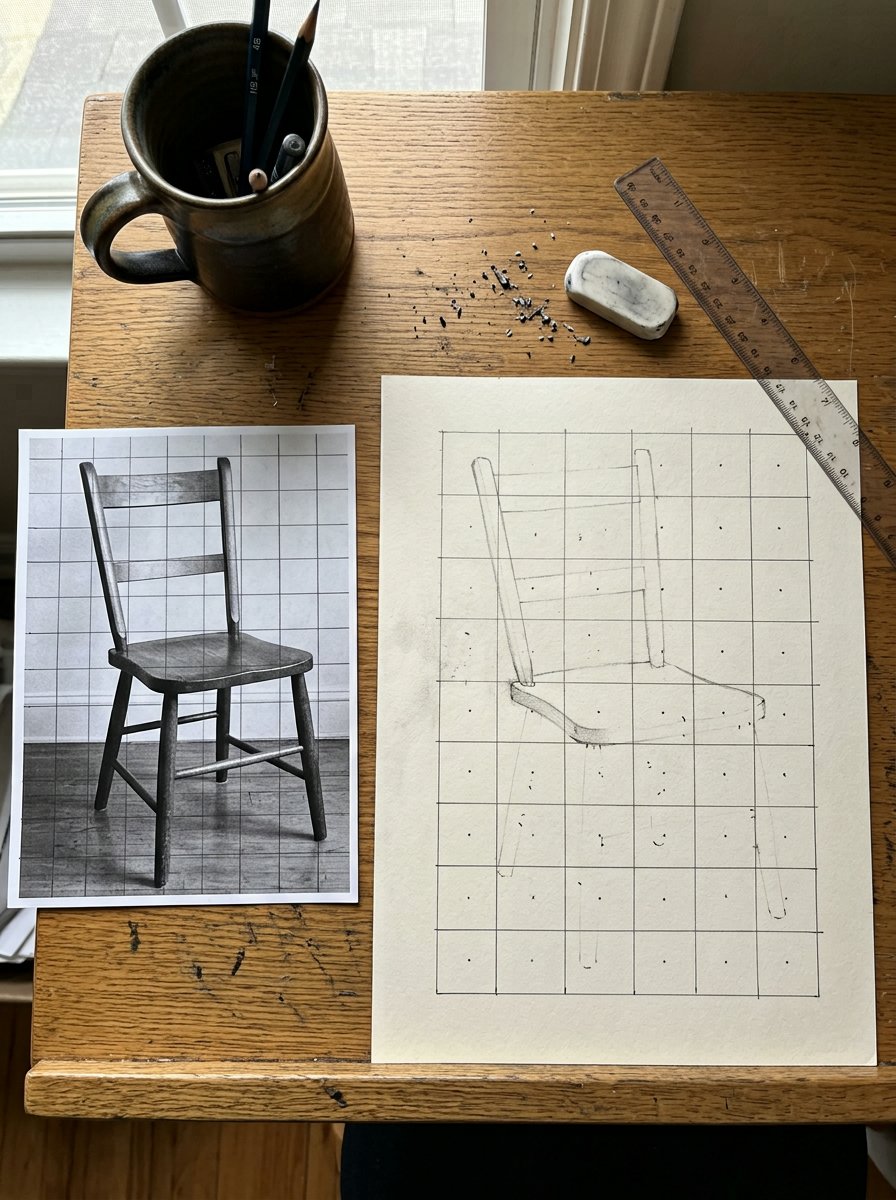
Use pencil first and ink after. (Mine is pencil for about 20 minutes, which is roughly 19 minutes longer than I tell people.)
The last band is deliberately empty. Put your own object in it, chosen off your own table, not off this page.
One thing about the rings before you start. They look like the easy band and they are, but only if you resist tidying them.
A handle ring is never an even doughnut. One side is fatter. The opening sits slightly off centre, and that off-centre nick is the whole likeness.
Ink the gap, not the ring. If you ink the ring you have drawn a handle again, and the sheet will quietly tell you so.
Give yourself two sittings. The first three bands take about 25 minutes. The chair takes another evening, and it is the one that changes how you see.
By the second band you will want plants. A plant is mostly gaps held apart by stems. That is the collection this post came out of.
The Collection
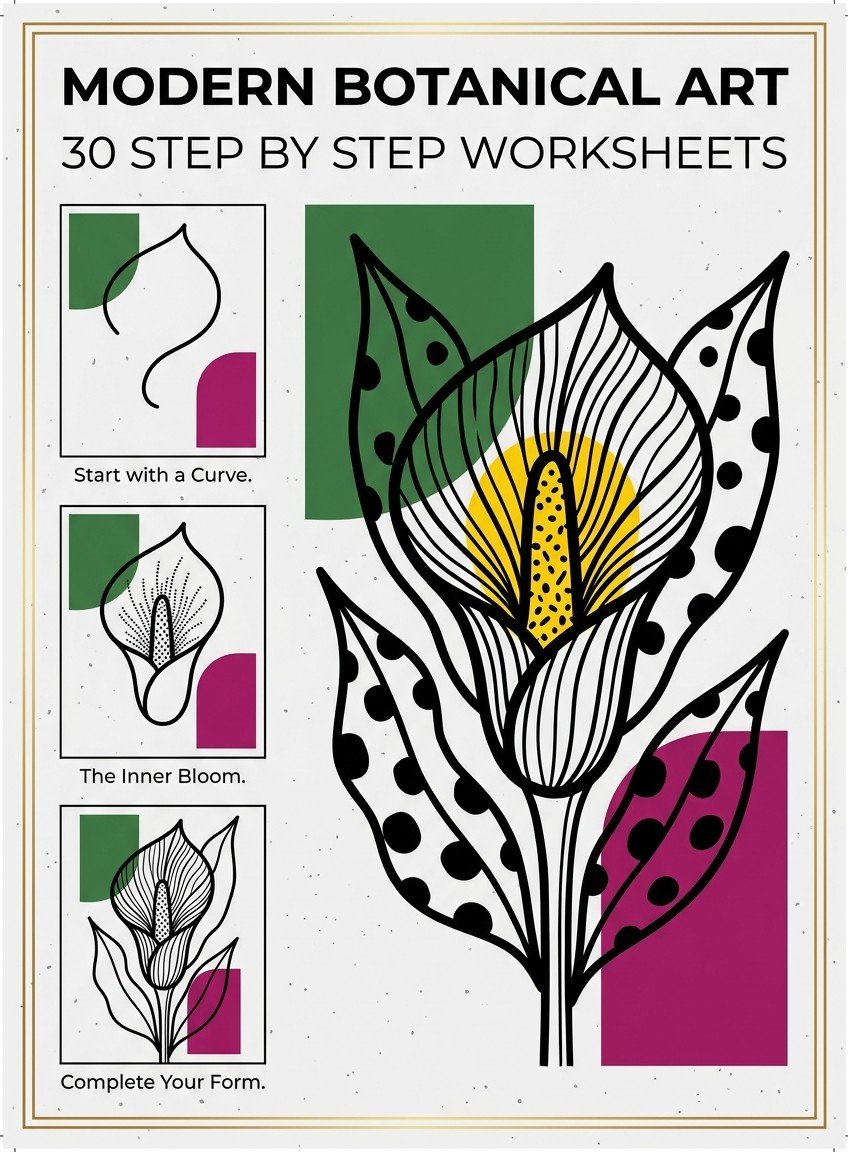
MODERN BOTANICAL ART — stems, spaces, and 32 plants already broken into the shapes they are made of.
For the evening a chair has stopped being enough and you want something with real gaps in it. (Mine was the passionflower. It took two evenings and I regret none of them.) Inside: 32 worksheets, every plant built in 3 steps, from the first shape to the finished ink. What you get: a plant you can finish in one sitting, and a page worth keeping.
So: one object, one gap, pencil. Start with the object that already has a hole in it.
Step 1 — Pick an object that already has a hole in it
Not every object suits this. You want one with a real opening in it, somewhere light comes through.
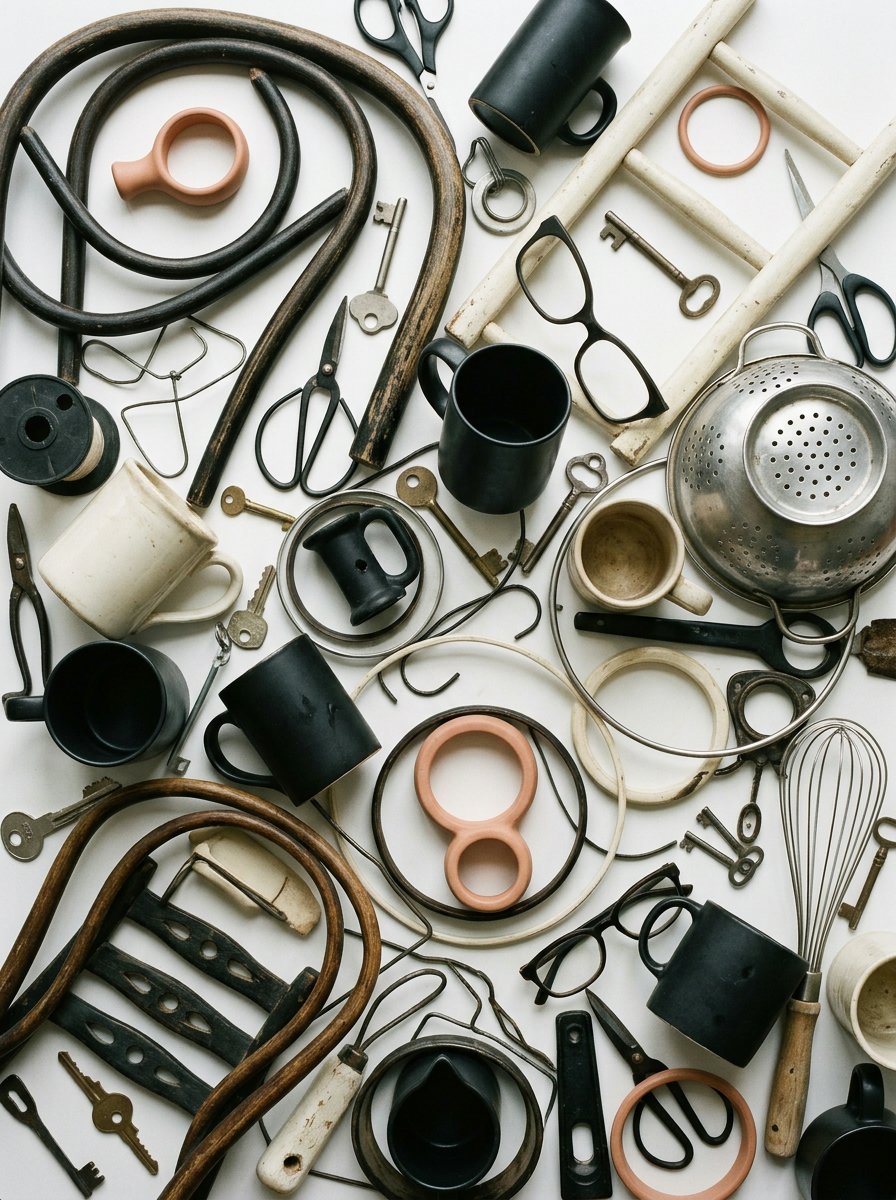
A mug handle. A chair back. A pair of scissors. The space under a lamp arm.
Do this: put the object on a plain surface and turn it until you can see through it. What you will see is one clear shape of table, framed by the object.
If you cannot find that shape, the object is solid. Turn it, or pick another one.
(I spent an evening trying this on a pebble. The pebble won.)
Avoid a fussy outline on your first go. A key looks promising and is a trap. The gaps are tiny and your pen is not.
Avoid anything perfectly symmetrical too. A symmetrical gap lets you guess the second half, and guessing is the habit we are here to break.
Step 2 — Negative space drawing starts when you stop naming the object
Here is the part beginners abandon, usually in the first four minutes.
You look at the gap. Your head says “that is the bit inside a handle”. And immediately your hand draws a neat oval, because that is what handles have.
It is wider at the bottom, or it leans, or one side is nearly straight.
The gap is almost never a neat oval.
Do this: look only at the gap and describe it to yourself as a country. Wide at the base, a headland on the left, a nick at the top.
What you will see is a shape you would never have guessed. If your drawing came out symmetrical, you named it and drew the name.
Arthur Wesley Dow spent his career on exactly this. His book Composition came out in 1899.
Its chapters are not “how to draw a tree”. They are headed “Notan of Line” and “Notan of Two Tones”.
Notan means dark and light. Dow taught students to see a picture as flat areas of dark against flat areas of light. Objects were only allowed in afterwards.
His instruction for the exercises is plainly written: “Copy exactly — as nearly as can be done by the eye, without measurement.”
He ran a summer school at Ipswich from 1900 and later taught at a New York teachers college. Georgia O’Keeffe sat in those classes.
I find that steadying. The shape-first habit was taught to somebody whose flowers you would recognise across a room.
Step 3 — Start with the gap that touches the edge of the paper
Most gaps are closed on all sides. One or two are not, and those are the ones to draw first.
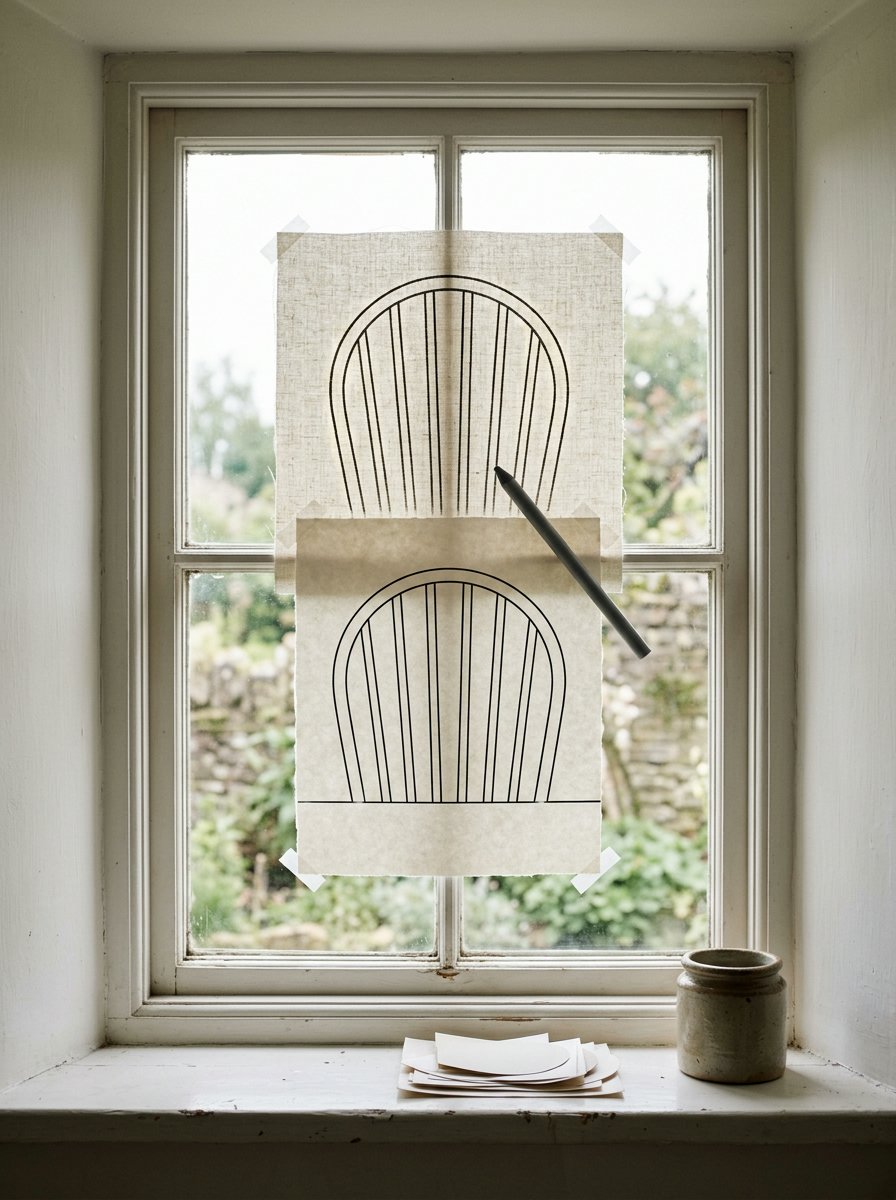
Look at a chair back. The shape between the top rail and the first slat is closed. The shape beside the outer rail runs off the page.
Do this: draw the open one first and let the edge of the paper finish it. You only have to draw three sides.
What you will see is that the paper is now doing work for you. The drawing is anchored. Nothing floats in the middle of a white field.
If it looks wrong, you probably closed the shape yourself with a fourth line. Rub that line out. Let it run off.
(I drew that fourth line for months. It is the visual equivalent of tidying up before the cleaner arrives.)
Negative space drawing gets easier the moment you let the paper help. Move the object nearer the edge if nothing is running off it.
Step 4 — Work around the object, one gap at a time
Now the rhythm. You are not drawing an object with gaps in it. You are drawing a chain of gaps that happen to share edges.
Do this: draw the next gap so it shares a border with the one you just finished. Never skip across the object to a gap on the far side.
What you will see is the shared edges keeping each other honest. A wrong line shows up at once, because the next gap will not fit beside it.
If the gaps stop fitting, check the last one you drew. It is almost always the last one, not the first.
(I skipped to the far side once to do “the easy bit”. The two halves met in the middle and disagreed by about a centimetre.)
Do not measure. The point of this exercise is that you have removed the thing you would have measured against.
A gap that shares two edges with gaps you already drew is nearly impossible to get wrong. That is why the middle gets easier, not harder.
Step 5 — Ink the gaps solid and let the object arrive
This is the payoff and it takes under a minute.
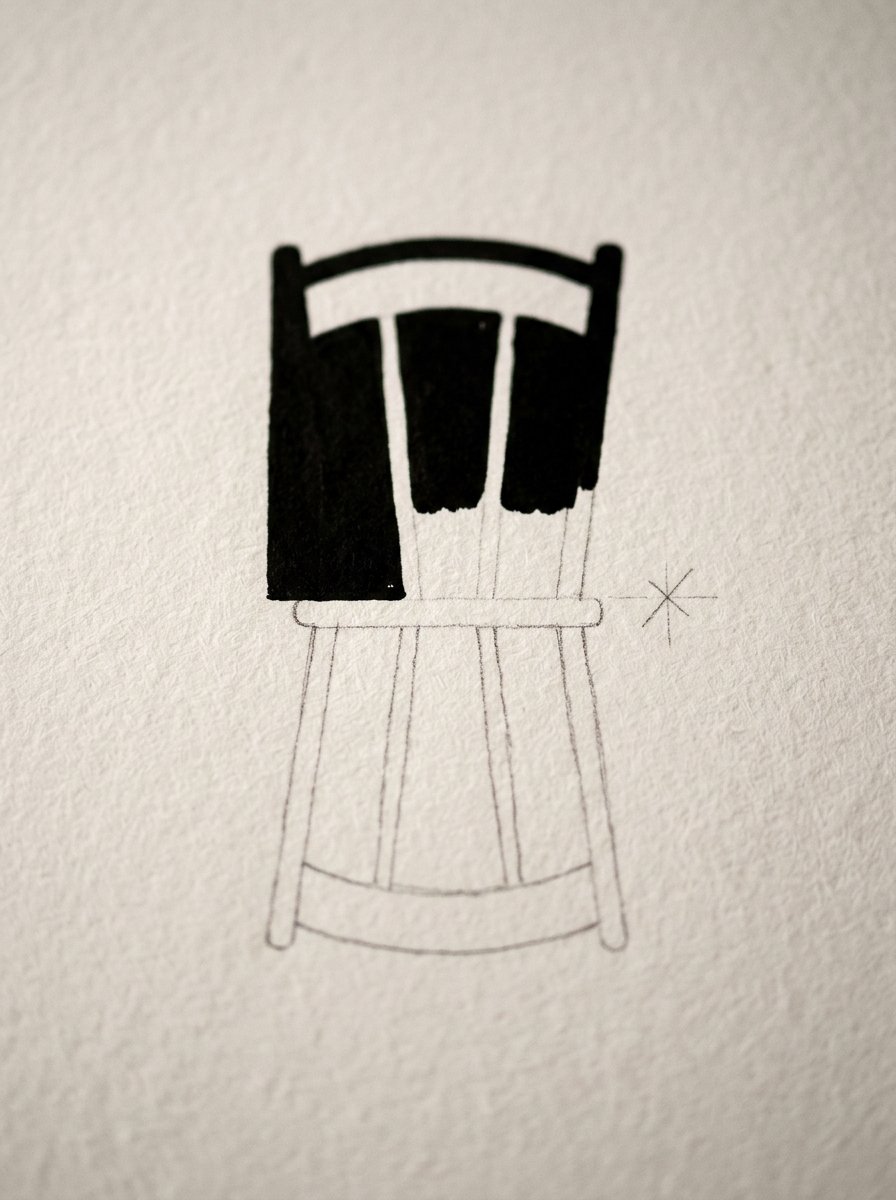
Do this: fill every gap with solid ink and put nothing at all on the object.
What you will see is a chair. You did not draw a chair.
You drew four or 5 odd shapes and the chair assembled itself between them.
If it does not read, one gap is too small. Widen it slightly and look again from across the room.
(The first time this worked I sat back so fast I knocked over the water jar. The chair was excellent. The table was not.)
Solid ink is worth the commitment. Hatching hedges the shape, and the eye keeps hunting for an outline that is not coming.
This is where negative space drawing stops being a theory. Up to here it is an idea. After the ink goes down it is a picture.
Step 6 — Negative space drawing on a chair, a plant and two stems
Three variants, in the order they get harder.
The chair is the easy one, because its gaps are big and mostly straight. Ink them and stop.
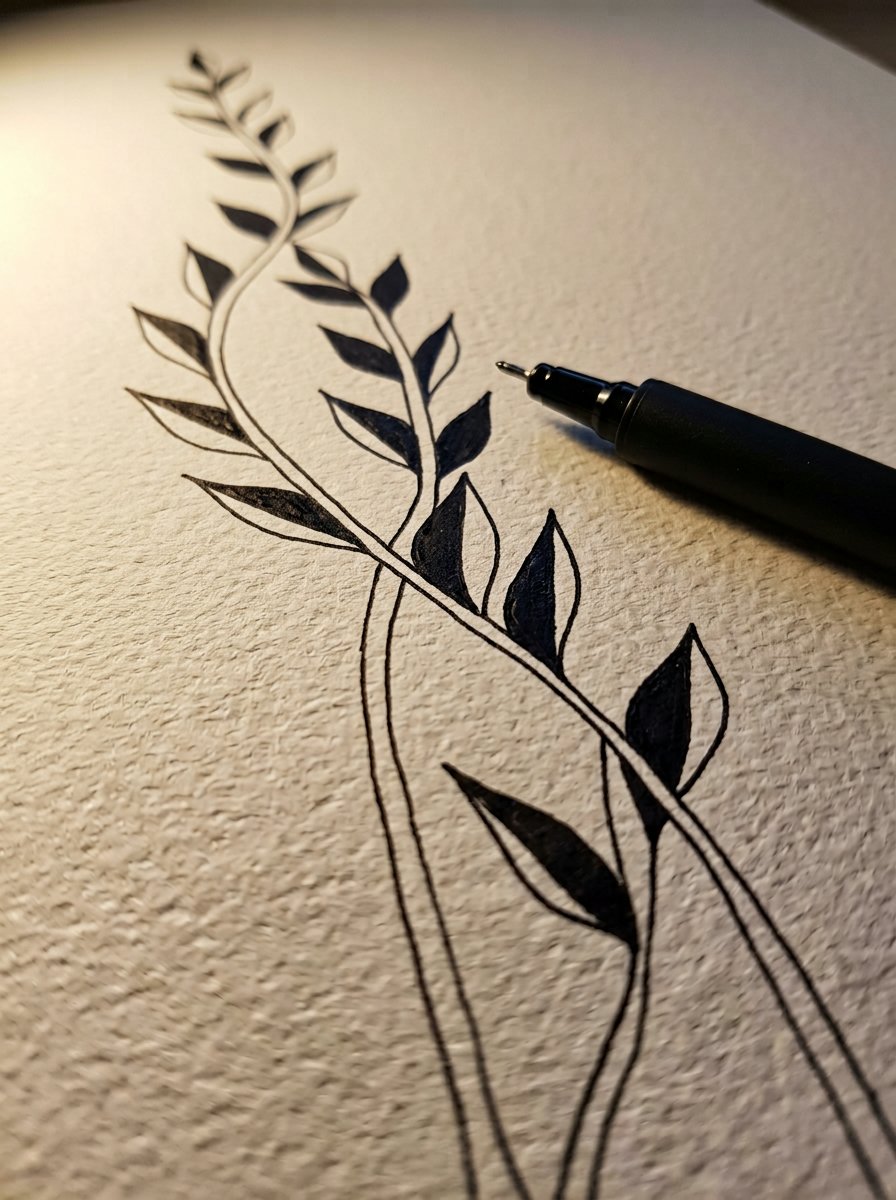
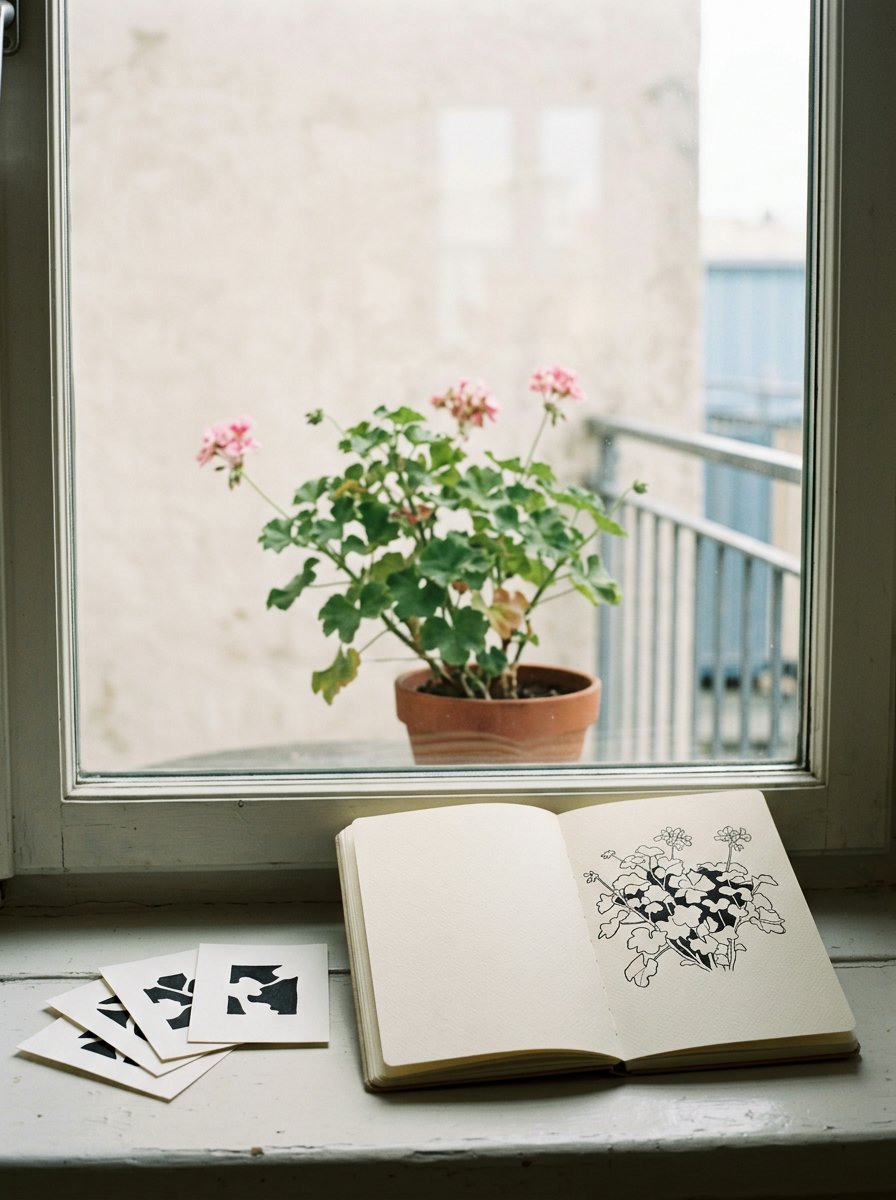
A plant in a pot is the middle one. Its gaps are the pieces of wall you can see between leaves. They are small, awkward and beautifully specific.
Do this on a plant: ink only the four largest wall-shapes and leave the rest. What you will see is a plant that reads at a glance from very little ink.
A tree canopy is this same exercise at a much bigger scale. How to draw trees takes that one on its own.
The hardest is two stems crossing. There is one gap where they meet, and it is a thin triangle.
That triangle decides everything. It says whether the stems are touching, or passing one behind the other.
If your stems look welded, the triangle is too small. Open it a fraction and they separate.
Ruth Asawa built a whole body of work out of this idea. She looped wire into hanging forms that are shape and hole at once.
She was blunt about why. She wanted “the economy of a line, making something in space, enclosing it without blocking it out”.
Her teacher noticed she had started using wire as a way of drawing in space. Her drawing practice got its own exhibition, Ruth Asawa Through Line, in 2023.
Enclosing without blocking is the plant exercise exactly. I think about that phrase every time I am tempted to fill a leaf in.
Step 7 — Where negative space drawing goes wrong
Two failures, and I have shipped both.
The first is inking every gap. The page goes black, the object drowns, and you cannot tell what you were looking at.
Pick the largest four and leave the small ones as paper. Contrast is what makes the object appear, and contrast needs something left unfilled.
The second is drifting back into outlines. Halfway down the page your hand quietly starts drawing the object again. That is what it has always done.
The tell is a line that borders nothing.
A real gap edge always has ink on one side of it.
If you find one, do not erase the whole thing. Ink the gap that line was supposed to belong to and carry on.
(I have a drawing where the top half is gaps and the bottom half is a perfectly ordinary chair. I keep it where I can see it.)
Free Starter Pack
Negative space drawing leaves you a page of empty shapes: get 10 free pattern templates, sent tonight.
Stripes, checks and dots. Drop one into a gap you have just drawn, instead of inking it flat.
Unsubscribe in 1 click, no hard feelings
What does negative space actually mean in a drawing?
It means the shapes around and through an object, rather than the object.
The table seen through a handle is negative space. So is the wall between two leaves, and the triangle where two stems cross.
The useful part is not the definition. It is that those shapes have no names, so your memory has nothing to substitute in.
I would go further. Negative space drawing is simply the part of the picture you have not yet decided to ignore.
That is also why it works on things you think you cannot draw. Your hand has no stored version of an unnamed shape.
What is the difference between positive space and negative space drawing?
Positive space is the object. Negative space is everything the object is not.
Drawing the positive shape means drawing a mug, and your hand knows what mugs look like. Drawing the negative shape means drawing an unnamed lump of table.
The second one is harder to start and far more accurate. Most drawing courses run both, and this is the one they run second.
(Try it on your own hand. Draw the gaps between the fingers. It is unnerving how well it works.)
When the gaps are done you will want somewhere to put all that new accuracy. Plants are the obvious next thing, because they are nothing but gaps with stems holding them apart.
Every gap you ink wants a plant worth holding it open
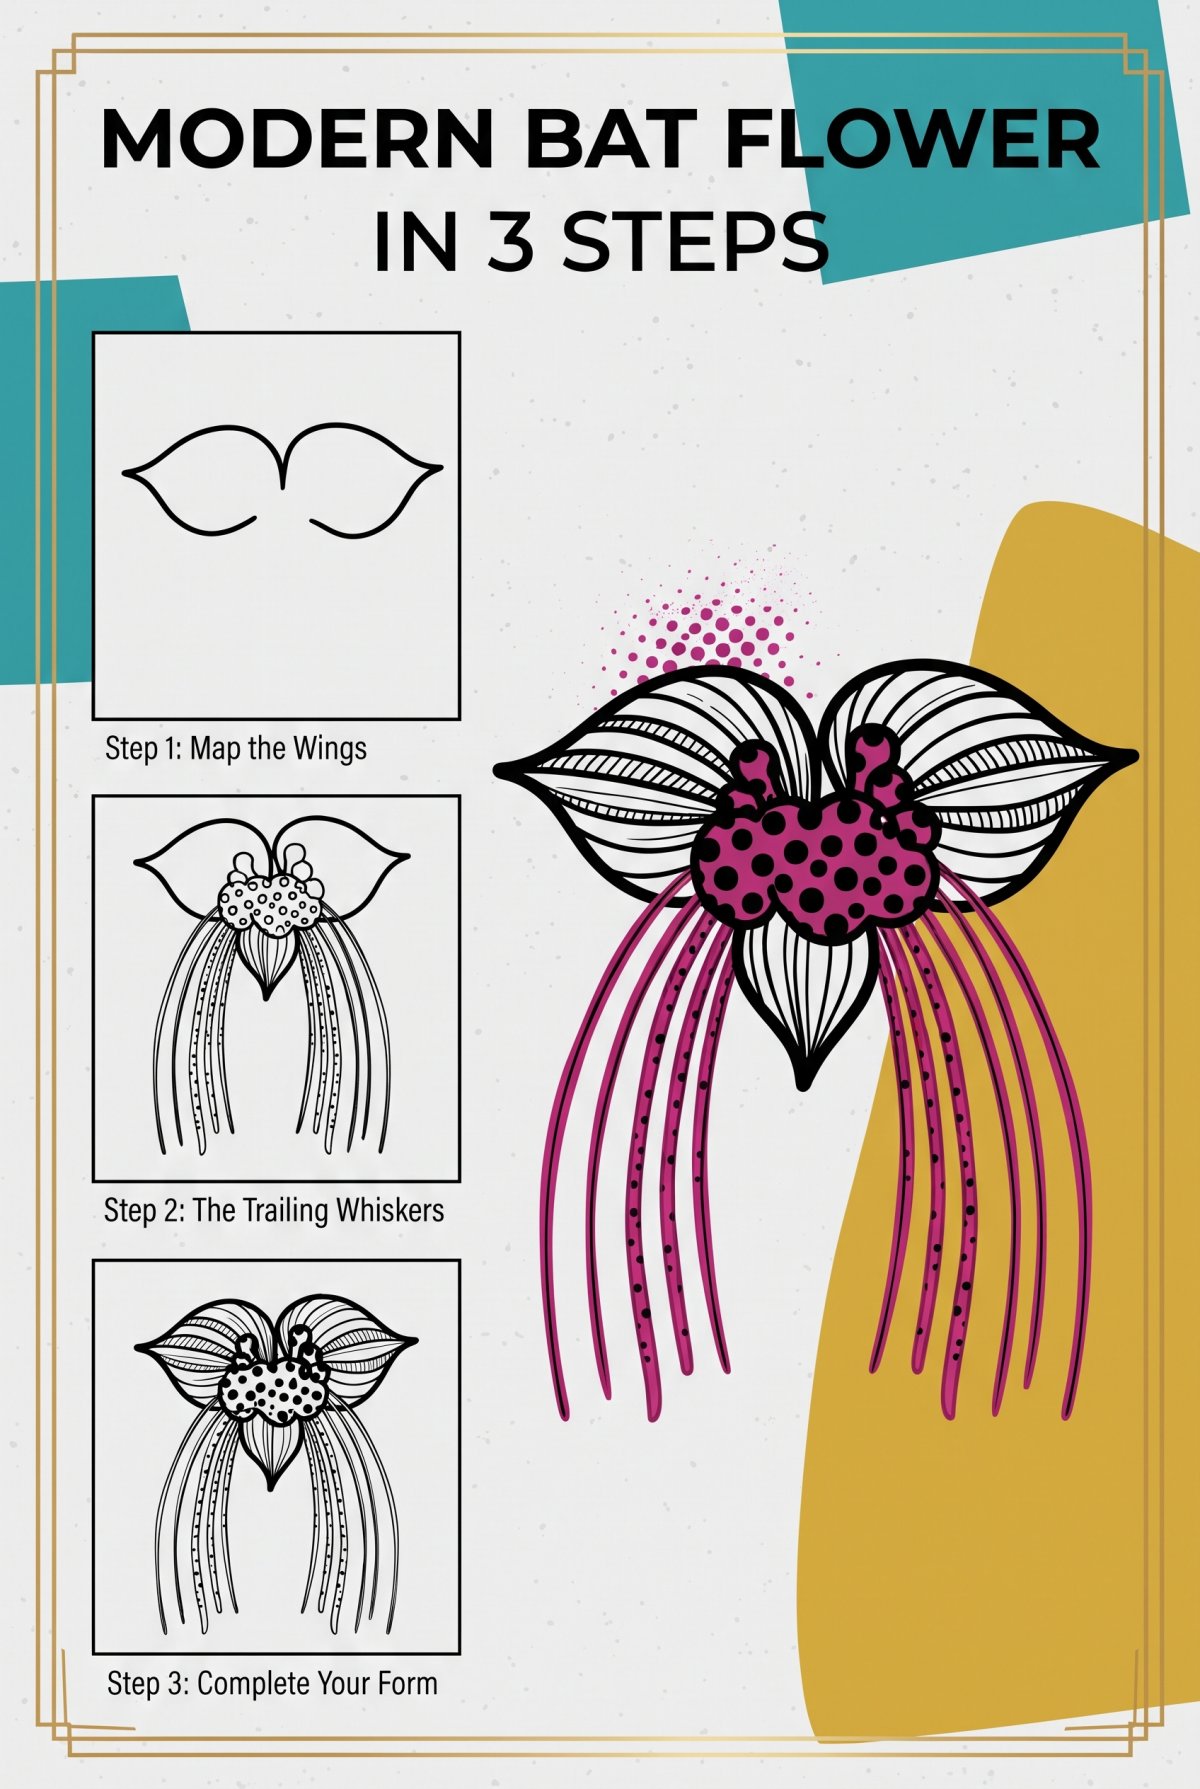
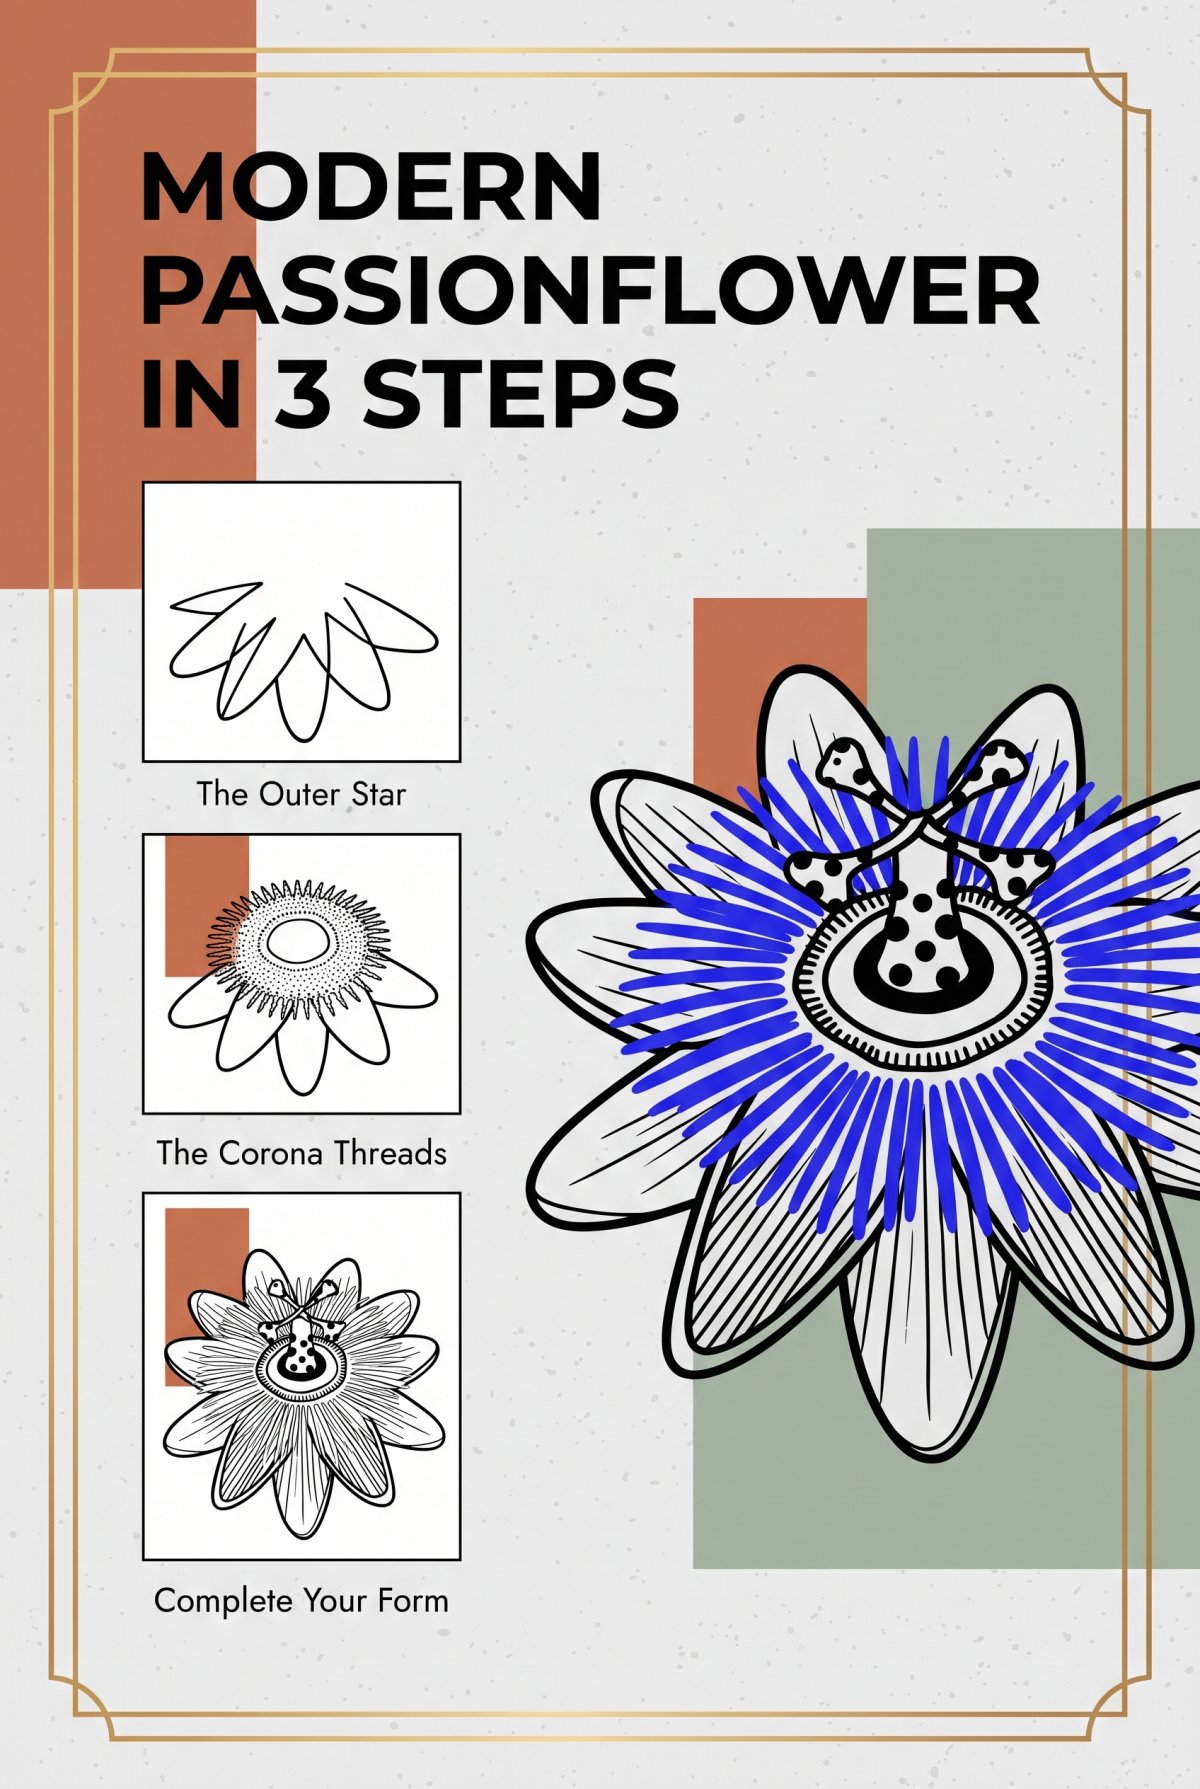
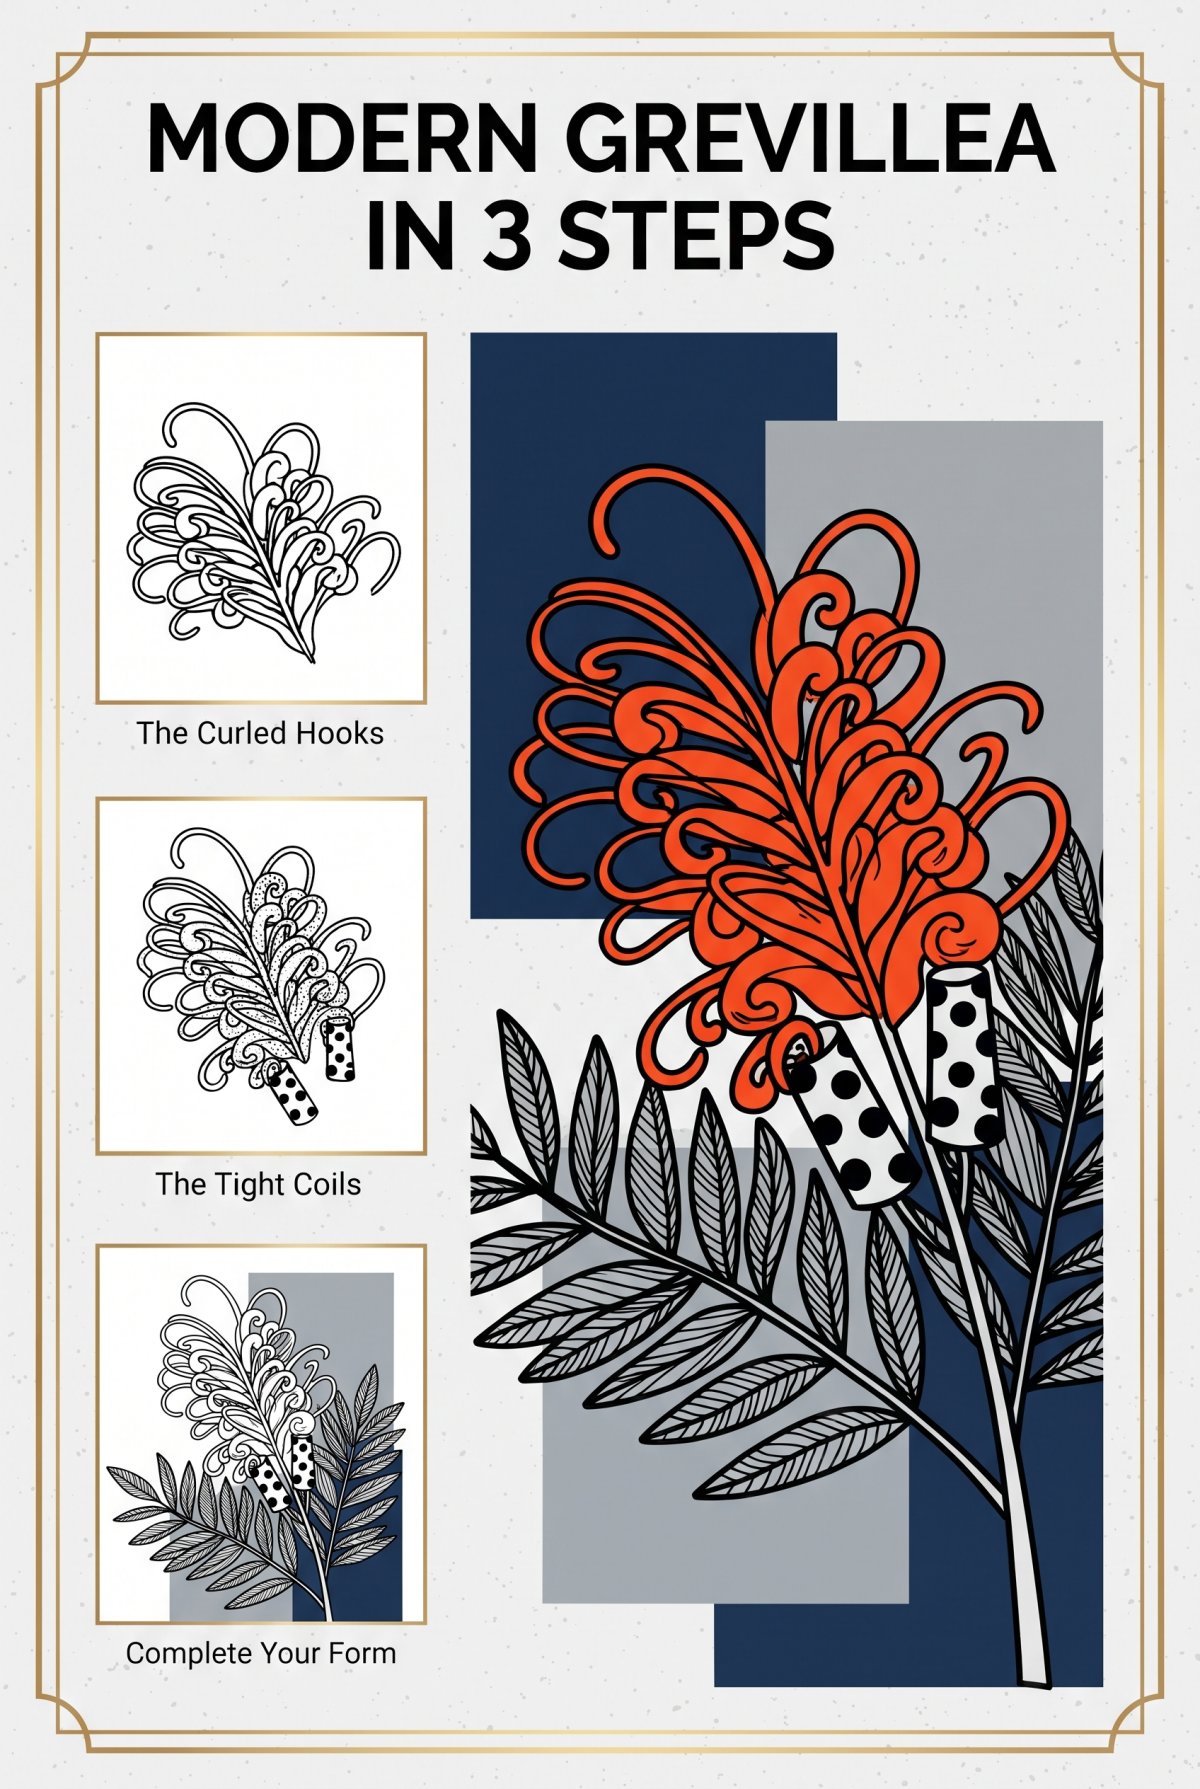
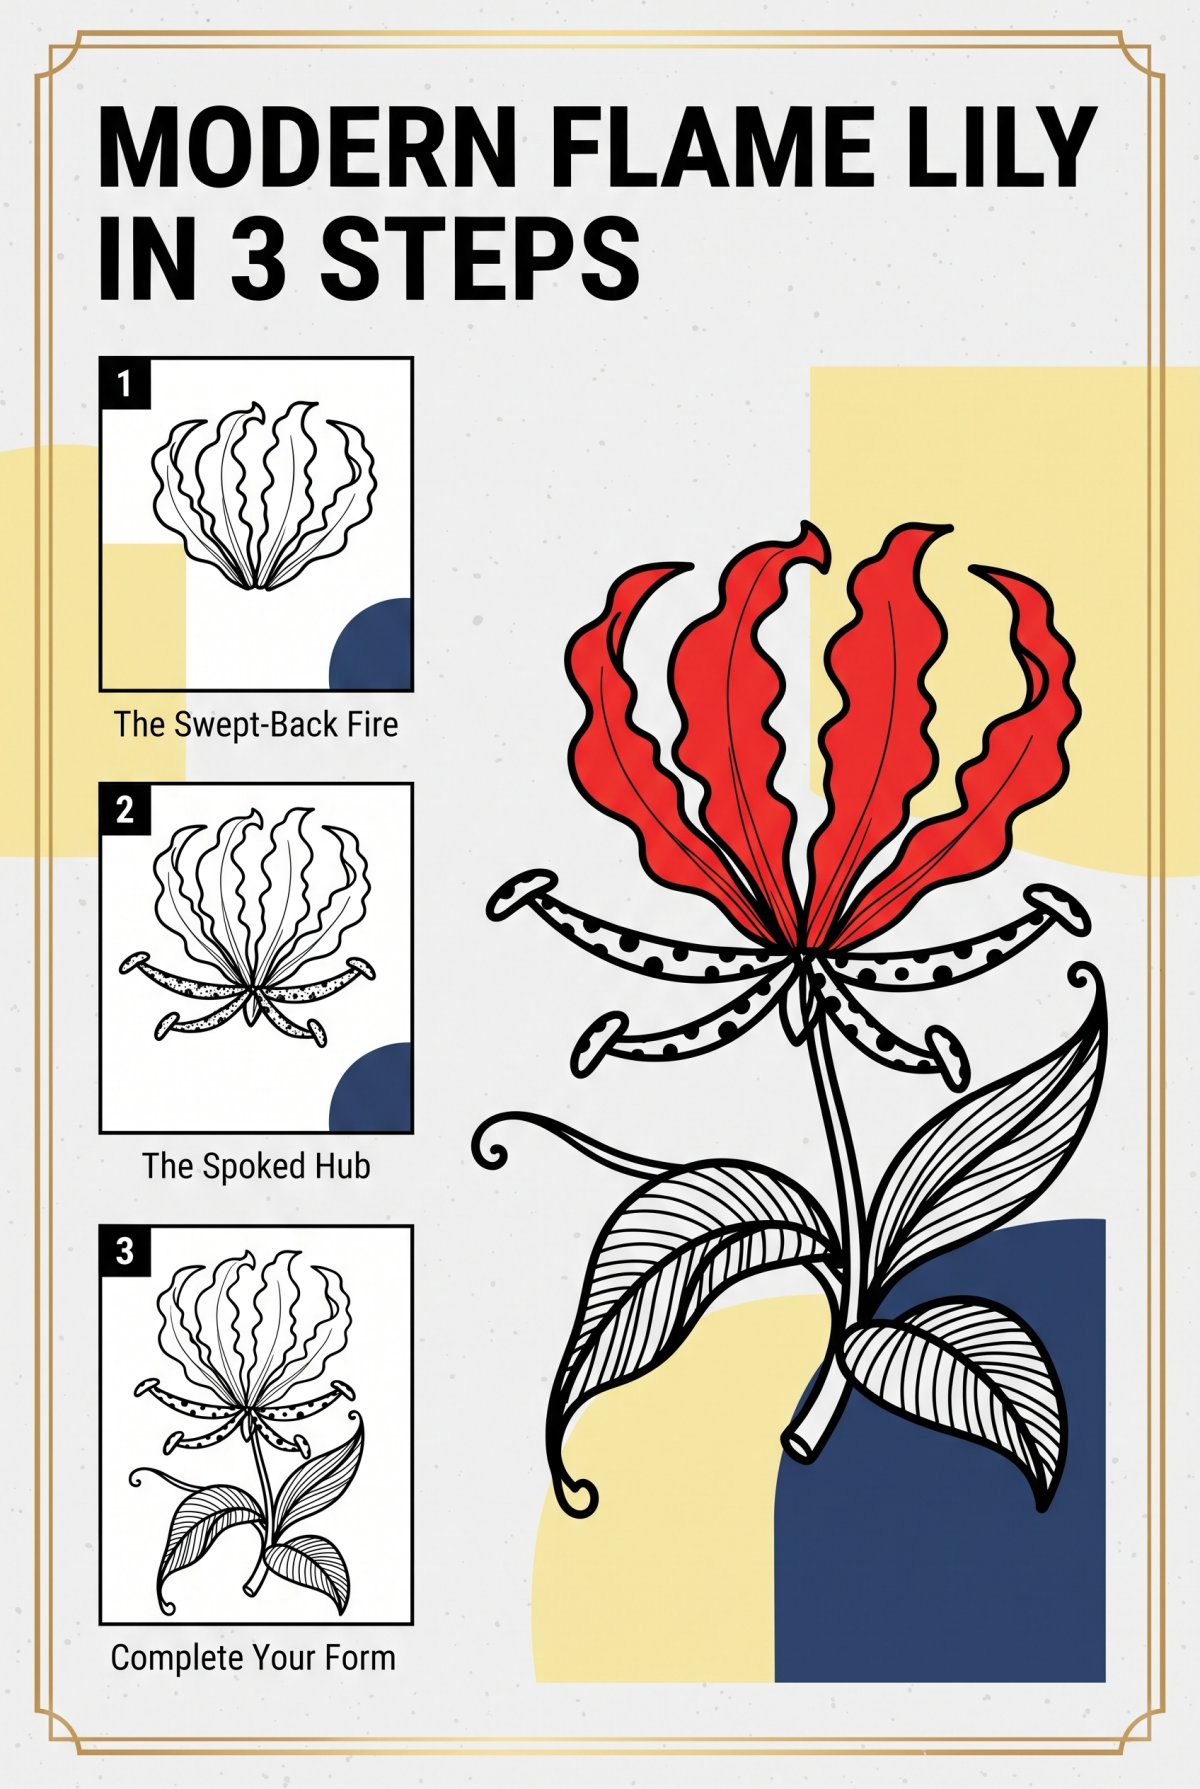
Draw the gaps tonight, then give your eye something harder to hold open. Do one worksheet an evening. By the weekend you have 4 plants and a steadier eye. Inside: 32 botanical worksheets, every one built in 3 steps.
Instant download · print as often as you like
The room is full of shapes nobody has ever drawn. They are the ones with nothing in them, waiting quietly at the edge of every ordinary object in the house.
“It can only be done with a line, because a line can go anywhere.”
Ruth Asawa
Mirabelle wrote this. No training, strong opinions, many pens. Peer reviewed by a cat who filled the one gap I was measuring.