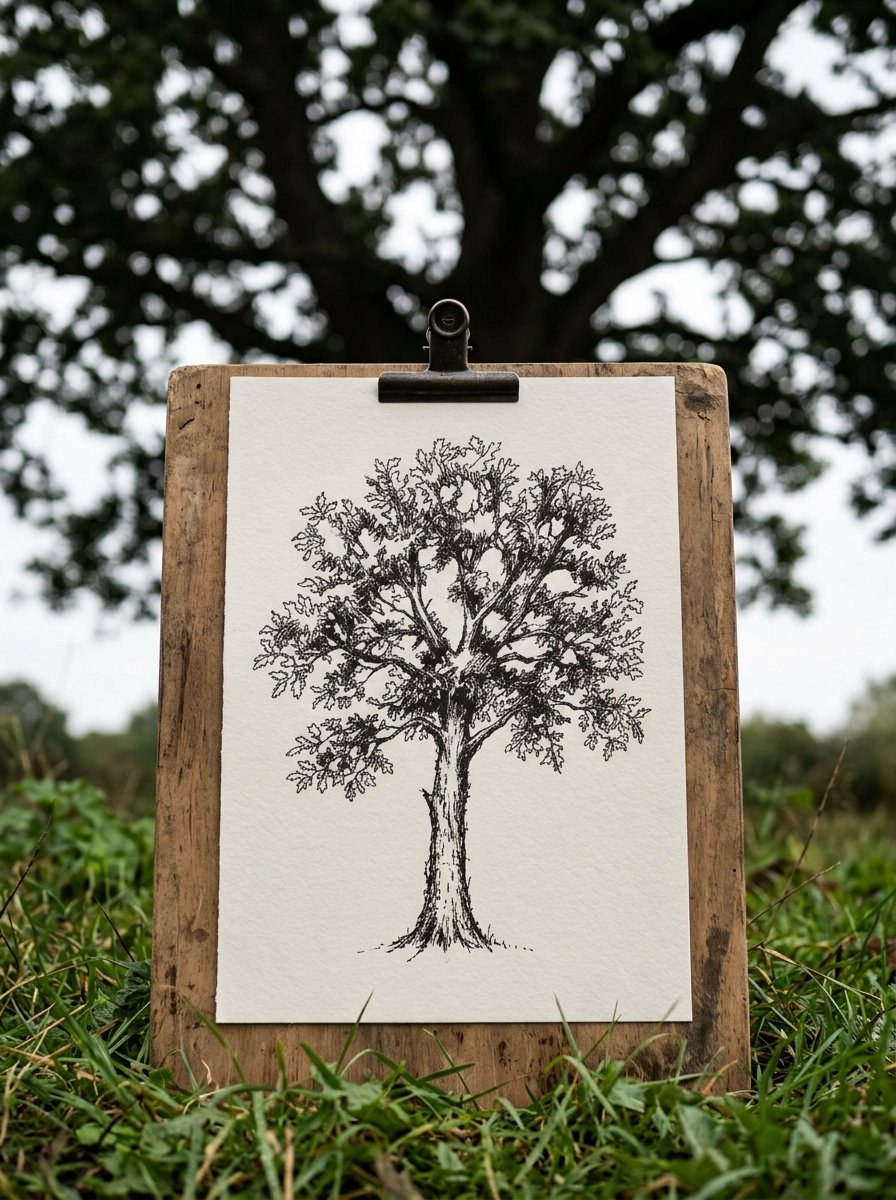
A tree seen from across a field is not leaves at all. It is a dark mass with bright holes punched through it. Those holes are most of how to draw trees.
Hardly anyone says that part out loud.
So you are not drawing leaves tonight. You are drawing the gaps the light comes through.
Below are 21 trees, the mark each one needs, and the order that stops a canopy going solid.
(Mine went solid for a year. I blamed the pen.)
Download the free foliage and gap sheet →
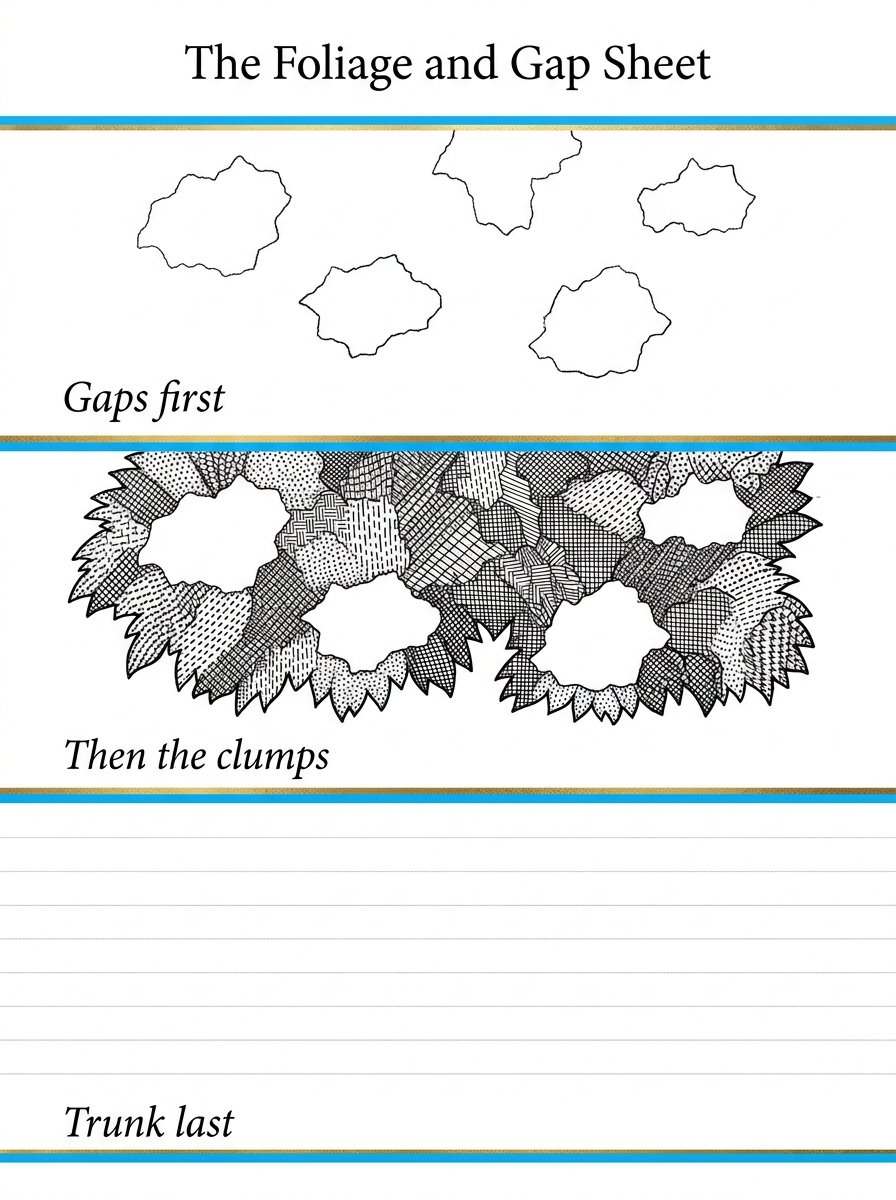
Print it at actual size. Choose actual size, not fit to page. (Left to itself a printer will quietly resize the sheet. Refuse the offer.)
The sheet runs in 3 bands. The top band is gaps only. The middle band is clumps drawn around those gaps. The bottom band is bare, for your own.
Work down it in that order. The order is the lesson, not the shapes.
Band 1 looks like nothing at all. That is the point of it. You are drawing air, and air turns out to have a shape.
Do band 1 twice before you draw a single clump. The hand learns the sizes, and the sizes are the hard part.
(I skipped it on the first evening and went straight to the clumps. I produced a hedge.)
Band 2 is where the edge arrives. Pick one edge and keep it for the whole tree.
Band 3 carries no drawing at all. It is there so you stop reading and start.
Keep the sheet after tonight. It works as a warm-up on any evening the pen feels stiff.
A tree will not hold still for any of this. The wind moves it and the light leaves, usually at the moment you commit to a shape. That is the one argument for practising the same habit on something that stays put.
The Collection
By the time the light has gone you will want a subject that holds still.
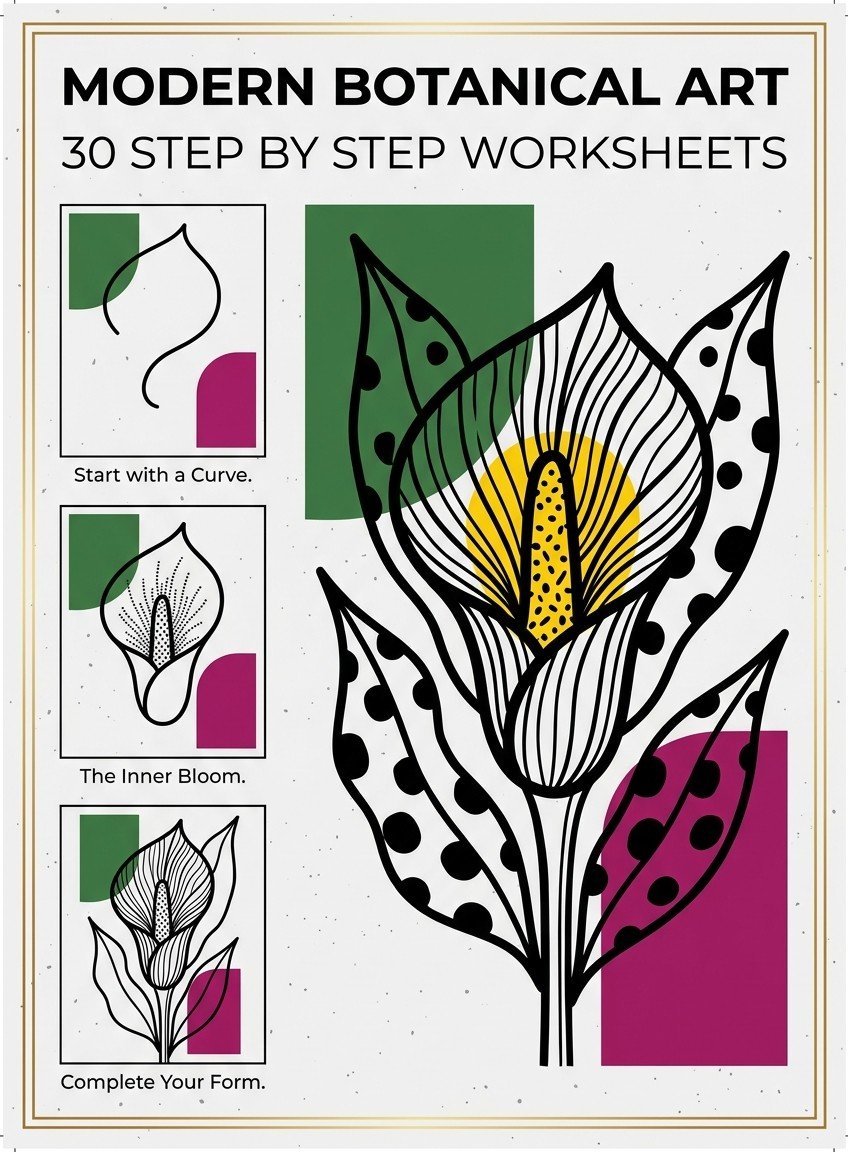
MODERN BOTANICAL ART — 32 worksheets of plants that stay where you put them. A tree moves in the wind and loses the light while you work. A plant on a worksheet does neither. (It also cannot be rained on, which I have come to value.) What you get: 32 sheets in 3 steps each, shape first and detail after.
Back to the tree. Here is the claim that makes a canopy go solid, and what to do instead.
Most advice on how to draw trees starts at the leaf, and that is the wrong end
Here is the claim you have probably absorbed. A tree is made of leaves. So a drawing of a tree is made of drawn leaves.
It sounds obvious. It is also the reason most first attempts go wrong.
Draw leaf after leaf and 2 things happen. The marks crowd together. The canopy turns into a grey blanket.
I did this for a long time and got slower at it, not better. (The leaves were excellent. The tree was a bush with ambitions.)
The eye does not read a canopy leaf by leaf. It reads it as one shape with light behind it.
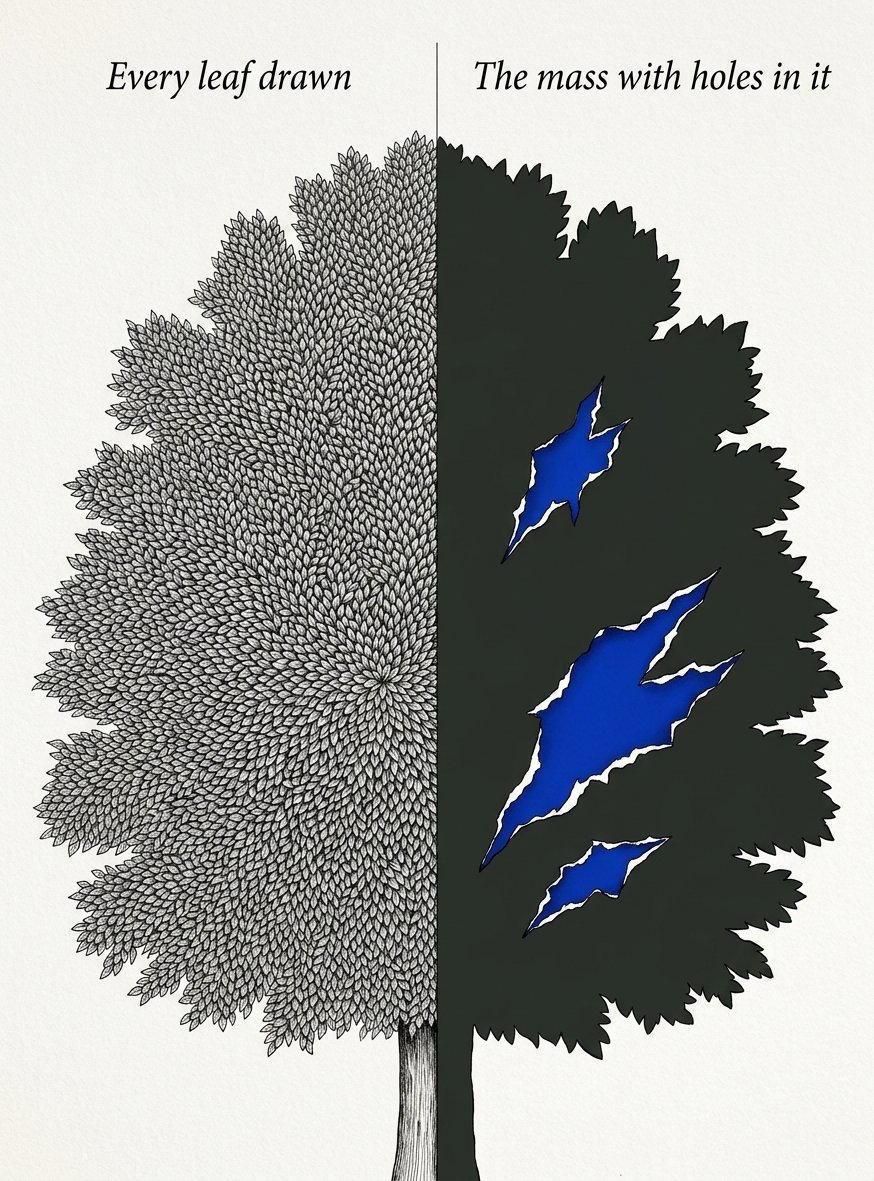
The same canopy, twice. On the left every leaf is drawn and the shape closes up. On the right the mass is solid and the holes do the work.
The drawings that worked never counted a leaf
Go and look at a tree drawing that has lasted. You will not find a leaf count in it.
Jacob van Ruisdael drew trees in black chalk in the late 1640s. The Harvard Art Museums hold one, called Trees and a Cottage at the Edge of a Road. It dates from about 1648.
The curators describe the thing that matters. He outlined foliage with saw-tooth lines.
Not leaves. A toothed edge running round a clump.
Most painters of his day used trees as scenery. He drew them like portraits, species by species, and the canopies stay light.
He is also easy to read backwards. Look at one of his oaks and you can name the species without being told.
That is not detail doing the work. It is the outline of the mass, and the size of the holes in it.
(I find this enormously comforting at 9pm.)
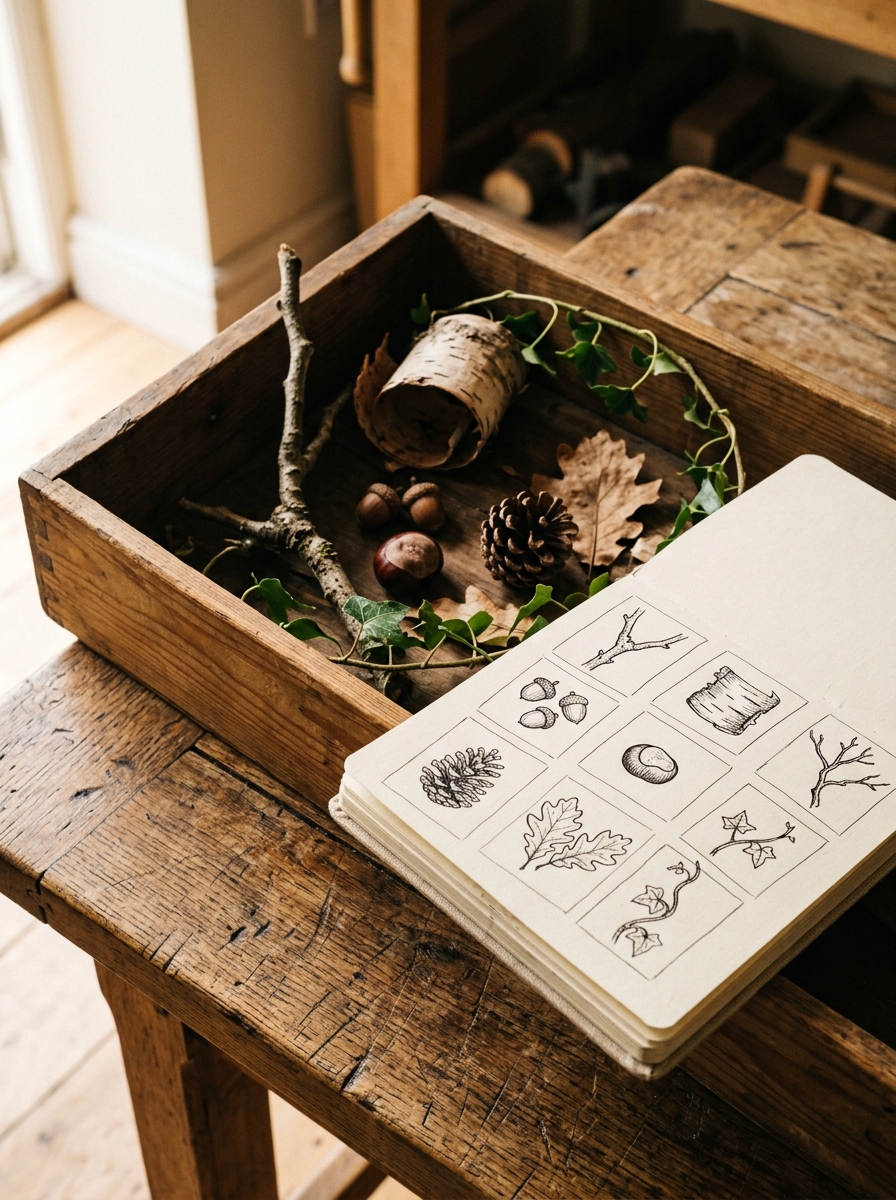
Gather first, draw second. Eight of these went onto the page and not one of them needed a leaf counted.
A canopy is a shape with holes in it
Here is the correction, and it is one sentence. A canopy is not a surface. It is a shape with holes in it.
Try it on the sheet. Draw 3 rough holes first, shaped like torn paper. Now draw a toothed edge around them.
You will see a canopy appear before you have drawn anything green at all.
The holes are called sky holes. They are the bits of sky the branches did not fill.
Make them different sizes. Even holes read as lace, and lace reads as wallpaper.
Push them toward the middle and the underside. That is where a real tree is thinnest, because that is where the light gets in.
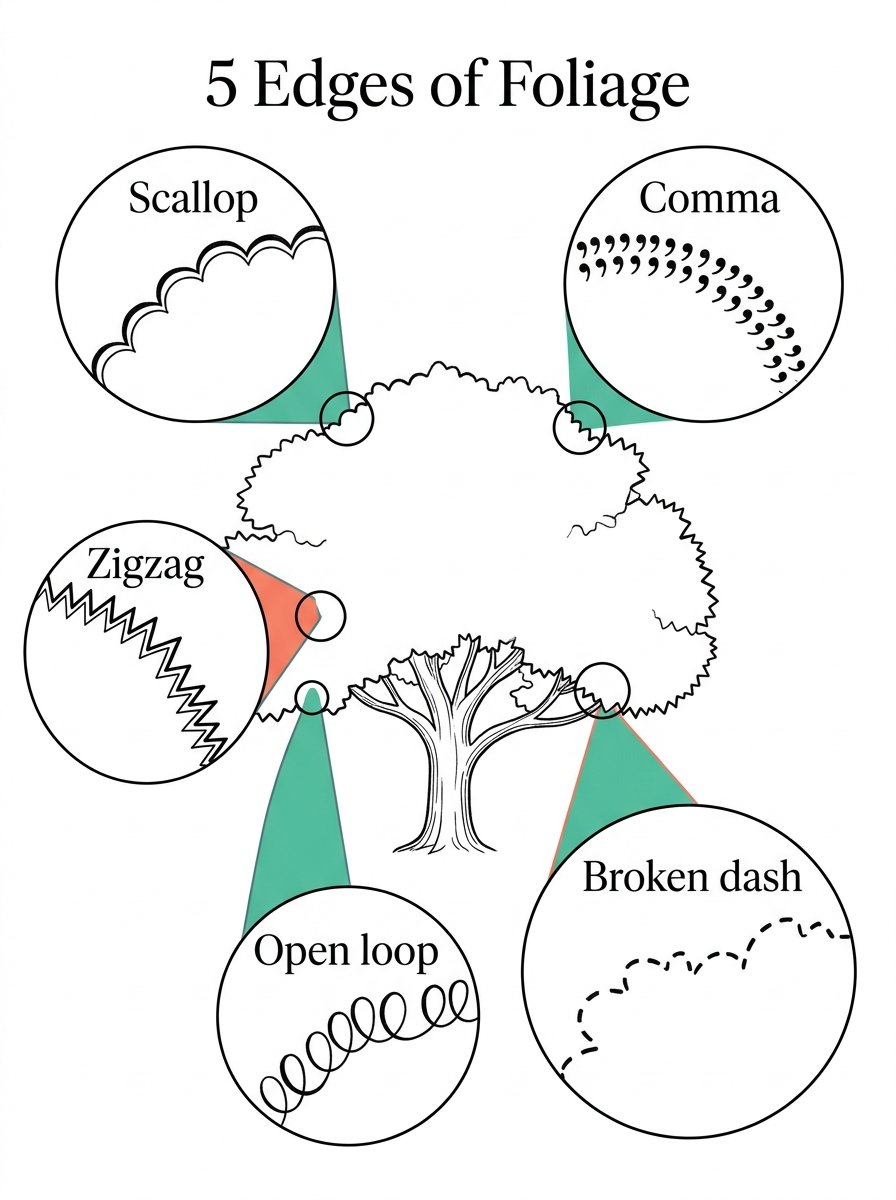
Any of these 5 edges will draw a clump. Pick one per tree and stay with it. (I switch edges halfway through and the tree comes out looking like 2 trees.)
The holes go in first, and that is the whole method for how to draw trees
Now the method, in the order the hand does it.
Mark the sky holes first, lightly. Draw 5 or 6, not 1, and vary them.
Then draw the clumps around them with a toothed line. Scallop, comma, zigzag, open loop, broken dash. Any of those 5 edges will do.
Fill the clumps, not the leaves. One pattern per clump is plenty, and the pattern can be anything your pen enjoys.
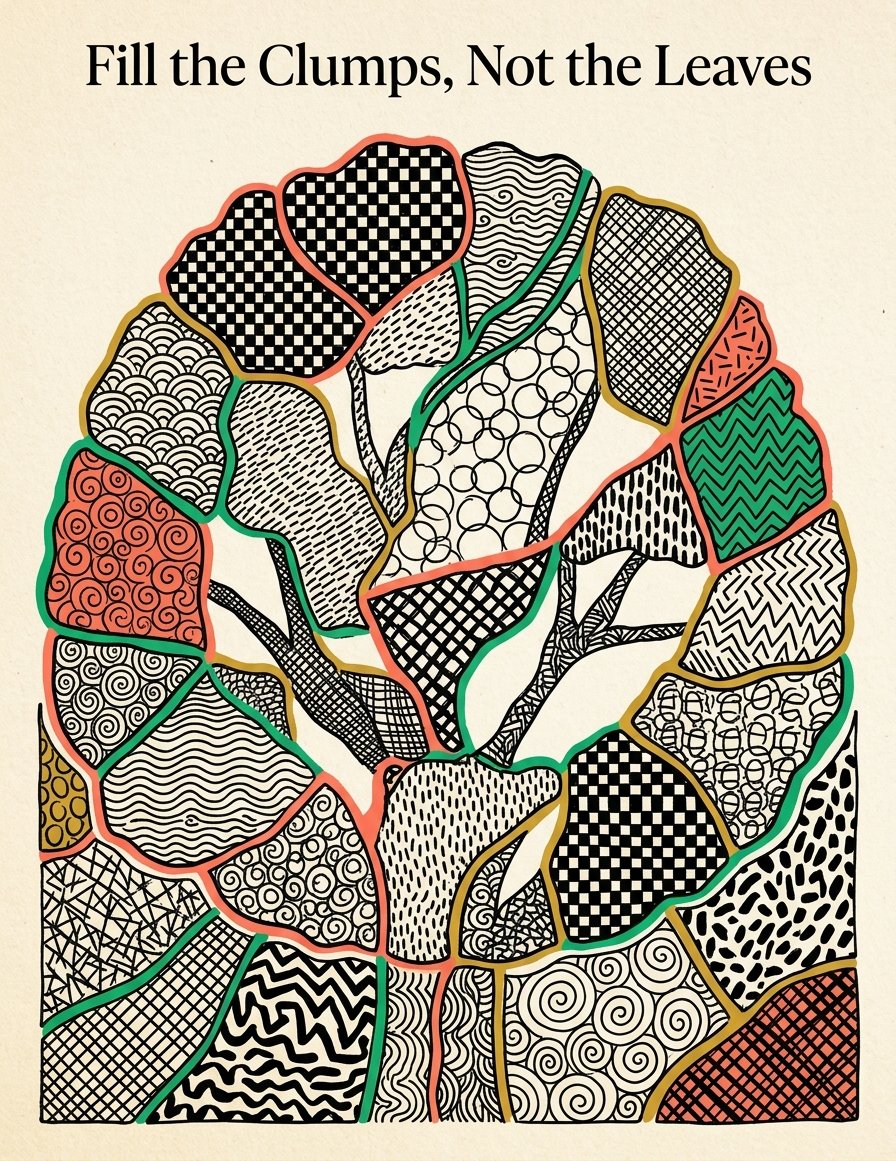
What you will see is a tree that already reads from across the room. What goes wrong is even pressure everywhere.
The fix is to darken one side only. Pick the side away from the light and press there.
Then stop. The drawing is usually finished long before you think it is.
(I have ruined more trees in the last 10 minutes of an evening than in the first 30.)
If it still goes solid, you did not make the holes big enough. Rub nothing out. Draw the same tree again beside it with holes twice the size.
That is the fastest lesson in how to draw trees, and it costs one sheet of paper.
Bark is a direction before it is a texture
Bark is where good drawings go muddy. The cure is to decide a direction before you make a mark.
Samuel Palmer worked this out at 19. He began a sketchbook in the summer of 1824 and walked the woods near where he was born.
The V&A holds a page from it, pen and ink, museum number E.3512-1928. The description of his bark is a list of marks.
He used fine vertical strokes, fat circular loops and tiny dots, all from one quill nib.
3 marks. One nib. Different pressures.
So bark is not a texture you copy. It is a direction you choose and repeat.
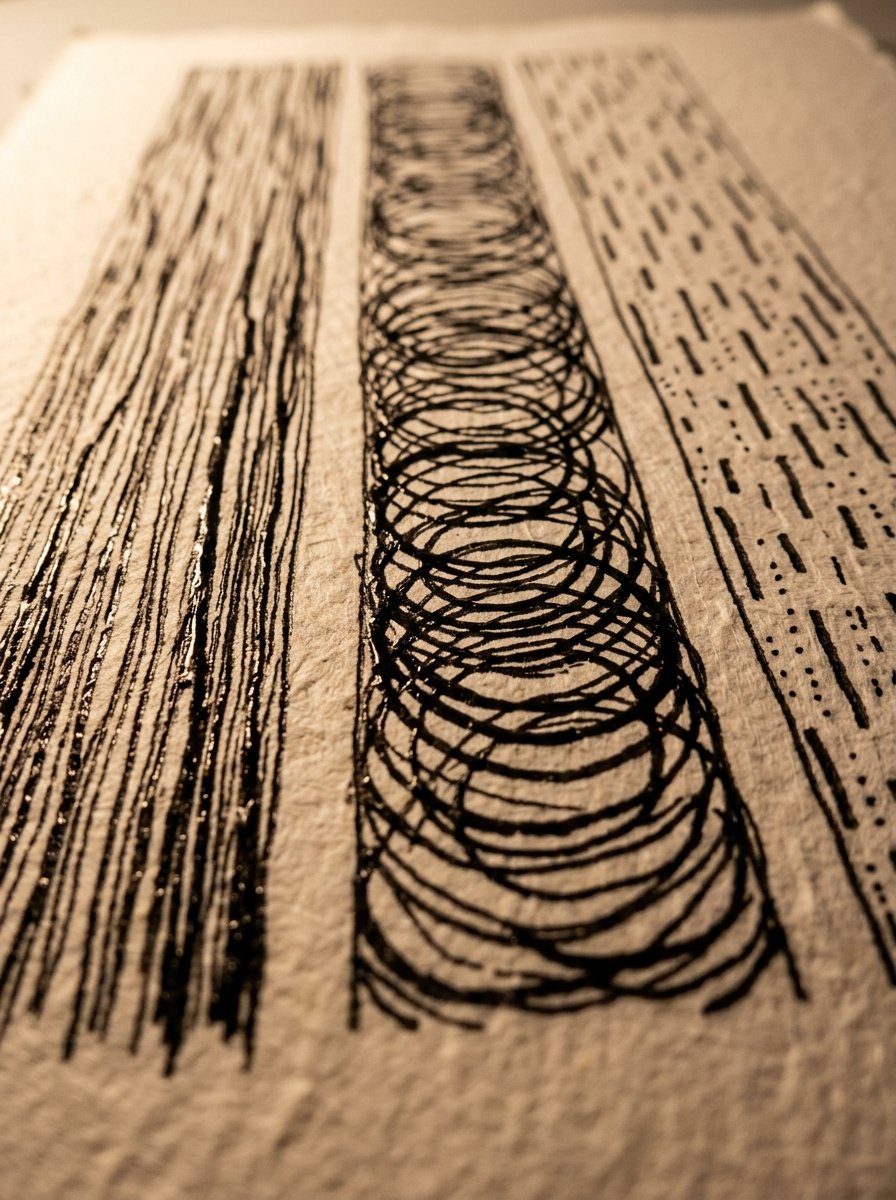
Run the marks along the trunk for pine. Run them around it for birch and cherry. Break them into short dashes for oak.
I get this wrong whenever I am tired, and the trunk comes out looking knitted.
Stop the bark before you reach the top. Texture belongs on the lower trunk, where you would touch it.
Above the first fork, let the line go plain. The eye fills in the rest and is grateful for the rest.
The trunk goes in last, and it goes in thin
The trunk is the part everyone draws first, and it is the part that should go in last.
Draw it first and the canopy has to be arranged around it. Draw it last and it grows into the gaps that are already there.
Arthur Rackham built his drawings in that order. He blocked the shapes in lightly with a soft pencil. Then he worked the lines in pen and India ink. Then he took the pencil away.
Rip Van Winkle in 1905 made his name. It is full of trees with faces in them. The decisions were all made before the ink arrived.
Decide in pencil. Confirm in ink.
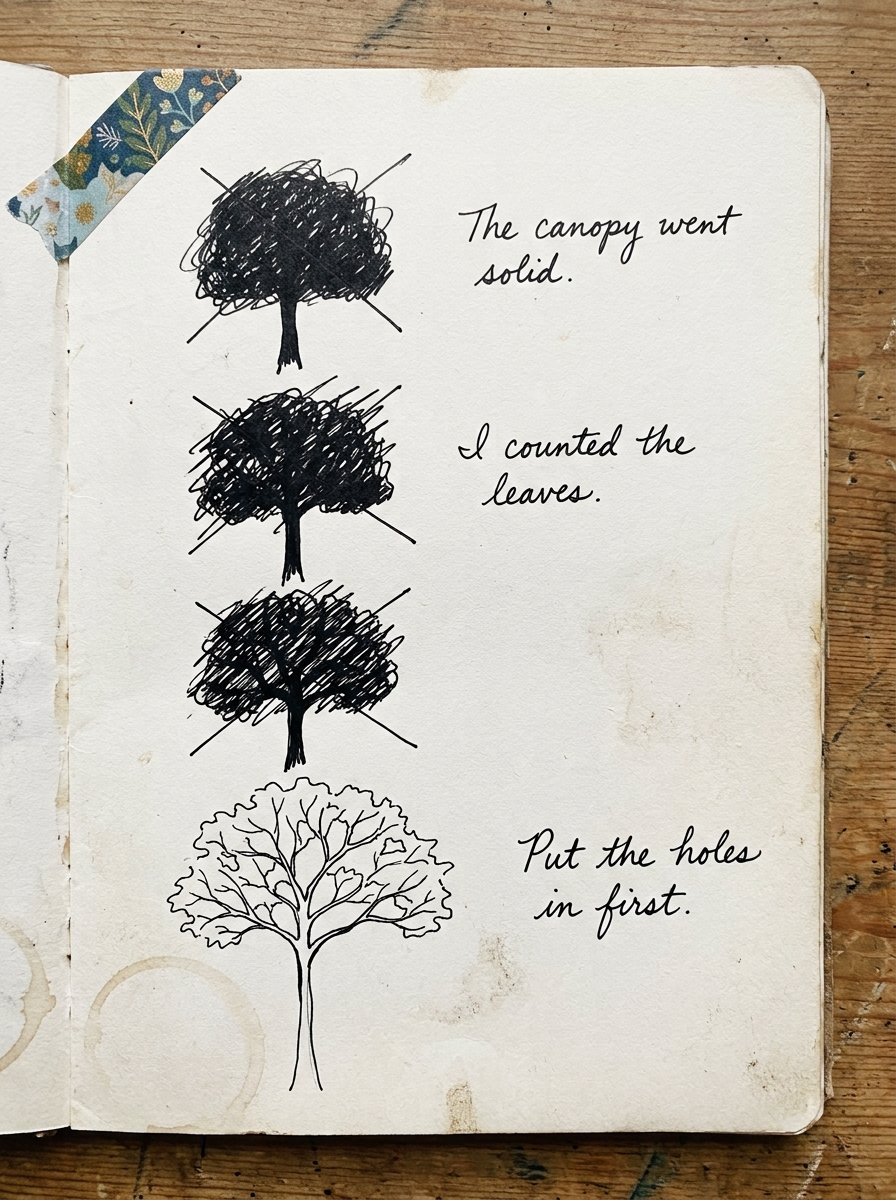
3 canopies I lost to counting leaves, and the one that worked. (I keep the page where I can see it, which tells you how often I need reminding.)
Keep the trunk thinner than feels right. A trunk tapers, and it loses roughly half its width by the first big fork.
Let 2 or 3 branches run up into the canopy and vanish behind a clump. A branch that stops in clean air looks amputated.
I still draw trunks too fat. I now draw them, look at them, and take a strip off.
21 trees, and what each one asks of the pen
Every tree here is a different problem. Work through them in any order.
Start with the broad ones. Oak wants a lumpy outline and wide gaps, because an oak is a cluster of separate clouds. Ash is the opposite and asks for an open, airy mass with the sky showing through everywhere. Beech has a smooth trunk, so put all your texture in the canopy and leave the bark almost bare. Sycamore takes a heavy, rounded crown and needs its holes pushed low.
Then the ones with a shape you can see from the road. Horse chestnut is a stack of domes, one above the other, and the gaps sit between the tiers. Lime grows a tall oval and wants vertical gaps rather than round ones. Elm rises and then spreads, so draw the spread first. Poplar is a narrow column, so the edge does all the work and the middle stays empty.
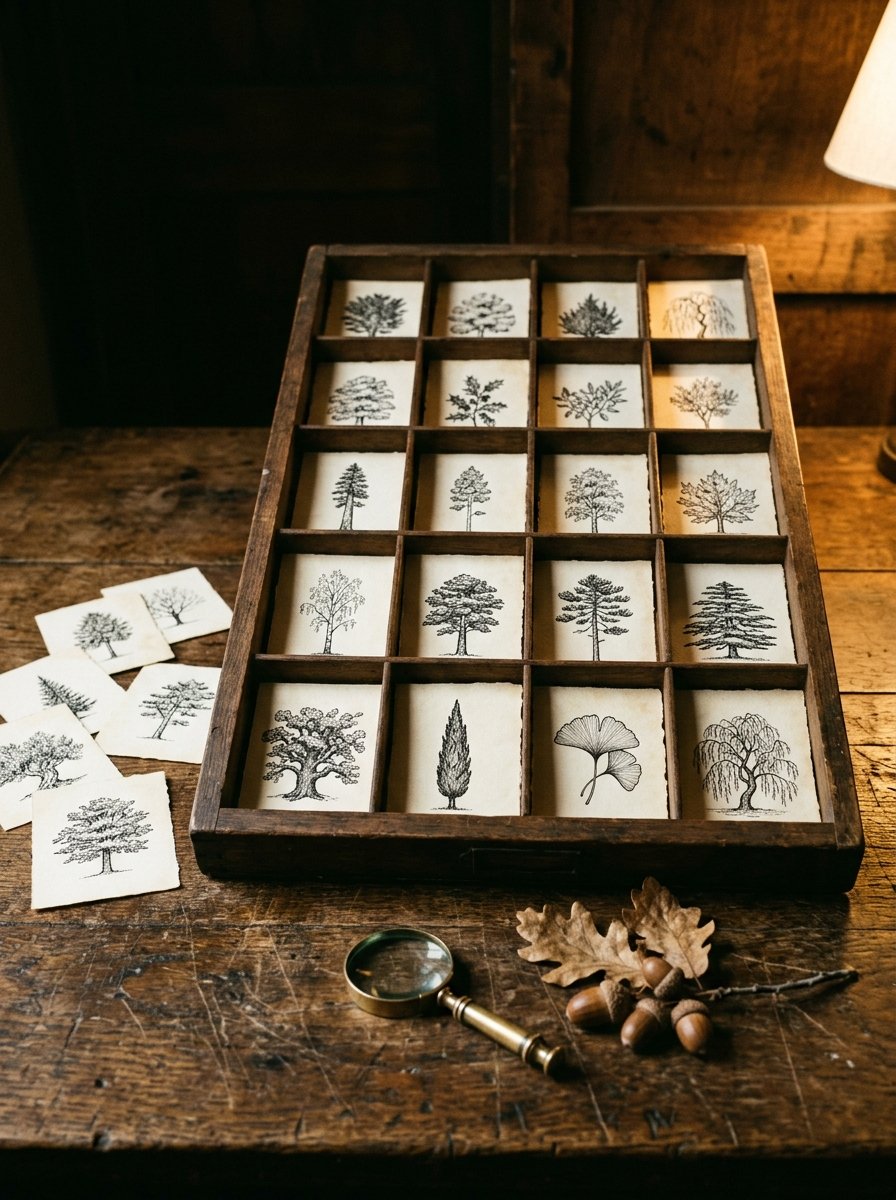
21 species, one to a compartment. Drawn small, at about the size of a stamp, because at that size you cannot fuss.
Now the small, useful ones. Hawthorn is a thicket, so the gaps are tiny and the edge is spiky. Rowan carries light feathery leaves and berry clusters that read as small solid dots. Hazel throws up many thin stems from the ground, so draw the stems and let the leaves be suggestion. Alder is stiff and upright with cones you can mark as commas.
Then the ones that hang or weep. Willow is drawn with long downward strokes, and the trick is to start each stroke at the top and lift. Birch needs its horizontal bark bands, and they must curve around the trunk or the trunk goes flat.
Then the dark ones, where the gaps matter most. Yew is almost solid, so 2 or 3 holes carry the whole drawing. Holly has shiny leaves, so leave small white flecks unfilled and do not draw every spine. Cedar spreads in flat layers, so draw horizontal slabs with air between them. Cypress is a narrow flame, and its edge should be softly ragged, never smooth.
Finish with the 3 that do not behave. Scots pine puts its crown high and flat, so leave the lower trunk clear and long. Olive has a twisted trunk and a light silver canopy, so put your ink in the trunk. Ginkgo has fan leaves that are worth drawing individually at the edges only, with a mass behind them.
That is 21. Draw each one small first. It is also the quickest way to find out which 3 you actually want to draw big.
Free Starter Pack
10 pattern templates for filling a canopy once the gaps are in.
Sent tonight. Small marks that still read as leaves from across the room.
Unsubscribe in 1 click, no hard feelings
Your free foliage sheet, and how to draw trees with it tonight
The sheet at the top of this page is the short version of all of it.
Band 1 is gaps only. Band 2 is clumps drawn around those gaps. Band 3 is empty, and that one is yours.
Print it at actual size. Do band 1 twice before you touch band 2. It feels like cheating and it is the fastest evening you will spend on this.
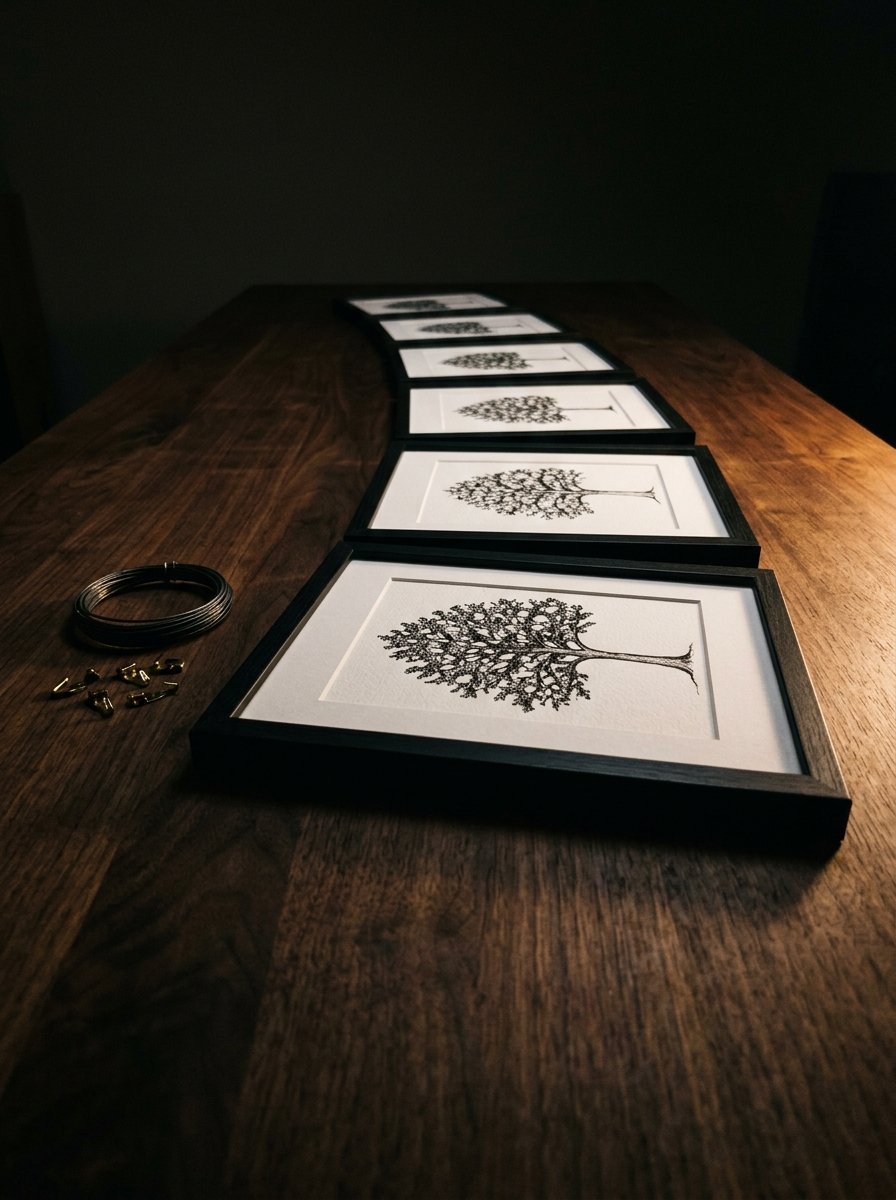
6 trees, same habit, different edges. Framed small and hung in a row, they read as a set rather than 6 attempts.
Then take it outside, or to a window, and find a real tree. Half close your eyes at it. The holes will show up before anything else does.
Draw those. The tree turns up on its own. If you want more subjects to practise the habit on, the nature sketching guide starts in the same place.
That is the whole of how to draw trees, held in one habit. Gaps, then clumps, then the trunk.
(I have tried to find a shorter way to say it for a year. This is the shortest way to say it.)
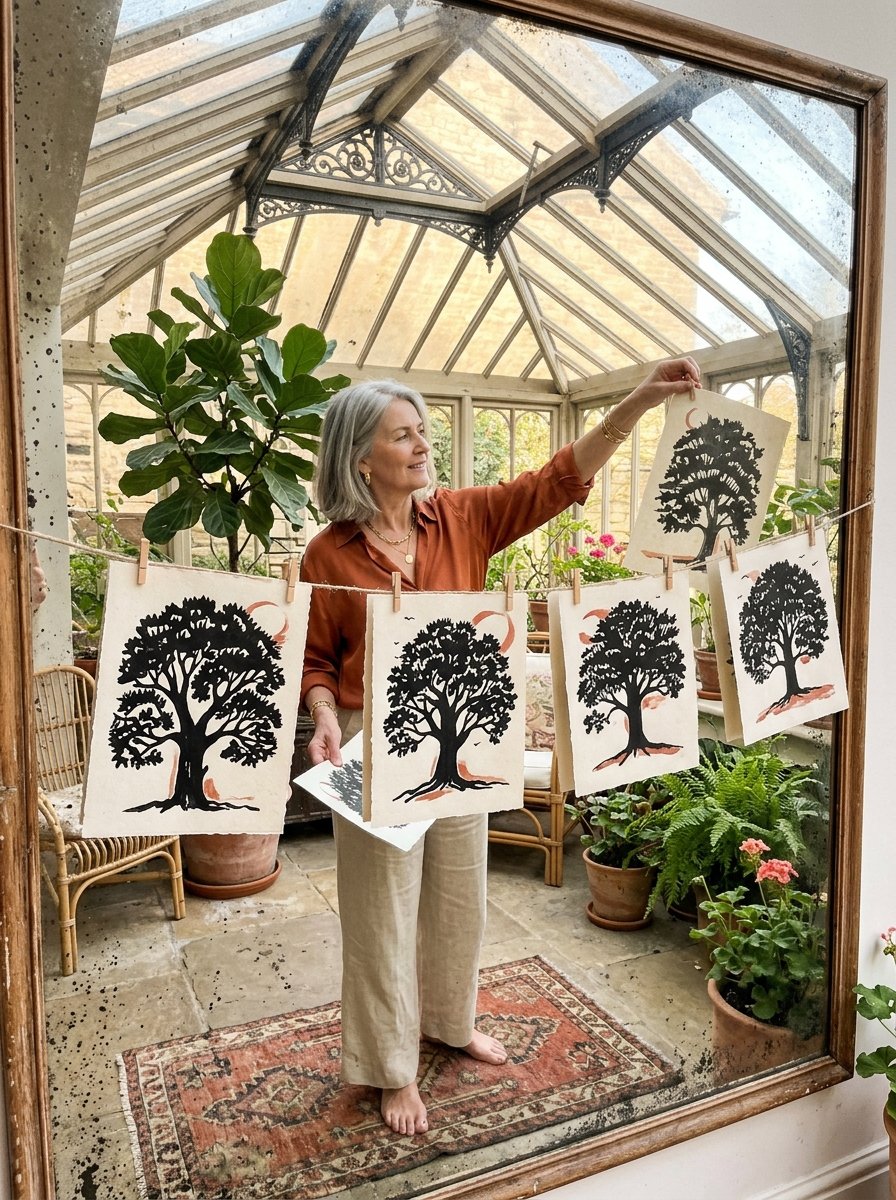
One tree per sheet, pegged up as they dry. The habit scales to a wall faster than it has any right to.
One tree is an evening. The World of Modern Botanical Art is 32 worksheets built on the same habit. Shape first, detail after. Bold black ink, one colour per plant, and 3 steps from first line to finished form.
32 plants that hold still while you work out the shape
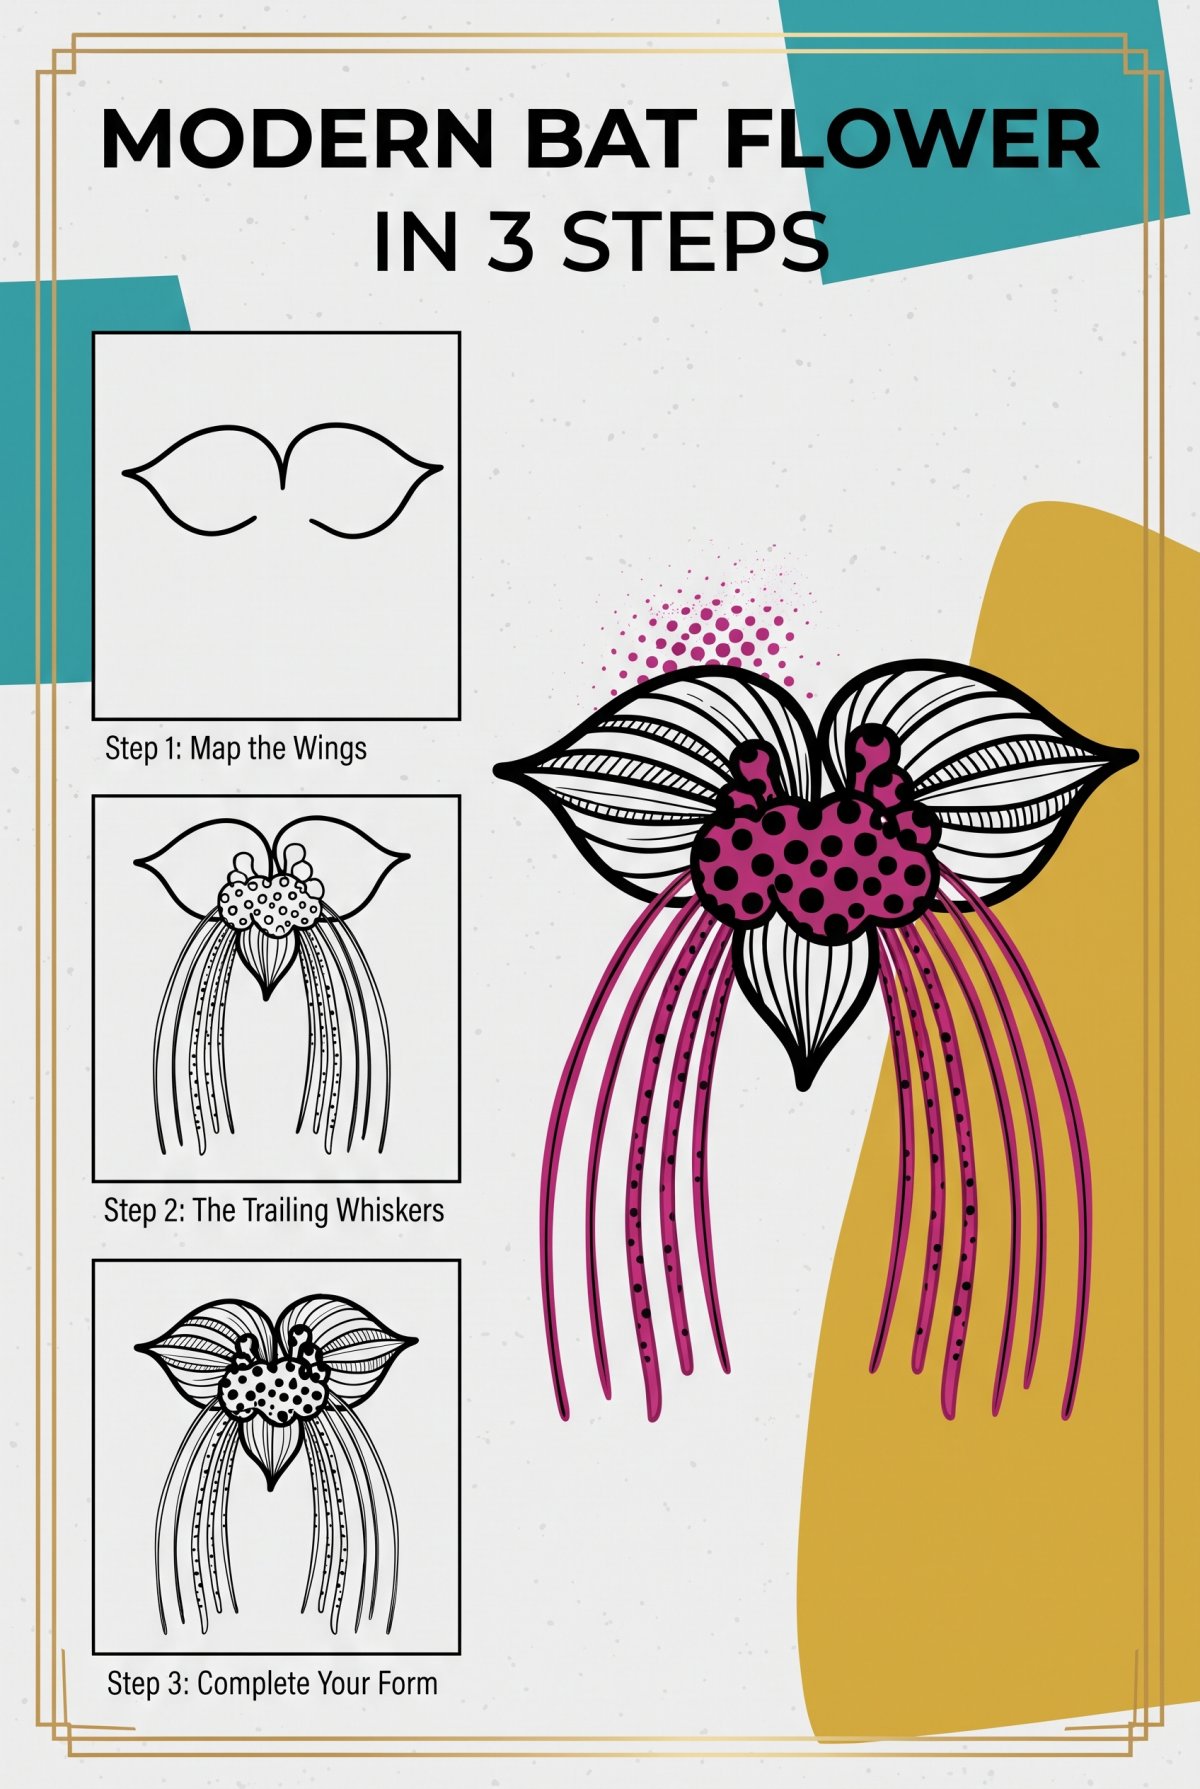
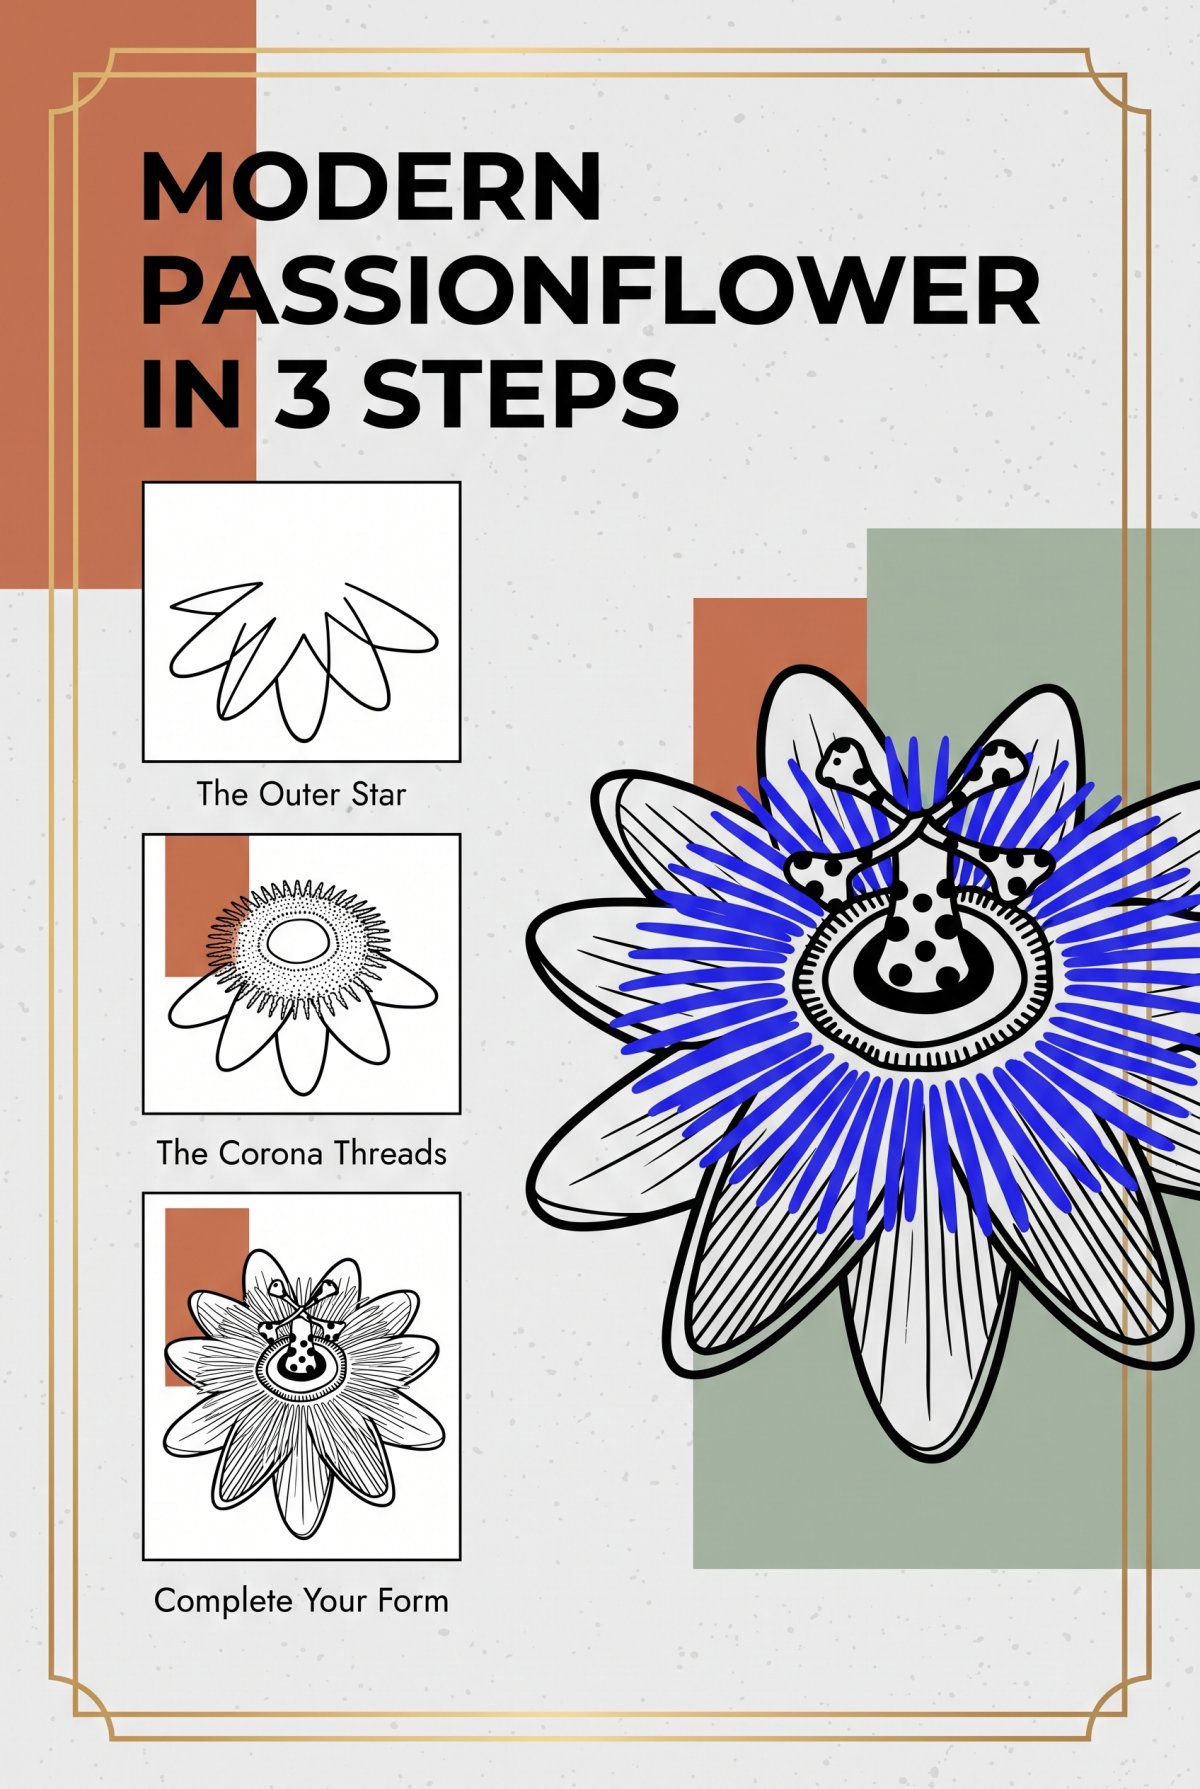
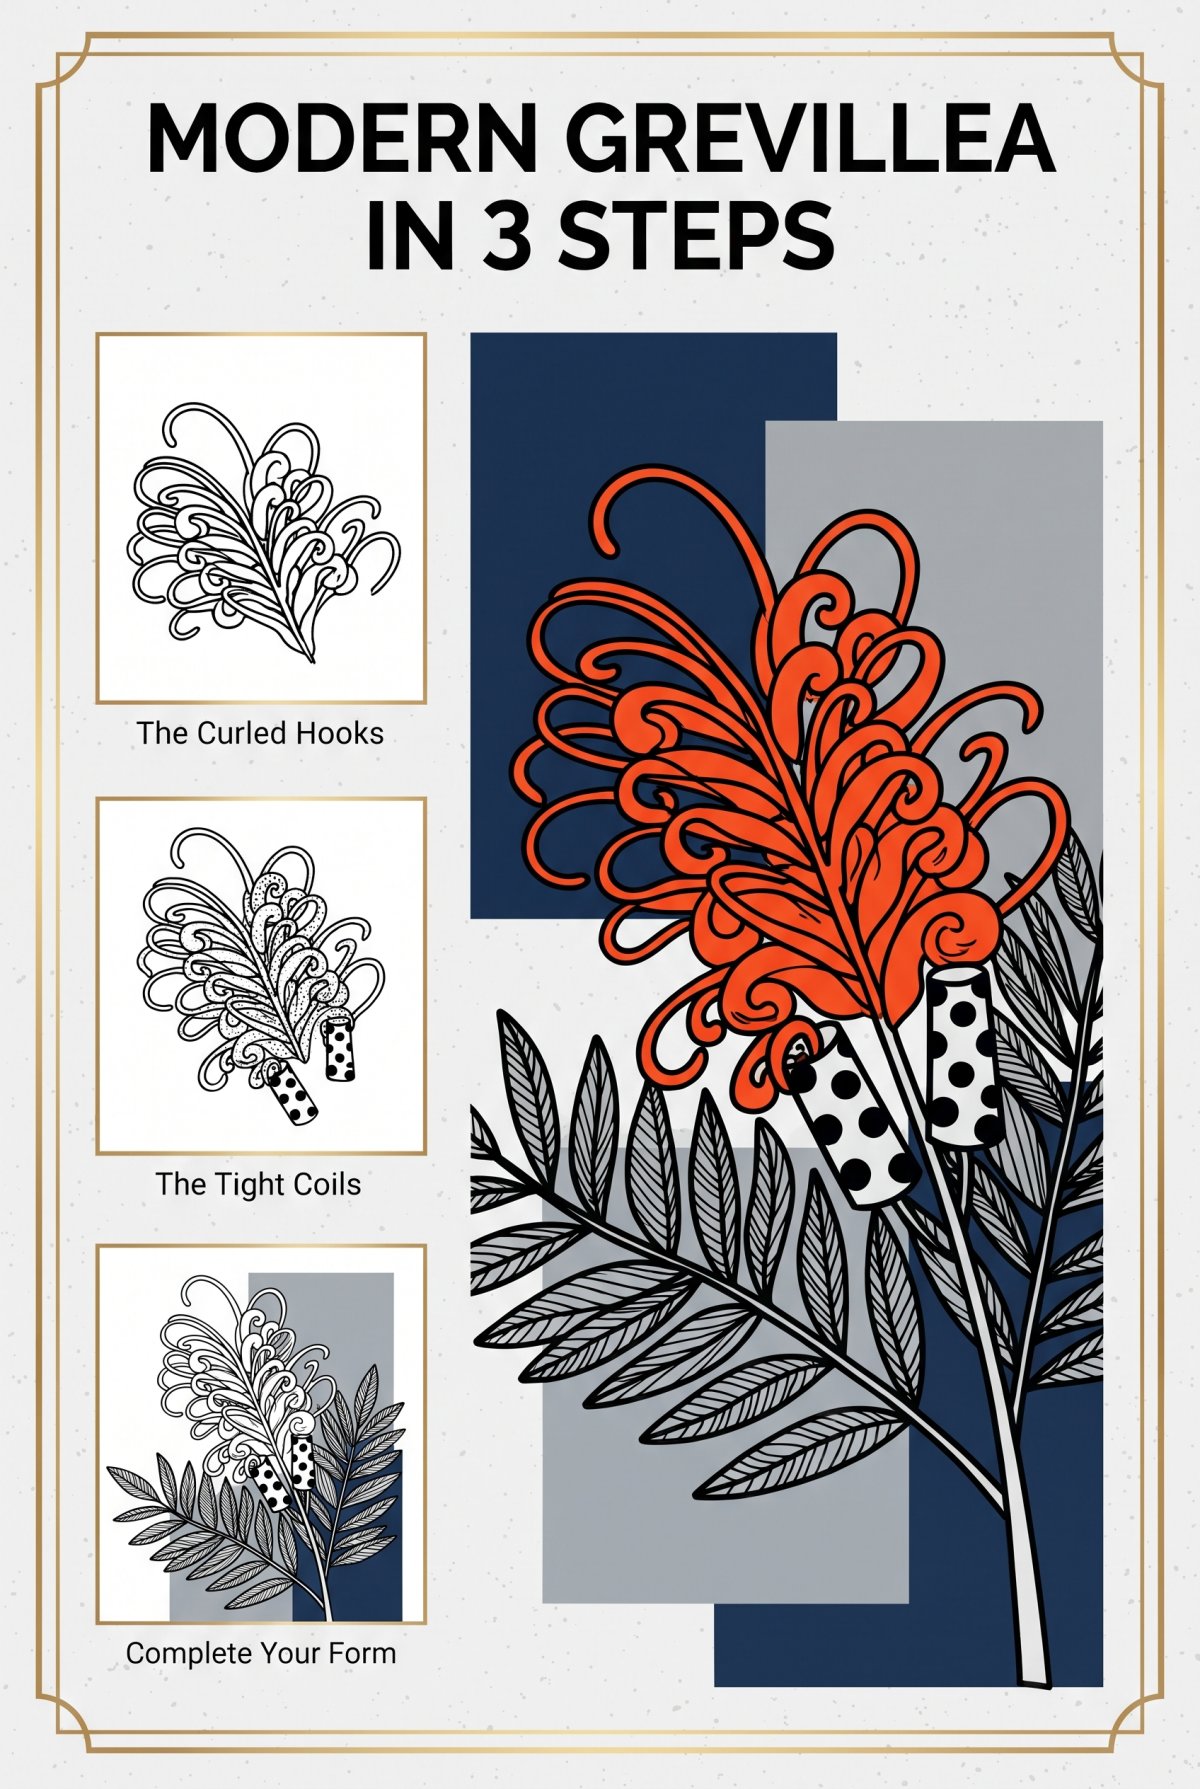
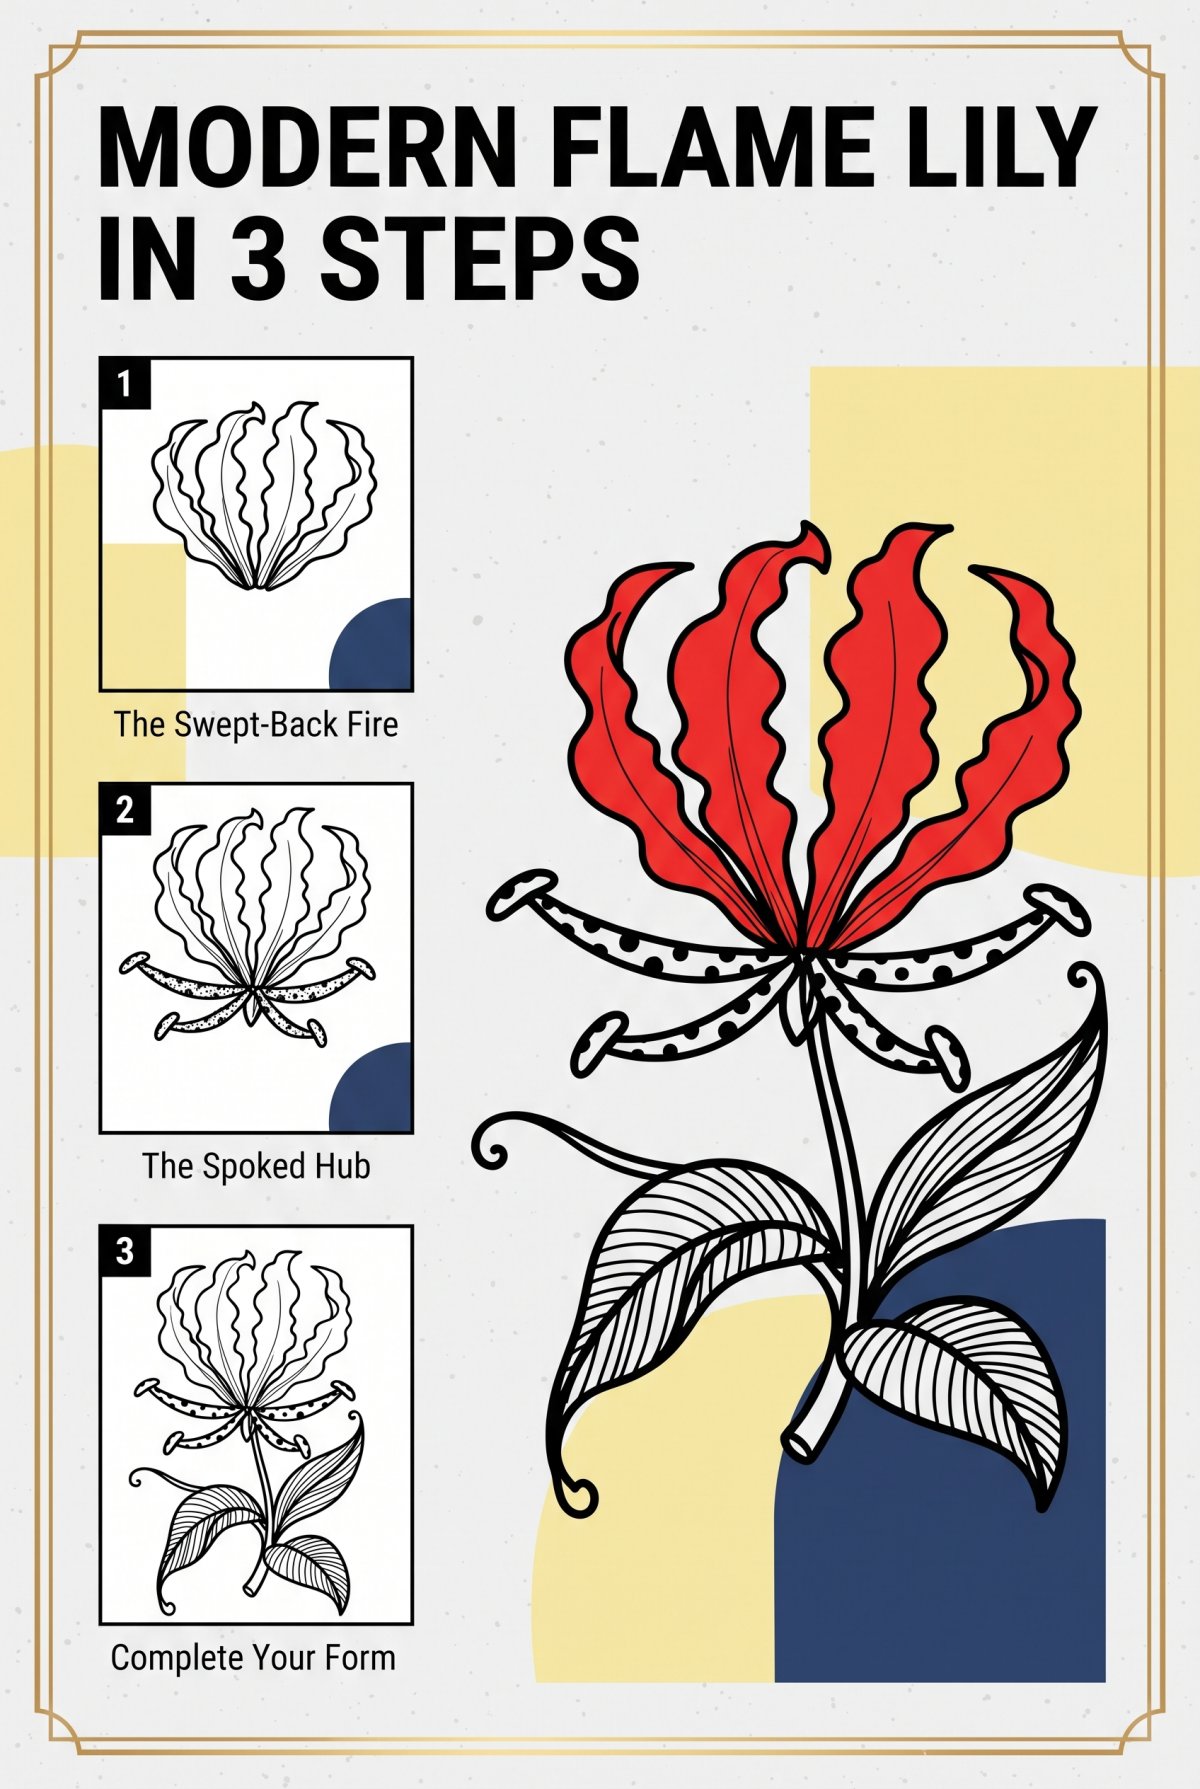
Draw one tree tonight from the sheet. Then take the same habit indoors, where the subject does not move and the light does not go. Inside: 32 worksheets, 3 steps each, from a bat flower to a rose.
Instant download · print as often as you like
A tree spends its whole life arranging light and has never once been asked to explain the method. Sit under one for an hour and it will show you, free, in whatever weather is going.
“… the shadows on the wall from branches of an elm behind which the moon had risen. I have never forgot those shadows.”
Samuel Palmer, The Life and Letters of Samuel Palmer, 1892
Mirabelle wrote this. No training, strong opinions, many pens. Peer reviewed by a cat who climbed the drawing board and denied it.