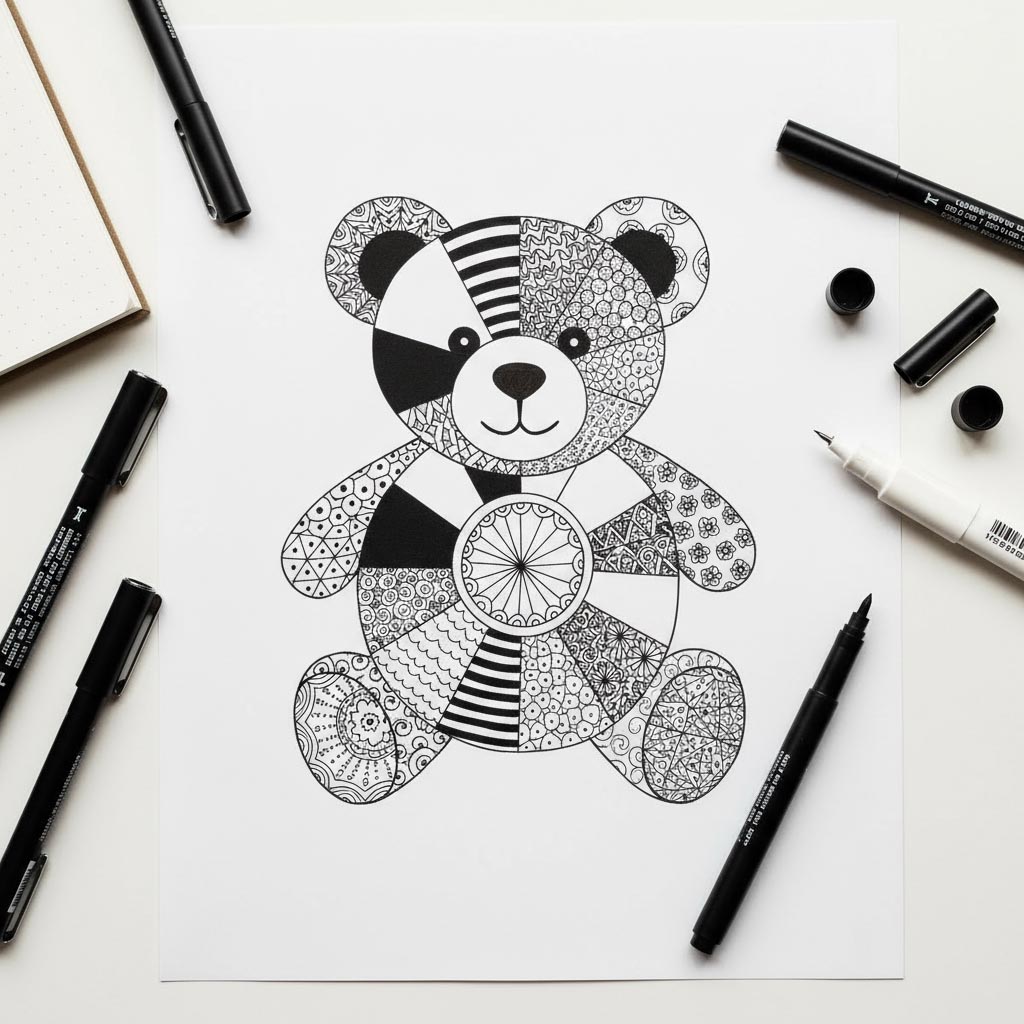
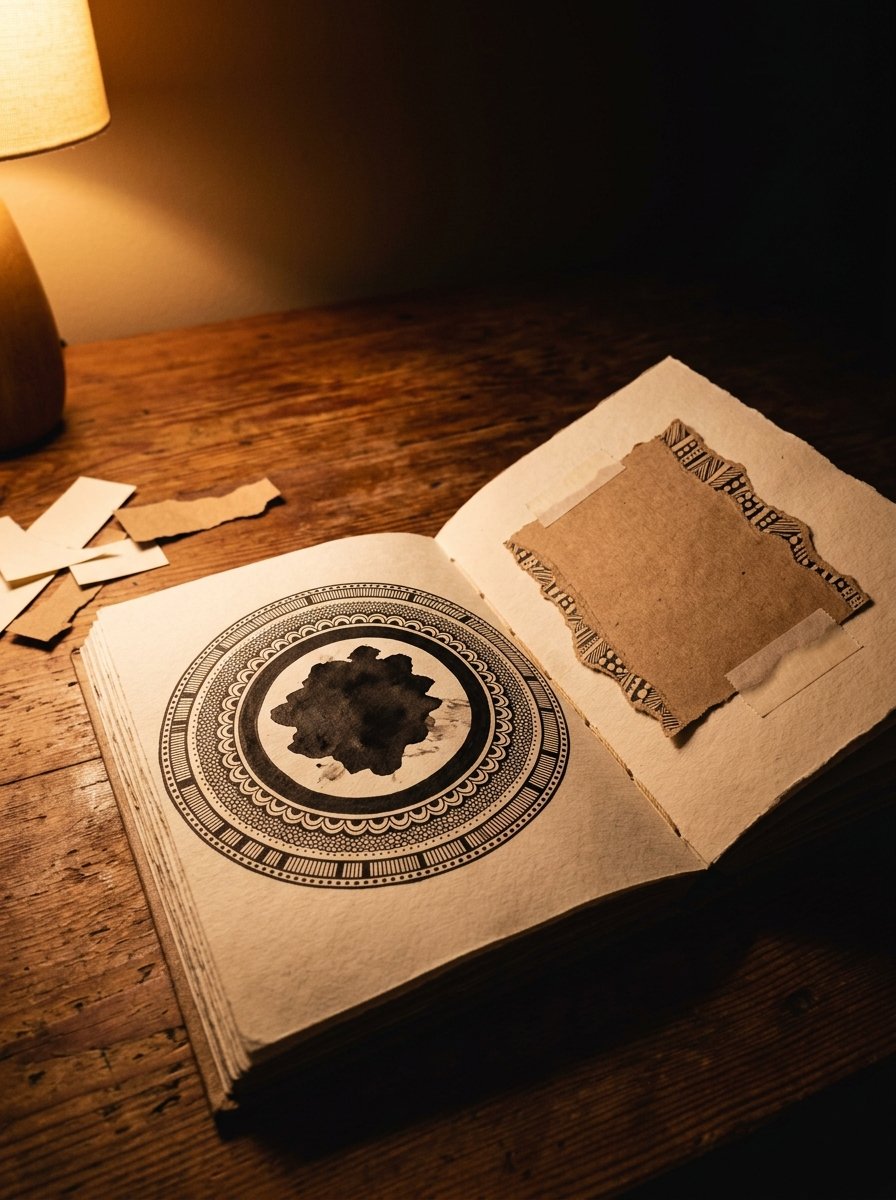
A page that already went wrong is the only page with nothing left to lose. Art journaling for beginners gets easier the moment you start on one.
Every layout below starts from something already on the page. Usually it is a mistake. You draw a shape around the mistake and fill that shape with patterns. By the end, the mistake looks planned.
This is not a new idea. In 1785 a drawing master published a method that started every picture with a blot made on purpose. (His pupils were taught to smudge first and draw second. I would have enjoyed those lessons.)
There are 7 layouts below. They are sorted by the kind of bad day you are having. Either the drawing went wrong, nothing will come, or you only have 10 minutes. Download the starter page first.
Download the free starter page →
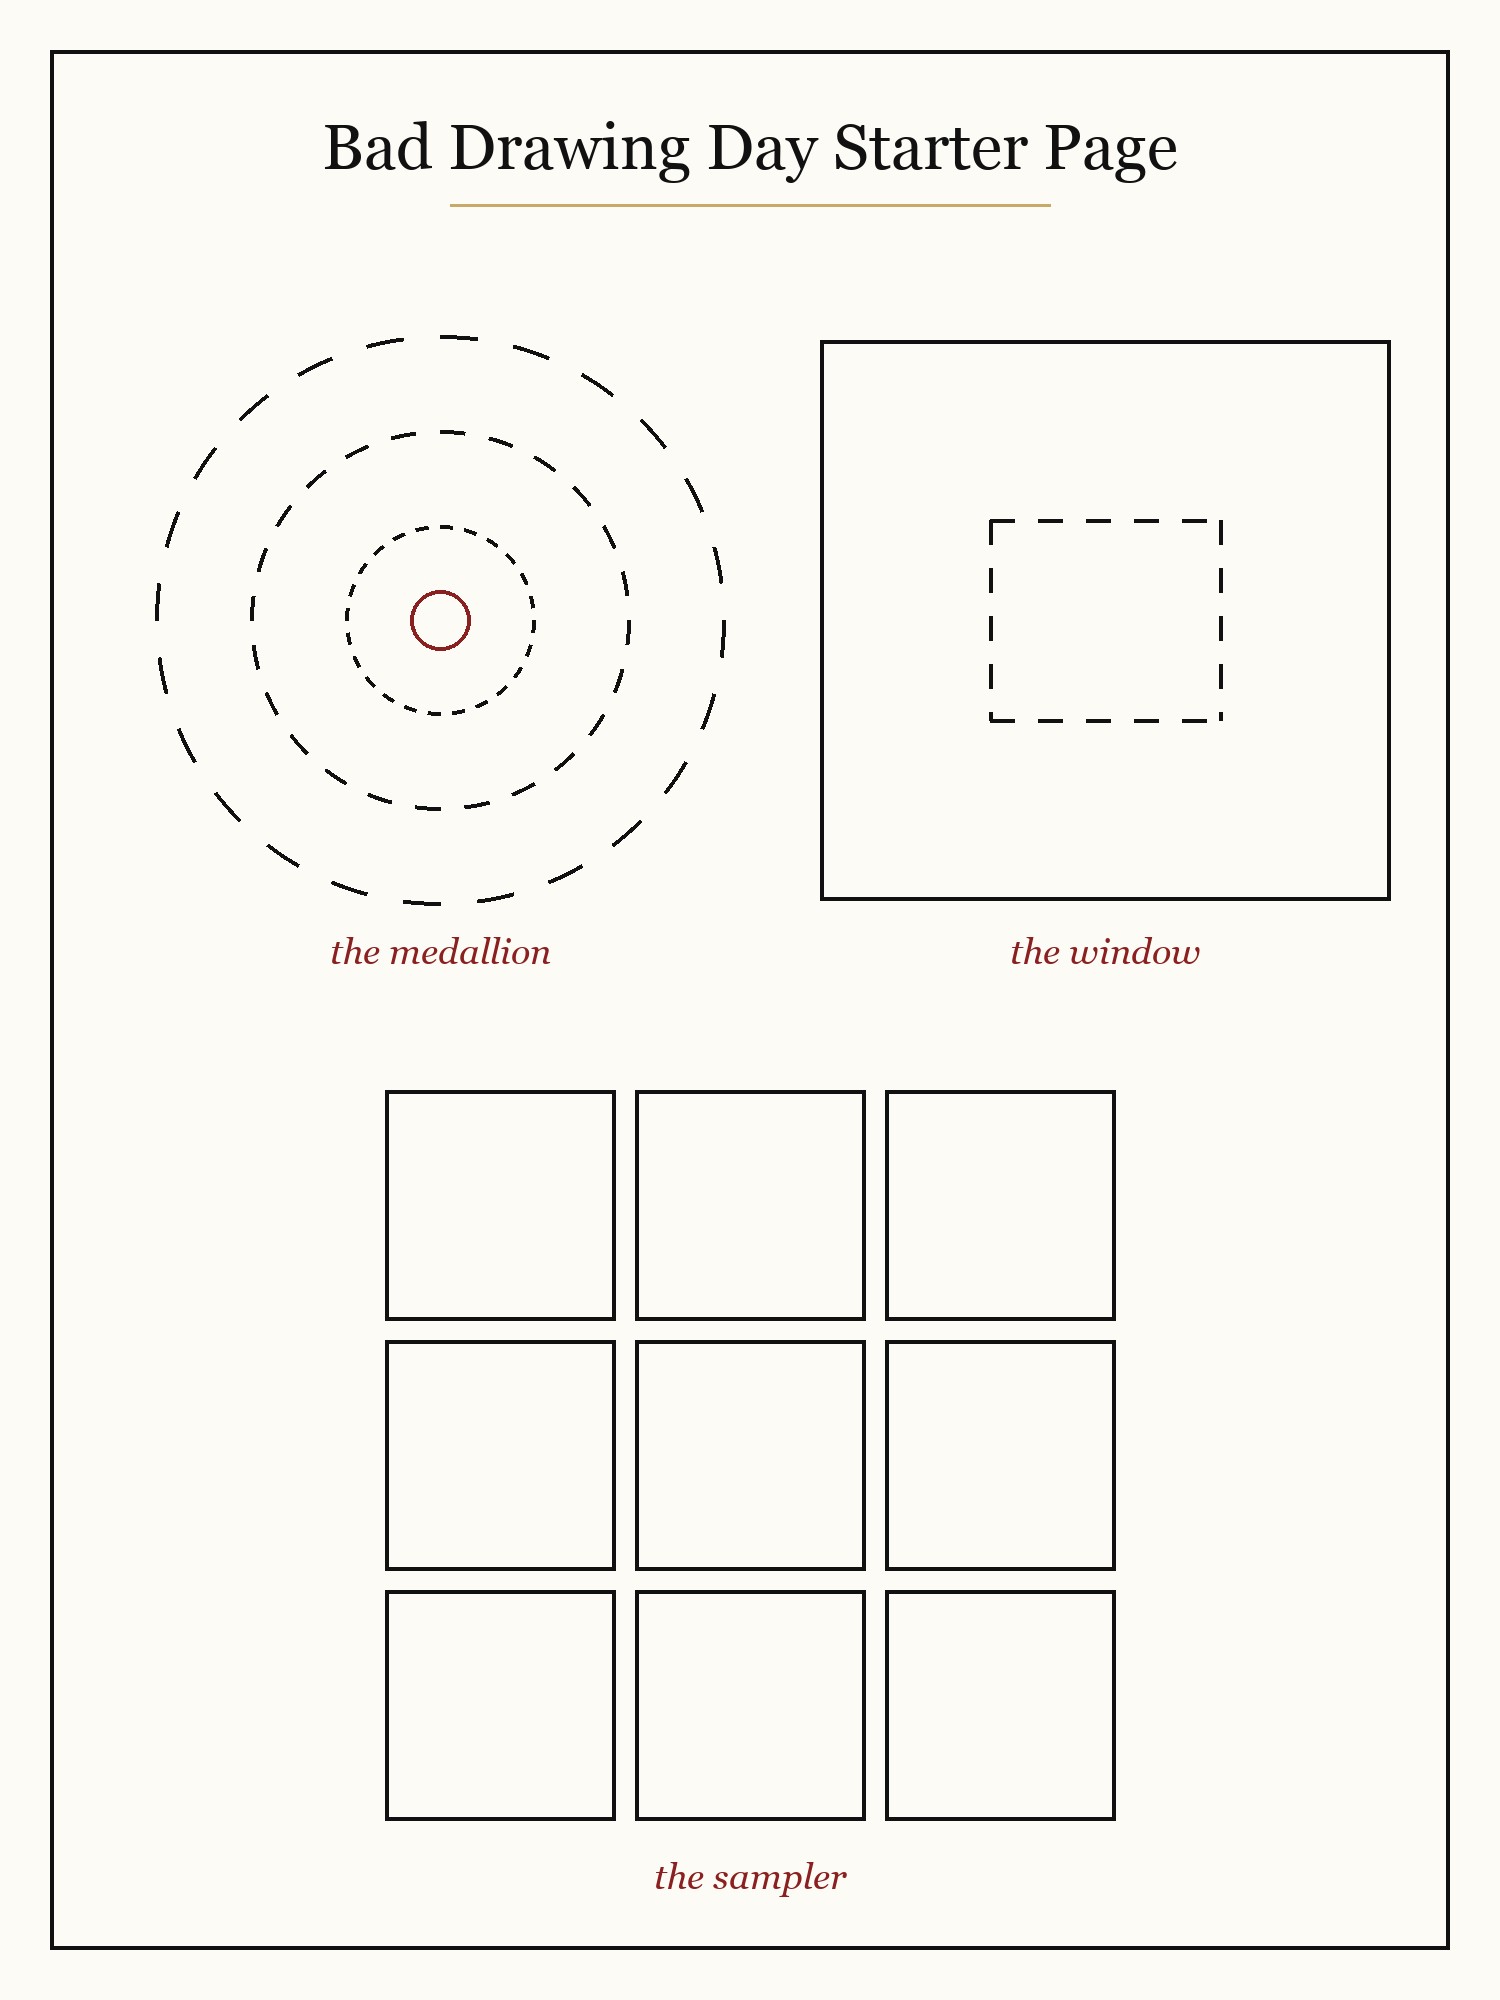
The starter page has three printed shapes. The circle is for a blot. The small window is for the one good corner of a drawing. The block of 9 squares is for an evening with no ideas.
Print it on thin paper and glue it into your journal. (Use a glue stick, not tape. Tape lifts within a week.)
Most guides to art journaling for beginners start with a list of supplies. This one does not. These layouts show you what to do with a drawing that is already on the page and did not work.
I learned this on a page with a heron on it. The heron came out looking like a broken umbrella. I had my fingers on the corner, ready to tear the page out.
Instead I left it in and drew slanted stripes across it. The heron is still bad. But the page is still in the journal, and my sister stops on it every time she borrows the book.
The stripes alone did not save the page. The patterns inside them did: a row of dots, a row of scallops, a row of solid black. Every layout here needs patterns like that. The hard part is choosing the next one while a stripe sits empty.
The Collection
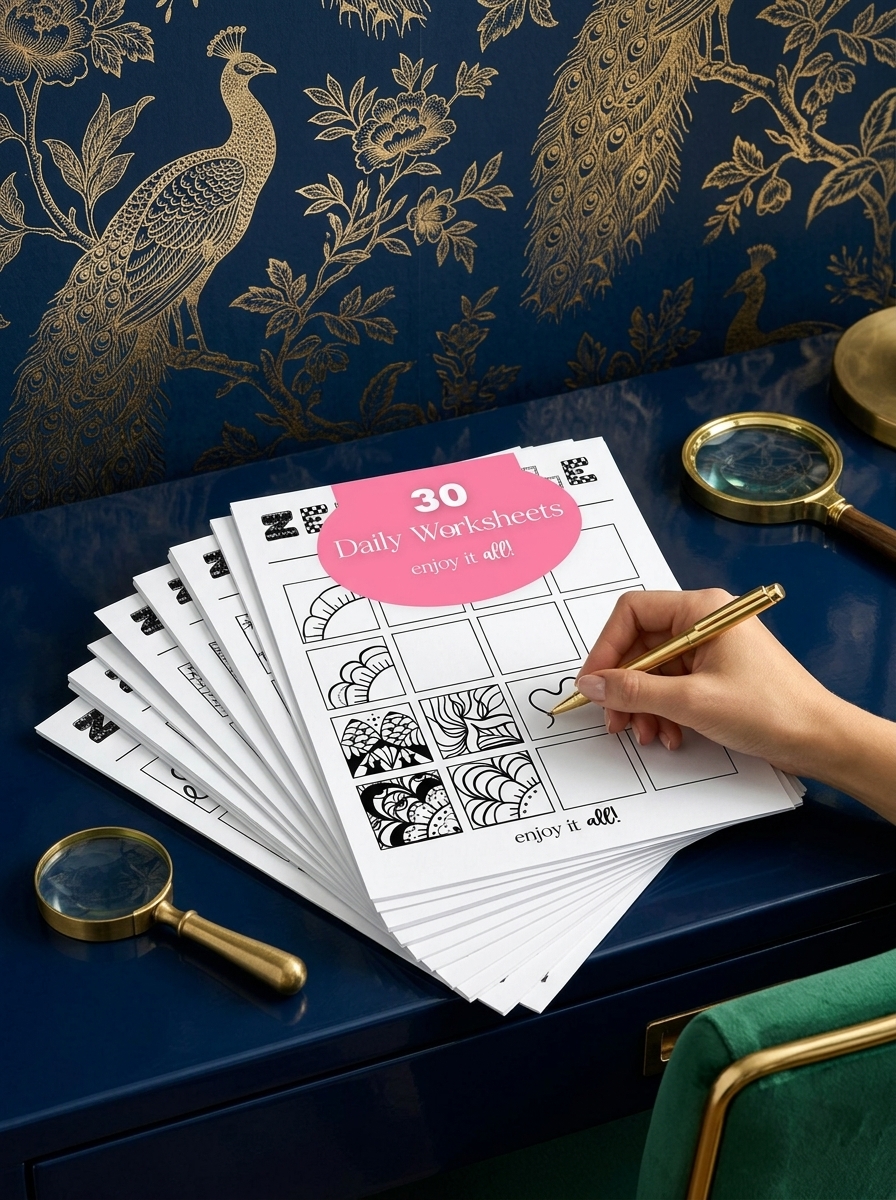
ZEN DOODLE MASTERY — dots, scallops, and a pattern for every empty shape.
For the evening a page has gone wrong and you still want to draw. Inside: the zen doodle method step by step, 30 daily worksheets and ready pattern banks. (With the pattern banks, you never have to invent the next fill yourself.) What you get: a pattern for every empty shape, and journal pages that look finished.
Here are the 7 layouts. The first three are for the day a drawing went wrong, because that is the most common bad day.
Alexander Cozens taught his pupils to start every landscape with an ink blot
Alexander Cozens was a drawing master. In 1785 he published his method as a book. The title is long: A New Method of Assisting the Invention in Drawing Original Compositions of Landscape.
The method worked like this. The pupil loaded a big brush with ink and water. Then the pupil dabbed shapes onto the paper quickly, without aiming at anything. Next the pupil looked at the smudge until a landscape appeared in it. Last, the pupil drew that landscape.
In your journal, the mistake is your blot. You do not have to plan it, because it is already there. You build the rest of the page around it. (A blot is the one mark you cannot be blamed for. Cozens knew it, which is why he sold it as a method.)
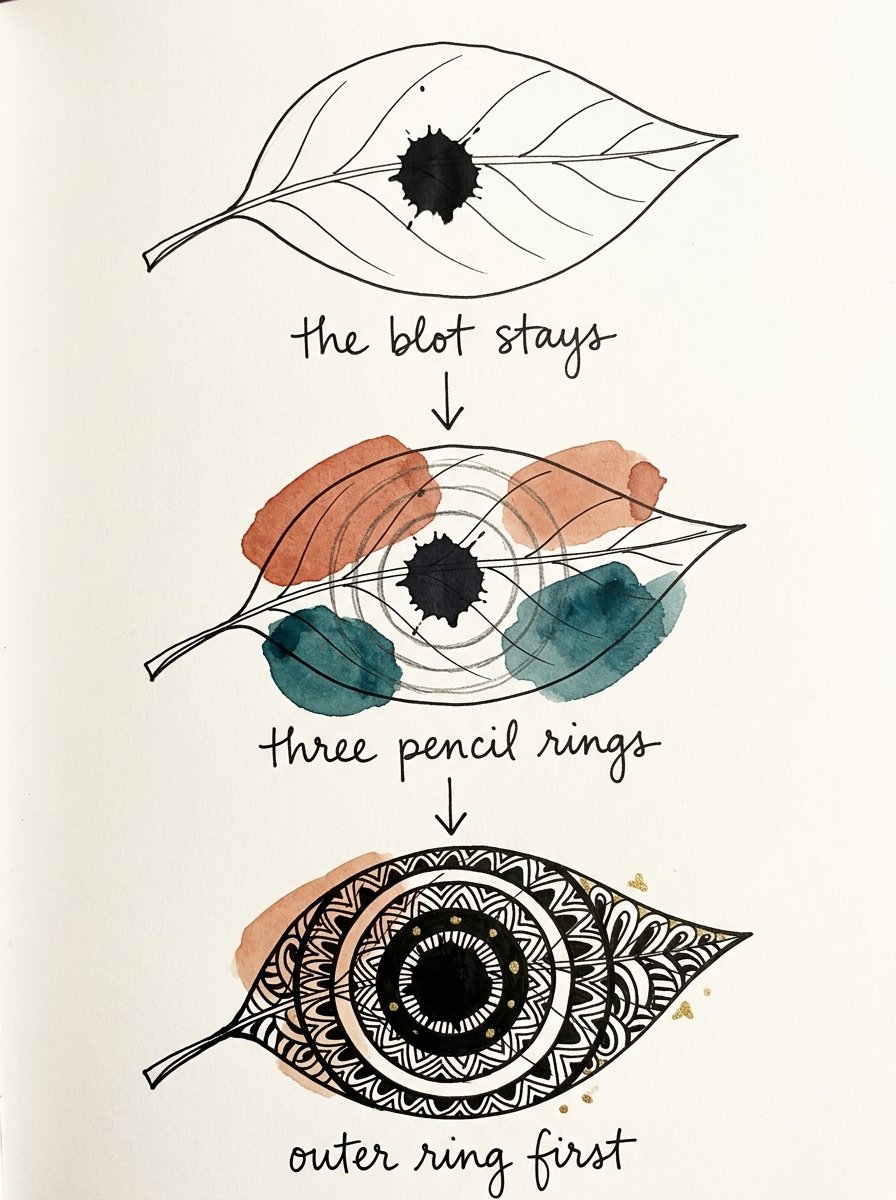
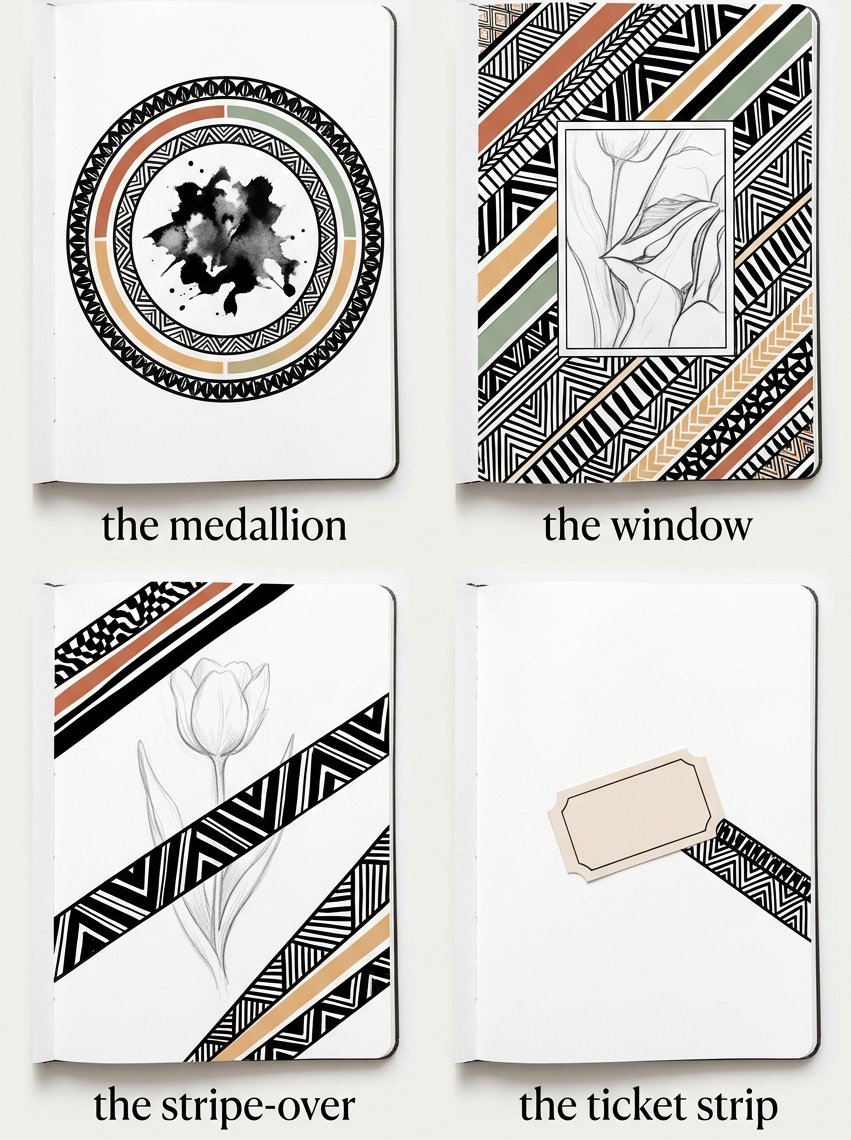
The first layout is the medallion. Draw three pencil rings around the worst part of the drawing. Leave about a finger’s width between the rings. Then fill each ring with one pattern in pen. The blot stays in the middle.
Fill the outer ring first, then work inwards. That way the rings get smaller as your hand warms up. If you start in the middle, the biggest ring comes last, when you are most tired.
Make the ring next to the blot solid black. I left mine pale for a month, and the blot still looked like a blot. Once I filled that ring black, the blot looked like a stone in a ring setting.
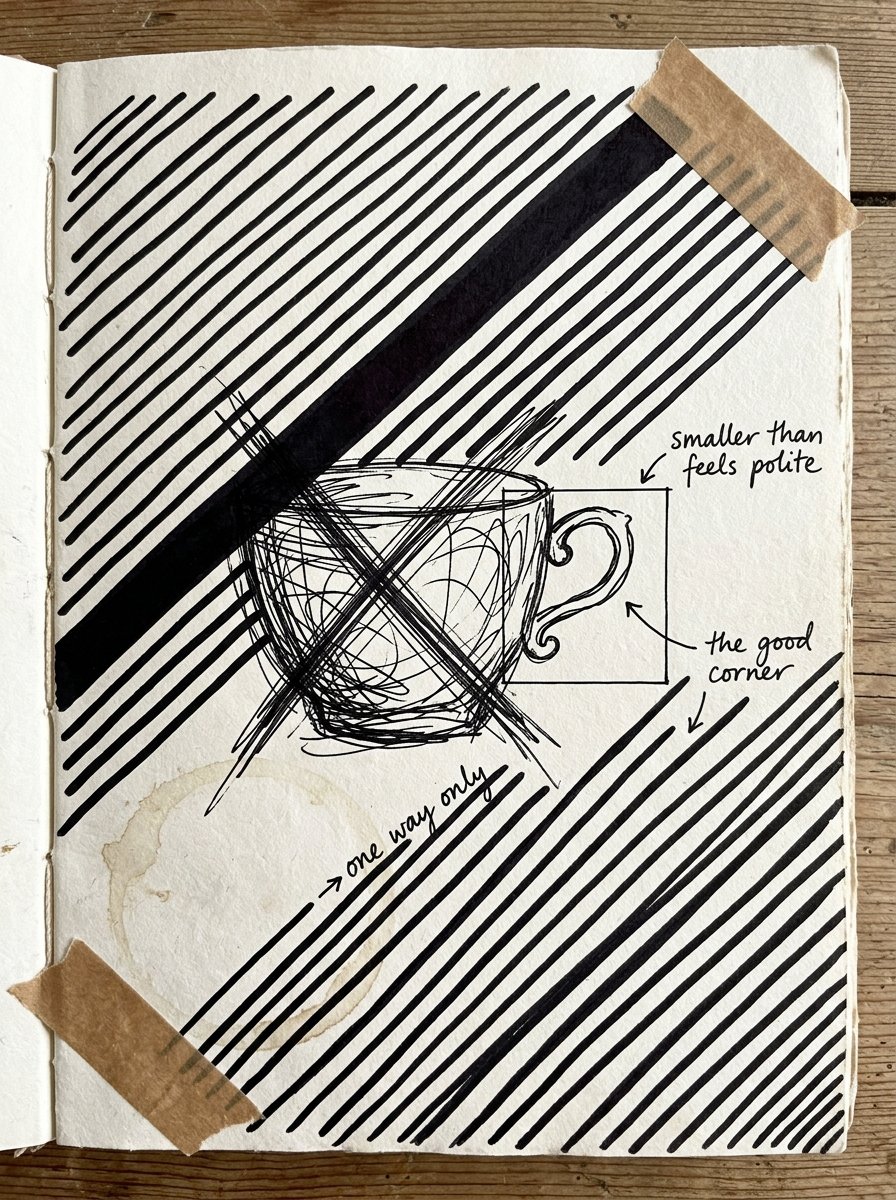
The second layout is the window. Use it when most of a drawing is wrong but one part worked. That might be a leaf, an eye or a cup handle. Draw a small rectangle around the good part. Everything outside the rectangle becomes background.
Keep the window small. My first windows were too big and showed half the bad drawing as well. The rectangle should only just fit around the good part.
Then fill the background with stripes that all run the same way. Stripes in two directions clash with the old drawing underneath, and the page looks messy. (Two directions give the old drawing a fence to stand behind. One direction covers it.)
The third layout is the stripe-over. Use it when nothing on the page is worth keeping. Draw three or four wide pencil bands across the whole drawing at a slant. Fill every other band with a different pattern. The old drawing shows through the empty bands.
Always slant the bands. Straight bands look like a correction, and slanted bands look deliberate. Stop at four bands. A fifth band usually covers the only part of the old drawing worth seeing.
I often tear out a stripe-over page and post it to someone. (Nobody has ever asked what is under the stripes, and I have not told them.)
Tom Phillips bought a threepenny novel in 1966 and painted over every page
In 1966 the artist Tom Phillips gave himself a task. He would buy a second-hand book for threepence and change every page of it. In a junk shop he found an 1892 Victorian novel called A Human Document.
On each page he kept a few printed words showing. He painted, drew and glued paper over the rest. The words left showing told a new story. He called the book A Humument, and he was still improving pages 50 years later.
(Threepence, and then 50 years of work. It beats every junk-shop bargain I have ever found, including my teapot.)
His method suits the evening when nothing will come. He never had to start on a blank page. Each page already had printed words on it, and he only had to respond to them. That makes it a kind trick for art journaling for beginners.
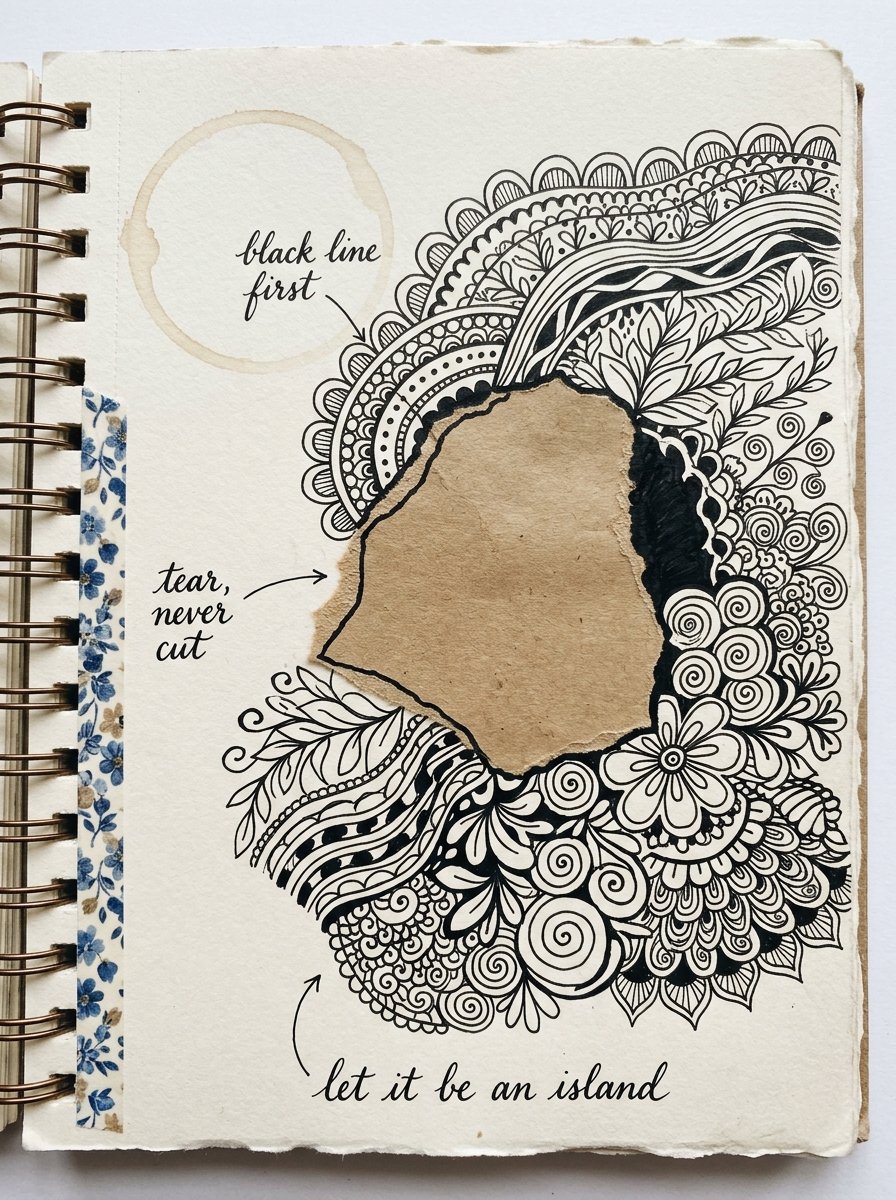
The fourth layout copies his trick with any printed paper you have. Try a catalogue page, the inside of an envelope or a corner of an old map. Tear off a piece and glue it down off-centre. Then draw patterns outwards from it, so the scrap sits like an island.
Tear the scrap, never cut it. A torn edge is bumpy, so the patterns have little corners to follow. A cut edge is straight and gives them nothing to follow. (I keep a drawer of torn envelopes for this. My family believes it is where the important post lives.)
Before you start any pattern, draw one solid black line around the scrap. Without that line, the patterns creep onto the scrap and it gets lost. The black line keeps the island clear. (It is the same reason a picture gets a frame and not just a wall.)
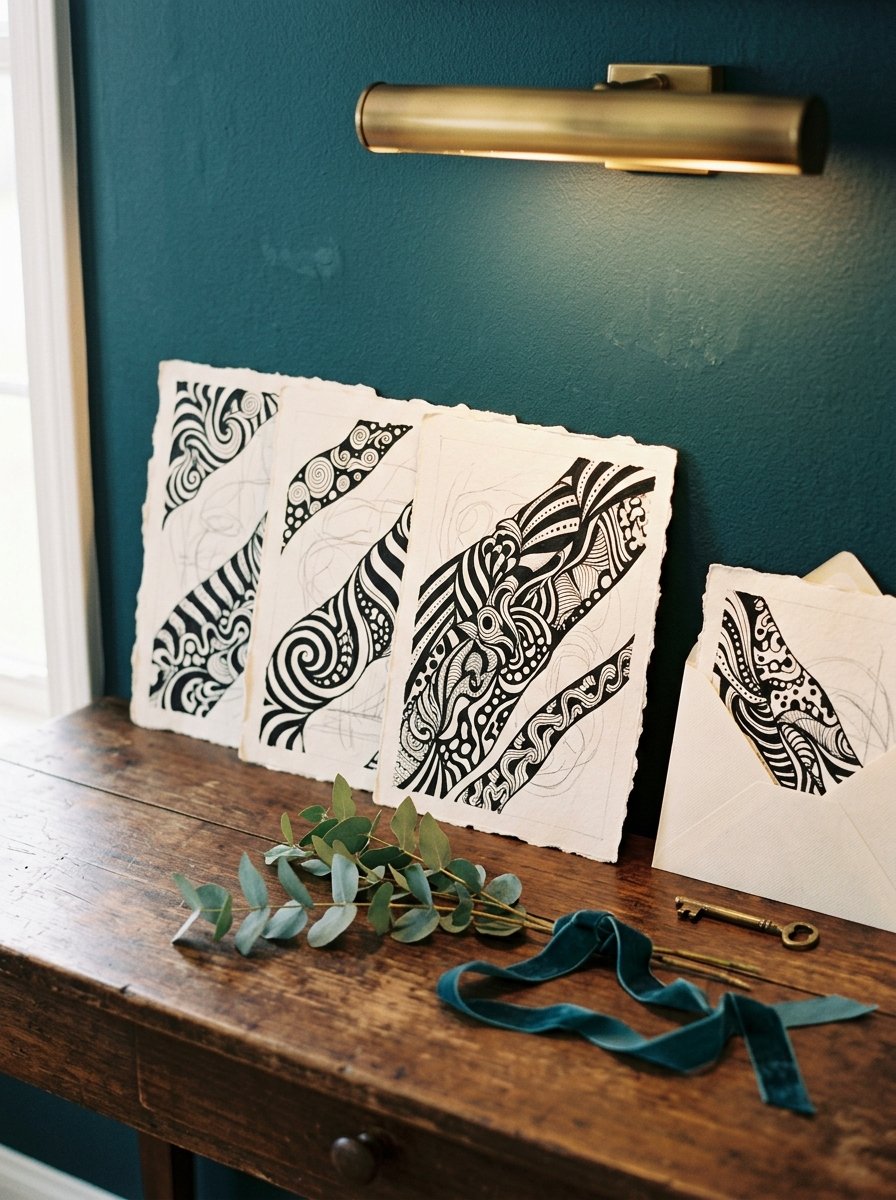
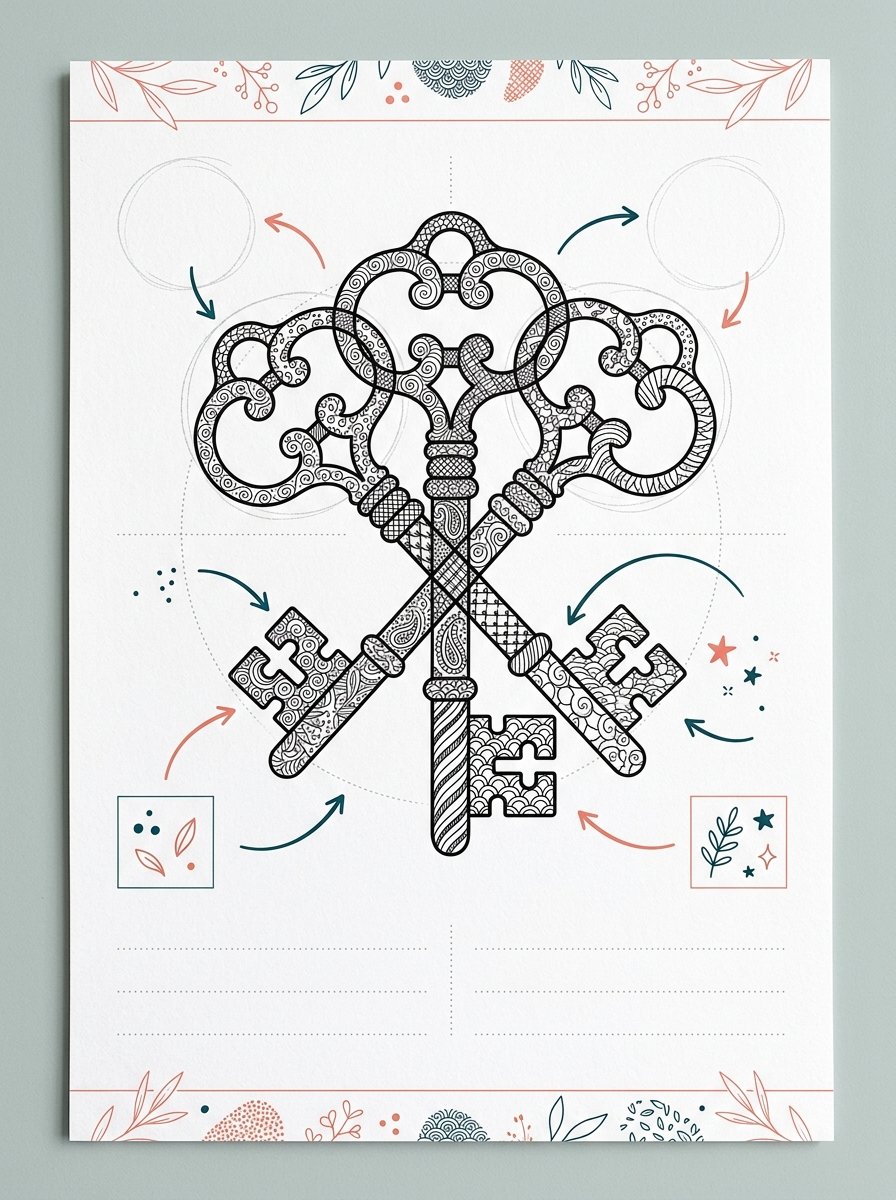
The fifth layout needs no scrap, only an object with a clear edge. Put a key on the page and draw around it. Move the key and draw around it again. Do this three times, so the outlines overlap.
Wherever two outlines cross, they make a small new shape. Fill each of those shapes with its own pattern. The key gives you all the shapes, so you do not have to invent any.
Make the outlines overlap a lot. My first keys barely touched, so I got three separate keys and one tiny shape between them. Push each key halfway across the last one, and you get about 15 shapes.
Not one of these layouts starts on a blank page. That is why they work on a bad day.
Kurt Schwitters named his art after 4 letters cut from a bank poster
In 1918 Kurt Schwitters was making pictures from things he picked up. He used tram tickets, bits of wood, buttons and scraps of paper. One scrap in a 1918 picture came from a poster for the Commerz und Privatbank. The letters left on it read MERZ.
He kept the word. Merz became the name for everything he made after that: collages, poems, graphic design and sculpture. All of it was named after part of a bank’s name.
(A very cheerful body of work, named after a bank. I think of it whenever a bank statement arrives.)
He used what was already in his pockets or on the pavement. That suits an evening when you only have 10 minutes. There is nothing to fetch and nothing to plan.
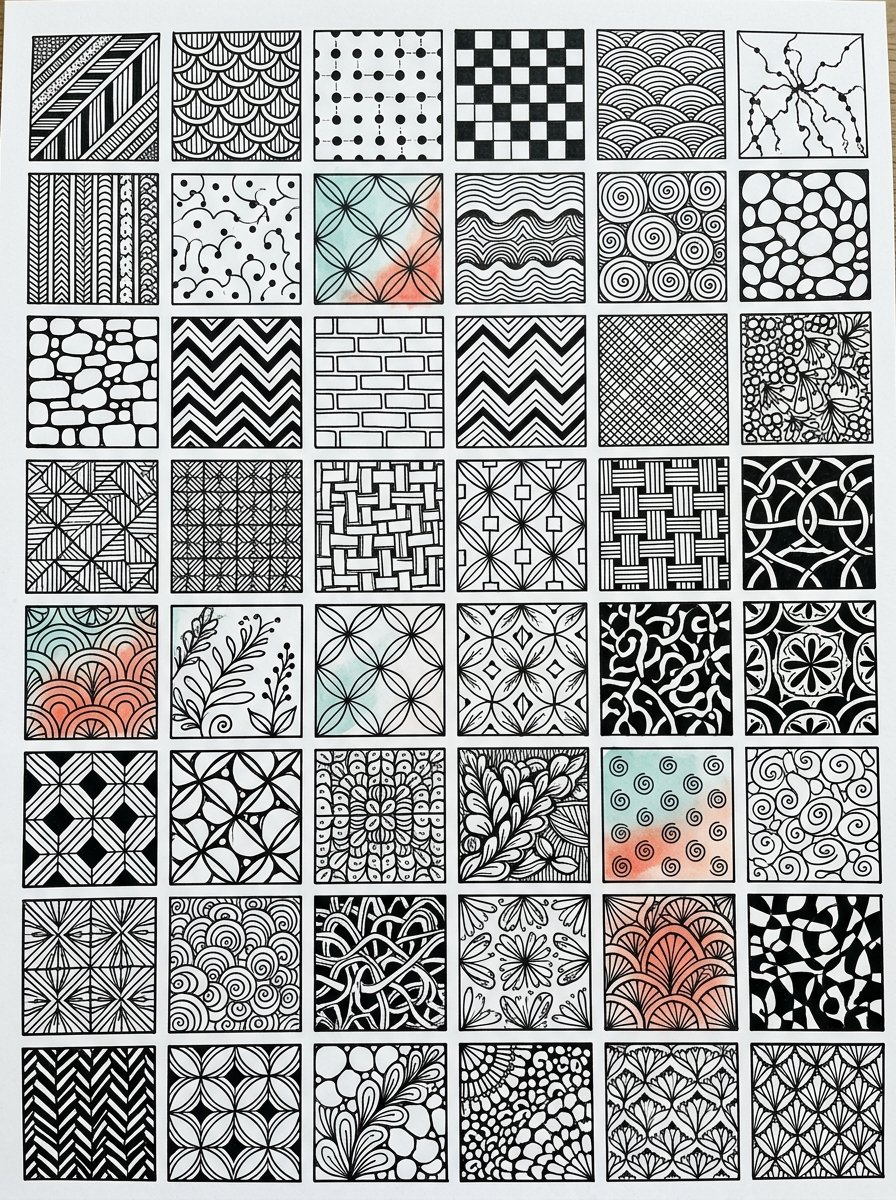
The sixth layout is the sampler. Draw a block of 9 small squares, each about the size of a postage stamp. Fill each square with one pattern. When all 9 squares are full, the page is finished.
Fill the four corners first, then the middle square, then the four edge squares. The corners set the look of the page. The middle square is where the eye lands first.
Never use the same pattern in two squares that touch. From a distance those two squares merge into one dark patch, and the grid disappears.
The seventh layout is the ticket strip, and it is the fastest. Take a small flat thing from your pocket, like a ticket or a smoothed-out receipt. Glue it down anywhere on the page, at an angle.
Then draw one band of pattern from the ticket to the edge of the page. Use a single pattern for the whole band. It takes about 10 minutes, and the page looks finished.
(I once did three of these on one train journey, all around the same ticket. The conductor looked at it for a long time before he punched it.)
What goes on the page in art journaling for beginners?
Anything flat enough to close the book on. Tickets, a pressed leaf, torn wrapping paper, a drawing that went wrong or an old shopping list all work. Each layout above uses one of these as the first mark. The patterns around it turn it into a journal page.
Leave out anything thick. A journal with a pine cone in it will not shut. A journal that will not shut stops getting used. (Pressed, flat things are also the base of the nature journaling ideas on this site.)
Is art journaling for beginners different from keeping a sketchbook?
Yes. A sketchbook is for practice, and a journal is for keeping. The difference is what happens to bad pages. In a sketchbook you turn the page. In a journal you add another layer. (A sketchbook lets you off. A journal makes you do something about it.)
That makes art journaling for beginners easier on a nervous hand. Nothing has to be good the first time, because you can always add a layer on top.
All 7 layouts run into the same problem sooner or later. It is not paper, and it is not ideas. It is patterns: you stop with the pen over an empty shape and cannot think what to fill it with.
Free Starter Pack
Get 10 free pattern templates to fill the empty shapes on your page.
Sent tonight. Stripes, scallops and dots, ready to use in a ring, a window or a ticket strip.
Unsubscribe in 1 click, no hard feelings
Once you stop tearing out bad pages, a journal fills up fast. By the third week I ran short of patterns, not paper. The zen doodle toolkit fixes that. It has the method in 3 simple steps, 30 daily worksheets and a big bank of fills.
The zen doodle method, 30 daily worksheets, the pattern banks
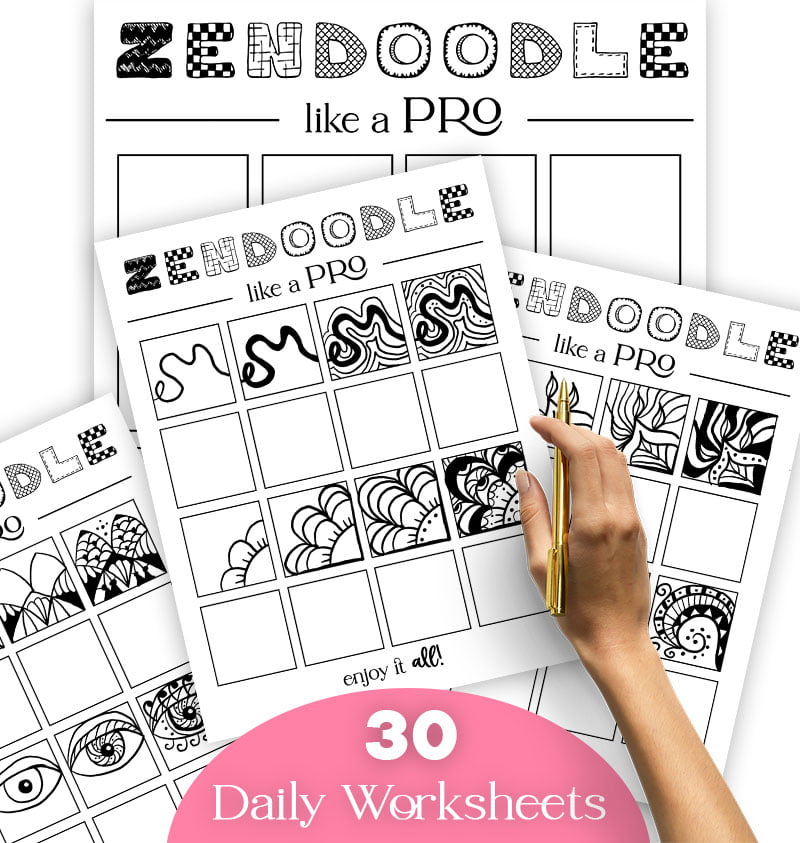
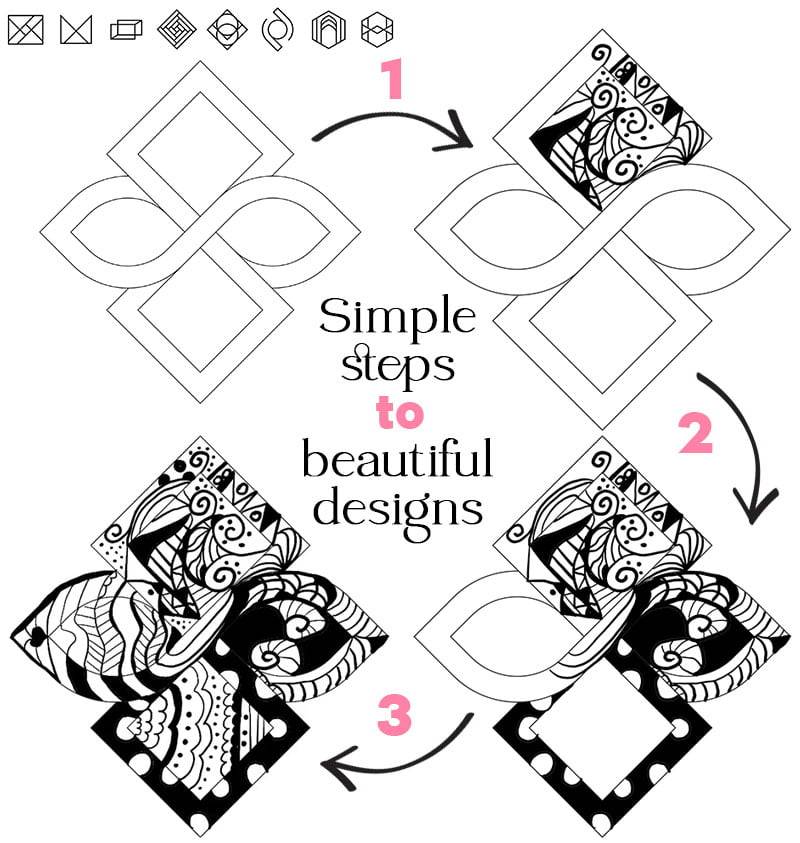
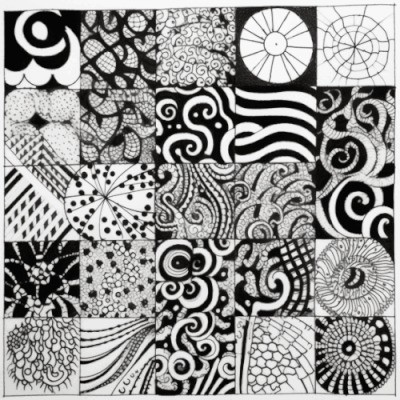
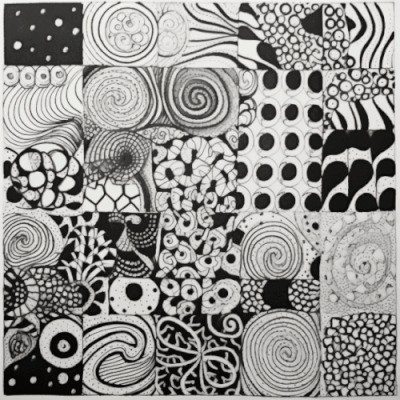
Start with one ring round a blot and fill it with a pattern. Do one worksheet each evening. By the weekend your journal has no torn-out pages. Every mistake sits inside a pattern. Inside: step-by-step pattern guides, 30 daily worksheets and the pattern banks, to print or draw freehand.
Instant download · print as often as you like
Every journal has a page that went wrong. Draw a ring around it, fill the ring, and it becomes the page everyone stops on.
“An artificial blot is a production of chance, with a small degree of design.”
Alexander Cozens, A New Method, 1785
Mirabelle wrote this. No training, strong opinions, many pens. Peer reviewed by a cat who stepped in the ink and called it a contribution.