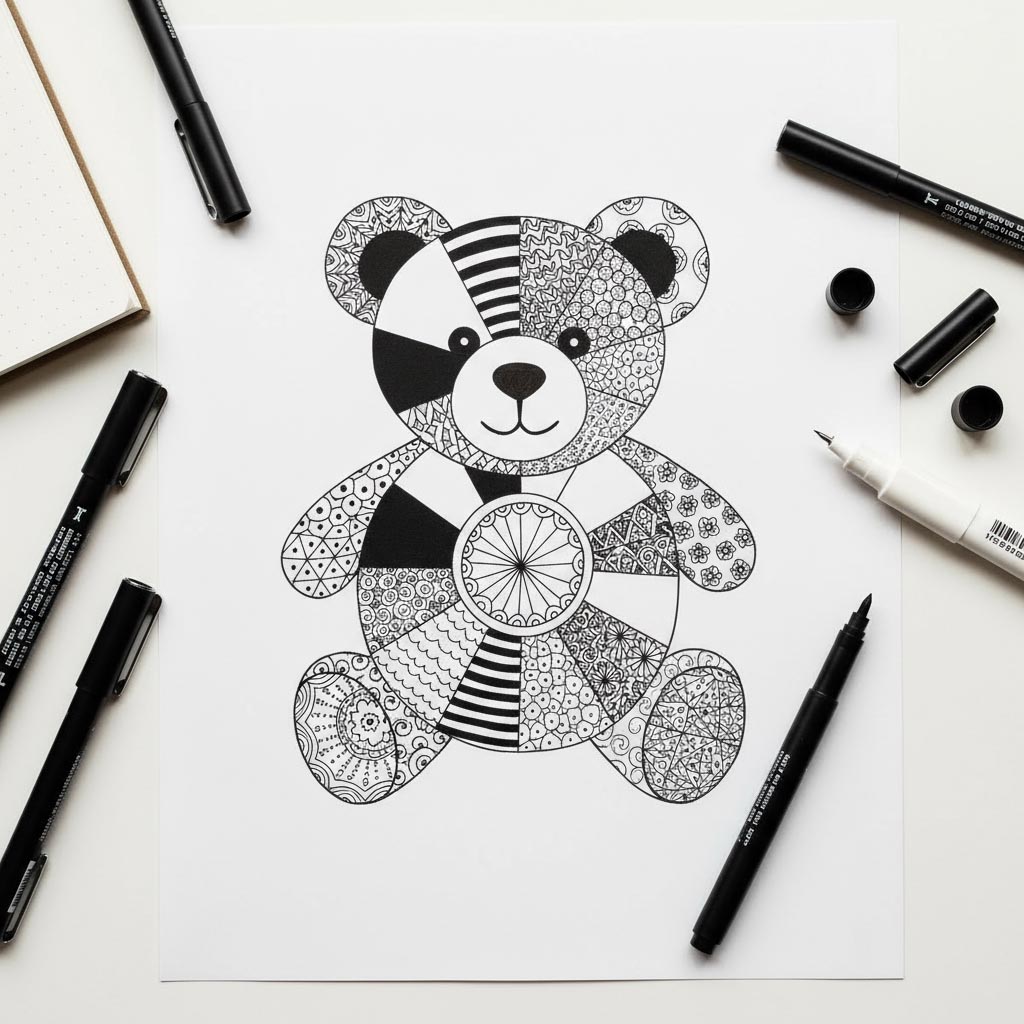
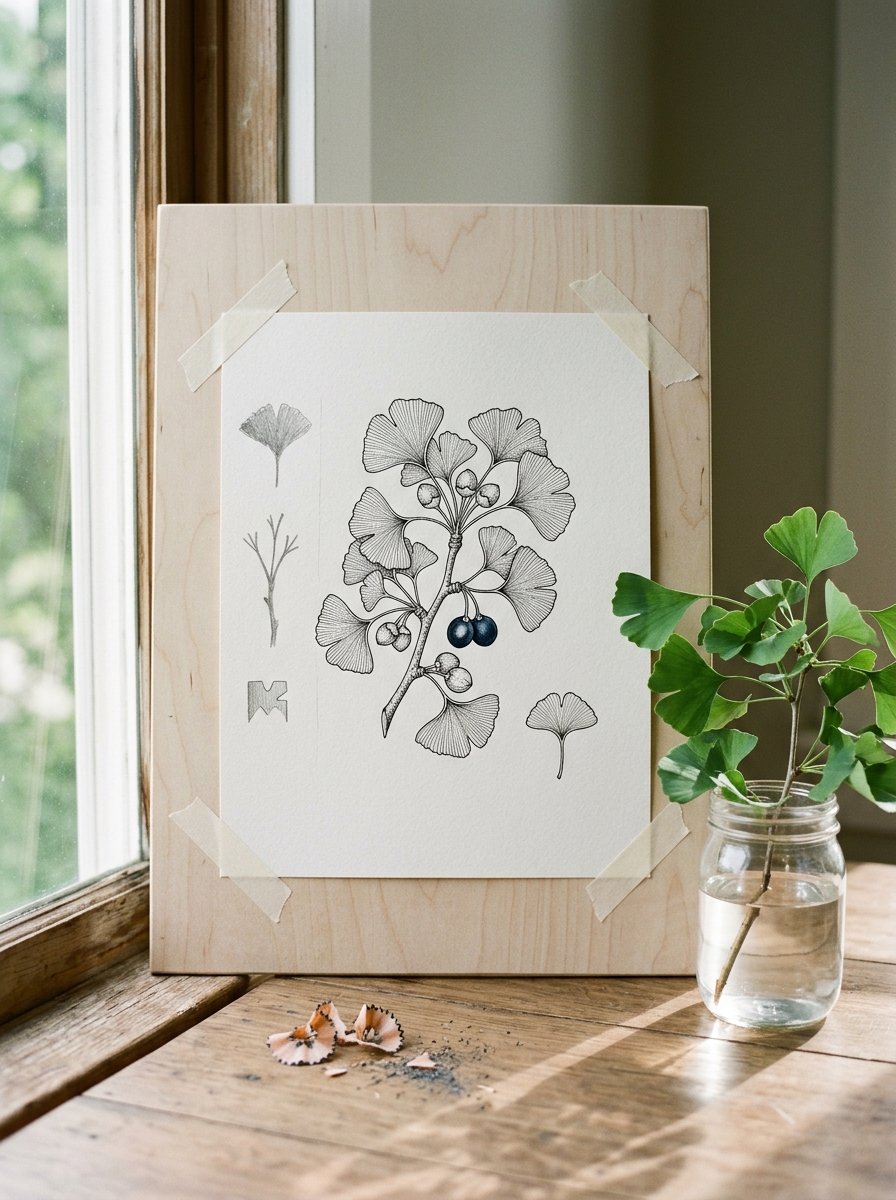
Every plant drawing in a museum started as three pencil shapes. The artist drew them fast, before the leaf wilted. That is the whole method of botanical drawing for beginners.
The ink came later. Veins, dark areas and fine detail all go on top of those three shapes.
(I spent a year trying to draw the finished plant first. It did not work once.)
Below are 15 plants in three groups: leaves, flowers and seed heads. For each one you get its three shapes, the order to draw them, and the usual mistake. The tulip sheet is free to print.
Download the free tulip practice sheet →
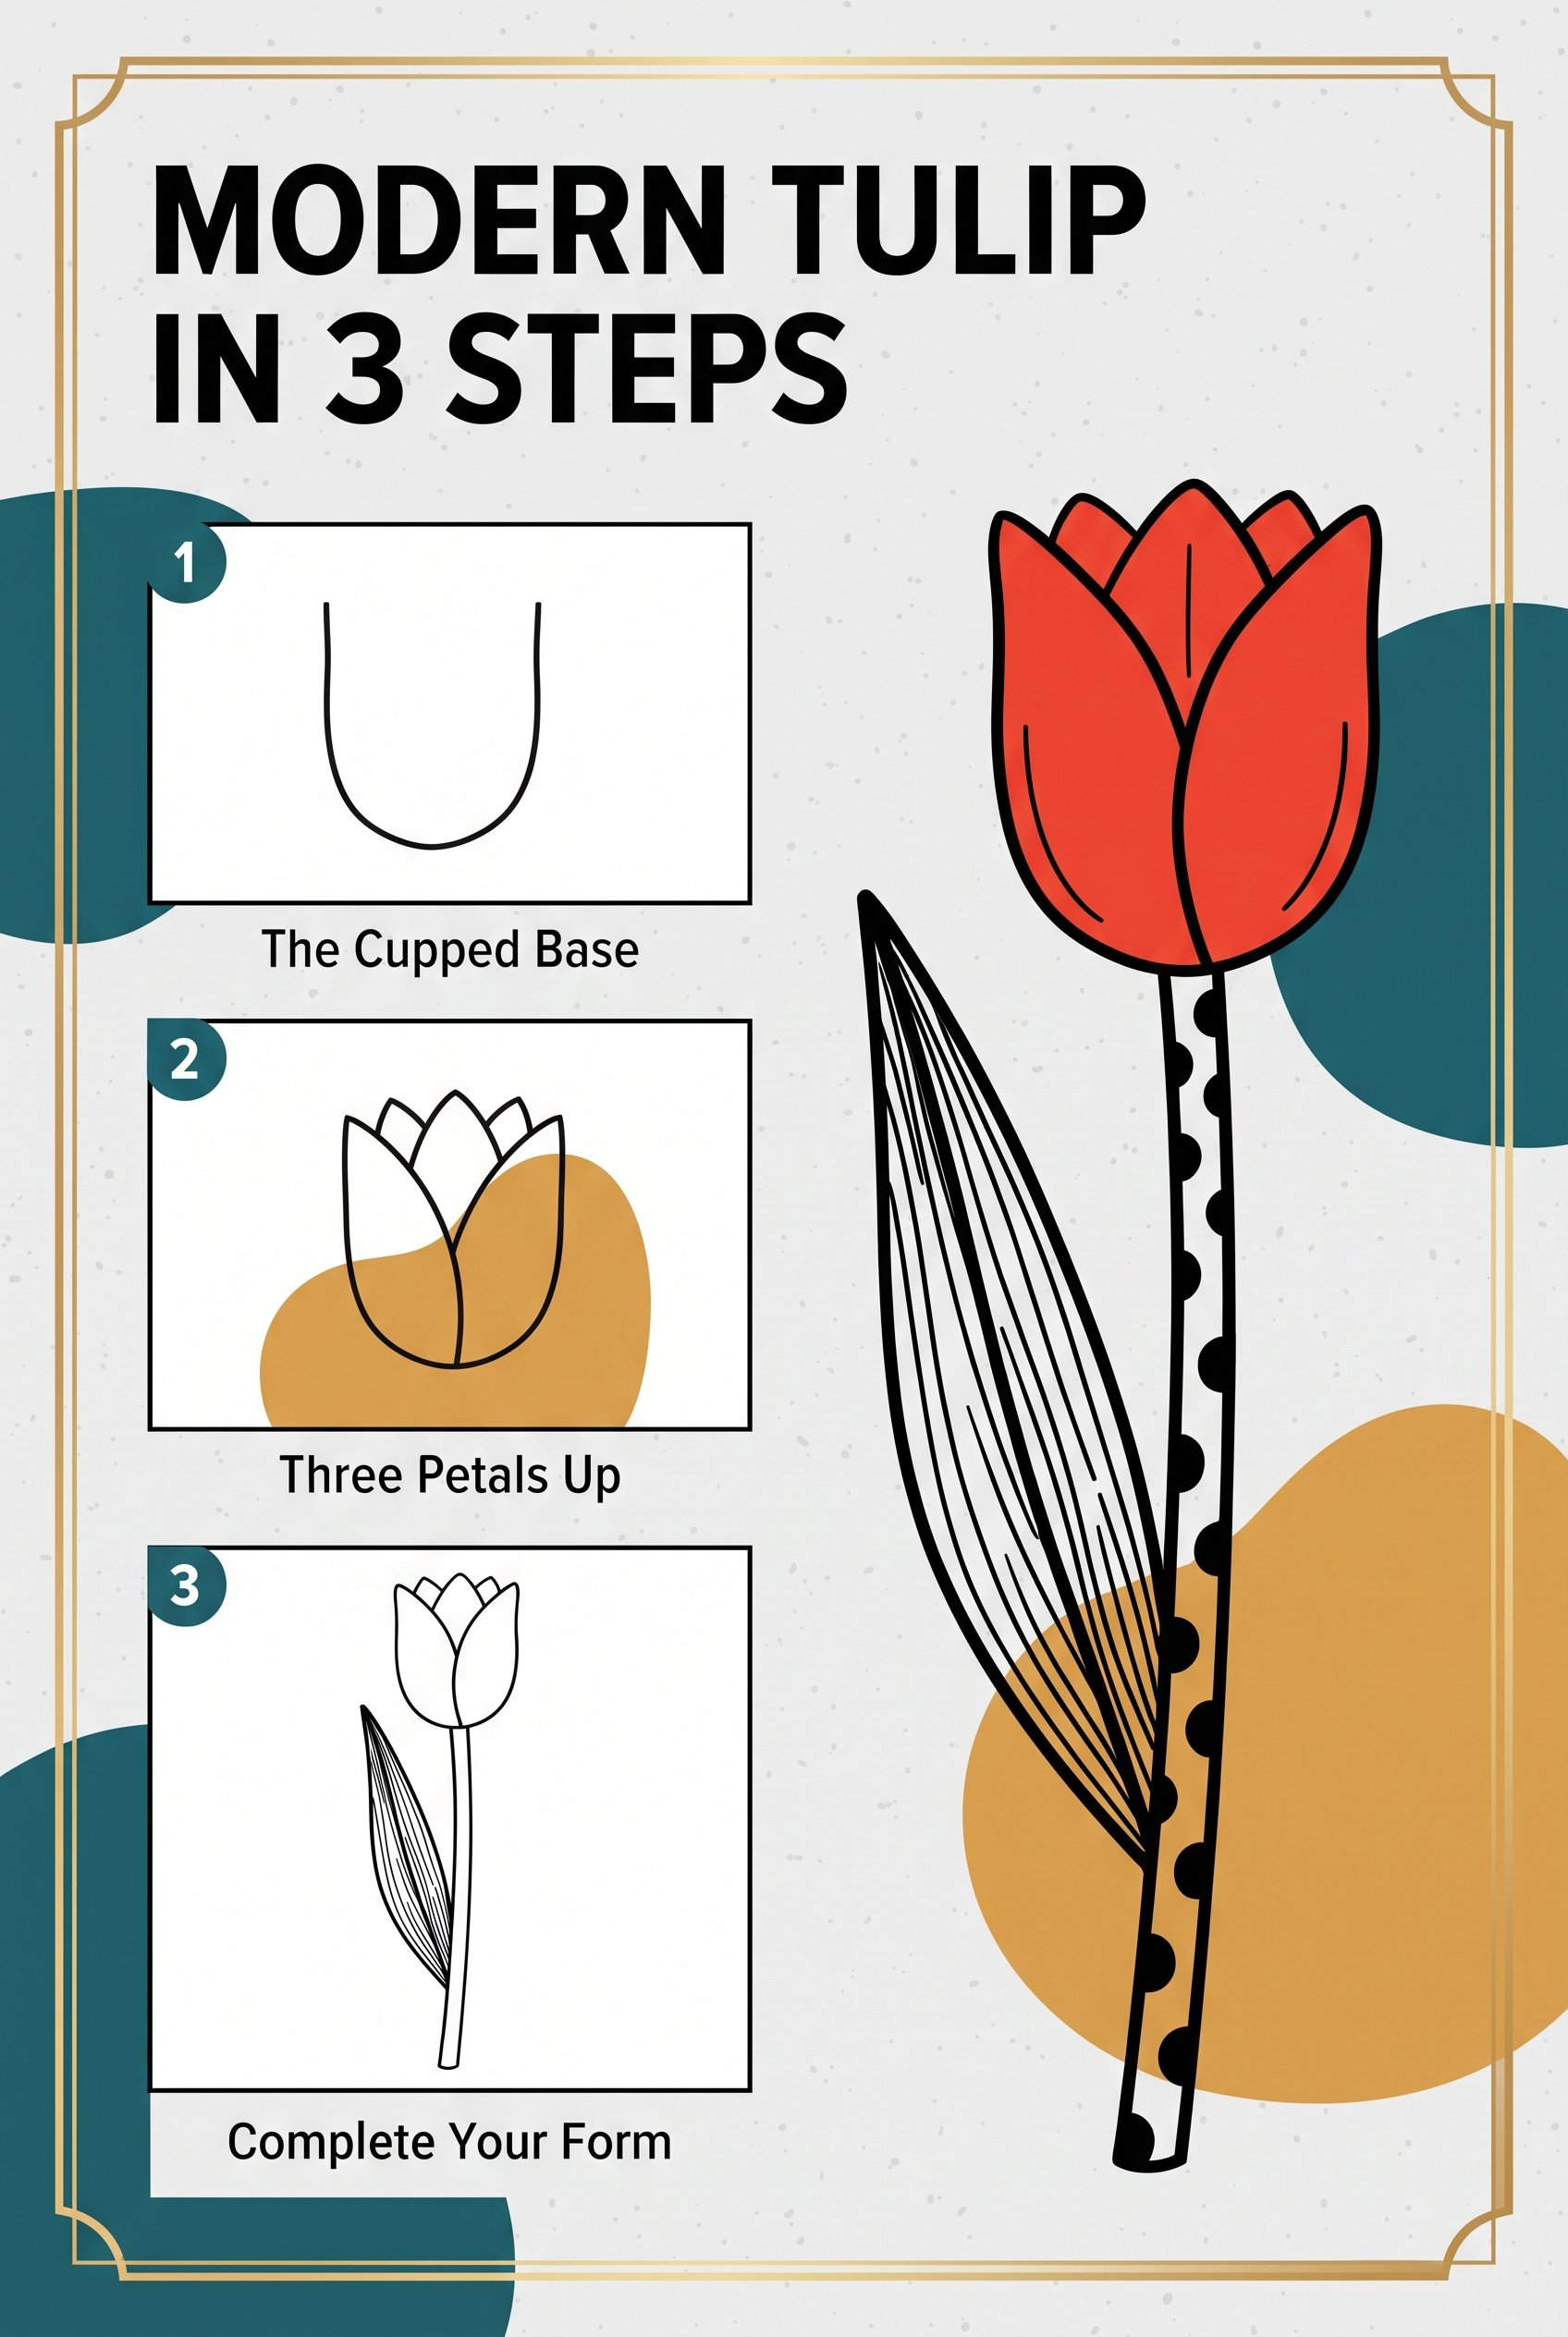
Start with the tulip. Draw a cup shape first, then three petals on top, then one line for the stem.
Three habits make a drawing look like a museum specimen. Keep the pencil light. Draw one part of the plant a second time, on its own. Put the dark ink in one place only.
Each habit comes from a real botanical artist, named below. (None of them was trying to be artistic. They were trying to get the plant right.)
After these 15, you may run out of plants to draw at home. The set below gives you 30 flowers most people have never seen, each already split into three steps.
The Collection
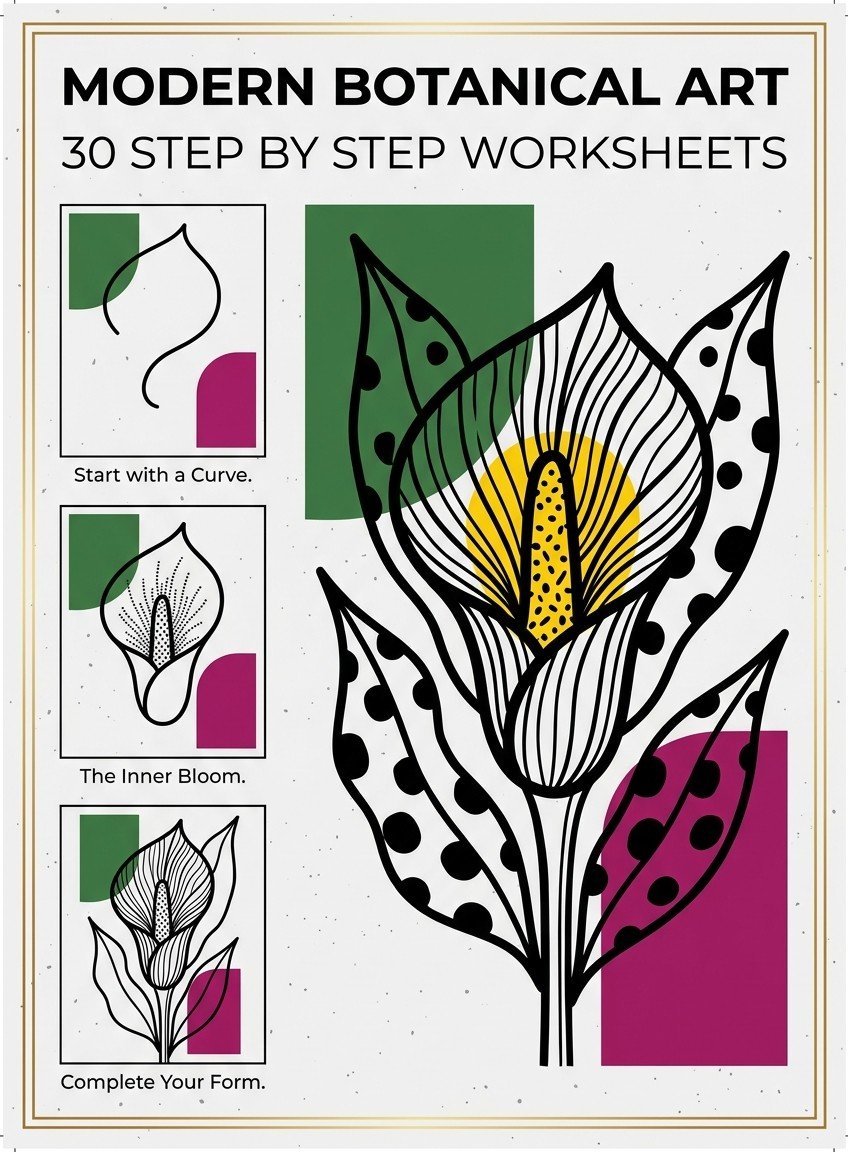
MODERN BOTANICAL ART — whiskers, pitchers, and 32 flowers, most of them unusual.
For the evening you want to draw a flower you have never drawn before. Inside: 32 flowers, most of them unusual, each broken into 3 steps. (A bat flower really does have whiskers.) What you get: a finished flower in one evening, and a wall of plants people ask about.
Now back to the pencil, where every plant starts.
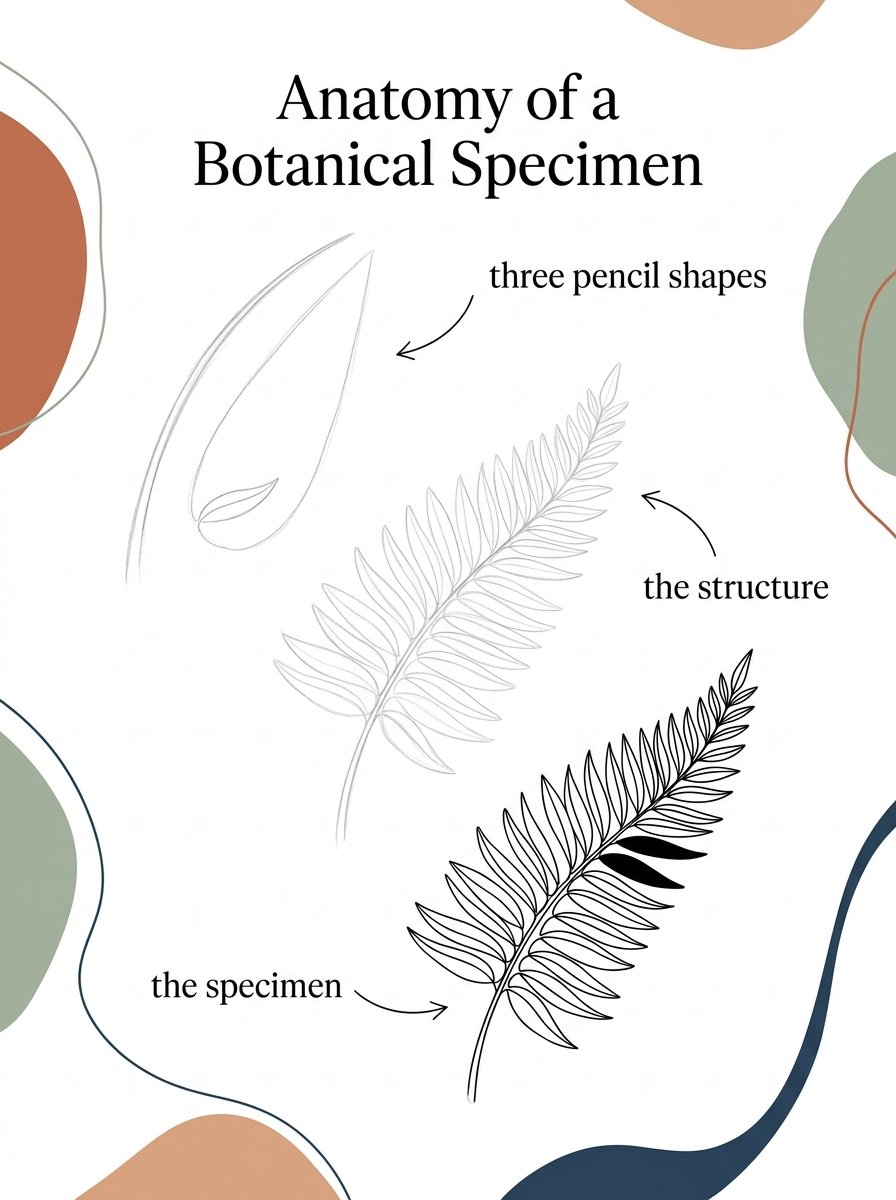
The image above shows the order. First come the three pencil shapes. Then the structure: veins, petals and joints. Then the finished specimen. Skip straight to the finish and the plant looks stiff.
The one tool that matters in botanical drawing for beginners is a light pencil. Press gently. Every pencil line gets inked over later, and a dark one shows through the ink.
Leaves in botanical drawing for beginners: pencil first, colour numbers later, as Ferdinand Bauer did
In 1801 Ferdinand Bauer sailed with Matthew Flinders to map the coast of Australia. He did not paint the plants on the spot. He drew them in pencil and wrote numbers on them.
Each number meant one exact colour. He used close to a thousand of these numbers. That let him make 61 drawings in a week. He painted the finished watercolours up to a decade later.
(He came back to his notes years later and could still read them. I lose my own notes within a week.)
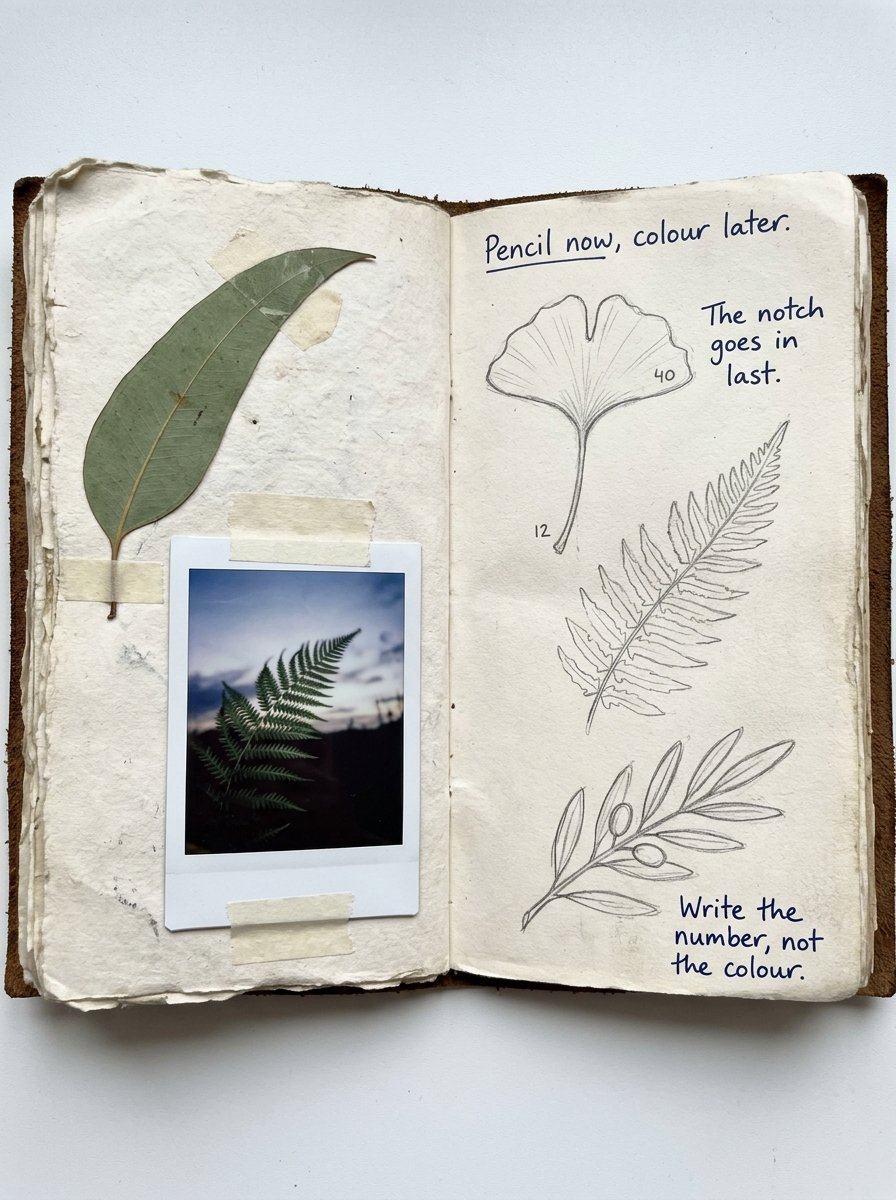
What this means for you: finish the leaf in pencil first and add colour on another day. On the sketch, write a number where each colour goes. I use 12 for the stalk and 40 for the leaf.
The ginkgo leaf
Three shapes: a fan, a stalk, and a notch at the top of the fan. Draw the fan first, then the stalk, then the notch.
I drew the notch first for a week, and every leaf came out lopsided. The notch marks the middle, so the fan has to be there already.
Draw the veins as straight lines from the stalk out to the edge. They never cross each other. If yours cross, rub them out and redraw them like the spokes of a fan.
The fern frond
Three shapes: a curved line for the spine, a long teardrop around the whole frond, and one small leaflet. Draw the teardrop outline first, very lightly. Then fill it with leaflets on both sides of the spine. The outline keeps them shrinking evenly towards the tip. (Without it the leaflets stay the same size all the way up. The frond then reads as a centipede.)
The eucalyptus sprig
Three shapes: a loose S for the stem, a round leaf, and a slightly squashed round leaf. Draw the leaves first, alternating left and right. Then draw the stem up to each leaf and stop at its edge.
Stopping at the edge puts the leaf in front of the stem. Avoid matching pairs of leaves. Pairs make the sprig look like a ladder.
The monstera leaf
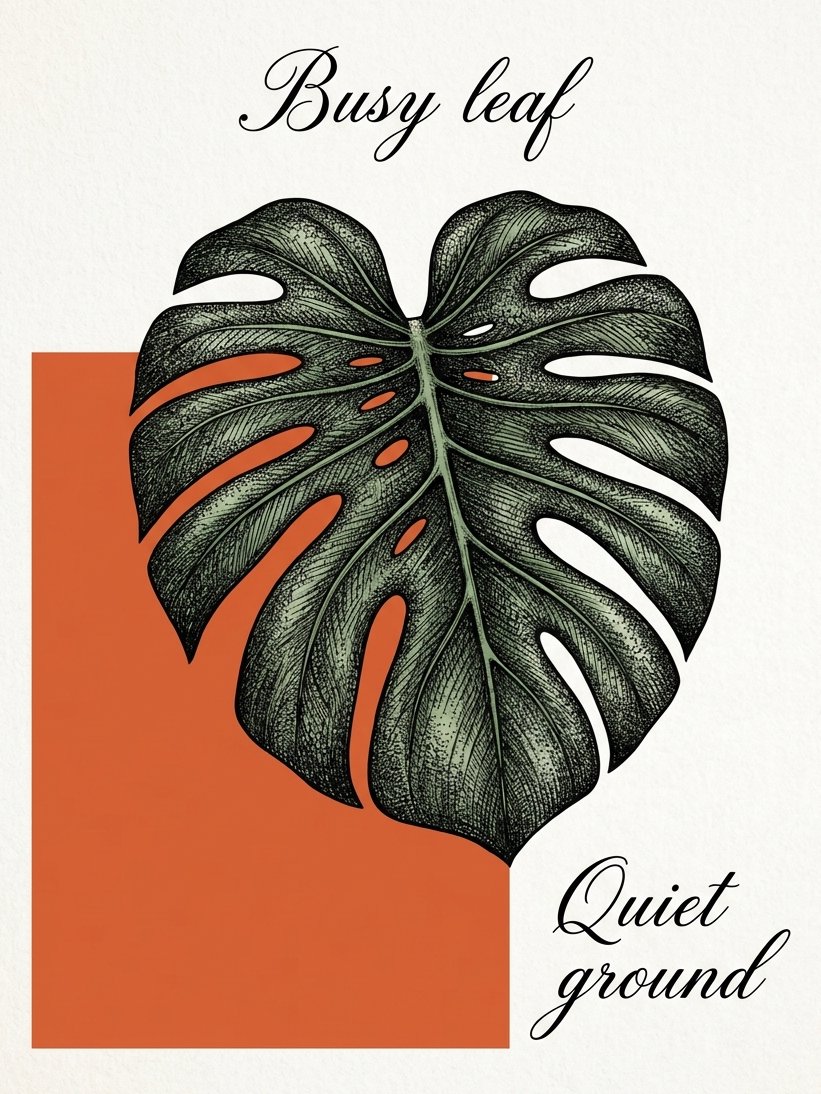
Three shapes: a heart, a centre line, and wedge-shaped cuts from the edge inwards. Draw the heart, then the centre line, then the cuts. Keep the cuts small. Big cuts make the leaf look like a comb.
Put all the pattern and texture inside the leaf. Leave the paper around it empty. That contrast is what makes the drawing look expensive. Busy leaf, quiet paper.
The olive branch
Three shapes: a long line for the branch, narrow pointed leaves, and small ovals for the olives. Draw the branch, then the leaves, then the olives. Point every leaf towards the tip of the branch.
Turn two or three leaves so only a thin edge shows. Olive leaves are pale underneath, and the thin edge shows that without any shading. (The olive is the branch everybody puts too many leaves on. Mine was a hedge for a fortnight.)
Leaves are the easiest group in botanical drawing for beginners. Every pencil line gets inked over later. So the pencil only has to show where a line goes, not how dark it is.
The pencil shows where. The ink decides how dark.
Flowers in botanical drawing for beginners: draw the parts in a row above, as Georg Ehret did
In 1752 a print was published in Nuremberg of a creeping cactus in a blue pot. Above the plant, Georg Ehret drew the flower again in separate parts. The ovary, stamens, style and seeds each sit alone. He labelled them with letters from a to r.
That row of parts turns a flower drawing into a specimen. The labelled parts are what make people stop and look closely.
(Letters a to r means 18 separate parts. For one flower.)
What this means for you: when a flower is finished, draw one part of it again, small, in a corner. Try a single petal, or the centre cut in half. Write a small letter beside it. It takes about 5 minutes.
The tulip
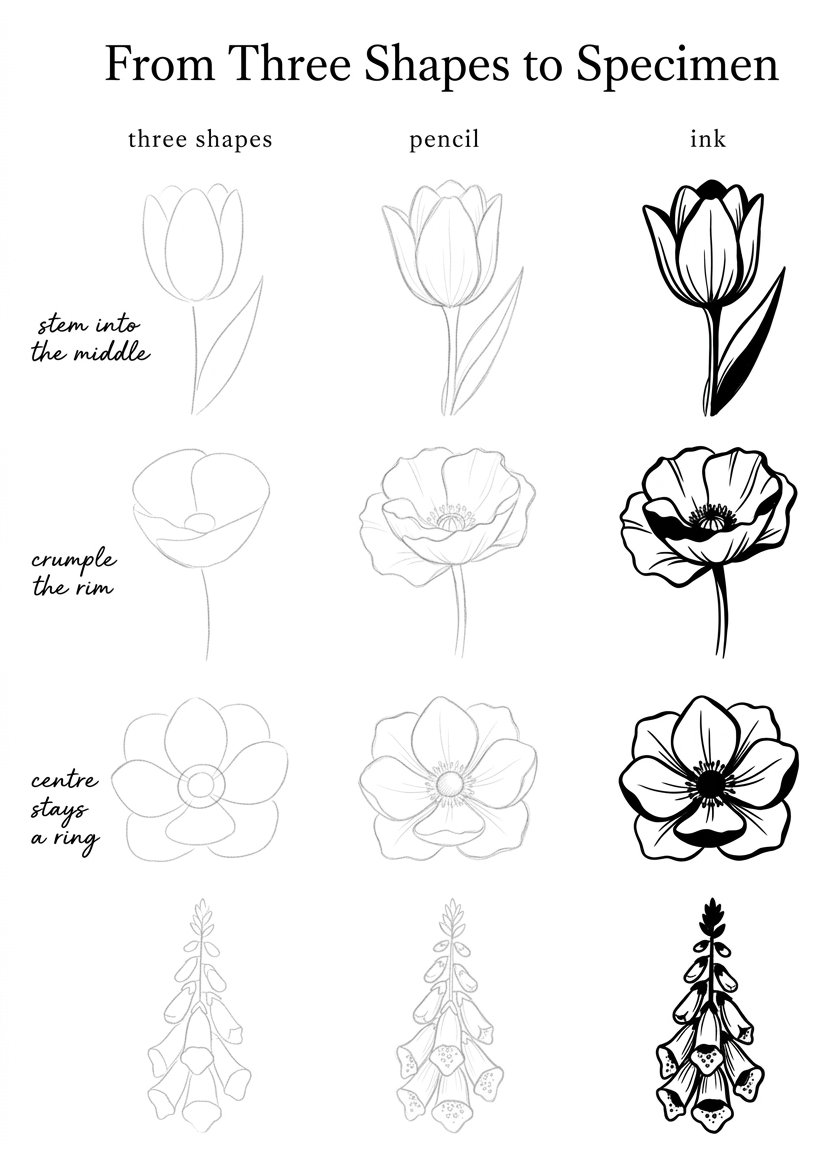
Three shapes: a U-shaped cup, three petals standing inside it, and a stem. Join the stem to the middle of the cup’s base. A stem joined at the side makes the flower tilt.
Draw the back petals taller than the front petals. This makes the cup look round instead of flat. The free sheet shows this step, and it works for every cup-shaped flower.
The poppy
Three shapes: a wide shallow bowl, a wavy rim, and a small dome in the centre. Draw the rim with small uneven zigzags. A smooth rim makes the poppy look like a tulip. Finish with a ring of short dashes around the dome.
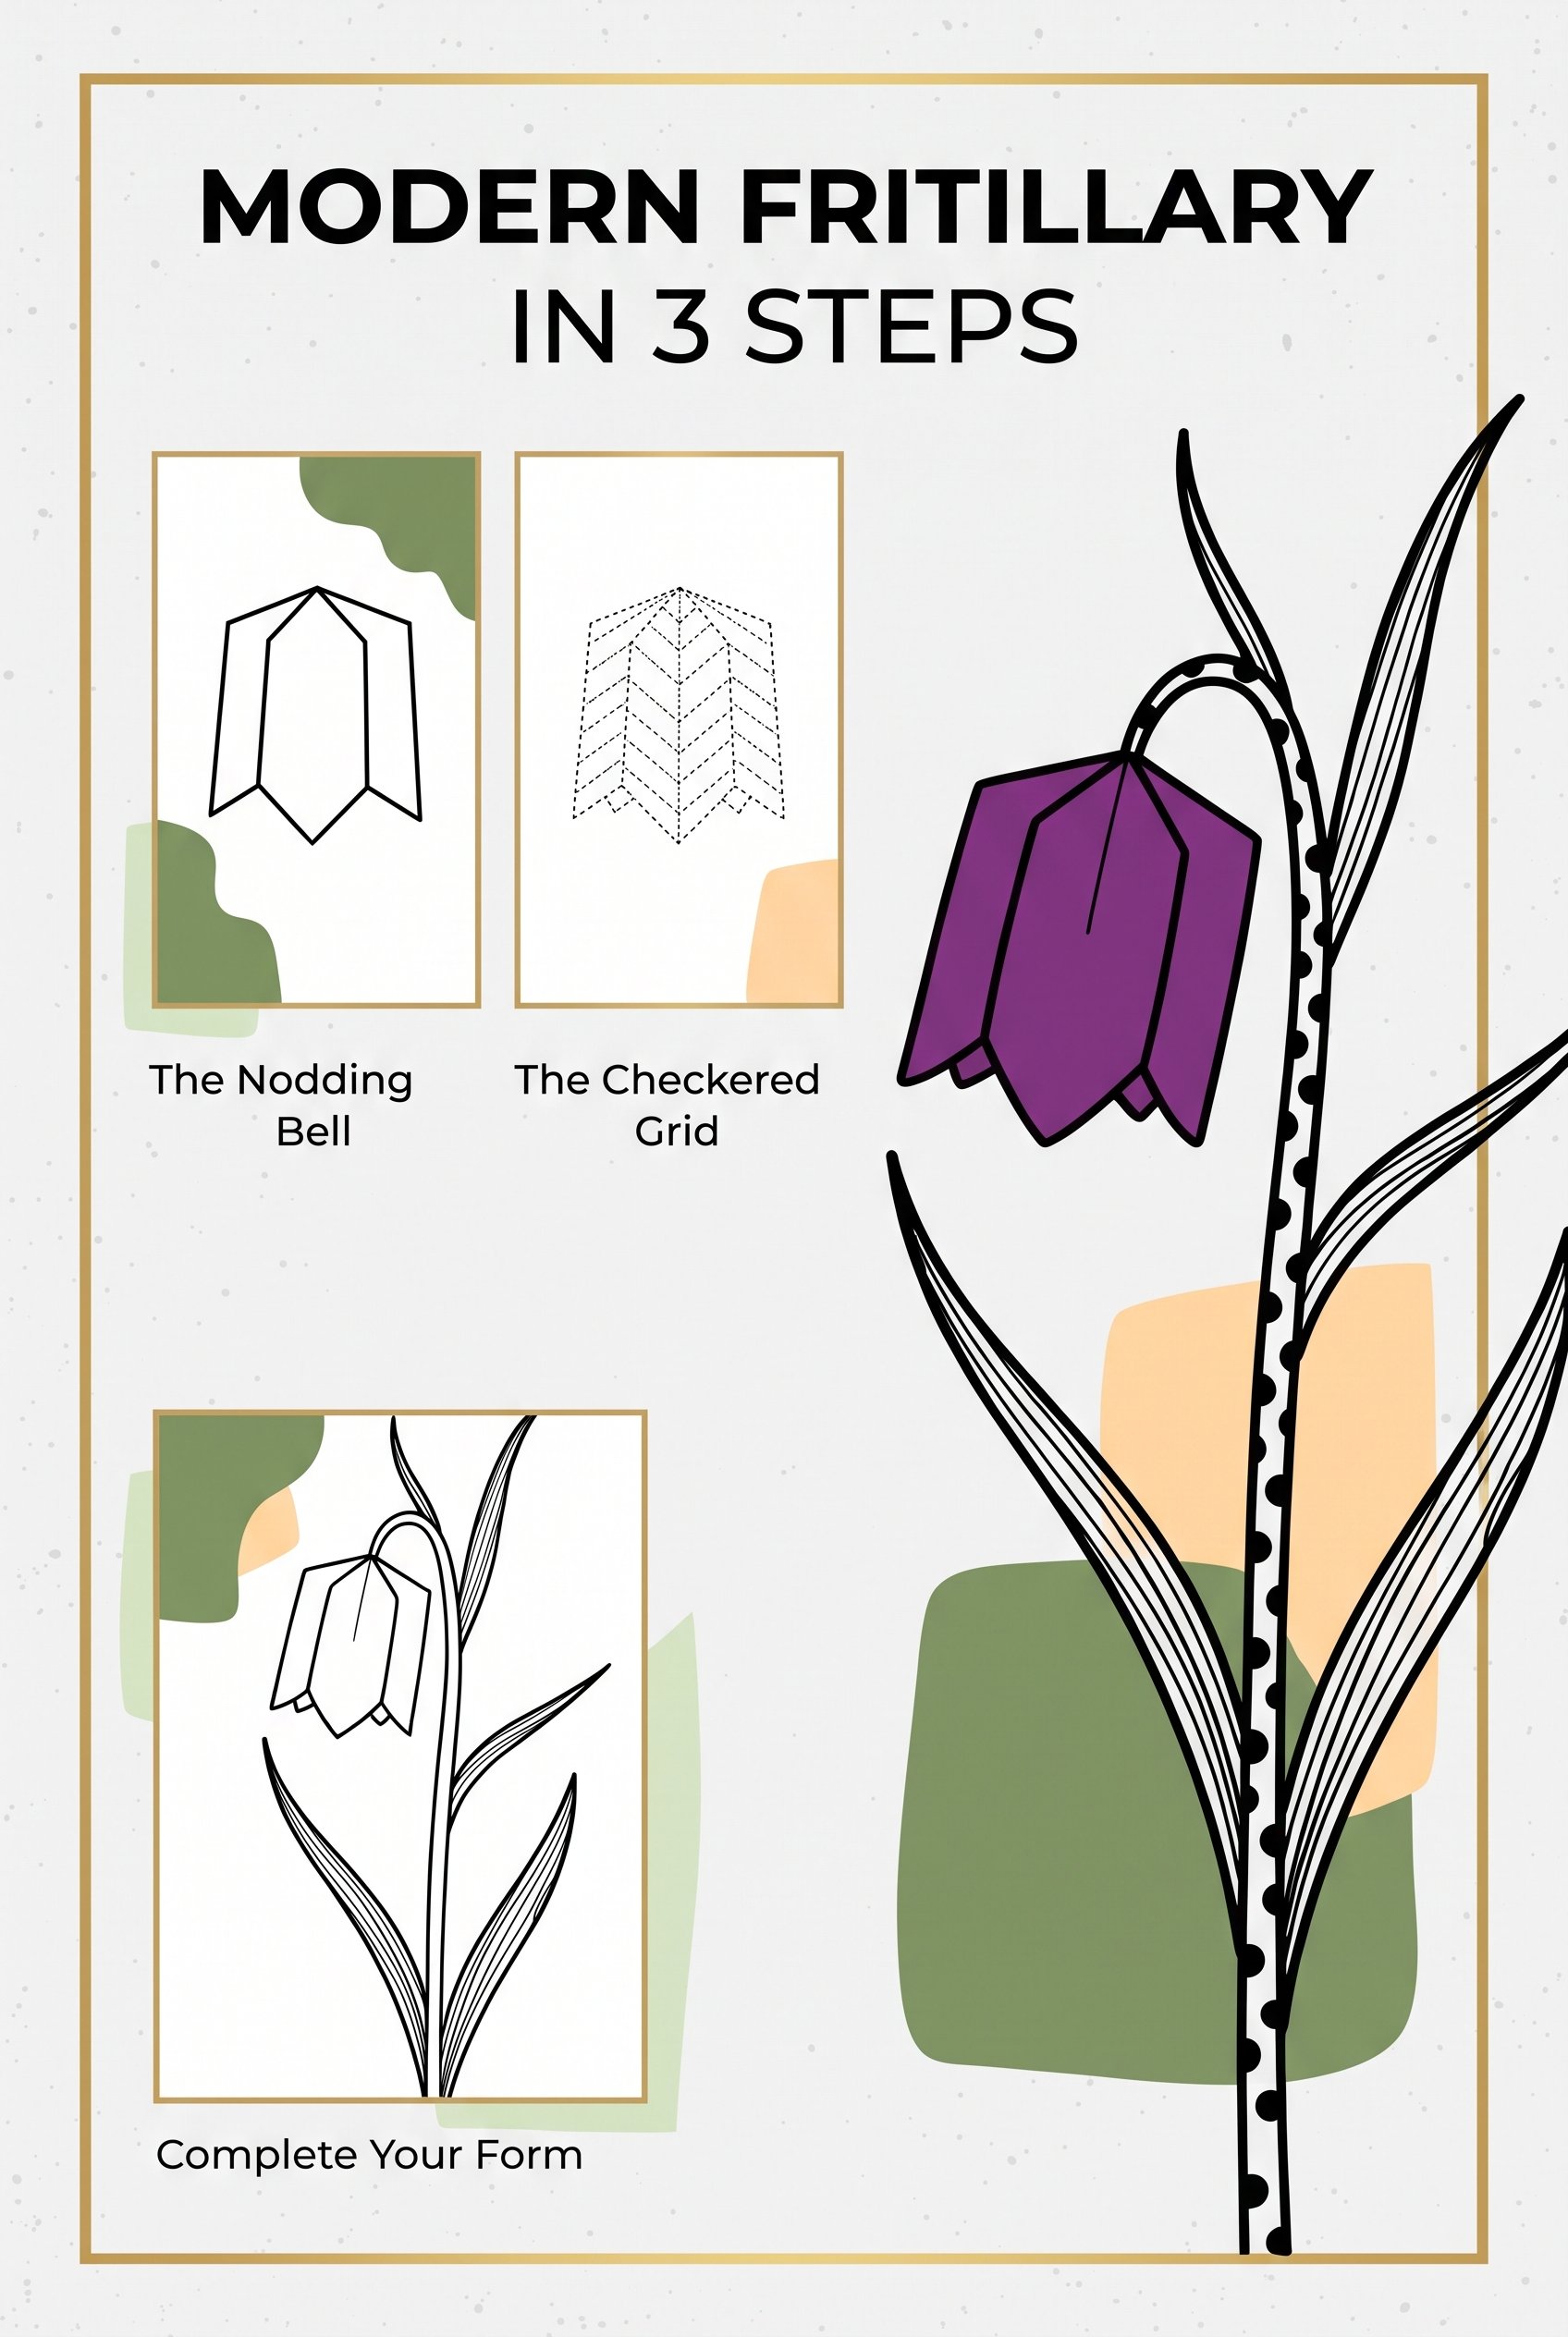
The snake’s head fritillary
Three shapes: a bell hanging down, a stalk that curves over the top, and a checked pattern. Draw the bell and stalk first. Add the checks last, curving them to follow the bell. Flat, straight checks make it look like a tartan lampshade.
(I have drawn several tartan lampshades. They are in a drawer.)
The anemone
Three shapes: a circle for the centre, a ring of wide ovals, and a frill of cut leaves. Draw the centre as an empty ring. Fill it with black ink last, after every petal is finished. (Ink it first and the petals spend the whole evening avoiding it.)
The foxglove
Three shapes: a tall tapering stem, a tube-shaped bell, and a narrow triangle for the whole spike. Hang every bell on the same side of the stem. Make the bells biggest at the bottom.
Put the spots only inside the lower lip of each bell. I scattered spots all over my first foxglove, and it looked unwell.
For flowers, the extra part does the work. Draw one part again beside the flower and add a letter. That one step makes the page look like a real specimen sheet.
One part drawn twice, one small letter beside it.
Seed heads in botanical drawing for beginners: work from dried specimens, as Walter Hood Fitch did
Walter Hood Fitch made nearly 3,000 drawings for one botanical magazine. He made around 9,000 more for other books. Many of those plants he never saw growing.
He worked from dried plants. He took them apart to see how they were built. Then he drew them straight onto the printing stone, as if they were alive. (No rough copy first. I need three tries at a shopping list.)
What this means for you: a dried seed head is a good model. It does not droop or close at night. It stays exactly where you put it, for weeks.
The honesty pod
Three shapes: a flat round coin, a short stalk, and a few oval seeds inside. Draw the seeds lighter than the outline. You see them through the pod’s thin skin, so they need a softer line.
Draw the rim as two lines with a tiny gap between them. The gap shows the papery edge. (Honesty is the one that arrives in a vase on a windowsill and is still there 3 years later.)
The allium seed head
Three shapes: a circle, a centre point slightly below the middle, and straight spokes. Draw 6 spokes first, like the hours on a clock face. Then fill the gaps with more spokes. Without the first 6, the spokes drift to one side.
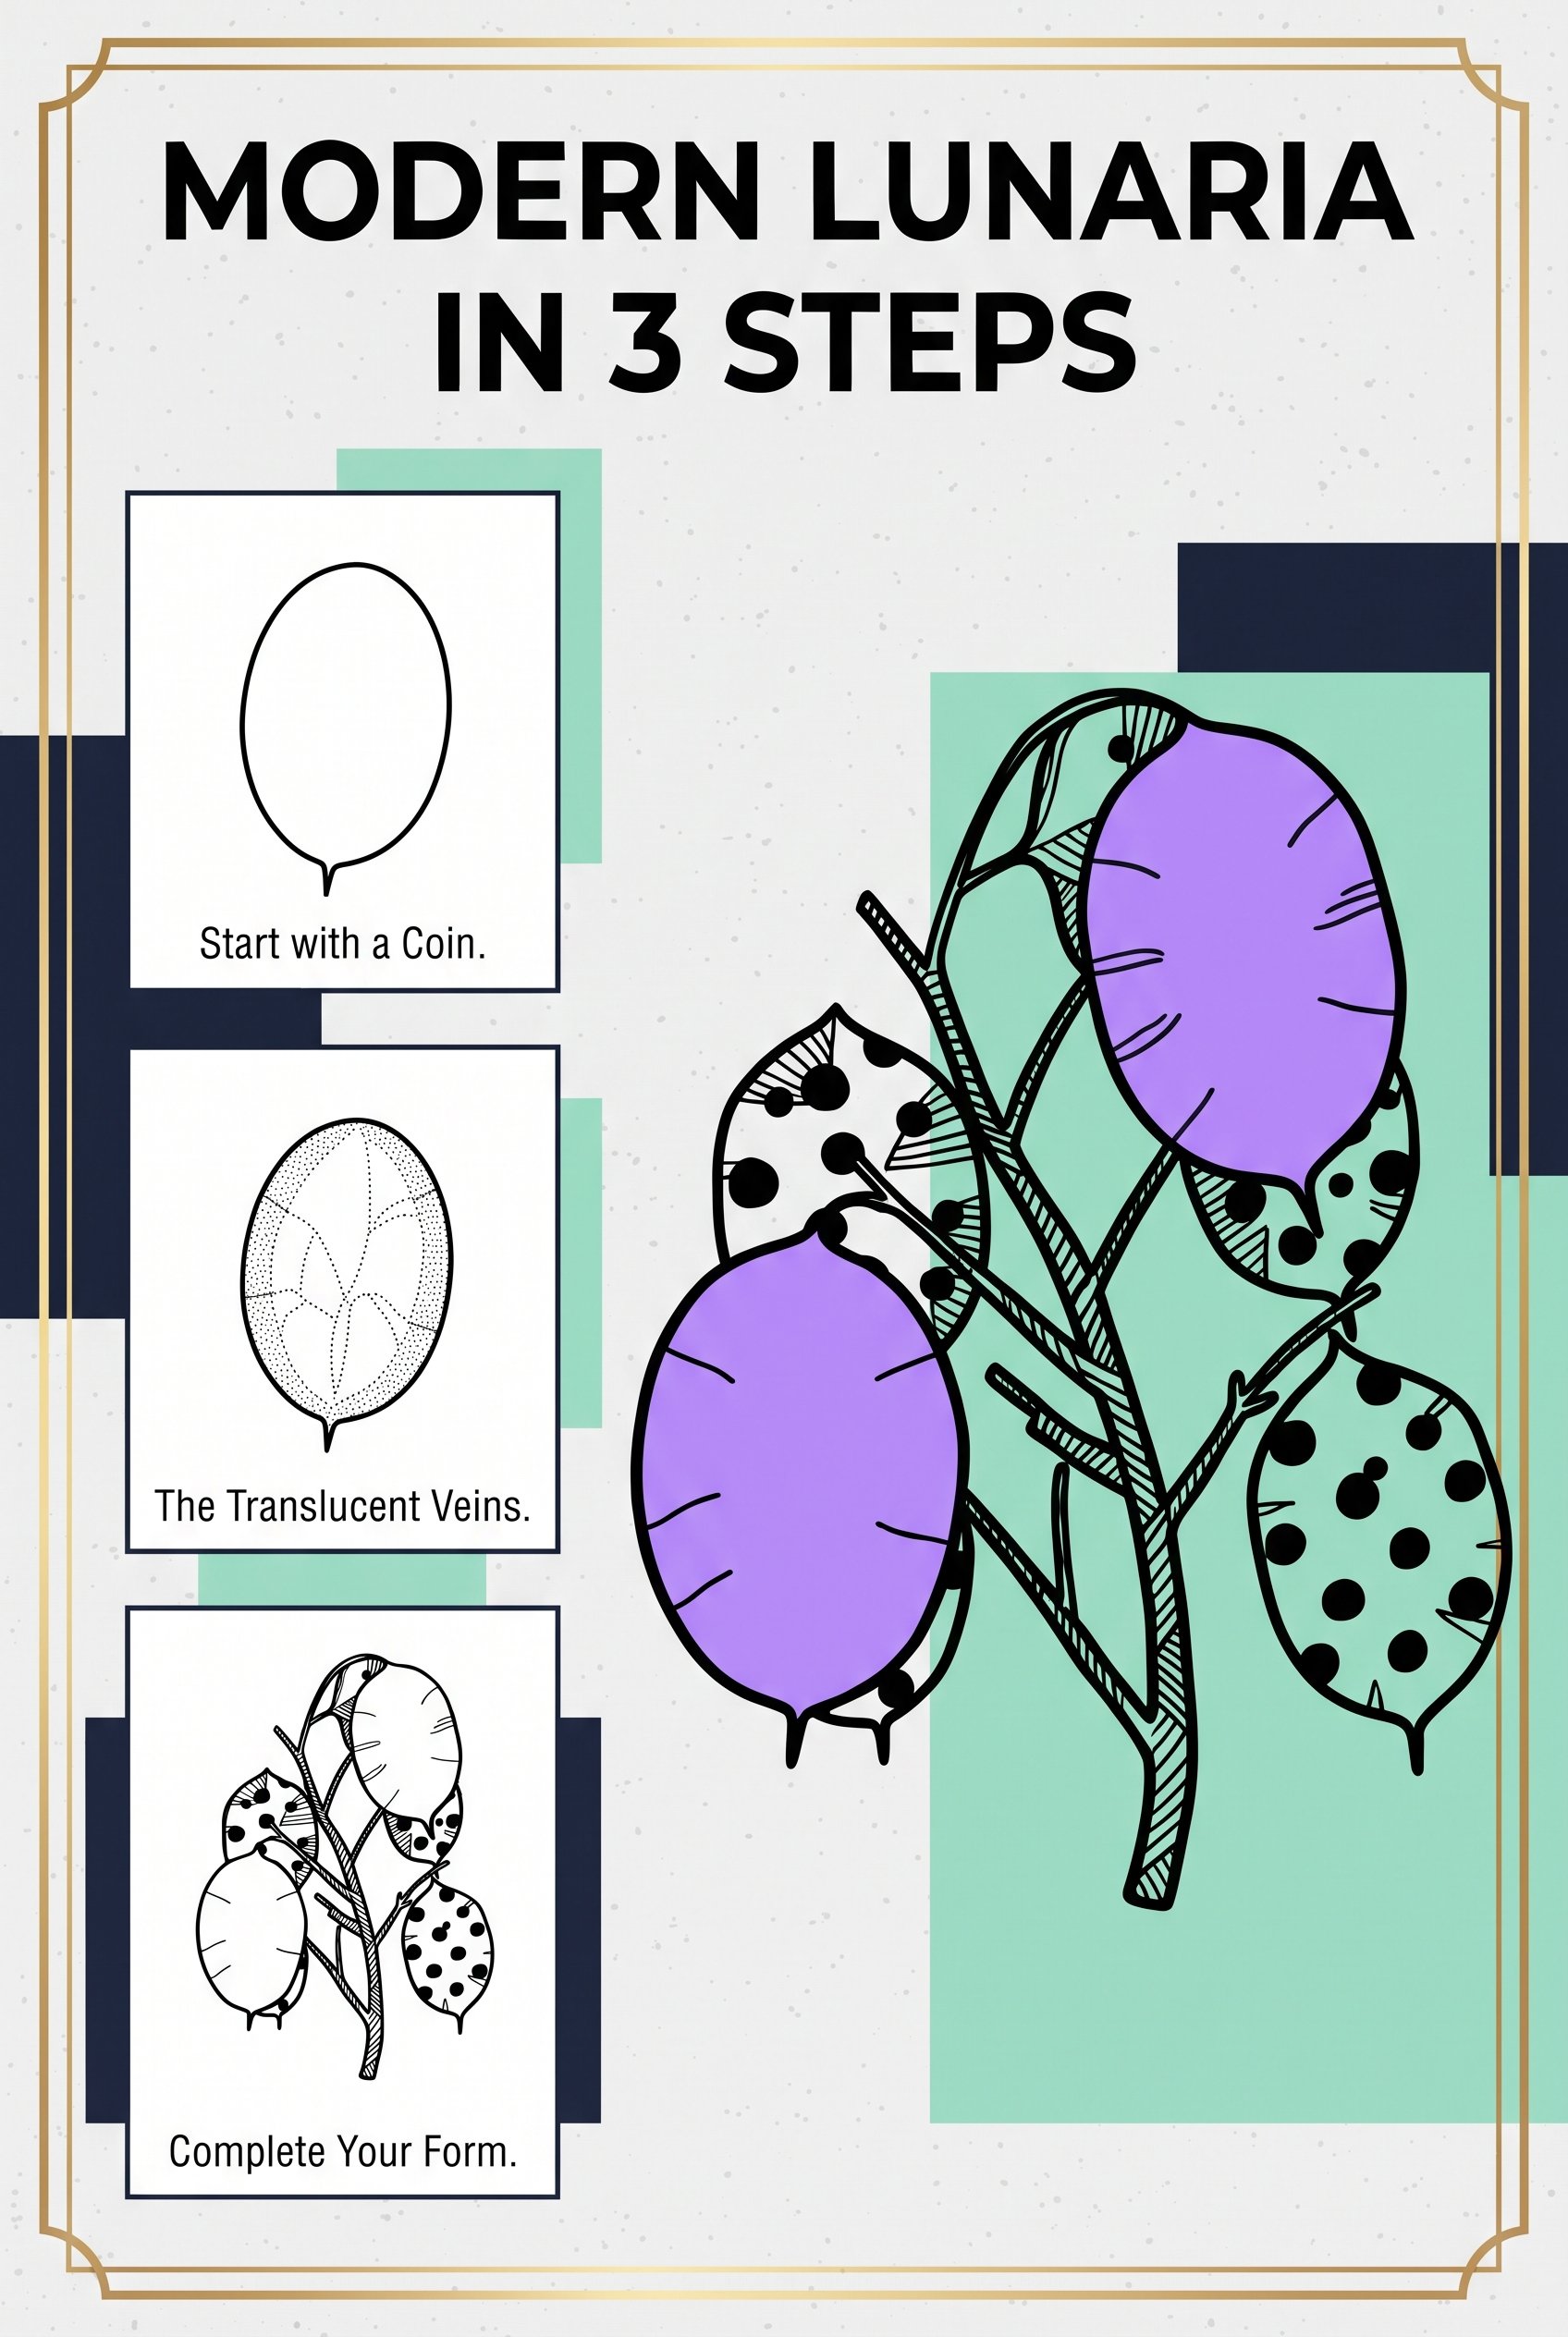
The Chinese lantern
Three shapes: a plump heart, curved ribs, and a stalk. Start each rib at the stalk and curve it down to the tip, like orange segments. Ribs started at the tip usually miss each other at the top.
The acorn
Three shapes: an egg for the nut, a bowl for the cup, and a small stub on top. Hide about a third of the nut inside the cup. Texture the cup with small overlapping U shapes. Cross-hatching makes it look like a basket. (I drew 9 acorns before one looked like an acorn. Every cup was too shallow.)
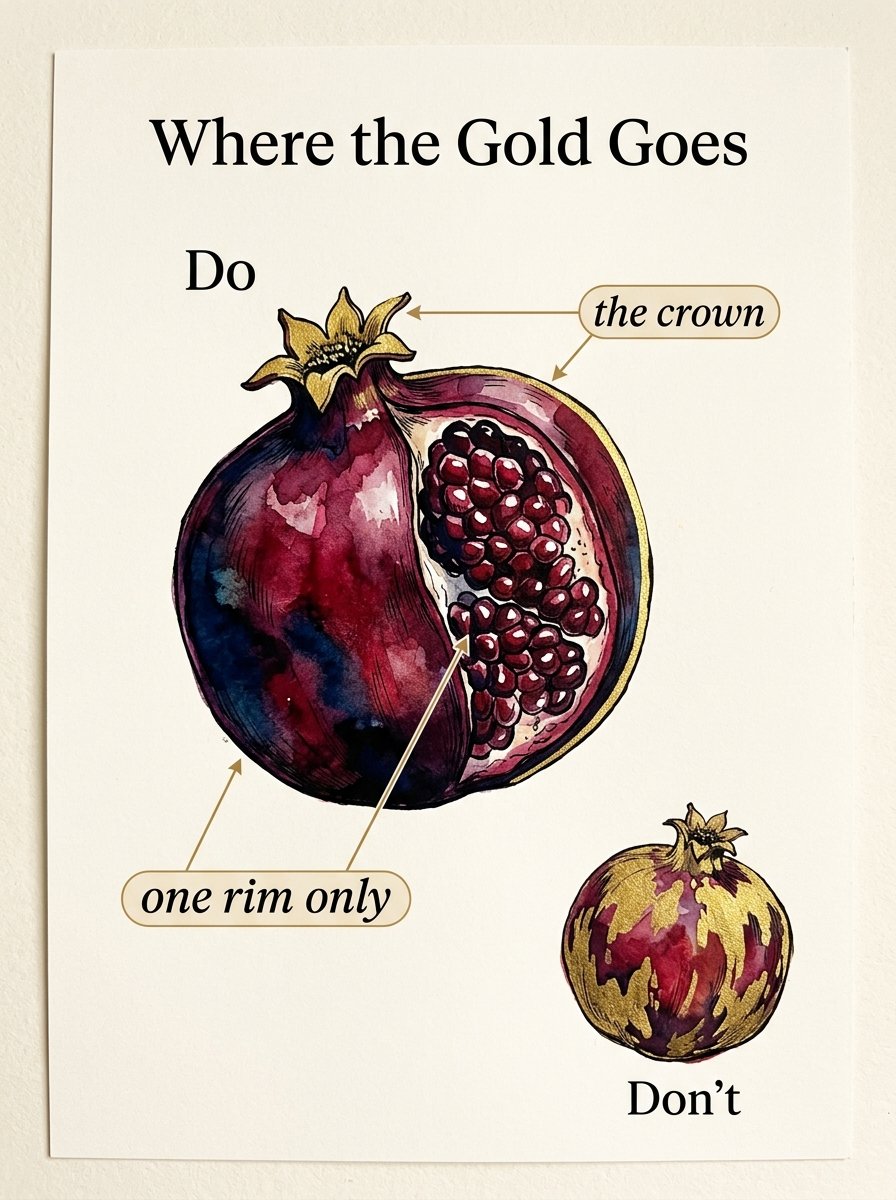
The pomegranate
Three shapes: a circle, a small crown on top, and one flat side at the bottom. Tilt the crown slightly. A perfectly straight crown looks artificial.
If you add gold, put it on the crown and one edge only. Gold anywhere else makes the fruit look like a Christmas bauble.
Shade seed heads on one side only, the side away from the window. I shaded both sides for months, and every pod came out flat.
A dried seed head waits for you. It will still be there on Thursday.
What is botanical drawing for beginners?
It is a drawing of a plant that is accurate first and beautiful second. Botanical drawing for beginners uses the same idea in simple steps: three shapes, then detail, then one part drawn again.
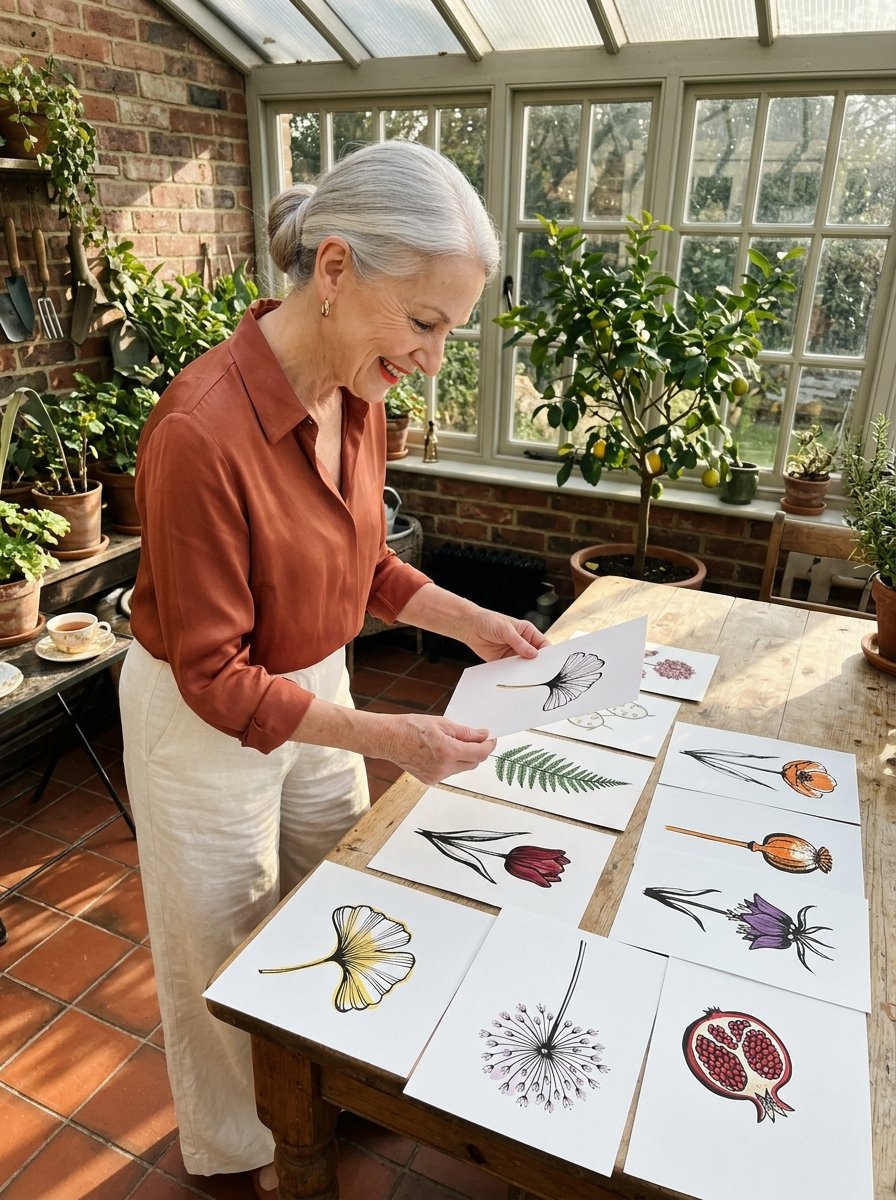
(The accuracy is the relaxing part. You do not have to invent anything. The plant has already decided every shape.)
What are botanical drawings called?
It depends on the purpose. A botanical illustration explains a plant, usually in a book. A study is a practice drawing. A plate is one printed page from a book, like Ehret’s cactus.
A specimen drawing shows the plant with its parts laid out beside it. That is the style this page teaches. (A plate sounds grander than it is. It only means somebody printed the page.)
Some of these plants need a pattern inside them. Think dots on a stem, lines in a pod, or a texture in a leaf. Without one, that space looks empty. The plant gives you the outline, but not the fill.
Free Starter Pack
10 fills for the inside of a leaf, a pod or a stem.
Sent tonight. The plant supplies the outline; these supply the inside.
Unsubscribe in 1 click, no hard feelings
You have now drawn leaves, flowers and seed heads. The next step is plants nobody you know has seen before. The set below has 32 flowers, including bat flowers and pitcher plants, each split into three steps.
Every flower taken apart in 3 steps, 32 of them
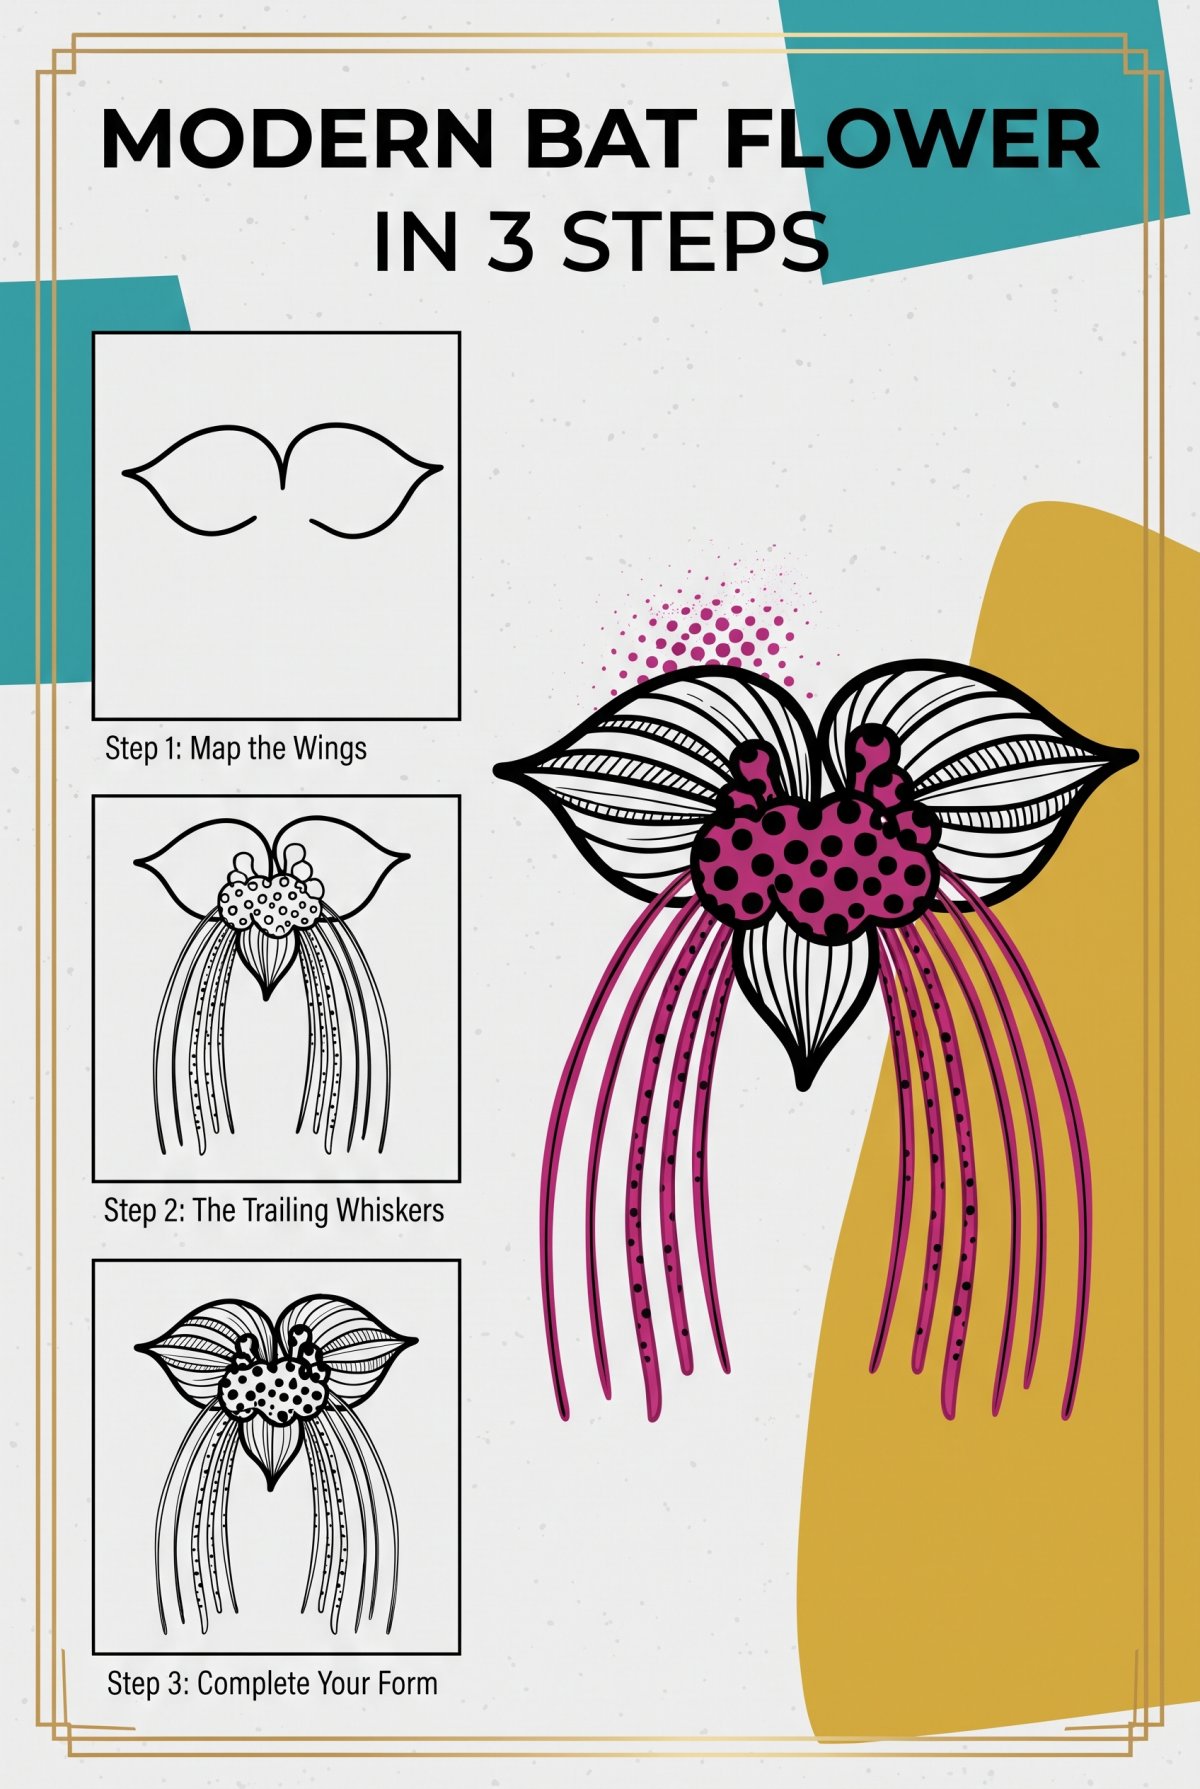
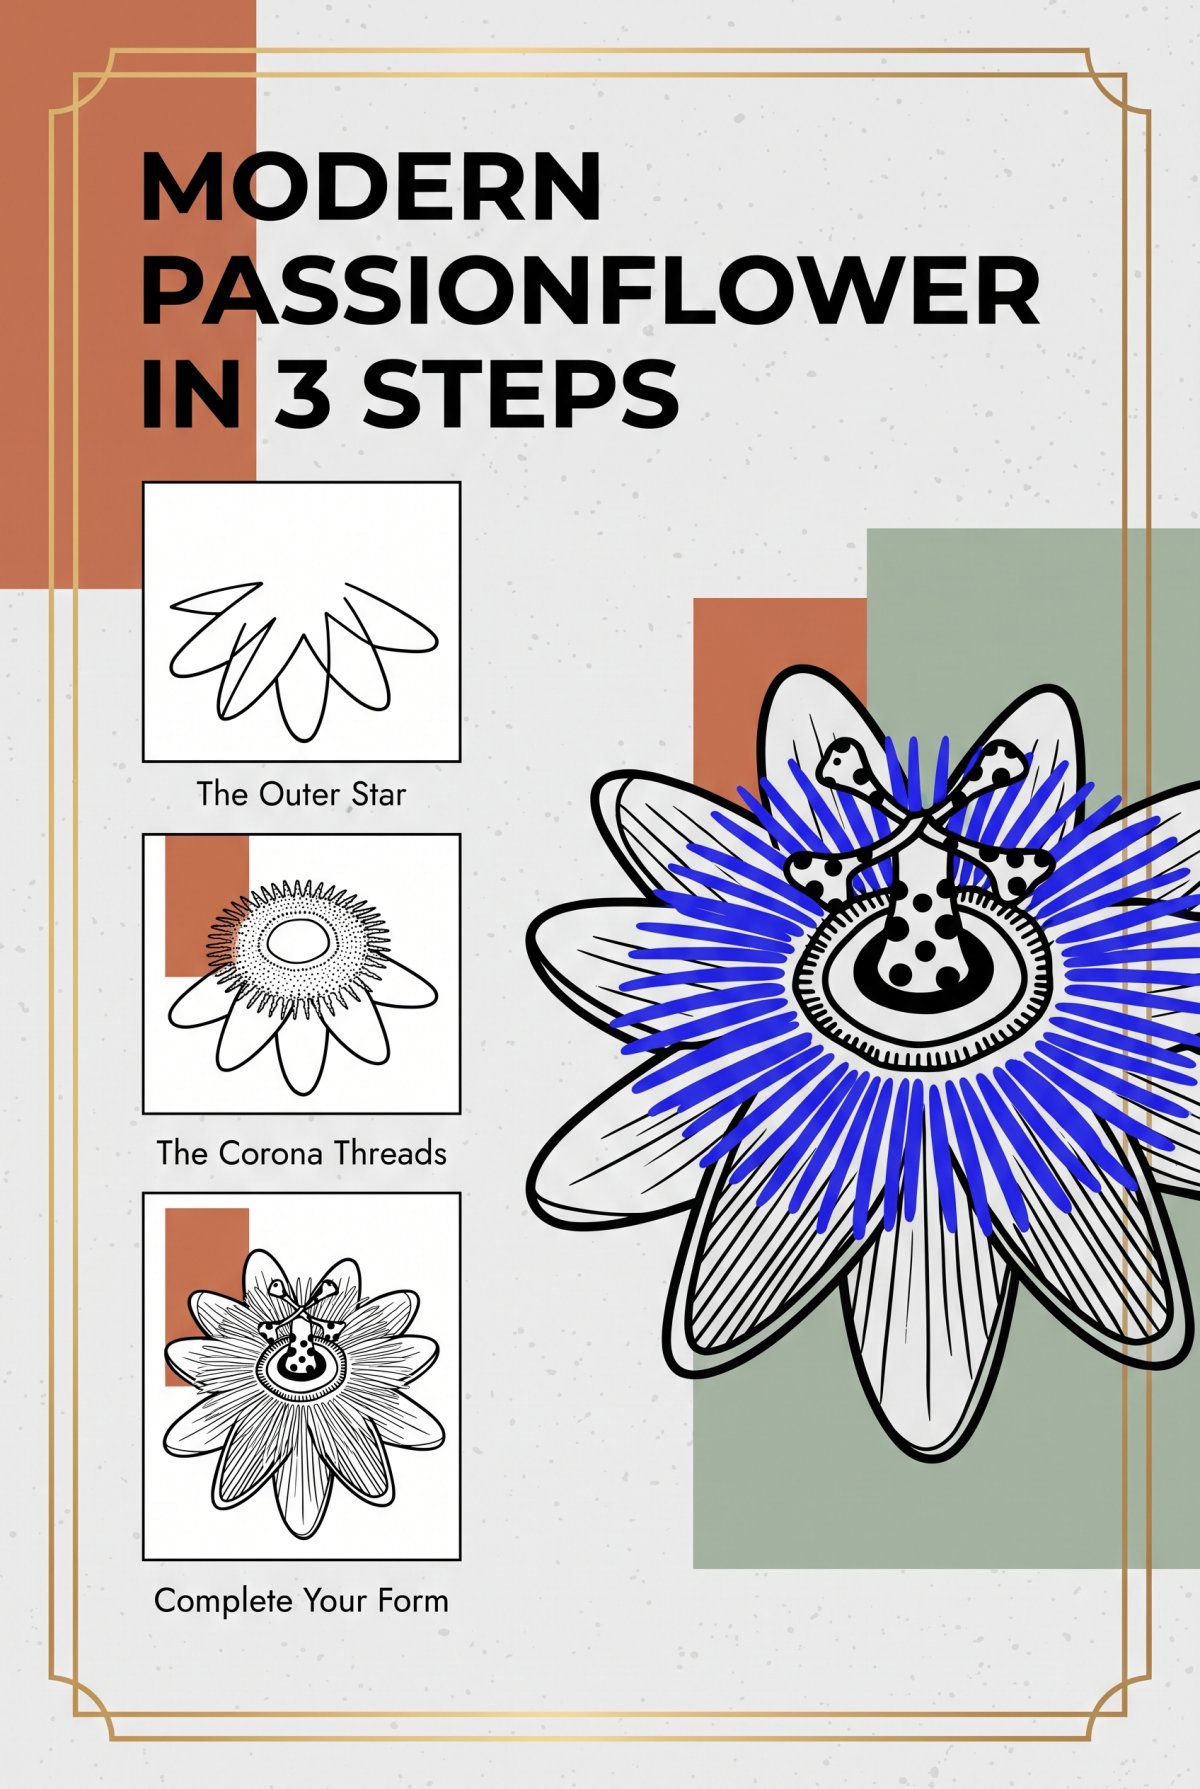
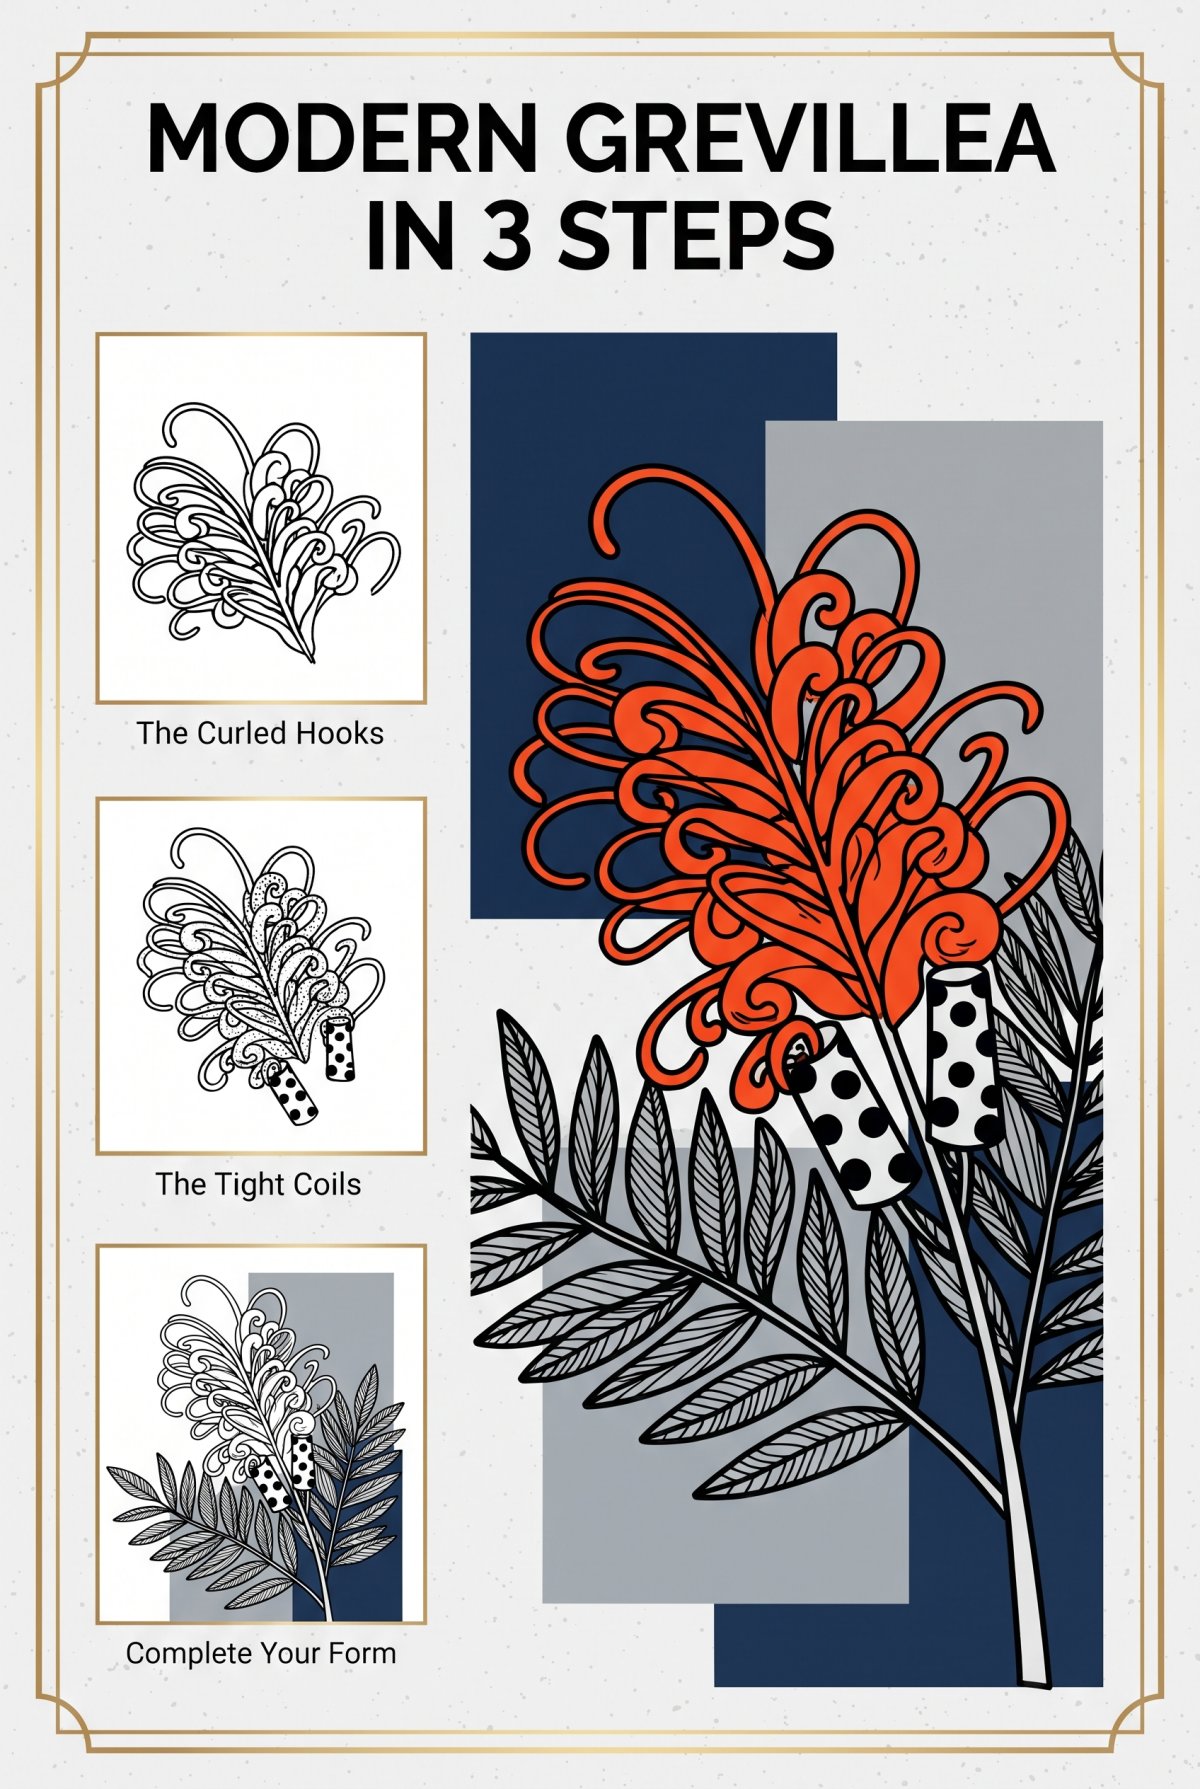
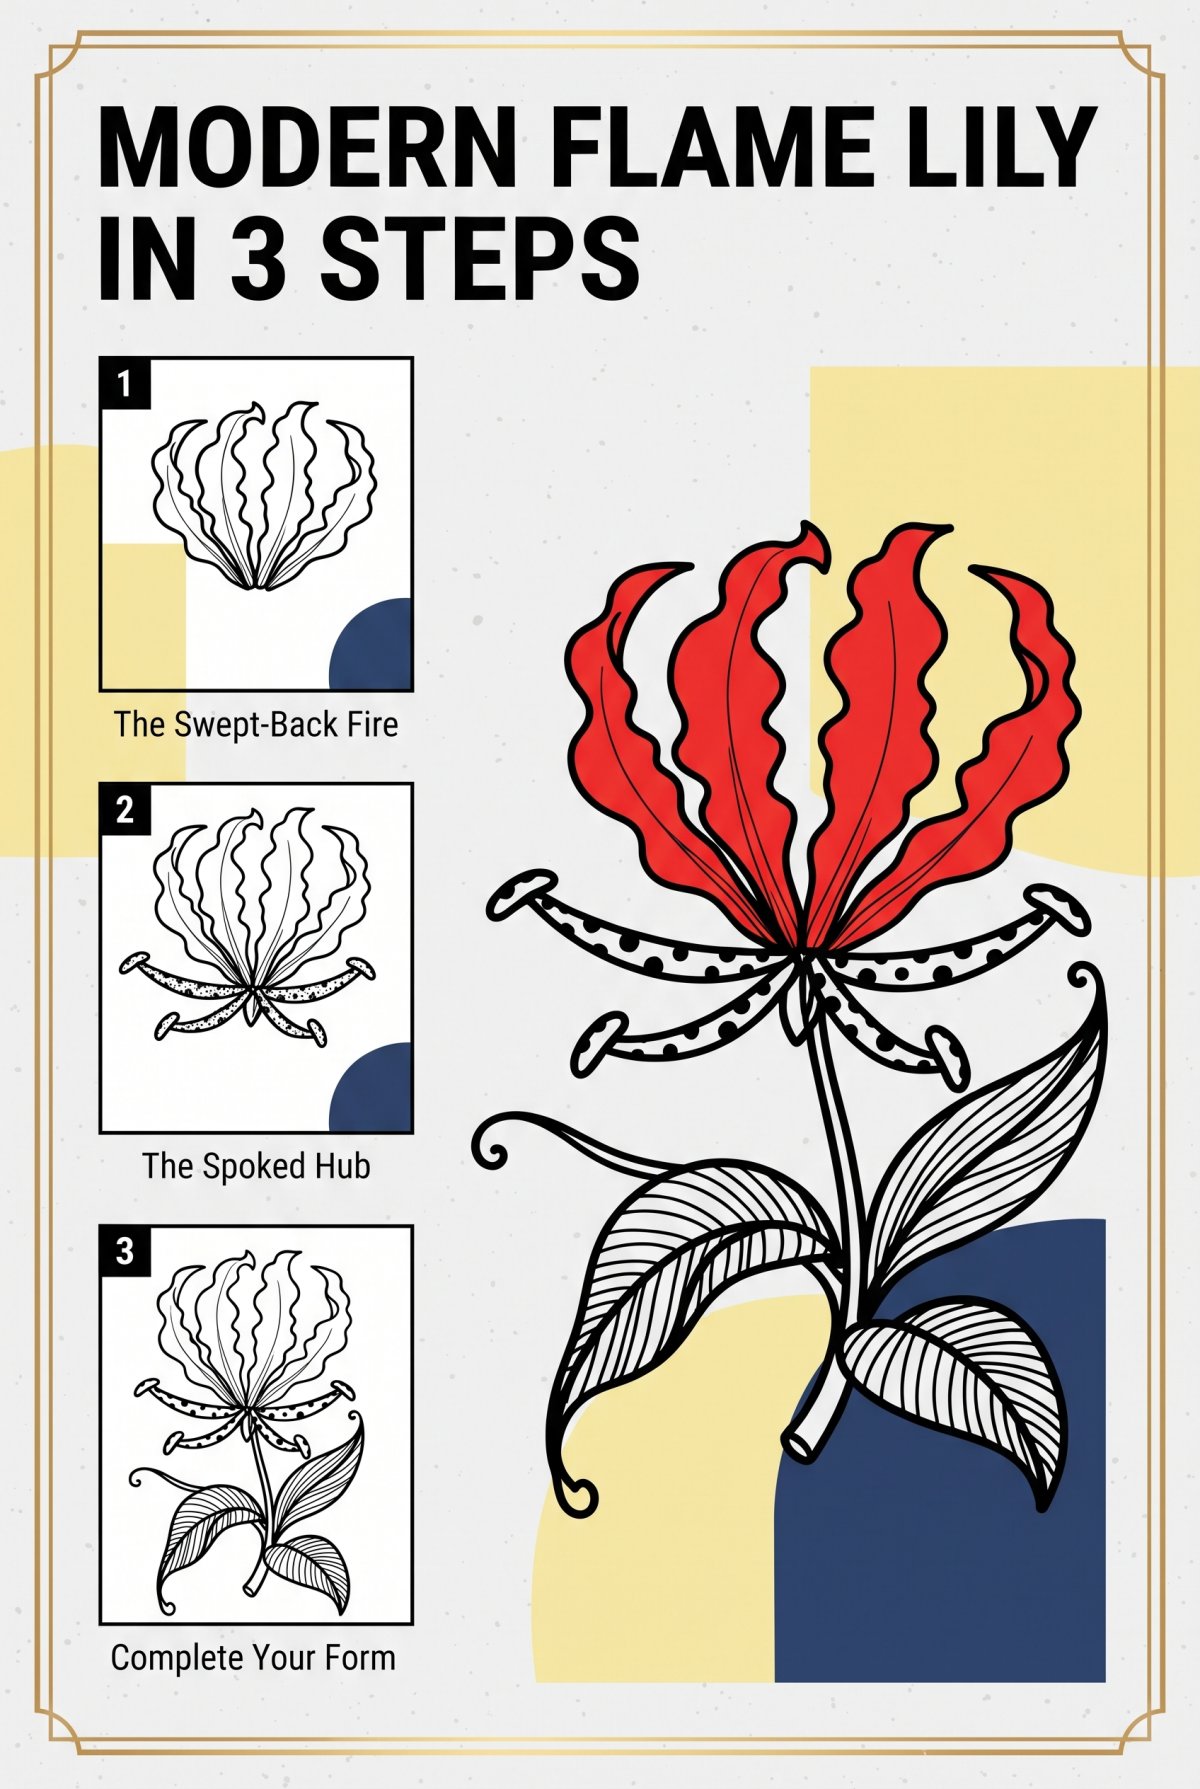
Start with one unusual flower and draw it in 3 steps. By the weekend you can hang a bat flower, a pitcher plant and a lunaria. Each uses the same bold ink and one colour. There are 30 unusual flowers plus a tulip and a rose, all ready to print.
Instant download · print as often as you like
A seed head on the windowsill will sit still for as long as you need. It dried slowly all summer. It can wait one more evening for your pencil.
“It’s rather like a musician who can read notation.”
David Mabberley, on Ferdinand Bauer’s colour code
Mirabelle wrote this. No training, strong opinions, many pens. Peer reviewed by a cat who pressed the specimens personally, by sleeping on them.