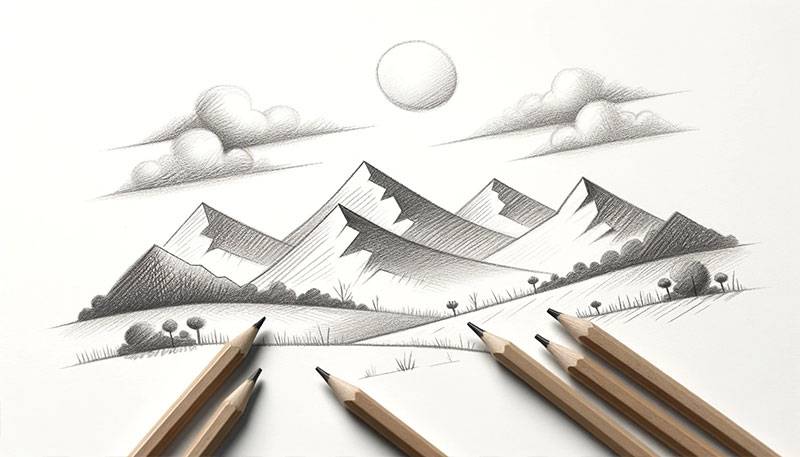
Embarking on Your Mountain Drawing Adventure

Why Mountain Scenes Captivate Artists
Mountains, the majestic guardians of the earth, have long been a source of inspiration for artists around the world. With their grand silhouettes and intricate details, they present a challenge that’s as thrilling as it is rewarding. Imagine capturing the essence of these colossal wonders with nothing but a pencil—this is why the art of creating a pencil drawing of mountains is so captivating.
These stoic giants stand as symbols of endurance, tranquility, and the sublime beauty of nature. They beckon artists to translate their awe-inspiring presence onto paper. From the rugged peaks piercing the sky to the gentle slopes fading into the horizon, mountain scenes offer a variety of textures, contrasts, and forms to explore.
The Joy of Creating Your Own Pencil Drawings
The act of drawing with pencils has a simplicity that belies its potential for creating complex and detailed art. When you embark on the journey of pencil drawing, you’re not just making a replica of a scene; you’re imparting a piece of your perspective and emotions into the artwork.

As you draw, each stroke brings you closer to nature, allowing you to appreciate the nuances that make mountains so breathtaking. The joy of creating your own pencil drawings lies in the process itself—the serene moments spent sketching, the gentle sound of the pencil on paper, and the satisfaction of seeing a blank sheet transform into a stunning portrayal of nature’s grandeur.
You don’t need to be a seasoned artist to enjoy this magical process. If you’re new to pencil drawing or looking to brush up your skills, you might find our guide on pencil drawing for beginners particularly helpful. And if mountains aren’t enough and you wish to expand your artistic horizons, consider diving into landscape pencil drawing or even capturing the delicate features of wildlife with pencil drawing of animals.

Embark on this artistic adventure with excitement, and let the mountains on your canvas reflect the peaks of your creativity!
Gathering Your Art Supplies
Before you can begin capturing the grandeur of mountains with your pencil, you’ll need to gather some essential supplies. Don’t worry; you don’t need a mountain of supplies to get started. Just a few basics will set you on the path to creating your own whimsical and stunning pencil drawing of mountains.
The Basics You’ll Need to Start
To embark on this artistic journey, you’ll need:
- A set of quality drawing pencils
- A sketchbook or drawing paper
- An eraser that’s gentle on paper
- A sharpener to keep your pencils in tip-top shape
- A ruler for straight lines and measurement
These are the tools that will help you transfer the visions in your head onto paper. As your skills grow, you might want to explore other mediums covered in our pencil drawing tutorials, like charcoal pencil drawing or even colored pencil drawing, but these basics will be your bread and butter.
Understanding Different Pencil Grades
One of the most exciting aspects of pencil drawing is the different grades of pencils you can use to achieve various shades and depths. Pencils are graded based on their lead, which can range from hard (H) to black (B), with HB being in the middle. The higher the number in front of the H, the harder the pencil, and conversely, the higher the number in front of the B, the softer and darker the pencil.
| Pencil Grade | Hardness/Softness | Usage |
|---|---|---|
| 9H | Hardest | Fine lines, small details |
| HB | Medium | General drawing |
| 9B | Softest | Dark shadows, bold lines |
For your mountain sketches, you’ll want a range that allows for delicate shading as well as bold, assertive lines. An HB pencil is a great all-rounder, while B pencils will let you add those dark, dramatic shadows, and H pencils are perfect for the lightest touches. You can find more about how to use each grade in our pencil drawing for beginners guide.
Equipped with this knowledge, you’re now ready to venture into the world of mountains and bring their beauty to life on paper. Remember, the most important supply is your enthusiasm, so grab your pencils and let’s ascend to the artistic peaks together!
Mastering the Fundamentals
Embarking on the journey to create a stunning pencil drawing of mountains begins with mastering the fundamentals. You’ll find joy in the process as you learn to capture the rugged beauty of a mountain landscape with just a pencil and paper.
Practicing Basic Shapes and Lines
Before you tackle the grandeur of mountains, it’s crucial to get comfortable with drawing basic shapes and lines. These are the building blocks of any pencil drawing, and they form the foundation upon which you’ll construct your mountain masterpiece.
- Start with simple geometric shapes: circles, squares, and triangles.
- Practice drawing these shapes from different angles and in various sizes.
- Move on to creating lines of varying thickness and length. Experiment with light, feathery strokes as well as bold, defined lines.
- Combine these shapes and lines to form the outline of simple mountains.
Think of these exercises as a warm-up, preparing your hand and your eye for the more complex forms you’ll encounter in mountain scenes. For a deeper dive into the essentials, check out our pencil drawing for beginners guide.
Techniques for Shading and Texture
Shading and texture give your mountains depth and realism. By mastering these techniques, you can transform flat shapes into three-dimensional forms that pop off the page.
- Begin with understanding the value scale, ranging from light to dark.
- Practice creating gradients with your pencil, starting from light pressure to a heavier touch.
- Experiment with different shading techniques such as hatching, cross-hatching, stippling, and blending.
- Apply these techniques to mimic the rugged textures found in mountain landscapes, from smooth, distant peaks to rough, craggy surfaces up close.
As you become more confident with shading, your pencil drawing of mountains will start to have the dramatic impact you envision. For more advanced shading methods, explore our collection of pencil drawing techniques.
The Importance of Perspective in Mountain Scenes
Perspective is what gives your drawing a sense of space and depth, making your mountains look truly majestic.
- Study the basics of one-point and two-point perspectives. These will help you create the illusion of distance in your drawings.
- Observe how mountains appear smaller as they recede into the distance and how their angles change relative to the viewer’s eye level.
- Practice sketching mountains with an understanding of atmospheric perspective—where distant mountains take on a lighter tone compared to those in the foreground.
Getting perspective right can be challenging, but it’s a game-changer for your pencil drawings. It elevates the realism of your mountain scenes and invites the viewer to step into the landscape you’ve created. For an in-depth look at capturing perspective, peruse our pencil drawing tutorials.
By focusing on these fundamental skills, you’re setting the stage for more complex and detailed pencil drawings of mountains. Remember, every great artist started with the basics, and with each step you take, you’re climbing towards your own summit in the art of drawing.
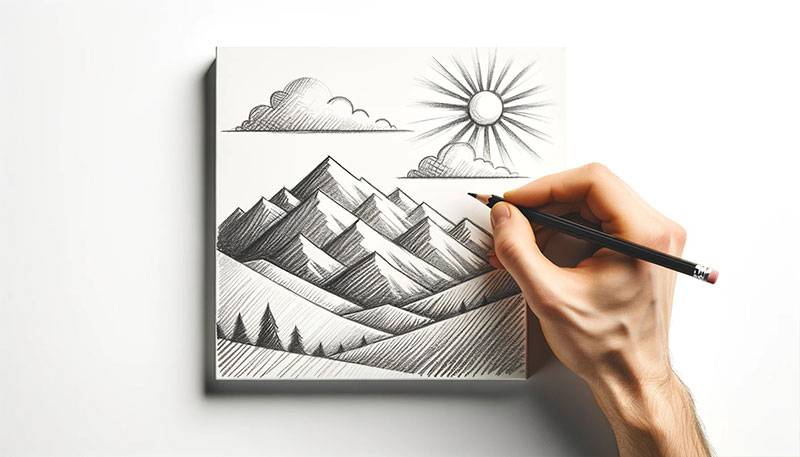
Drawing Your First Mountain
Embark on an exciting journey to master the art of pencil drawing of mountains. With each stroke and shade, you’ll be one step closer to creating a whimsical landscape that leaps off the page.
Outlining the Basic Contours
Begin by visualizing the majestic mountain you want to bring to life. Lightly sketch the outline with a HB pencil, capturing the grandeur and basic shape of your mountain. Start with the peak and work your way down, establishing the ridgelines and base. Remember, your initial lines are just guides, so don’t press too hard. You want to be able to make adjustments as your drawing progresses.
Here’s a simple guide to help you with the contouring:
| Step | Action |
|---|---|
| 1 | Lightly sketch the peak of the mountain |
| 2 | Add the ridgelines flowing down from the peak |
| 3 | Outline the mountain base to ground your drawing |
As you outline, consider the mountain’s unique features. Does it have sharp, jagged edges, or is it worn and rounded? Each line adds character to your creation, a reflection of nature’s diversity. For foundational skills, take a peek at our pencil drawing for beginners guide.
Adding Layers and Detail to Your Mountain
With the basic shape in place, it’s time to add layers and details. Use a range of HB to 2B pencils to create texture, indicating rocky surfaces, foliage, or snowcaps. Apply varied pressure to mimic the mountain’s natural layering, and use short, controlled strokes to suggest details such as boulders or trees.
As you refine your drawing, consider these texturing techniques:
- Hatching: close parallel lines for shadowed areas
- Cross-hatching: intersecting lines for deeper shadows
- Stippling: dots to suggest rough textures
- Scumbling: circular, scribble-like motions for foliage
Each technique can add a different dimension to your mountain drawing, so feel free to experiment. For more advanced texturing methods, explore our pencil drawing techniques resource.
Creating Depth with Light and Shadow
The secret to a stunning pencil drawing of mountains lies in the play of light and shadow. Identify where the light source is in your scene and darken the opposite sides of the ridges and peaks accordingly. Employ a 4B or 6B pencil for the deepest shadows and use a light touch with an HB pencil for subtle shading.
| Light Source Position | Shadow Placement |
|---|---|
| Left | Right side of mountain features |
| Right | Left side of mountain features |
| Above | Below ridges and overhangs |
Shadows aren’t just black and white; they have nuances. Leave areas untouched to represent the brightest highlights and layer your shading to create a gradual transition from light to dark. This contrast is what gives your mountain depth and makes it pop off the page. If you’re looking to delve deeper into shading, check out our pencil drawing tutorials.
Drawing your first mountain is a thrilling step in your artistic journey. With these fundamental strategies, you’re well-equipped to create a pencil drawing that captures the rugged beauty of mountainous terrain. As you continue to practice, you’ll discover your unique style and how to weave it into the landscapes you create. Enjoy the process, and let your creativity soar to new heights!
Bringing Your Mountain to Life
Texturing Techniques for Realistic Effects
You’re now at an exciting stage in your pencil drawing of mountains journey – adding textures to bring your creation to life! Textures in a mountain scene can range from the roughness of rocky surfaces to the softness of distant foliage. To create these effects, you’ll use a combination of pencil strokes and pressure control.
Start by lightly sketching horizontal lines to represent distant ridges. For the rocky parts, use a stippling technique where you dot the area with your pencil, varying the pressure to create a sense of ruggedness. Cross-hatching, where you draw intersecting sets of parallel lines, can add depth to the crevices and shadows.
Remember, the key to effective texturing is observation. Look at pictures of mountains or, if you’re lucky, observe them in person. Notice where the textures change and what causes these changes – is it the way the light hits, or perhaps the type of vegetation? This attention to detail will make your pencil drawing of mountains truly stand out.
Final Touches to Enhance Your Drawing
As you near the completion of your mountain masterpiece, it’s time for the final touches. This is where your mountain drawing transforms from a sketch to a piece of art that captures the majesty of these natural wonders.
Evaluate your drawing from a distance. Does it need more contrast? If so, deepen the darkest shadows with a softer pencil grade, like a 4B or 6B. Adding these minute details in shadows and highlights can make all the difference.
Consider adding a hint of wildlife or vegetation to give your mountain scene more context. A few strategically placed lines can suggest an eagle in flight or trees clinging to the mountainside. These small additions can provide a sense of scale and tell a story within your landscape.
Finally, use an eraser to create highlights where the sun might reflect off snow-capped peaks or to clean up any smudges that may have occurred during the drawing process. The lightest parts of your drawing can be just as important as the darkest in conveying the realism of the scene.
Your pencil drawing of mountains is now complete, ready to transport any viewer to the heights you’ve so skillfully rendered on paper. As you continue to develop your skills, explore other subjects like landscape pencil drawing, pencil drawing of water, or even hyperrealistic pencil drawing to expand your artistic horizons. And for those just starting, remember, every expert was once a beginner – keep practicing with resources like our pencil drawing for beginners. Happy drawing!
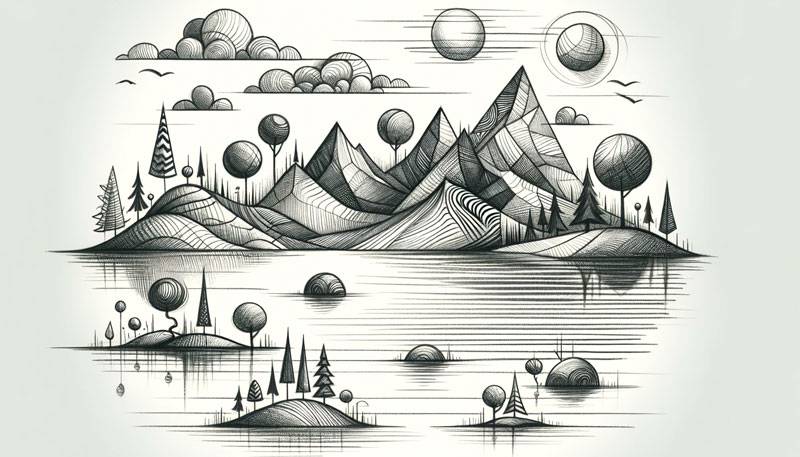
Moving Beyond the Basics
Now that you’ve got the hang of the essentials, it’s time to elevate your artistry by branching out. Experiment with various mountain types, capture the diverse moods of the seasons, and create immersive landscapes by incorporating skies and foregrounds. Let’s embark on this thrilling phase of your pencil drawing journey!
Experimenting with Different Mountain Types
Diversity is the spice of life, and this holds true for your mountain sketches as well. Each mountain type, from the rugged Rockies to the majestic Himalayas, has its own character and silhouette. Start by researching different mountain ranges and noting their unique features — some may have sharp, pointed peaks, while others showcase rounded, gentle slopes. Use a table to jot down these characteristics for reference:
| Mountain Range | Peak Shape | Notable Features |
|---|---|---|
| Rockies | Sharp, jagged | Snow-capped with rocky outcrops |
| Himalayas | Pointed, tall | Steep with dramatic elevation changes |
| Appalachians | Rounded, soft | Forest-covered and ancient |
Next, take out your pencils and begin capturing these differences. Remember to vary your pressure and strokes to mimic the textures you observe. For additional inspiration and techniques, explore our pencil drawing tutorials.
Capturing the Essence of Different Seasons
As seasons change, so do the landscapes. Your pencil drawing of mountains can reflect these transformations. Portray the lush greenery of summer. The fiery foliage of autumn, the pristine snow of winter, or the blossoming flora of spring. Each season’s essence can be captured through shading and textural contrasts.
Pay attention to the light and how it interacts with the environment during different times of the year. You might notice that shadows are longer in the winter or that the light has a warmer hue during sunset in the summer. To delve deeper into depicting various seasons in your artwork, consider our article on landscape pencil drawing.
Incorporating Skies and Foregrounds
To truly bring your pencil drawing of mountains to life, you must not neglect the sky and foreground. These elements set the scene and add depth to your work. Study the patterns of clouds and the gradient of skies at different times of the day. Use soft strokes for fluffy clouds and harder lines for a clear, blue sky.
In the foreground, include elements like trees, water, or wildlife to create a sense of scale and interest. These additions draw the viewer in and give a sense of place. For techniques on rendering these features with realism, be sure to visit our articles on pencil drawing of water and pencil drawing of wildlife.
By embracing these advanced concepts, you’ll not only enrich your pencil drawing of mountains but also enhance your overall artistic skill set. Keep practicing, stay curious, and most importantly, enjoy each step of your creative journey!
[cp_slide_in display=”inline” id=”cp_id_657bb”][/cp_slide_in]