
Starting with Colored Pencils
Hey there, future Picasso of pencil art! Ready to dive into the whimsical world of colored pencil drawing? Buckle up your seatbelts because you’re in for a ride full of colors and creativity!
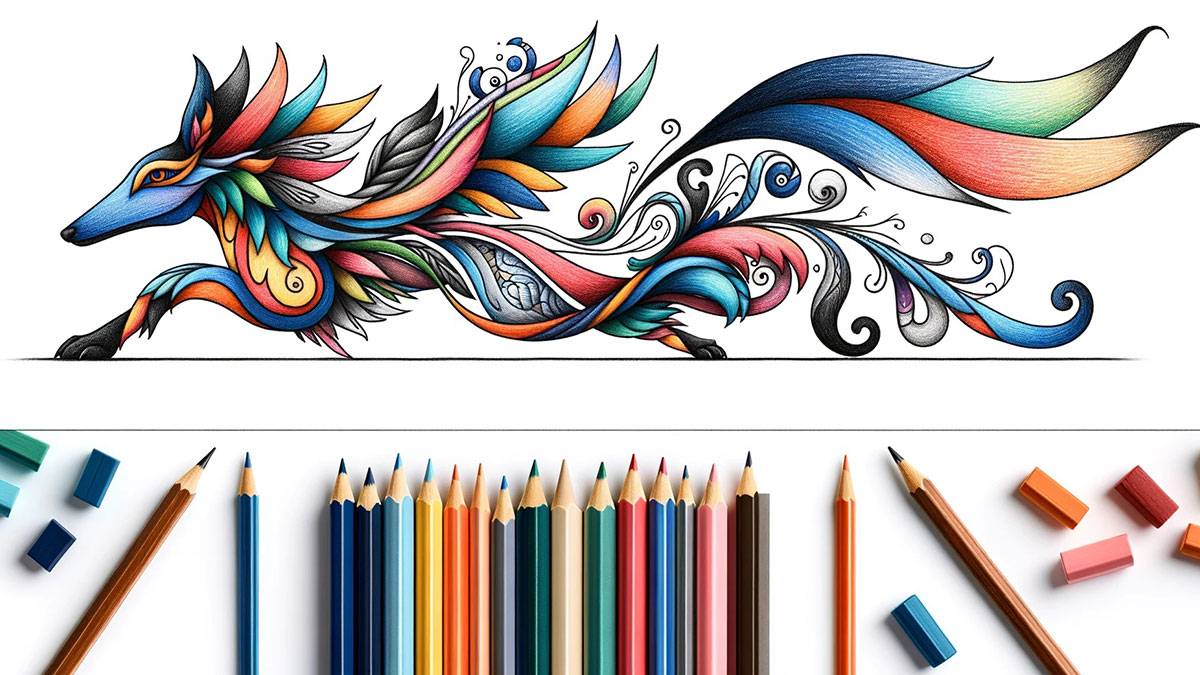
Choosing Your Pencils
You stand in the art supply aisle, your palms sweaty, knees weak, arms heavy. There’s vomit on your sweater already—wait, no, that’s just some leftover spaghetti. But here you are, facing down the gauntlet of colored pencils. Fear not! Let’s break it down:
- Wax-based colored pencils: Your new BFFs. Easy to blend, perfect for those just starting out. Wax on, wax off, young grasshopper!
- Oil-based colored pencils: The big leagues. These bad boys are for the pros, with their fancy durability and anti-wax bloom kung fu grip.
And what about quality, you ask?
- Artist-grade: These are the Ferraris of pencils, vibrant and ready to zoom across your page.
- Student-grade: More like your reliable old bike—gets you where you need to go without breaking the bank.
Here’s a little cheat sheet for your shopping spree:
| Pencil Type | Recommended For | Blendability | Durability | Price |
|---|---|---|---|---|
| Wax-based | Beginners | High | Moderate | $ |
| Oil-based | Professionals | Moderate | High | $$$ |
| Artist-grade | Serious artists | High | High | $$$ |
| Student-grade | Learners | Moderate | Moderate | $ |
Find the perfect match for your skill level and artistic ambitions, and you’ll be off to a great start! For more on the history and types of colored pencils, check out this colorful read from Interwell.
Understanding Paper Textures
Next on the agenda: paper texture. It’s like choosing the dance floor for your color tango. Smooth surfaces are your nightclub—sleek and great for blending those moves together (The Spruce Crafts). But maybe you’re more of a street fair artist, where a little grit can add character to your cha-cha.
Some quick tips:
- Smooth paper: Your go-to for detailed work and realistic portrait pencil drawing.
- Textured paper: Adds oomph to your landscape pencil drawing and animal pencil drawing.
Choose wisely, and remember: the paper you pick can make or break your dance routine!
Basic Pencil Techniques
Finally, let’s talk techniques. It’s not just about the scribble-scrabble; it’s about mastering the moves.
- Layering: This is your foundation step. Start light and build up those colors for depth and drama.
- Pressure: The dance between light and heavy pressure can make your pencil drawing of flowers pop like a 3D movie.
- Direction: Keep your strokes consistent for that hyperrealistic pencil drawing look, or go wild for some whimsical pencil drawing of food.
And there you have it! With your pencils chosen, paper picked, and techniques tackled, you’re ready to conquer the colored pencil world. Don’t forget to practice your pencil pirouettes and, most importantly, have fun with it! Check out our pencil drawing tutorials for step-by-step guides on becoming a colored pencil virtuoso.
Mastering the Color Dance
Oh, the colorful waltz of pencils on paper! Sharpen those tips, because we’re about to dive into the toe-tapping, hip-swinging world of layering, burnishing, and unleashing solvent blending secrets on your unsuspecting colored pencil drawings.
Layering Like a Pro
First up, grab your tutu and let’s pirouette into layering. Imagine you’re a chef—but instead of flavors, you’re slowly adding colors to your visual feast. Start with a light touch, as if you’re afraid of waking a sleeping dragon. Gradually build up the hues and watch as your drawing begins to pop with color, like fireworks on a starry night. The Spruce Crafts recommends this method to achieve the perfect blend of saturation and depth. So, layer away and make those colors sing in harmony like a well-rehearsed choir!
The Magic of Burnishing
Now, let’s add some razzle-dazzle with burnishing. Once you’ve layered like a boss, it’s time to press down harder than a sumo wrestler in a dance-off. Use a light-colored pencil or even a colorless blender to smooth everything out until it shines like your Aunt Edna’s freshly polished silverware. This technique, beloved by artists at Prismacolor, will transform your work from “Oh, that’s nice” to “Holy guacamole, did you really draw that?!”
Solvent Blending Secrets
Last but not least, let’s wade into the mysterious waters of solvent blending. Think of your solvent as a magic potion—just a few drops of mineral spirits or rubbing alcohol, and your colored pencils will blend like butter on a hot pancake. The solvent breaks down the wax binder, which sounds a bit like a break-up, but trust me, it’s a good thing, allowing for smoother color transitions and a creamier texture (The Spruce Crafts).
Remember, with great power comes great responsibility, so use your solvent sparingly, or you’ll have a soppy mess on your hands, and not even the most whimsical of drawings can survive that.
And there you have it, folks! A trifecta of techniques to help you waltz through the world of colored pencil drawing with the grace of a prima ballerina. Now go forth and create vibrant, smooth, and downright enchanting artwork that’ll make your friends, family, and even your pet parrot Pablo proud. Don’t forget to check out more pencil drawing tutorials for that extra sprinkle of knowledge to perfect your craft!
Artistic Techniques for Whimsy
Ah, the whimsical world of colored pencil drawing! It’s not just about staying within the lines; it’s about making those lines dance, sing, and maybe do a little samba on your paper. Ready to sprinkle some pixie dust on your artwork? Let’s dive into some fun techniques that’ll make your drawings pop with personality!
Creating Textures and Patterns
Textures and patterns can turn a ho-hum drawing into a visual fiesta! Whether you’re sketching a scaly dragon or giving some fuzz to a bumblebee, colored pencils are your magic wands. Here’s a quick recipe for texture success:
- Choose a couple of contrasting colors (because life’s too short for boring color schemes).
- Start with light pressure to lay down the base color.
- Add a sprinkle of dots, dashes, or scribbles in a darker shade.
- Finish off with a light touch of a lighter shade to bring it all together.
Now, stand back and admire the tapestry of texture you’ve created! And if you’re itching to try this out on an adorable critter, check out our animal pencil drawing guide.
Fun with Sgraffito
Sgraffito isn’t just fun to say (scratching the surface of the paper to reveal the layers beneath), it’s a hoot to do! Grab a blunt pencil or a nifty scratching tool, and let’s do some artistic excavation:
- Layer your colors like you’re making a rainbow lasagna on your paper.
- Once you’re happy with the layering, it’s time to channel your inner archeologist and gently scratch away the top layers to reveal the wonders below.
- Create patterns, highlights, or even write a secret message (like “Art is awesome!”).
This technique adds a delightful element of surprise to your artwork, and it’s perfect for creating textures that look like they’ve got their own secret life. If you’re curious about other cool effects, our pencil drawing techniques page is a treasure trove!
Glazing for Luminosity
Turn on the glow with glazing! This technique is like the fairy godmother of colored pencil drawing, transforming your piece with a luminous touch. Here’s how to get that ethereal effect:
- Start with a light layer of color—think of it as a whisper, not a shout.
- Layer another translucent color on top, and watch the magic unfold as the two colors mingle without losing their individual charm.
- Continue layering and watch your drawing come alive with a glow that would make a firefly jealous.
Glazing is a dance of light and color that can bring a new dimension to your work. For some extra shine, swish on over to our glazing for luminosity tips.
So there you have it, aspiring artists! With these techniques up your sleeve, you’re well on your way to creating whimsical wonders that’ll make your heart sing and your pencils do the tango. Don’t forget to share your creations and spread the joy of artistic whimsy!

Tips for the Polished Artist
Alright, you’ve got your colored pencils in hand, and you’re ready to create some eye-popping masterpieces. But before you dive into the wild world of colored pencil drawing, let’s talk turkey—or should I say peacock? Here are a few tips to keep your artwork looking as sharp as a tack and as vibrant as a peacock’s tail.
Keeping Your Pencils Sharp
You wouldn’t try to butter toast with a spoon, so why would you tackle a detailed drawing with a dull pencil? Keeping your pencils sharp is like having good knives in the kitchen—it’s just plain smart. A fine point allows you to get into the nitty-gritty of your paper, ensuring those colors are as smooth as a jazz tune. Remember, a sharp pencil isn’t just for show; it’s a necessity for those tiny details that make your art pop.
| Situation | Pencil Sharpness |
|---|---|
| Large, even coverage | Medium |
| Fine detailing | Super sharp |
| Shading and blending | Medium to sharp |
For the love of art, don’t skimp on the sharpener either. A good one doesn’t cost you an arm and a leg, but it’ll save you from the heartache of broken tips and uneven points. And if you’re feeling fancy, give a colorless blender pencil a whirl. It’s like a magic wand that blends your colors together seamlessly, leaving them looking like they were meant to be together all along.
The Right Pressure
When it comes to applying pressure, think of it like a first date. You don’t want to come on too strong, but you also don’t want to be a total pushover. Find that sweet spot, and your drawing will thank you. Gentle pressure is great for building up layers and creating a foundation, while a bit more oomph can help with burnishing—creating that rich, saturated look that’ll make your colors dance (Prismacolor).
Here’s a quick pressure guide:
| Technique | Pressure Level |
|---|---|
| Layering | Light to medium |
| Blending | Medium to firm |
| Burnishing | Firm to very firm |
But remember, heavy pressure is a commitment. Once you go full throttle, there’s no erasing or covering it up. It’s like saying “I love you” too soon—you can’t take it back, so use that power wisely.
When to Stop
Now, this is the million-dollar question: When is your drawing actually done? It’s tempting to call it quits after a couple of hours, but patience, my friend, is a virtue. Colored pencil work is a marathon, not a sprint. It’s about layering, taking breaks, and coming back with fresh eyes.
And here’s a little secret—rushing can make your colors go all muddy, like a toddler’s finger painting. So, breathe, relax, and give your artwork the time it deserves. Rushing is a big no-no; instead, be the tortoise, not the hare.
| Stage | Checkpoint |
|---|---|
| Early layers | Is the color building up evenly? |
| Midway | Are the details sharp and clean? |
| Near completion | Does the piece evoke the feeling you’re after? |
Remember, you’re the artist. You get to decide when it’s time to put down the pencil and step back to admire your whimsical world brought to life. And if you need a little more guidance on when to put the pencil down, check out our pencil drawing tutorials. Now go forth, and let those pencils sing—or, you know, draw.
Troubleshooting Common Issues
Avoiding Wax Bloom
You’ve put in the hours, your strokes are on point, and voilà, your masterpiece is complete. But what’s this? A ghostly haze has descended upon your work! Fear not, dear artist, you’ve merely encountered the infamous wax bloom. This sneaky phenomenon is like the uninvited party guest of the colored pencil world—it shows up when you least expect it. Wax-based colored pencils, with their buttery smoothness and layering prowess, are often the culprits behind this waxy sheen The Virtual Instructor. But don’t grab your eraser in a frenzy just yet; a simple swipe with a damp cloth can banish that bloom back to the netherworld from whence it came. If you’re looking to avoid this waxy debacle altogether, consider reaching for oil-based colored pencils—they’re like the reliable friend who never lets you down, no breakage, no wax, no worries.
Solving the Muddy Colors Mystery
Ah, the case of the muddy colors—a perplexing puzzle that has stumped many a colored pencil enthusiast. You mix, you blend, you layer, and yet, instead of the vibrant hues you envisioned, your palette resembles a rainy day puddle. The secret to sidestepping this sludgy situation is to become a color maestro, harmonizing your hues with precision and care. Remember, not all colors play nice together; some like to mingle and others prefer to stand alone. To maintain the clarity of your colors, layer with intent and always keep a keen eye on your color wheel—it’s the trusty compass that will guide your artistic ship through choppy waters. Need more guidance on this colorful conundrum? Dive into our colored pencil tutorials where we demystify the art of pristine pigments.
Dealing with Breakage
There you are, in the zone, your pencil gliding across the paper like a figure skater on ice, when suddenly—snap! The tip of your beloved pencil breaks off, leaving you with a stub and a frown. Pencil breakage is the bane of an artist’s existence, but it’s not an insurmountable obstacle. The key to keeping your pencils intact is a gentle touch and a sharpener that knows how to treat your tools with respect. Wax-based pencils may be more prone to snapping due to their softer nature, but with a light hand and periodic sharpening, you’ll keep the breaks at bay Fine Art Tutorials. On the flip side, oil-based pencils are like the tough cookies of the colored pencil jar—harder and more resistant to the dreaded snap. Choose your weapon wisely, and may your artistic endeavors be forever break-free. For more tips on keeping your pencils in tip-top shape, check out our guide to pencil drawing techniques.
Remember, every artist encounters a hiccup or two on their creative journey. Whether it’s banishing wax bloom, un-muddying those colors, or keeping your pencils whole, there’s always a solution to the problem. With a dash of humor and a sprinkle of knowledge, you’ll navigate these common issues like the skilled artist you are, and preserve the whimsy in your colored pencil drawing.
Preserving Your Masterpiece
After you’ve put the finishing touches on your whimsical colored pencil creation, it’s time to ensure it stands the test of time. Let’s talk about choosing the right fixative and proper storage and display to keep your artwork looking as fresh as the day you completed it.
Choosing the Right Fixative
When it comes to fixatives, you’ve got options, darling! Think of a fixative like the hairspray of the art world—it sets your work in place, minus the 80s hairdo. The key is to find the one that works best with your artistic flair. You can go for a workable fixative, which lets you keep adding layers, or a non-workable fixative that seals the deal on your artwork. (Art Is Fun)
Now, don’t just go spraying willy-nilly! Always, and I mean always, give that fixative a test run on a scrap piece of paper. You’ll want to avoid turning your masterpiece into a science experiment gone wrong. (Art Is Fun)
Storage and Display Tips
Once your artwork is locked in with the perfect fixative, it’s time to think about where to stash it. The golden rule here is to keep it cool, dry, and away from that glowing orb in the sky (also known as the sun). Trust me, sunlight is not your friend in the art preservation biz. Make sure to tuck your pieces into acid-free archival sleeves or portfolios; they’re like cozy little sleeping bags for your drawings. (Madhan’s Art)
And when you’re ready to show off your work to the world (or just your cat), remember to frame it under UV-protective glass or acrylic. It’s like sunscreen for your art! Plus, a nice mat can really make your colors pop and keep them from touching the glass—a big no-no for preserving that vibrant look. (Madhan’s Art)
So there you have it, folks—your guide to keeping that colored pencil drawing looking snazzy for years to come. Now go forth and create with the confidence that your masterpieces will be around to bring joy and a touch of whimsy to the world for a good, long while. And don’t forget, if you need more tips and tricks, check out our plethora of tutorials, from animal to hyperrealistic pencil drawing, and everything in between!
[cp_slide_in display=”inline” id=”cp_id_657bb”][/cp_slide_in]