Bear witness, first, to the awe-inspiring longevity of roses, a prime example of which is those that have graced the walls of the Hildesheim Cathedral in Germany for over a thousand years. Now, picture in your mind’s eye the opportunity of encapsulating that timeless beauty within the leaves of your sketchbook as you explore how to draw a rose. With each thoughtful stroke and calculated shading, you’ll not only be capturing the physical details, but also the rich narratives whispered through their vibrant colors. Then, allow your creativity to unfurl, much like a blooming rose, as you set forth on this artistic journey. Lastly, find joy in learning, step by gentle step, to etch the timeless allure of roses onto paper.
The Symbolism of Roses
The ‘Queen of Flowers,’ as the rose is often revered, boasts a vibrant history deeply intertwined with human tales. Back in the days of ancient Greece, roses were symbols of love, intricately tied to the goddess Aphrodite. Meanwhile, in Rome, they were closely connected to Venus, embodying beauty. Moreover, in the realm of literature, Shakespeare’s Juliet claimed that even a different name wouldn’t alter the essence of a rose, thereby reinforcing its undeniable charm.

Nonetheless, the symbolism of roses extends far beyond just representing love and beauty. In fact, each color tells its own distinct story. For instance, red roses are universally acknowledged as emblems of passionate love, whereas white roses serve to symbolize purity and innocence. Moving on to another hue, yellow roses usually convey the message of friendship, while a pink rose is often seen as a token of gratitude and appreciation. Interestingly, these are only a handful of examples from the vivid and multicolored tapestry of meanings that roses can communicate.
What’s more intriguing is that during the Victorian era, people used the ‘language of flowers’ to communicate. A bouquet wasn’t merely a bunch of flowers, but a coded message. How about that for an interesting nugget to ponder while your pencil dances across the page?
Basic Supplies for Drawing Roses
Artists are akin to wizards; they wield the magic wand that is the pencil, the brush or the charcoal stick. To begin your journey into rose drawing, you’ll need a few magical tools. A good quality pencil (HB or 2B is perfect for beginners), a sharpener, an eraser, and a sketchbook are the primary supplies required.
In the realm of sketching, your pencil is akin to a knight’s trusty sword. Thus, when making your selection, search for one that sits as comfortably in your grip as a tailor-made gauntlet. A lightweight pencil can give you better control and precision. But remember, even King Arthur had to practice before he could expertly wield his weapon!
How to Draw a Rose Bud
Download step-by-step worksheets HERE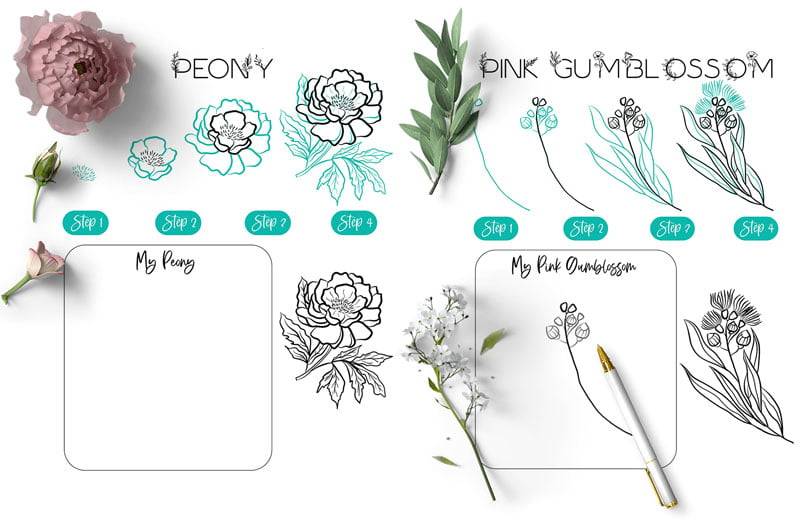
- To begin with, sketch a petite, egg-shaped outline that serves as the foundation for your bud. Picture this as the countenance of your budding rose, subtly revealing the concealed splendor it’s prepared to unfold to the world.
-
To begin with, aim to draw a sinuous line. Visualize it originating from the apex of your egg-like form, undulating smoothly down towards the base to fashion your initial petal. You might want to imagine this line as a ballet dancer bending gracefully for a curtsy.
- Next, sketch another curvy line on the opposite side of your egg shape, mirroring your first line. Suddenly, your bud seems to have sprouted a pair of ‘wings’. Can you start to see it take shape?
- In order to design the outer petals, you should begin from the midpoint of each ‘wing’. From there, carefully sketch two more curvy lines that extend downward, going beyond your original egg-shaped outline. Now, it appears as though your bud is enveloped in a ‘cloak’, symbolizing the magnificent display it’s preparing to reveal.
- Finally, to complete your bud, doodle a couple of sepals (the green parts at the base of the bud) at the bottom. Consider these as the cozy crib from which your rosebud is emerging.

Voila! Your rosebud is ready. But remember, every bud has the potential to blossom. And that’s where our journey leads next.
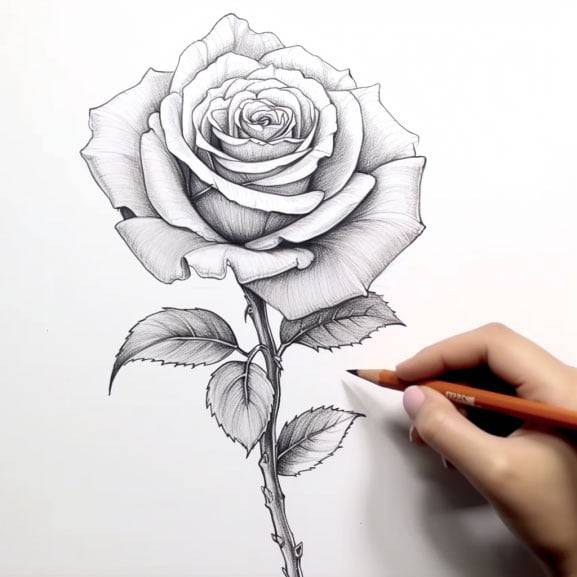
How to Draw a Rose that is Blossoming
The blossoming rose, with its enchanting swirl of petals, may seem like a complex mystery to unravel. But don’t fret; every mystery can be solved, one petal at a time.
Download step-by-step worksheets HERE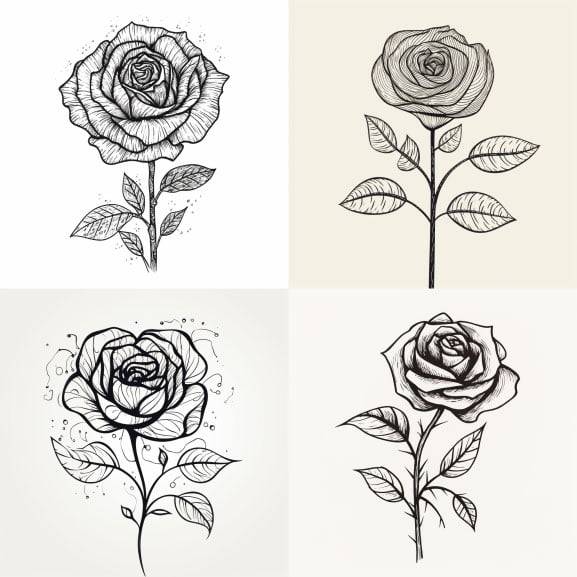
- Initially, start with a small circle for the inner bud. Picture this as the core of the rose, from which everything else unfolds.
- Subsequently, within this circle, draw a spiral, akin to a winding path leading into the heart of the rose. Consider this the blueprint of your blooming masterpiece.
- Directly from the center, you can now start adding your petals, each following the spiral’s path and partially covering the previous one. Each petal is like a hidden love letter; each one folded over the next, protecting the mysteries within the rose’s heart.
- Gradually, as you venture outwards, allow your petals to grow larger and more open. Indeed, with every unfolding bloom, a rose reveals more of its inner secrets to the world.
- For step five, to give your rose a lush and abundant look, consider sketching some petals emerging from the sides. Keep in mind that a rose is a natural showstopper, with each petal adding a dramatic touch to its overall performance.
- Finally, just as with the bud, cap off your blossoming rose with sepals at the base. These grounding features tie your ethereal bloom back to the tangible reality of its stem and leaves.

And voila! A radiant rose in bloom, ready to embellish your sketchbook. But, akin to a rose being more than just petals, a drawing is beyond its outlines. We’ve got more to explore! Our next step: adding depth and detail to make your rose truly come alive. But pause for now, cherish your masterpiece. Indeed, every rose merits its time under the sunshine.
Techniques for Adding Depth and Detail
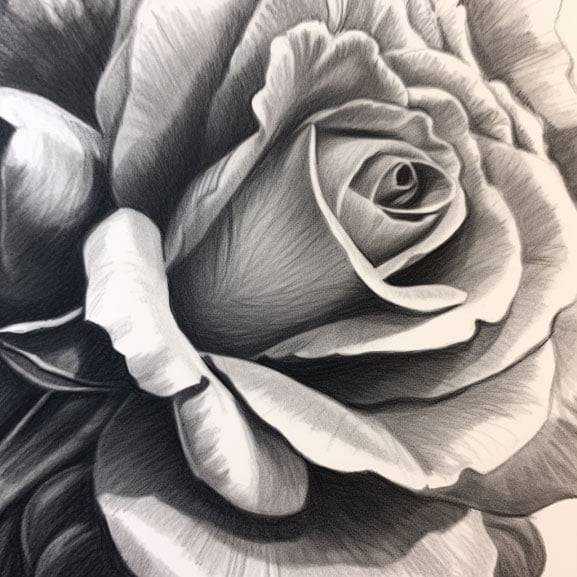
Moreover, a rose is a maestro of illusion, skillfully employing layers of petals to create depth and dimension. To effectively capture this in your drawing, it is essential to wield the power of light and shadow.
1. How to Draw a Rose – Shading Step:
To begin, first, establish the light source for your rose. Envision a sunny spotlight specifically aimed at the flower. As a result, certain areas will be illuminated and appear the lightest. Conversely, the portions concealed from the light source will be the darkest. Commence by delicately shading your rose and progressively intensifying the darkness for the hidden sections.
2. How to Draw a Rose – Highlights Step:
The parts of your rose that catch the light should have little to no shading. In addition, allow the white of the paper to create a natural highlight. Moreover, think of these highlights as the twinkle in your rose’s eye. Ultimately, a little sparkle goes a long way in enhancing its beauty.
3. How to Draw a Rose – Texture Step:
To mimic the satin-like texture of a rose petal, employ sleek, consistent strokes during shading. For enhanced authenticity, consider etching faint veins onto the petals. These veins are like the rose’s fingerprints, each one unique and adding to the rose’s allure.
In addition, drawing can be likened to the art of cooking. Indeed, remember that drawing has parallels to cooking. Just as a sprinkle of salt can bring a dish to life, similarly, a touch of shading can enhance your drawing. The trick here is akin to tasting your dish as you prepare it. Frequently step back, take in your drawing, and fine-tune the shading as needed.
Psst… We also have a bestselling Floral Drawing Toolkit, that gives you even more How To’s and Video – check it out here.
Understanding the Rose Structure
While all roses share certain characteristics, no two roses are identical. Some are fully double with layers upon layers of petals, while others are single, with a simple ring of petals around a central eye. To expand your rose-drawing repertoire, explore drawing different types of roses. Think of it as meeting new people – each rose has its own personality to discover!
As we wrap up this part of our rose-drawing adventure, it is crucial to remember the golden rule of art (and life) – patience. Furthermore, with each stroke you make and each petal you darken, you are gradually getting nearer to perfecting the craft of sketching roses. Hence, it is important not to hasten the procedure; instead, always keep in mind that even a rose requires time to blossom fully.
5 Pro Tips on How to Draw a Rose:
- Drawing petals is a craft of its own. Additionally, let each one be unique in shape and size for an authentic and organic feel to your rose. Furthermore, remember that nature doesn’t do ‘copy and paste,’ so neither should your artwork! Embrace your creativity and feel free to express yourself.
- Give life to your rose by adding shadows and highlights, and sketching them in to create a sense of depth. This simple trick will give your flower a fuller look, making it appear as though it’s popping off the page in 3D.
- If you’re finding yourself lost or unsure about your next steps, don’t hesitate to take a breather, a ‘rosy pause,’ if you will. Allow yourself a moment to step back, stretch your legs, and return with a rejuvenated perspective. You’ll be surprised at how a fresh set of eyes can change your view.
- Don’t fret if you’re struggling with the proportions of your rose, though. There’s no harm in using some reference materials or tracing a photograph for guidance. Remember, these are just aids to help you learn, not something to be replicated precisely. Drawing is all about nurturing your creativity after all!
- Finally, embrace the fear of making mistakes! Drawing from the inspirational quote of the renowned artist Pablo Picasso, “It’s only when we dare to step into the shadows that we truly uncover the endless strength of our inner light.” Making mistakes doesn’t mark the finish line, instead, it’s a vital landmark on our adventure of gaining knowledge. Take pleasure in the journey, persistently practice, and in no time, you’ll find yourself mastering the art of sketching roses!
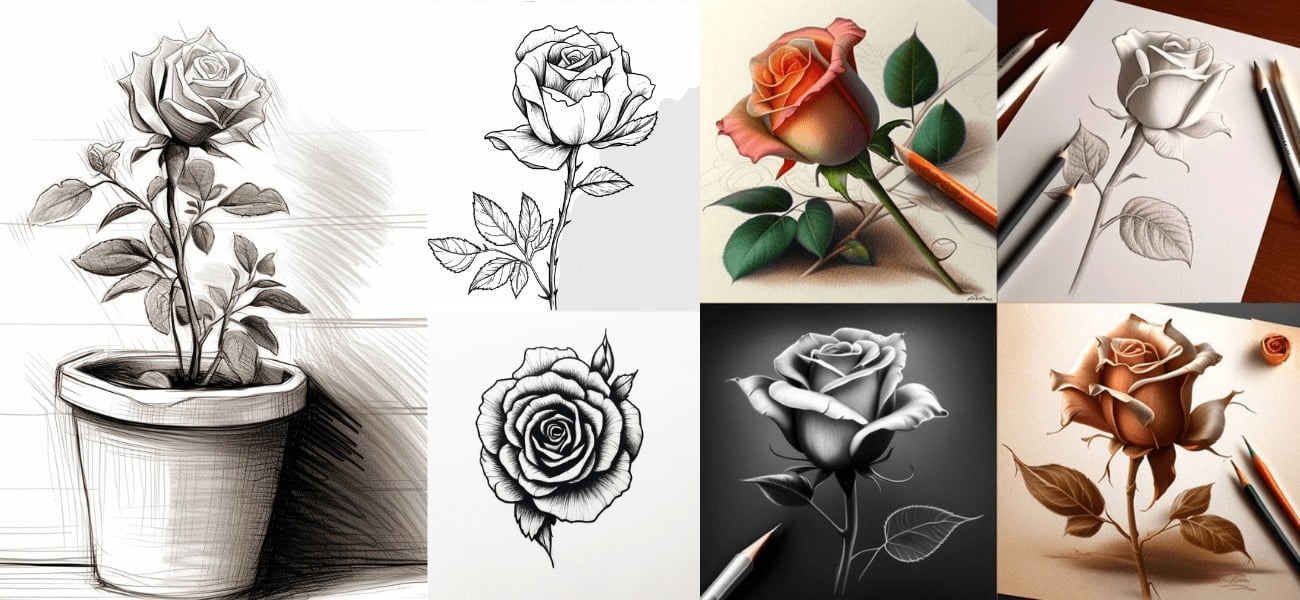
N1 Idea and Exact How-to Video:
Begin a lively, pictorial expedition as we unravel the secret of sketching a breathtaking rose. We can’t wait to introduce you to five diverse techniques and ideas, each paired with an effortless video guide. Alright, let’s delve deeper into every intricate step of this creative exploration. All you have to do is keep your attention moving down the page. There awaits a detailed, user-friendly manual teeming with methodical directives to assist you step by step.
N2 Idea and Exact How-to Video:
N3 Idea and Exact How-to Video:
N4 Idea and Exact How-to Video:
N5 Idea and Exact How-to Video:
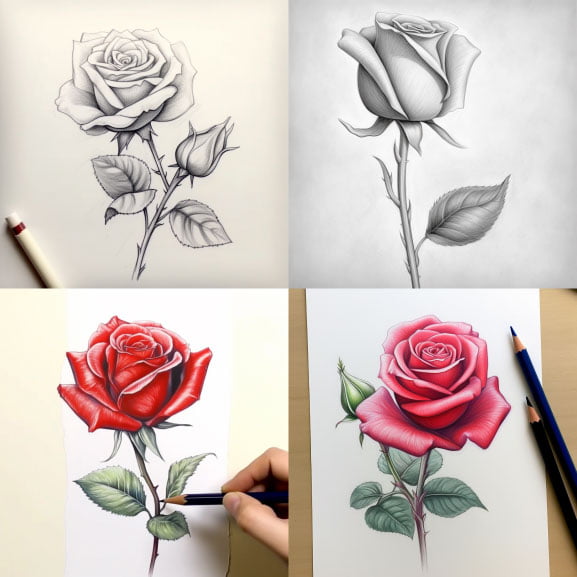
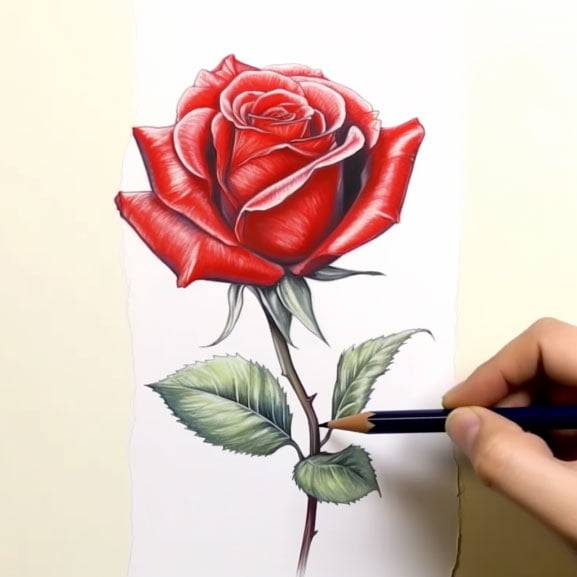
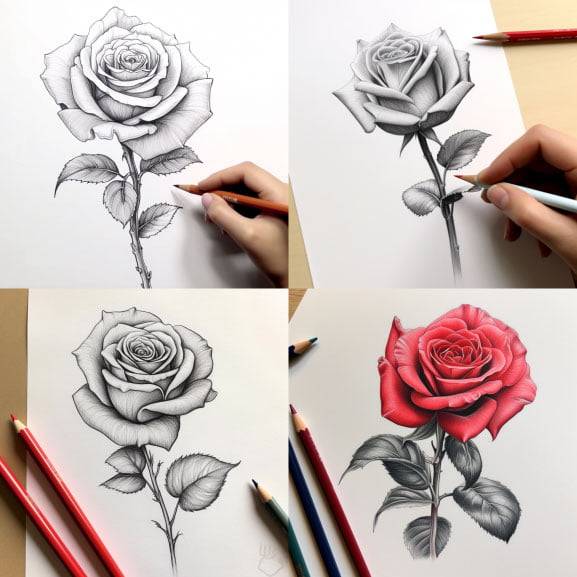
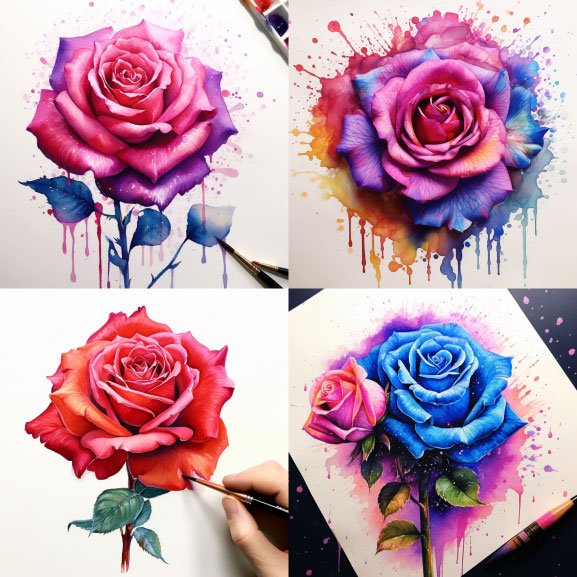
Special Coloring Tips
Using colored pencils, you can select a rose color that suits your liking. Moreover, to make your petals appear three-dimensional, always follow the highlight and shadow rule where light is hitting your rose. Additionally, little drops of water might have dots of sparkles or appear along the leading edges of each of the petals. You can use special pens that have gold or silver ink to add metallic shine, so be sure to select a fine-tip version.
You may also want to use a glitter glue pen that has a finer application tip or use a toothpick for very fine detail. Dip your toothpick into a small blob of glitter and decorate your rose as you like. You can use a small amount of embossing powder and apply this with a makeup brush or Q-tip. This can then be heated with a blow drier to seal the powder onto the paper. If you use regular sparkle or shimmer on your roses drawings, seal them with matt spray.
You might also want to check out glitter color pencils that will be perfect for adding more sparkling dazzle to your colored roses. This is how to draw a rose with customized colors that are exciting and different each time you decorate anything on paper.
Final Thoughts
So, that’s it – a lovely rose you can truly admire! Always keep in mind, the secret to sketching a perfect rose, or any piece of art, is to enjoy yourself and not be overly critical. As the celebrated painter Vincent van Gogh once shared, “I dream my painting and then I paint my dream.” Happy creating!
Psst… We also have a bestselling Floral Drawing Toolkit, that gives you even more How To’s and Video – check it out here.
Download Step by Step Instructions Here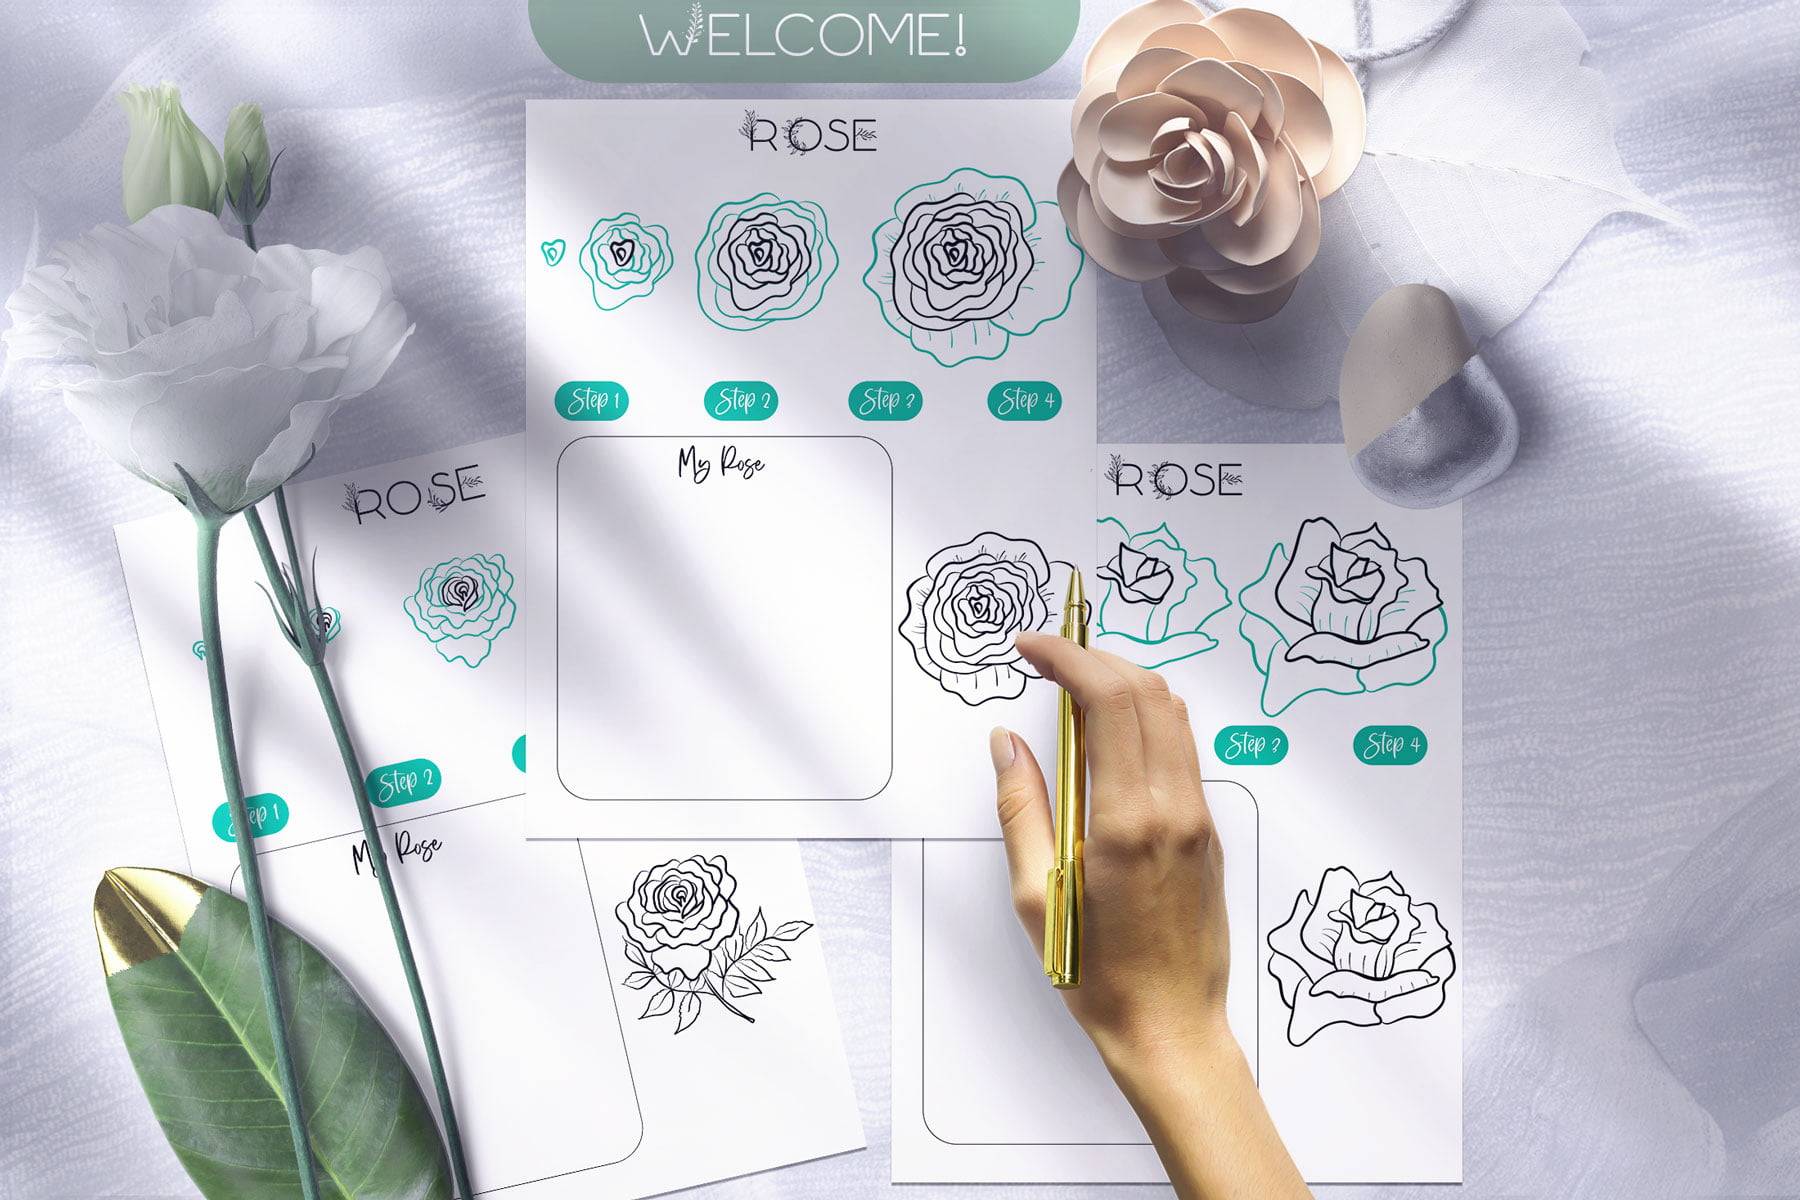
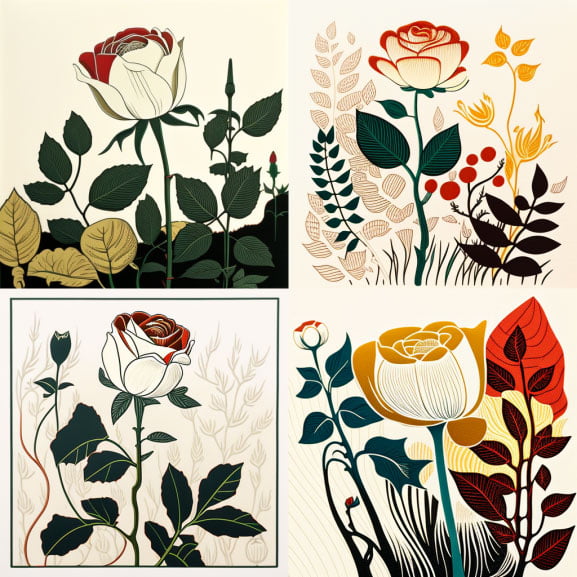
27 Rose Drawing Ideas
Need a spark to jazz up your rose sketching skills? Furthermore, let’s dive into 27 fun-filled suggestions to kick-start your creative engine:
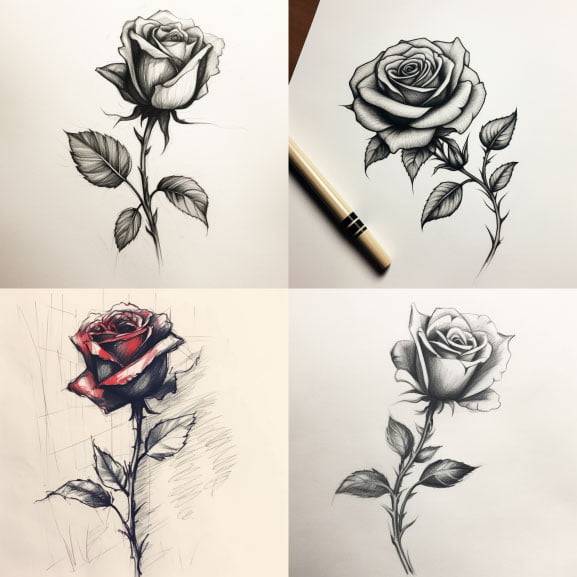
1. Classic Red Rose
2. White Rose with Delicate Petals
3. Yellow Rose with Sun-kissed Vibrancy
4. Pink Rose in Full Bloom
5. Purple Rose with a Touch of Mystery
6. Black Rose, Symbolizing Elegance and Enigma
7. Blue Rose, Exuding Serenity and Imagination
8. Rainbow Rose, a Burst of Colors
9. Vintage Rose, Inspired by the Victorian Era
10. Rose Bouquet, Capturing the Essence of a Garden
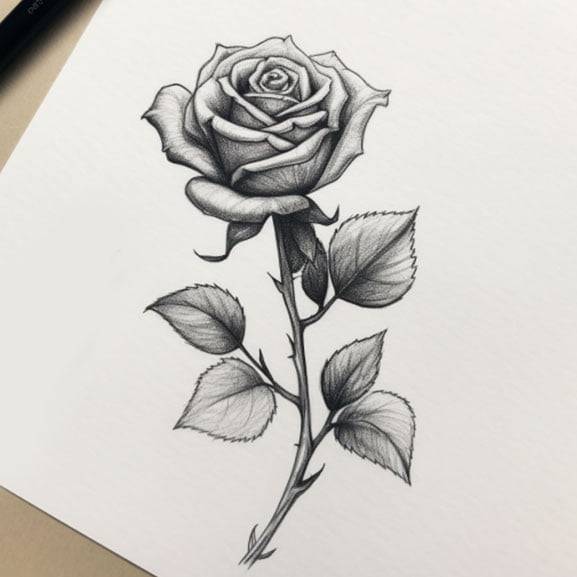
11. Single Rose Stem, Emphasizing Simplicity and Grace
12. Rose in a Vase, Portraying Still Life Beauty
13. Rosebud about to Unfold, Anticipation and Potential
14. Rose with Thorns, Symbolizing Strength, and Protection
15. Rose in Rain, Conveying Fragility and Resilience
16. Rose with Butterfly, Celebrating the Beauty of Nature
17. Rose with Dewdrops, Depicting Freshness and Renewal
18. Rose with Bees, Signifying Harmony with Nature
19. Rose in Moonlight, Evoking a Sense of Romance
20. Rose with Lace Details, Infusing a Touch of Elegance
21. Rose with Heart-Shaped Petals, Symbolizing Love
22. Rose with Musical Notes, Expressing the Language of Music
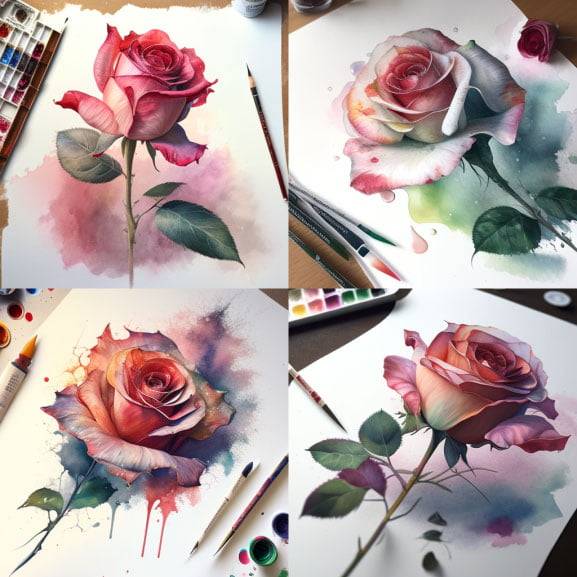
23. Rose with Watercolor Effect, Embracing Softness and Fluidity
24. Rose in a Fantasy Setting, Unleashing Imagination
25. Rose in a Geometric Pattern, Blending Nature and Art
26. Rose in a Mandala Design, Reflecting Balance and Wholeness
27. Rose in Different Art Styles (Abstract, Cubism, Pointillism, etc.), Exploring Artistic Expressions
Here are a few simple suggestions to kick things off. Moreover, let your creativity take the reins and draw roses in your unique style. Additionally, relish the adventure of discovery and express yourself through the eternal charm of sketching roses.
Download How to Draw a Rose Resources & References
This is VIP content with 30+ downloads.
Available to all existing members for free. Login/Create New Account to unlock the content. Includes access to over 1957+ unique resources, step-by-step worksheets & signature collection. Become your most artistic self🎨
Looking for a super-fun way to master the art of drawing flowers? 🌸🎉 Hop on over to our fantastic step-by-step Flower Drawing Mastery Toolkit and watch your skills blossom!
Access ALL our downloads & collections by becoming a VIP member today. Learn more HERE.