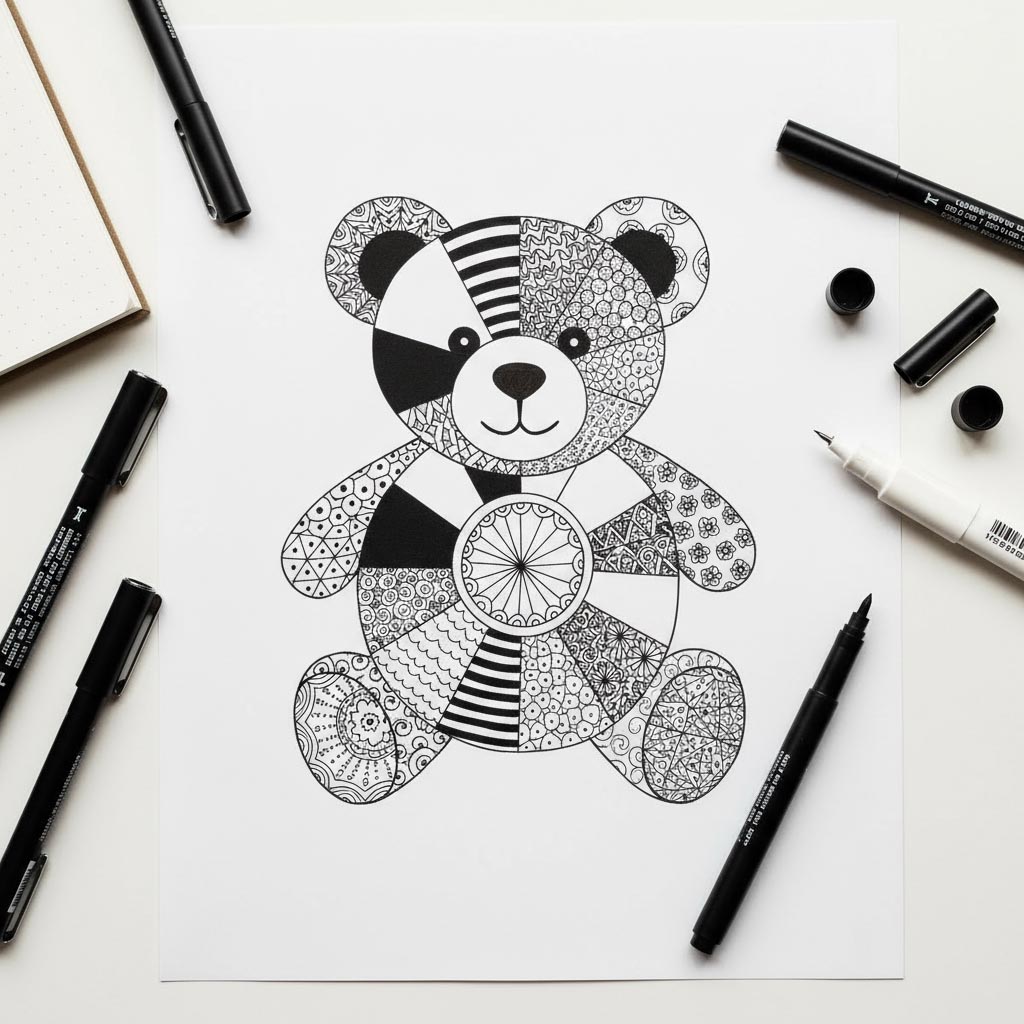
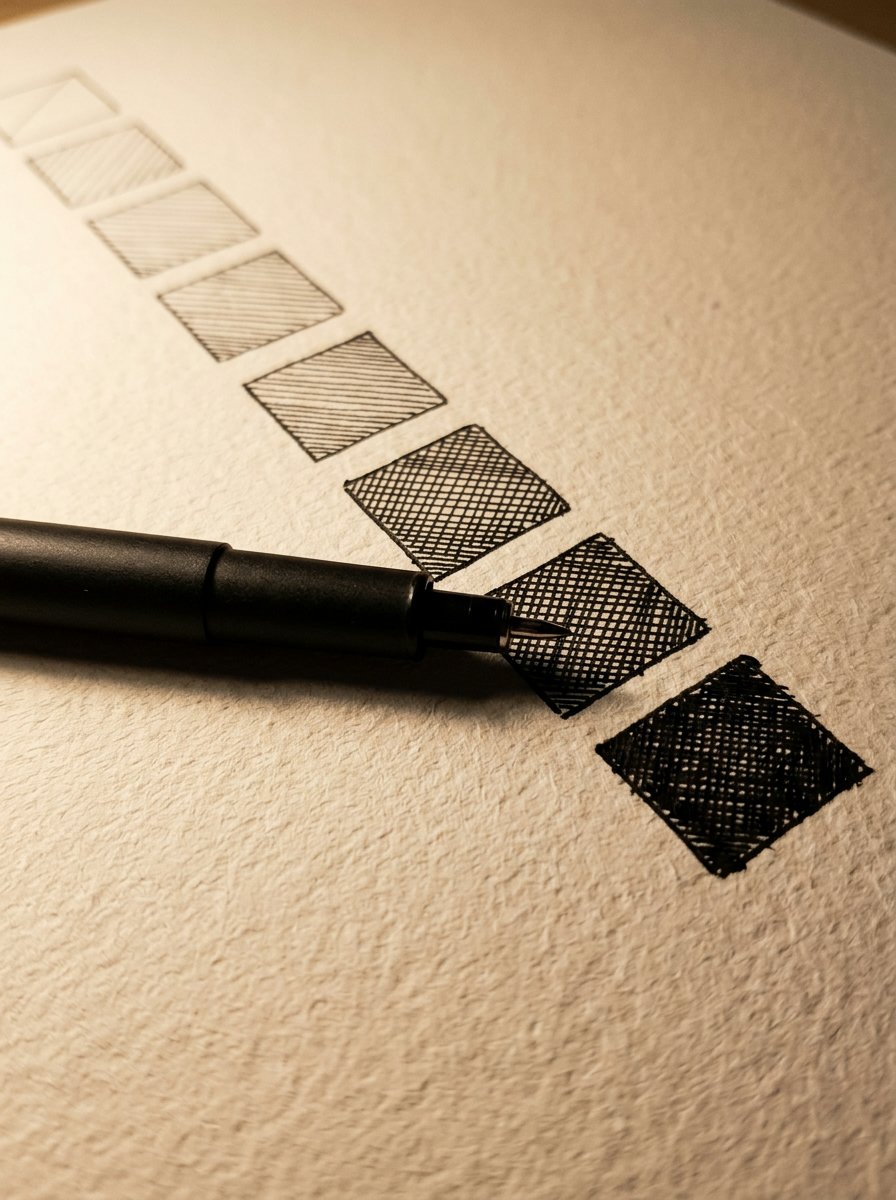
I am 40 lines into a shadow and it is still grey. This is the exact problem hatching and cross hatching is built to solve. It is not solved by pressing harder. (I pressed harder for years. The paper went shiny and the shadow stayed grey.)
The fix is layers, not force. Lay one set of parallel lines. Lay a second set across it. Each layer takes the square one step darker.
So tone stops being a matter of effort. It becomes a matter of counting.
Below are 19 practice drills, in the order the hand wants them. Each drill is one square or one small shape. Start with the free value chart.
Download the free value chart →
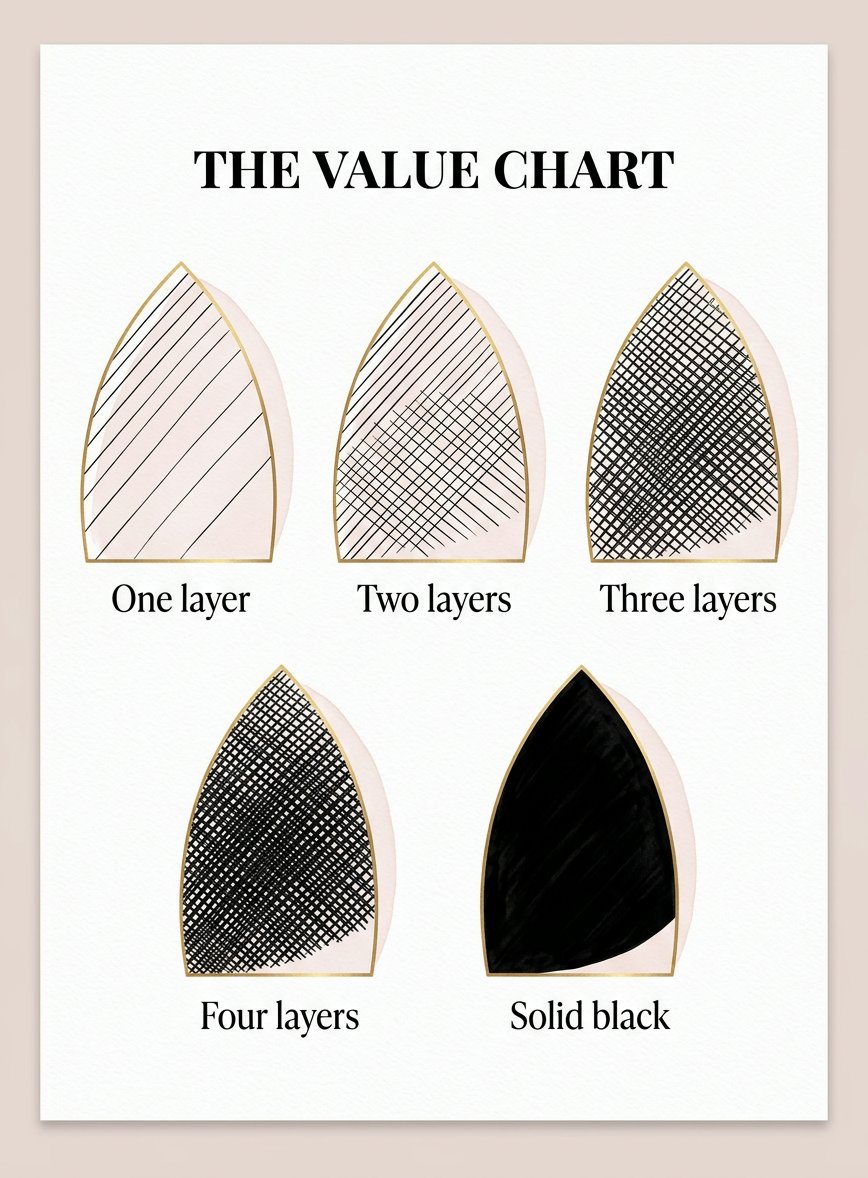
The chart holds 5 boxes: One layer, Two layers, Three layers, Four layers, Solid black. Fill them in that order, left to right.
Do not jump to the dark end first. (Everybody jumps to the dark end. It is the end where the pen feels productive.)
Once those 5 boxes exist you own a ruler for tone. Hold the chart beside any drawing. Match the square, never the feeling.
Matching is easier if you squint. Half-close your eyes at the object and the mid-tones collapse into 3 or 4 flat shapes. Those flat shapes are the thing you are actually shading.
Hold the printed chart right up against the drawing, never beside it on the desk. Tone is a comparison, and the eye is a poor judge across a gap. (I spent a long time comparing a drawing to my memory of a jug.)
One habit is worth building early. Fill the darkest box you intend to use before you fill any of the middle ones. It sets the floor. Everything after it is measured against something real instead of against white paper.
The chart tells you how dark to go. It does not tell you what to shade. That is the other half of an evening, and it is the half that quietly eats the time.
The Collection
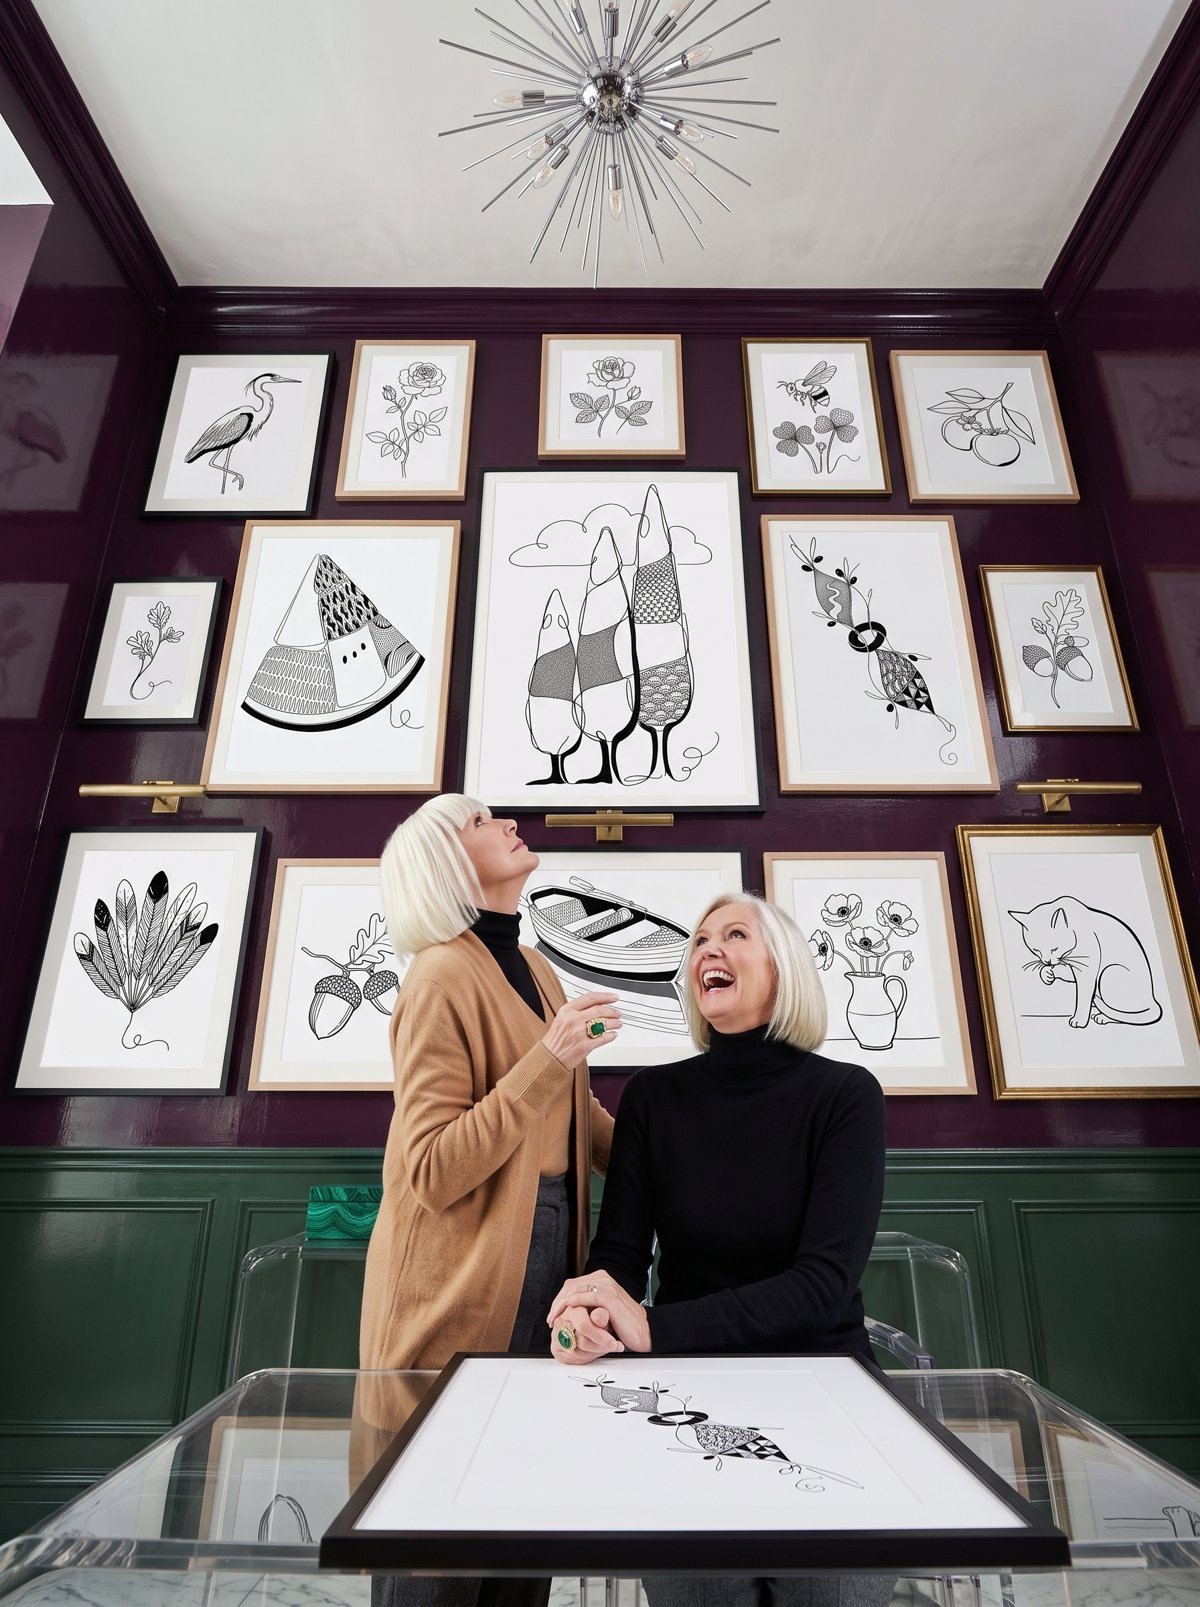
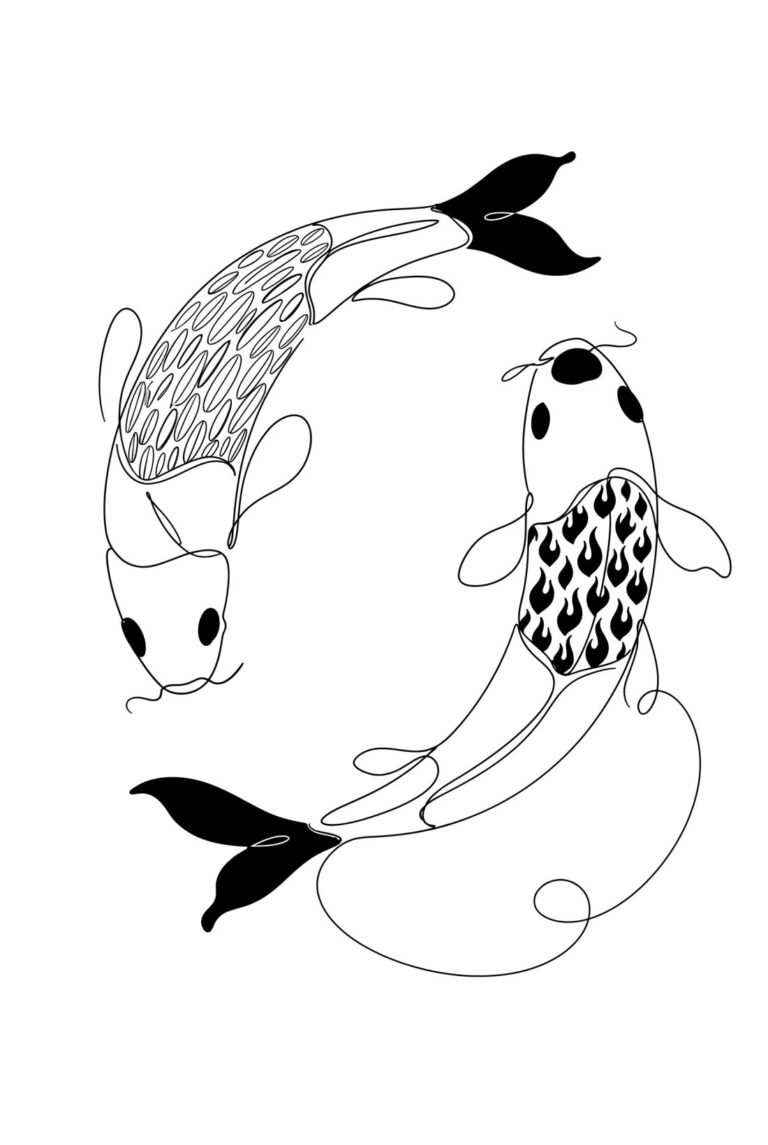
THE 100 COLLECTION — ginkgo fans, herons, wind-bent pines, and 100 outlines already worth a shadow.
100 outlines, and every one arrives 3 ways: the finished art, a faint trace, a blank worksheet. So the shape is chosen before you sit down, and the only decision left is how dark to go. (Choosing what to shade is the part that quietly eats an evening.)
Back to the pen. The first 3 drills happen before you draw anything anybody would recognise.
Step 1 — Rule the boxes and make the first 3 marks
Rule 6 boxes, roughly 3cm each. Drill 1: fill box one with parallel lines, about 3mm apart, one direction only. Drill 2: fill box two the same way, 1.5mm apart. Drill 3: fill box three with the lines almost touching.
You will see 3 boxes stepping from pale to mid-grey. Your pressure never changed once.
If it looks wrong, the lines are fanning out at one end. Turn the paper, not your wrist. (My wrist is a compass that has never once been calibrated.)
Step 2 — Hatch one square until the lines stop arguing
Drill 4: put 40 lines into a single square, all one direction. Drill 5: repeat it, starting every line at the top edge. Drill 6: repeat again, letting each line run past the edge and stop.
The ends are the tell. Ragged ends read as texture. Clean ends read as tone. I did not believe that until I put the 3 squares side by side.
If the square looks striped rather than grey, the gaps are wider than the lines. Narrow the gaps first.
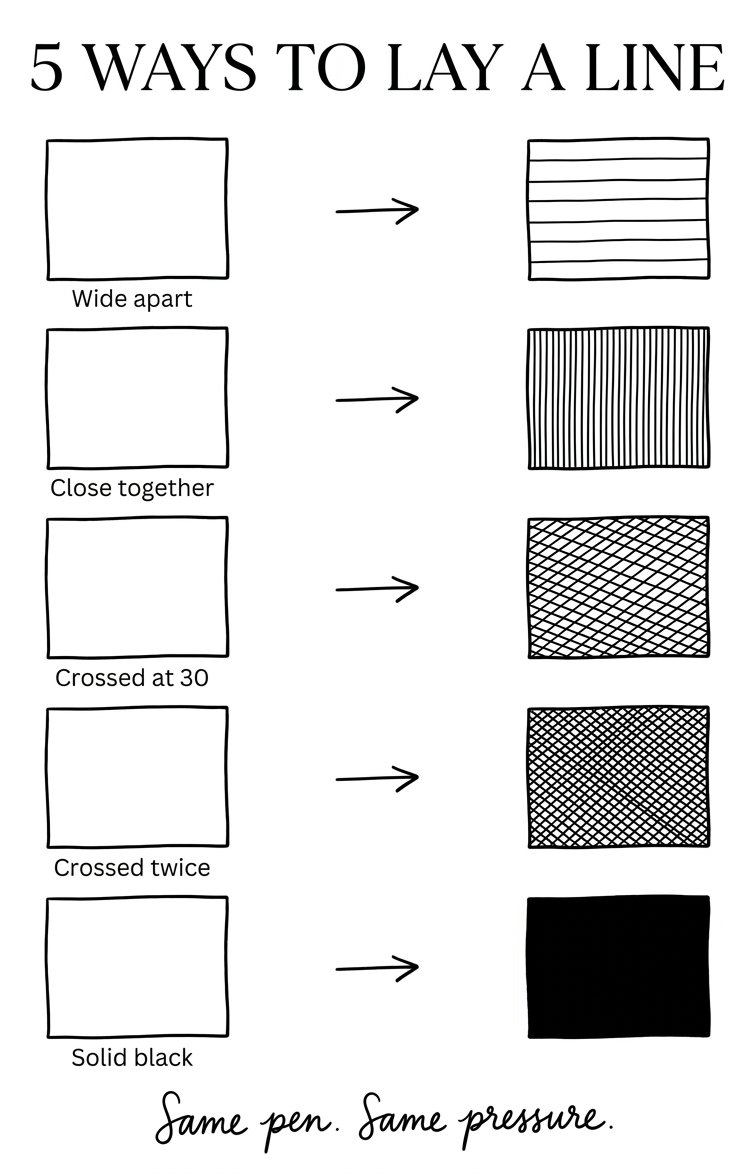
The strip below runs those 5 rungs in order. Wide apart, Close together, Crossed at 30, Crossed twice, Solid black. Same pen. Same pressure.
Step 3 — The second layer is where hatching and cross hatching starts to work
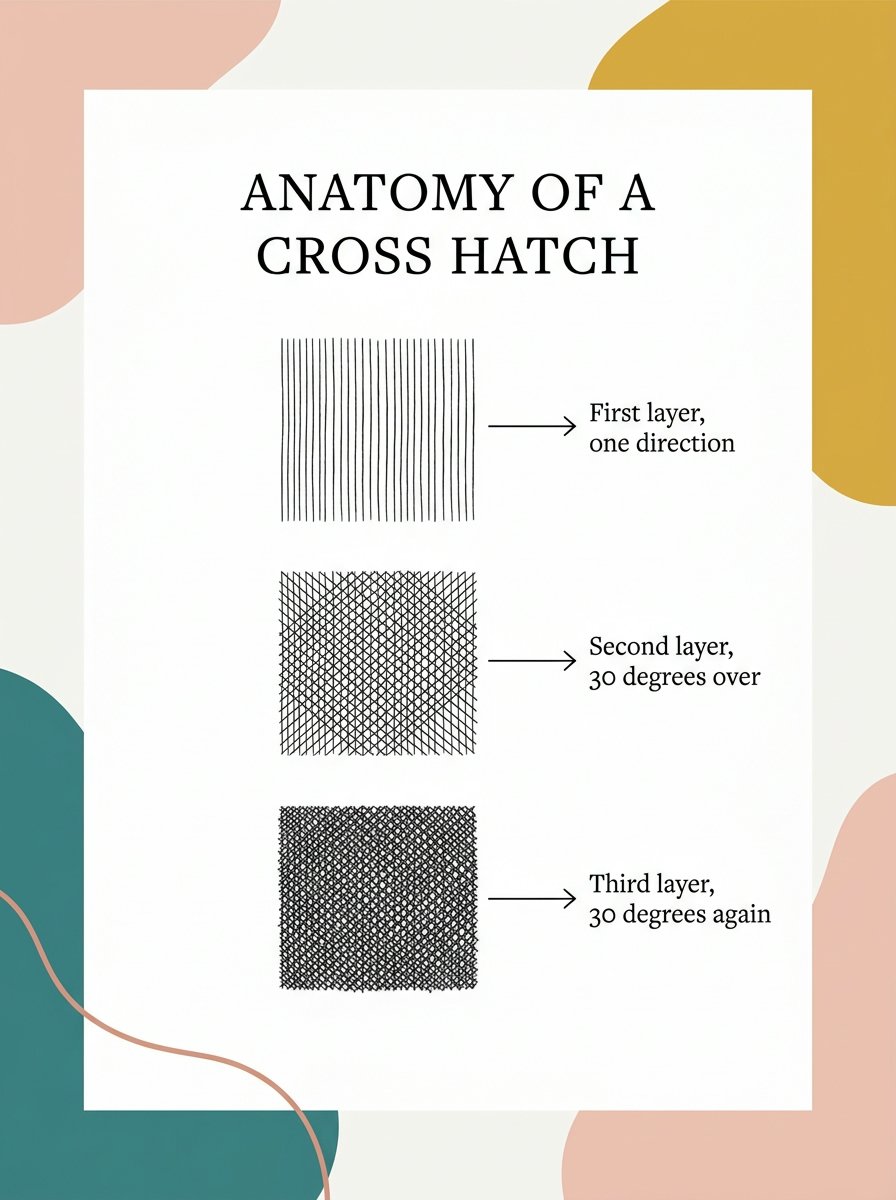
Drill 7: lay a second layer over your square at about 30 degrees. Drill 8: do it again on a fresh square at 90 degrees. Drill 9: add a third layer to the first square, 30 degrees over again.
The shallow angle makes a diamond. The right angle makes a grid, and a grid reads as fabric.
This is the step where most people stop. Layer two looks worse than layer one before it looks better. (I abandoned roughly a dozen squares here before I worked out that the ugly stage is load-bearing.)
There is a tidy piece of history under this. In 1619 Jacques Callot was working in Florence. He designed a tool called an échoppe.
It is an etching needle ground down to a slanted oval face. Roll it as you draw and one stroke goes thin, then thick, then thin again. Engravers had been getting that swell out of a burin and a great deal of effort. Callot got it out of the shape of the tip.
The weight of a line is a tool decision long before it is a talent decision.
Step 4 — Make the line swell on purpose
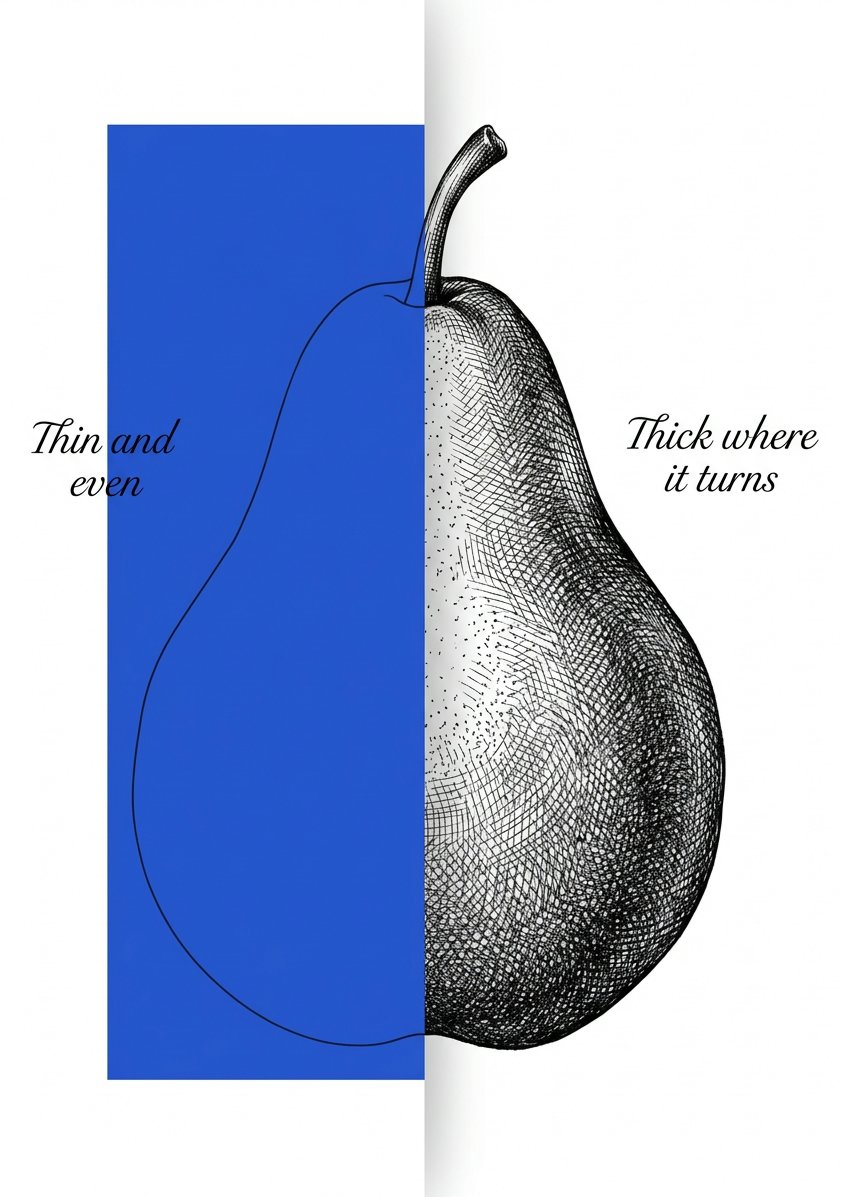
Drill 10: draw 20 lines, pressing hardest through the middle of each one. Drill 11: draw 20 more, hardest at the start, lifting away at the end.
A swelling line reads as a rounder surface. A line of even weight reads as a flat one. I use drill 11 on anything with a stem.
If the square looks blotchy, you are pausing mid-stroke. Ink records a hesitation the way a microphone records a cough.
Speed is doing most of the work here. A fast stroke lays down less ink and tapers on its own. A slow one floods.
So the swell is a rhythm, not a squeeze. Draw 20 lines at a pace you would hum. The pressure follows the tempo without you having to manage it.
One more thing is worth knowing about a swelling line. It reads as an edge turning away from you. That is why it belongs on the far side of a form. Put the thick part on the near side and the object looks pushed in. (I did exactly that to every apple I drew for a year.)
Step 5 — Curve the lines around the form
Drill 12: draw a circle and hatch it in straight lines. Drill 13: draw the same circle and curve every line to follow the surface. Drill 14: draw a cylinder with the lines running around it.
Straight lines flatten a shape. Curved lines inflate it. The circle in drill 12 stays a disc. The circle in drill 13 becomes a ball. (Same pen, same ink, 4 minutes apart.)
If the ball looks dented, one of your curves changed its mind halfway across.
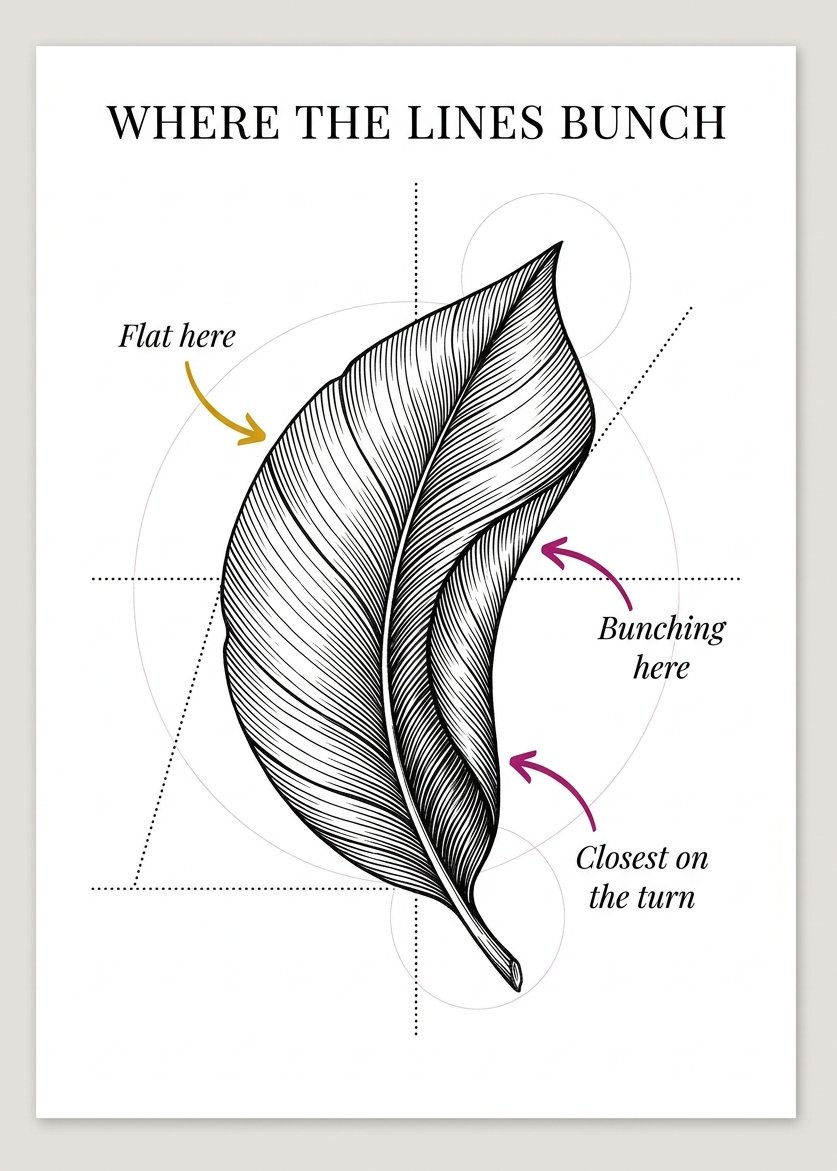
There is a spacing trick hiding inside drill 14. As the surface turns away, let the lines bunch closer together. Do not press harder. The bunching is the thing that reads as a turn.
Keep the direction consistent across the whole form. A cylinder wants its lines running the same way from top to bottom. The moment two sections disagree, the shape reads as two objects.
The worksheet below marks the 3 places worth watching. Flat here, bunching here, closest on the turn.
Step 6 — Decide where the dark stops
Drill 15: hatch one half of a square solidly and stop sharply at the middle. Drill 16: hatch the same square, fading out over about 1cm.
A hard stop reads as an edge. A fade reads as a turn. Both are correct. They are answering different questions.
If the whole drawing looks soft, nothing in it has an edge. I pick one boundary per drawing and let it be blunt.
It helps to know which dark you are drawing. The core shadow sits on the object itself, just before it turns fully away. The cast shadow is the one thrown onto the table.
They are rarely the same value, and the cast one usually wins. So draw the core shadow first. Then decide how much darker the cast shadow has to be to sit underneath it.
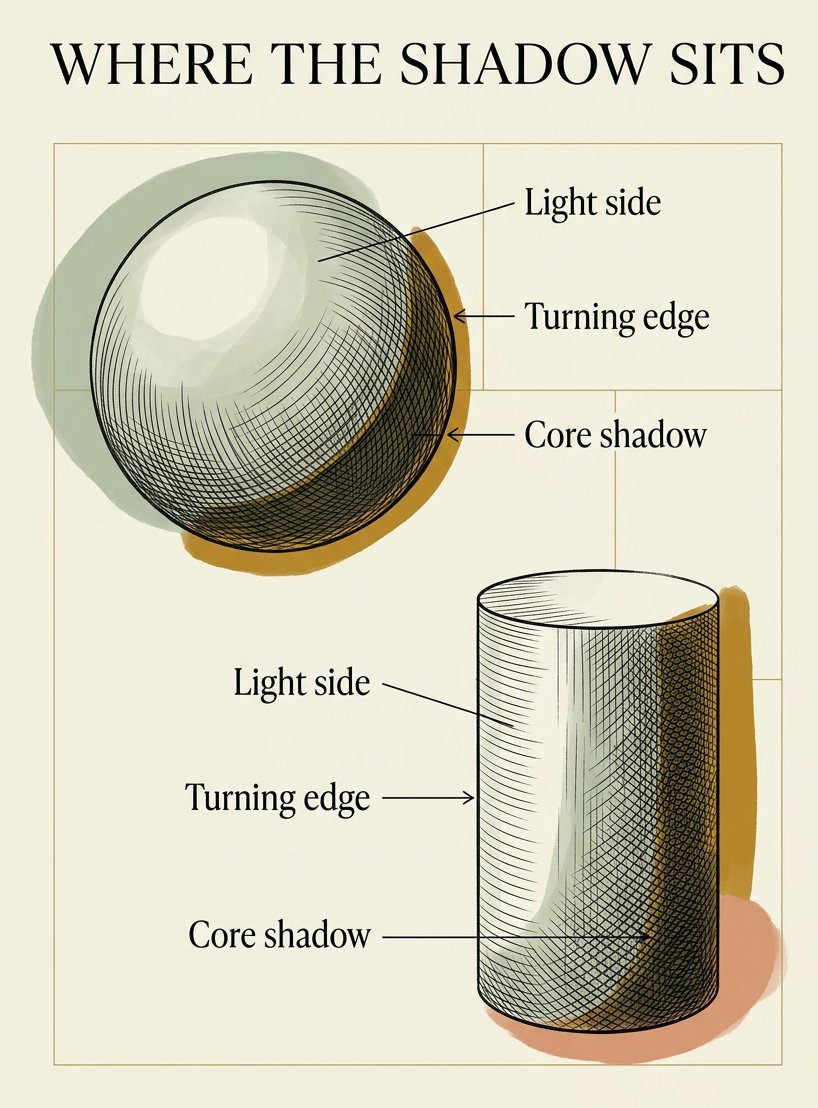
Step 7 — Three variants that change what hatching and cross hatching can do
Drill 17: contour hatching, where every line follows the outline of the object instead of the page. Drill 18: stippling, the same tones built from dots. Drill 19: mark where the white shapes are first, in pencil, then hatch everything around them.
Drill 19 rearranges how you see the job, and it comes from a printmaker.
Thomas Bewick cut his blocks on the end grain of boxwood, across the grain rather than along it. He used the fine burins that metal engravers used. The lines he cut sat below the inked surface, so they printed white.
He was not drawing the dark. He was cutting the light. His Eagle Owl went into A History of British Birds, Volume I, in 1797.
Instead of asking where the shadow goes, you ask which parts are staying bright.
I find that genuinely cheering. It turns shading from an accumulation into a decision.
The other two variants carry their own traps. Contour hatching goes wrong when the lines follow the outline too obediently, and the object ends up looking like a contour map. Let them drift off the edge now and then.
Stippling goes wrong on volume. A dot is a very small amount of tone, and a mid-grey wants far more dots than anybody expects. Work in small patches. Check the whole square before you commit.
All 3 variants answer one question in a different accent. You are deciding how much of the paper stays white, and in what order you take the rest of it away.
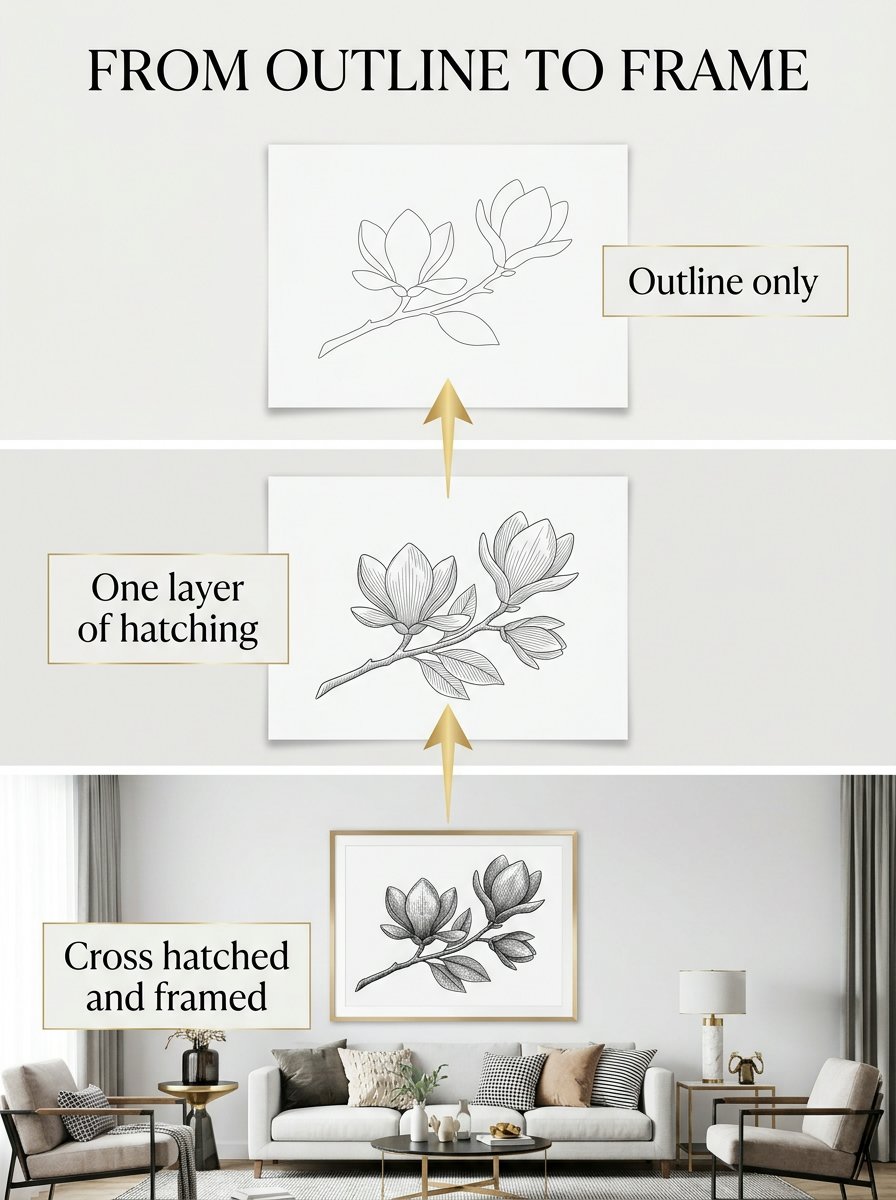
Step 8 — The 4 ways it goes wrong, and what each one really is
Grey that refuses to go dark is almost never a pressure problem. It is a layer problem. Add a fourth pass before you add any force.
Fuzzy lines mean the nib sat too long in one place. Move faster and lift cleanly.
A muddy square means the angles between your layers are too close together. Open them up.
A fanned box means the wrist turned when the paper should have. (See also: the good scissors, the jar of assorted buttons, the drawer where batteries go to be tested by nobody.)
All 4 are counting problems wearing a costume. None of them wants you to press harder, and none of them needs a second pen.
Free Starter Pack
Get 10 free pattern templates to practise these layers on.
Sent tonight. Simple shapes with enough room inside them for 40 lines.
Unsubscribe in 1 click, no hard feelings
What is the difference between hatching and cross hatching?
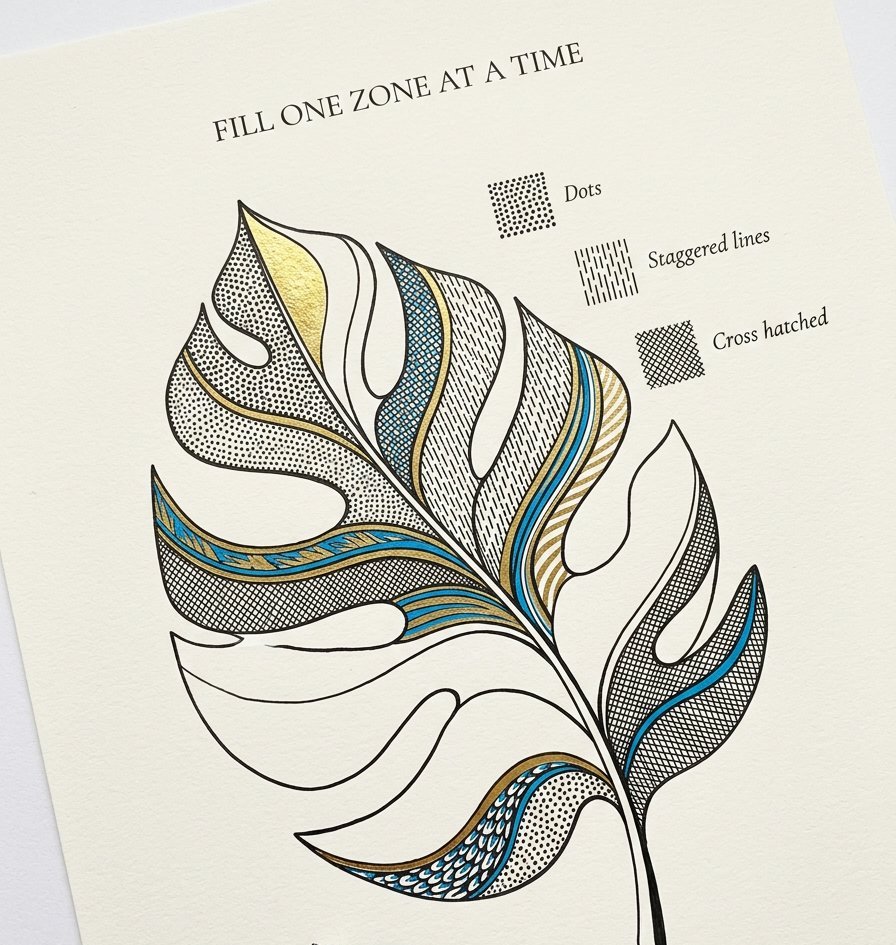
Hatching is one set of parallel lines. Cross hatching is a second set laid over the first at an angle. That is the whole distinction.
Hatching gives you one step of tone. Cross hatching gives you as many steps as you have patience for. (I have, on a good evening, about 4.)
Most drawings use both, and they use them in that order.
The sheet below runs all 3 fills on one shape, zone by zone. The difference is easier to see than to describe.
What do hatching and cross hatching create in art?
They create tone without any change of material. No wash, no blending, no second pen.
They also create texture, because the direction of the lines describes the surface underneath them. Lines running around a form say round. Lines running flat across it say flat.
That is why the technique survived out of engraving and into everything since. It does 2 jobs with one mark. I have never found a cheaper trick in drawing.
If you want the same idea at half the length, I wrote about why cross hatching is worth the obsession a while back. This page is the practice; that one is the argument.
Every drill above needs a shape to sit on, and a blank page is where the evening goes to negotiate. That is the one thing a chart cannot hand you.
100 outlines that already know where the shadow goes

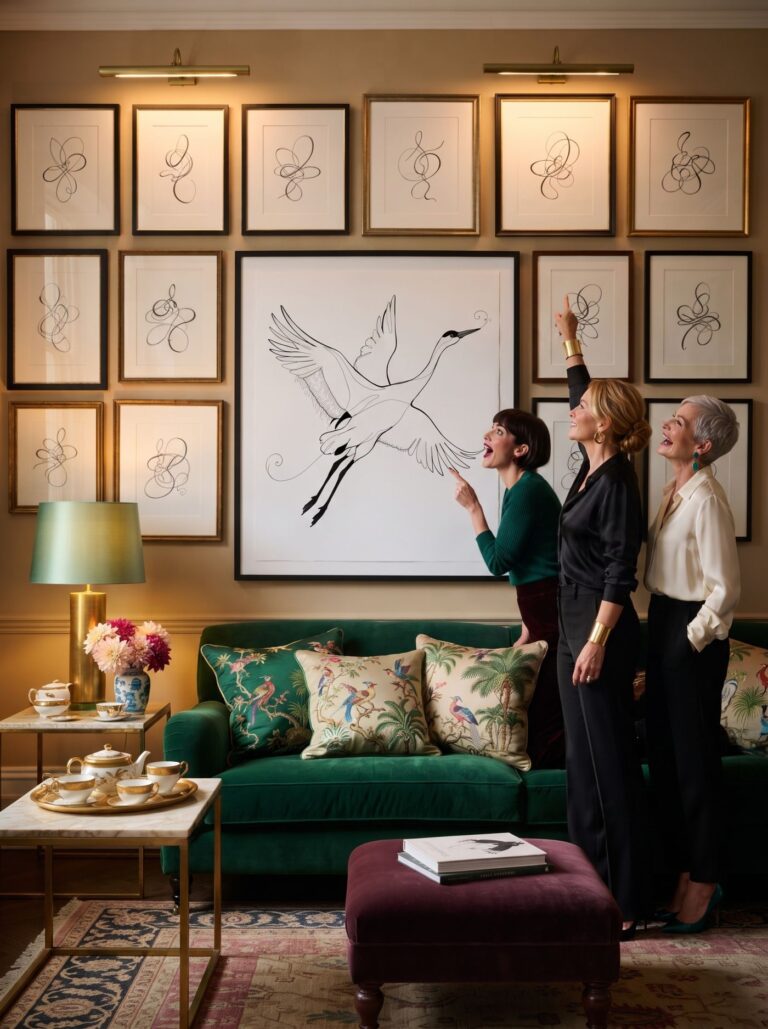
Trace one outline tonight. Then spend the evening deciding which side of it is dark.
Instant download · print at home
A shadow is only ever a number of layers, and the pen has all evening to count them. Nothing on the page has to be decided at speed.
“my propensity for drawing was so rooted that nothing could deter me from persevering in it”
Thomas Bewick, A Memoir of Thomas Bewick
Mirabelle wrote this. No training, strong opinions, many pens. Peer reviewed by a cat who sat on the value chart while it was still wet.