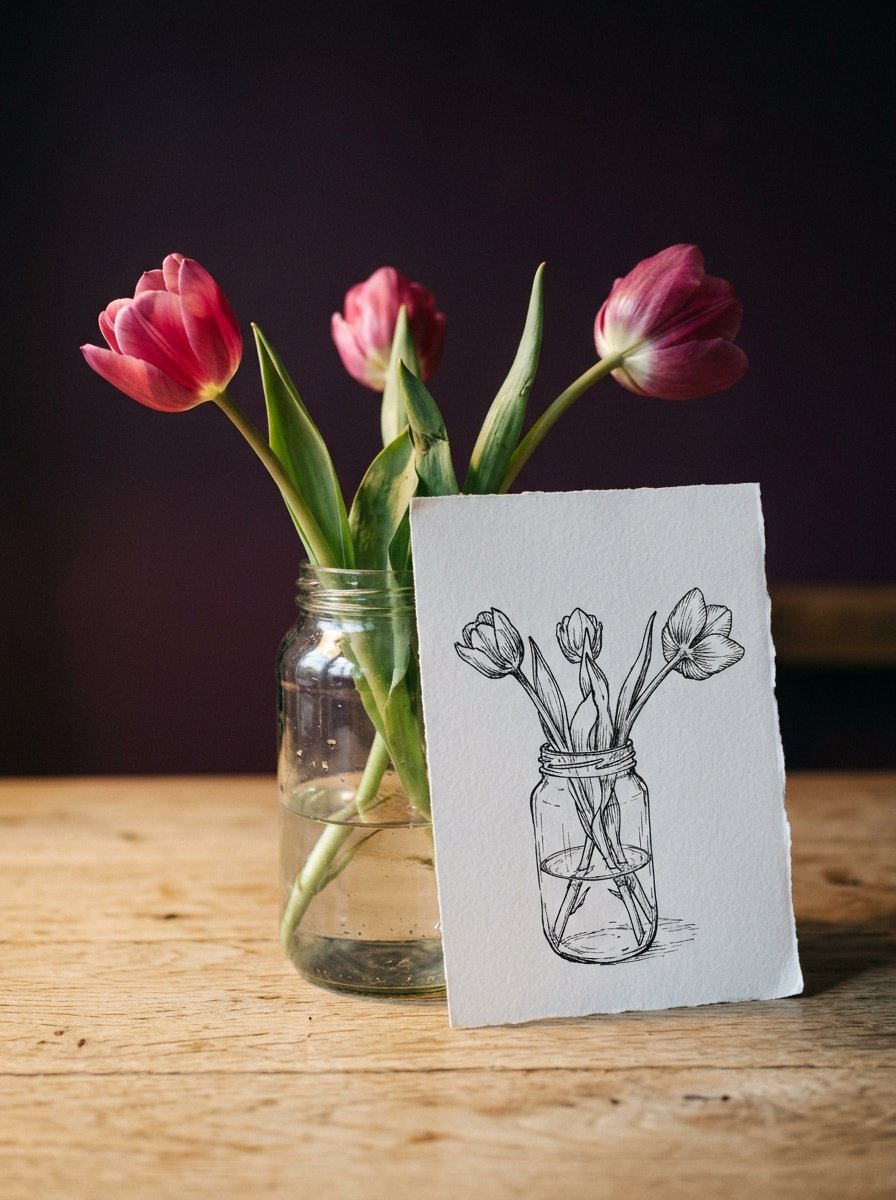
There are three tulips in a jam jar on my table. That jar is my entire research department for how to draw flowers in a vase. I bought 5. Two are in the kitchen, sulking.
Here is the bit that never makes it into the tutorials. Three stems is the whole job. Not 30.
A bouquet goes flat for one reason. Every bloom faces the front, like a school photograph.
Tonight one of them turns away from you. That is the trick, and it takes 11 seconds.
What is below, and the sheet that comes with it
8 steps, one bouquet. You draw the vase first and the flowers second.
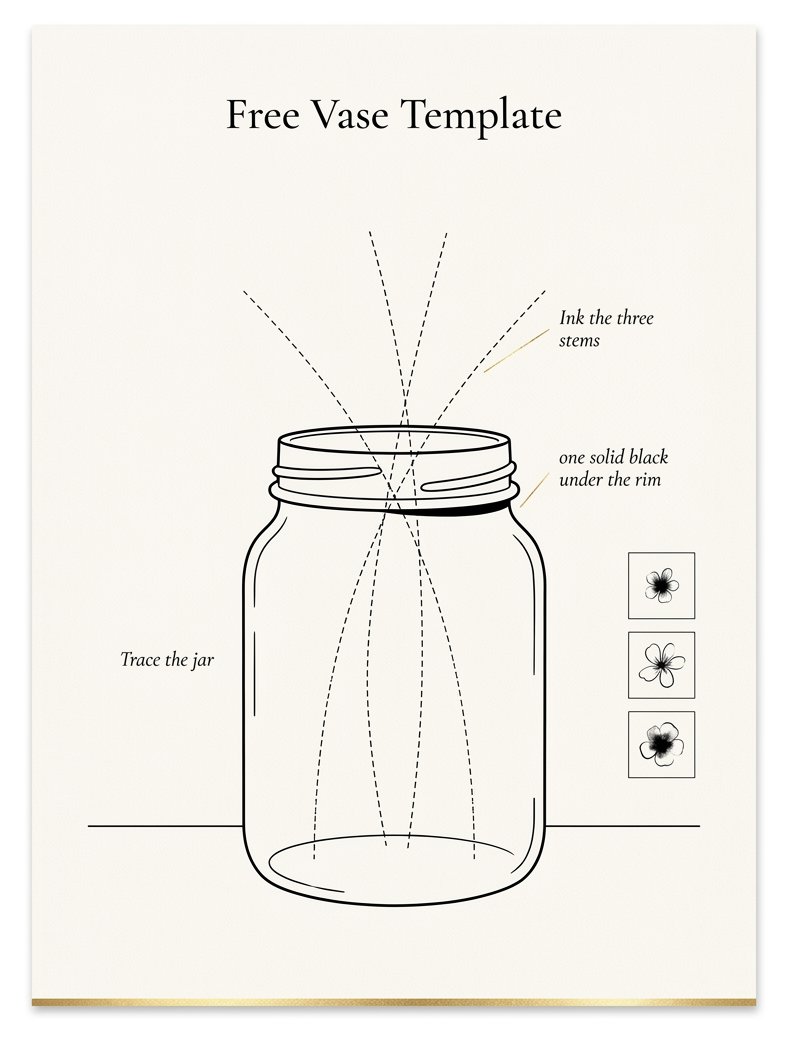
The free vase template holds the hard part: the jar, the shelf line and three faint stem paths.
(I drew it after ruining four bouquets in a row. The stems were the problem every time.)
Download the free vase template →
 Save
That order is the whole lesson. Most of us start with a petal and hope.
The stem paths on the sheet already cross, and they are deliberately uneven.
Even spacing is the exact fault this whole method exists to avoid.
There is a shelf line under the jar as well. It stops the bouquet floating, which is the other thing that goes wrong.
In the print box, choose actual size rather than fit to page. The printer will offer to shrink it. Say no.
You can draw the shapes freehand instead. The template only saves you the measuring.
Work in pen if you can bear it. A pen stops you rubbing out the lines that were already fine.
(I rubbed out a perfectly good stem 4 times last week, and put back something worse each time.)
Everything below works either way. Nothing here needs a ruler or a single measurement.
And none of it needs a bouquet in the house. Three stems from memory will do.
The Collection
Draw 60 flowers the same way you just drew three
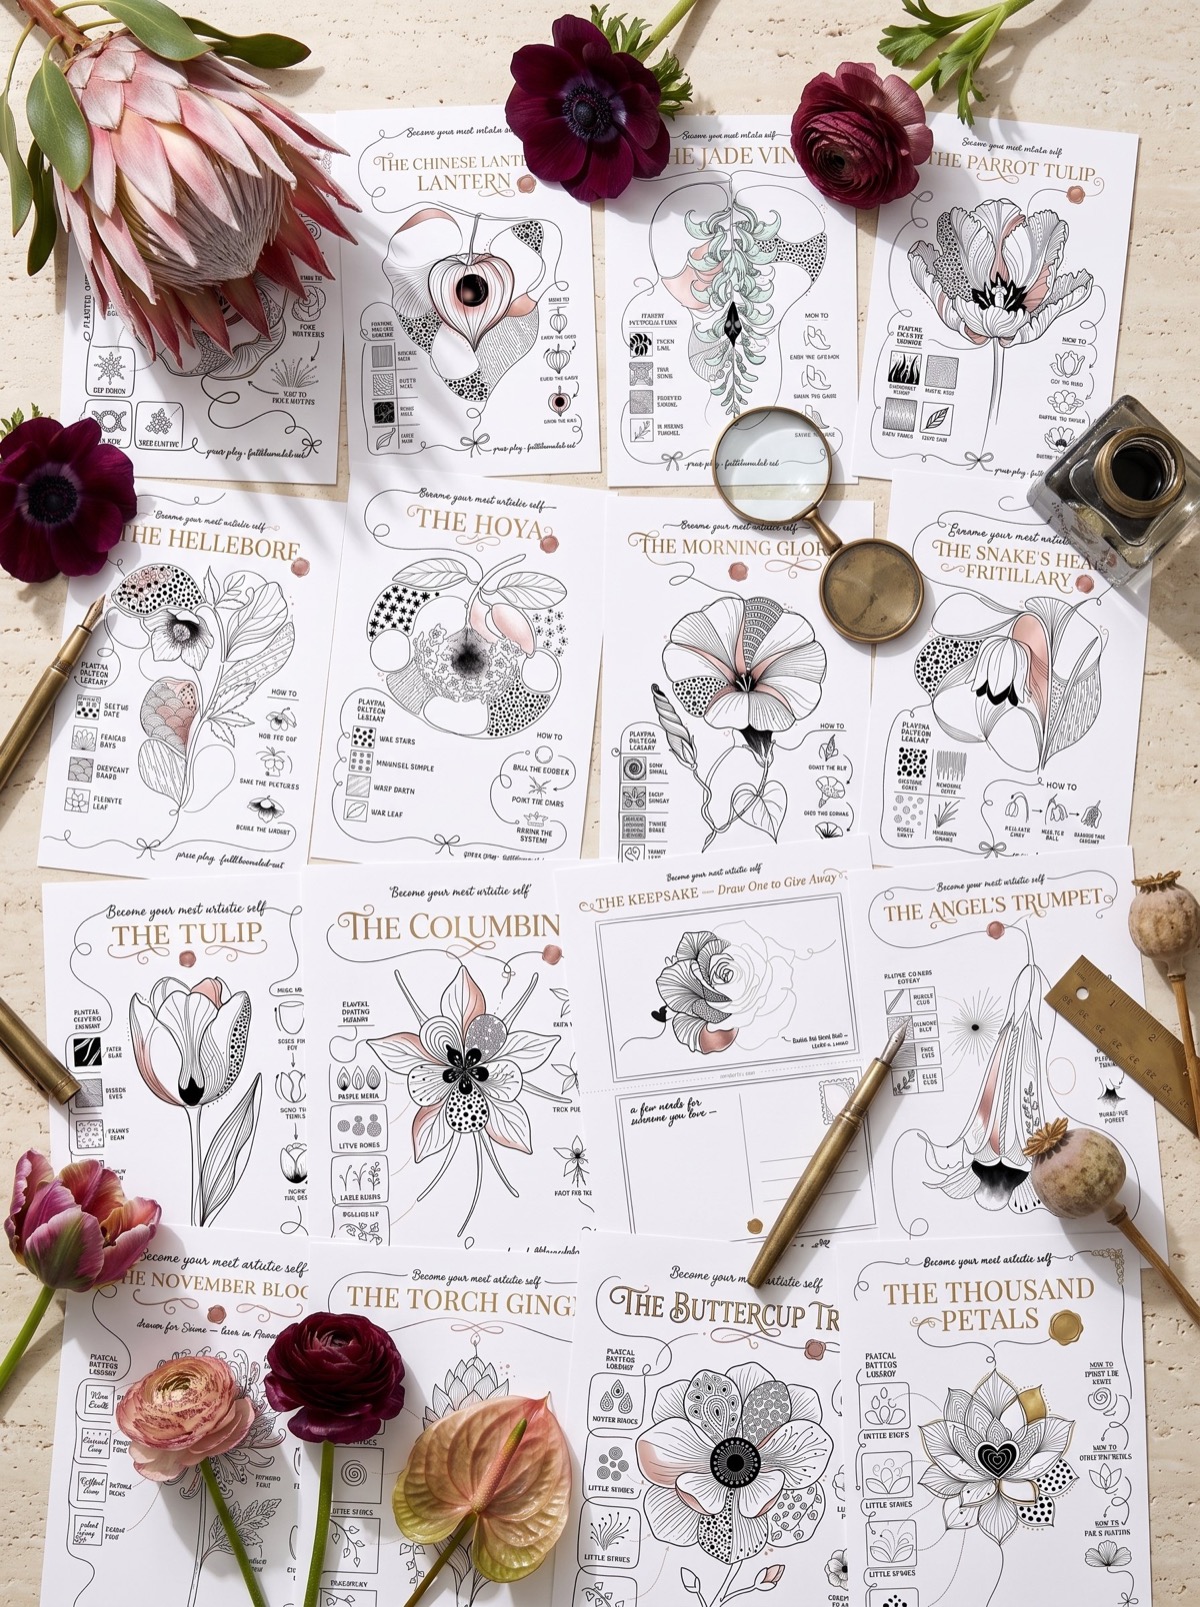
BLOOM & PATTERN. Tulips, poppies, and one jar that holds the lot. Inside: 60 step-by-step flower guides, 30 line-art blooms to start from, and 30 pattern sheets for the petals. (The pattern sheets are for the evenings your hand wants something to do and your head does not.) What you get: an hour that is not scrolling, and a jar of flowers that looks like it cost money.
Back to the jam jar, because the jam jar is where this gets easy.
Step 1 — Put the vase down first, and put it low
Draw the vase before you draw one petal. It is a cup shape with a flat bottom.
Keep it in the bottom third of the page. Leave the top two thirds empty.
You will see a page that looks badly planned. It is not. Flowers need somewhere to go.
Empty paper above a vase is not wasted. It is the room the bouquet grows into.
If it looks wrong, the vase is too big. Shrink it. A vase is a saucer, not a bucket.
Halve it if you are unsure. A small vase has never once ruined a drawing.
(Mine was a bucket for about a year. Everything I drew looked like it was being served.)
Step 2 — How to draw flowers in a vase starts with 3 stems that cross
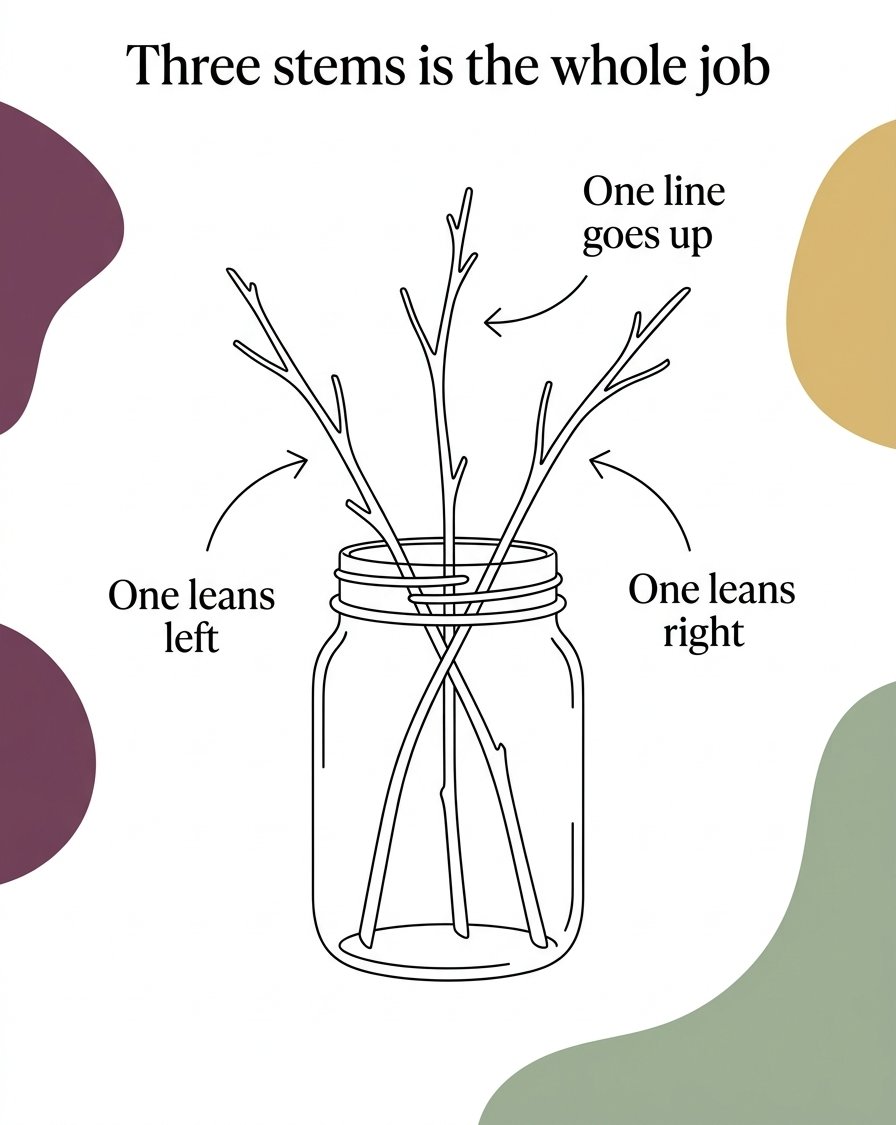
Draw three lines out of the jar. Not a fan. A fan is what goes wrong.
One line goes up. One leans left. One leans right and crosses the first.
Let them cross well above the rim, near the middle of the page.
That crossing is the whole illusion of depth. Two lines that cross sit at different distances.
Your eye reads the break in the line as one stem passing behind another. It does this without being asked.
You will see something that already looks like a bouquet, with no flowers on it yet.
If it looks wrong, your three lines are evenly spaced. Move one.
Even spacing reads as a hairbrush. Uneven spacing reads as something that grew.
(I spaced mine perfectly for months, being tidy, and wondered why nothing looked alive.)
Step 3 — The back bloom is smaller, and smaller than you think
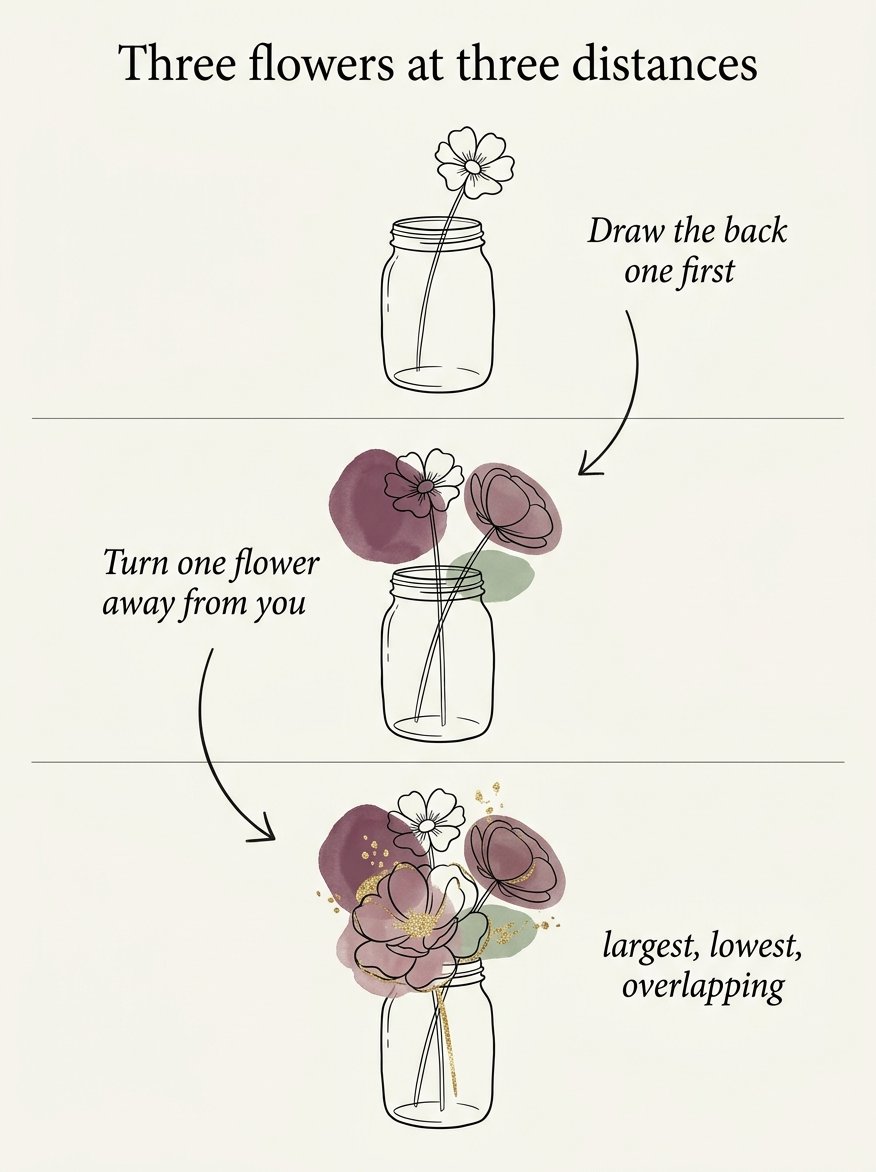
Put a circle on each stem. The back one gets drawn at about two thirds the size.
Draw the back one first, before the others. It is the one you will forget.
Then the middle bloom. Then the front one, largest, lowest, overlapping its neighbour.
Overlap is not optional. One shape must cover part of another or the page stays flat.
You will see three flowers at three distances. Nothing else changed but size and overlap.
If it looks wrong, the back bloom is too big. Shrink it again. It is always the back one.
This is the step where most people quit, and there is a good reason it works.
Rachel Ruysch built her bouquets on diagonals rather than on flowers. The National Gallery describes one of hers as a series of strong lines tipped slightly on the diagonal.
That line drops from the columbine, through the viburnum, down to the peony. The flowers hang on it like coats.
She learned the trick young. Her teacher Willem van Aelst taught her to arrange a bouquet so it looked spontaneous and less formalised.
Spontaneous was the thing she built on purpose.
She also kept a drawer of separate flower studies. She dropped them into a composition she had already planned.
So the plan came first and the bouquet came second. That is the opposite of how most of us start.
(I find this enormously comforting at 9 in the evening.)
Step 4 — Turn one flower away from you
Pick the middle bloom. Draw it as an oval instead of a circle, and tilt the oval.
An oval reads as a circle seen at an angle. That is all a turned flower is.
Add two or three petal edges at the far rim. Nothing else. No centre, no stamens.
A flower facing away has no middle, because you cannot see its middle.
You will see the bouquet stop staring at you. It is a startling amount of depth for one squashed circle.
If it looks wrong, the oval is too narrow. It is a flower, not a coin on its edge.
Widen it until it still reads as round. About half its full width is right.
(Every bouquet I drew before this looked like a choir. Polite, facing front, waiting for a note.)
Step 5 — Where the stems disappear, and how to draw flowers in a vase made of glass
Stems do not stop at the rim. They carry on down behind the glass.
Draw each stem faintly through the jar, then stop it at the water line.
The water line is a flat oval across the jar, about a third of the way down.
Below that line the stems are still there, just paler and slightly shifted.
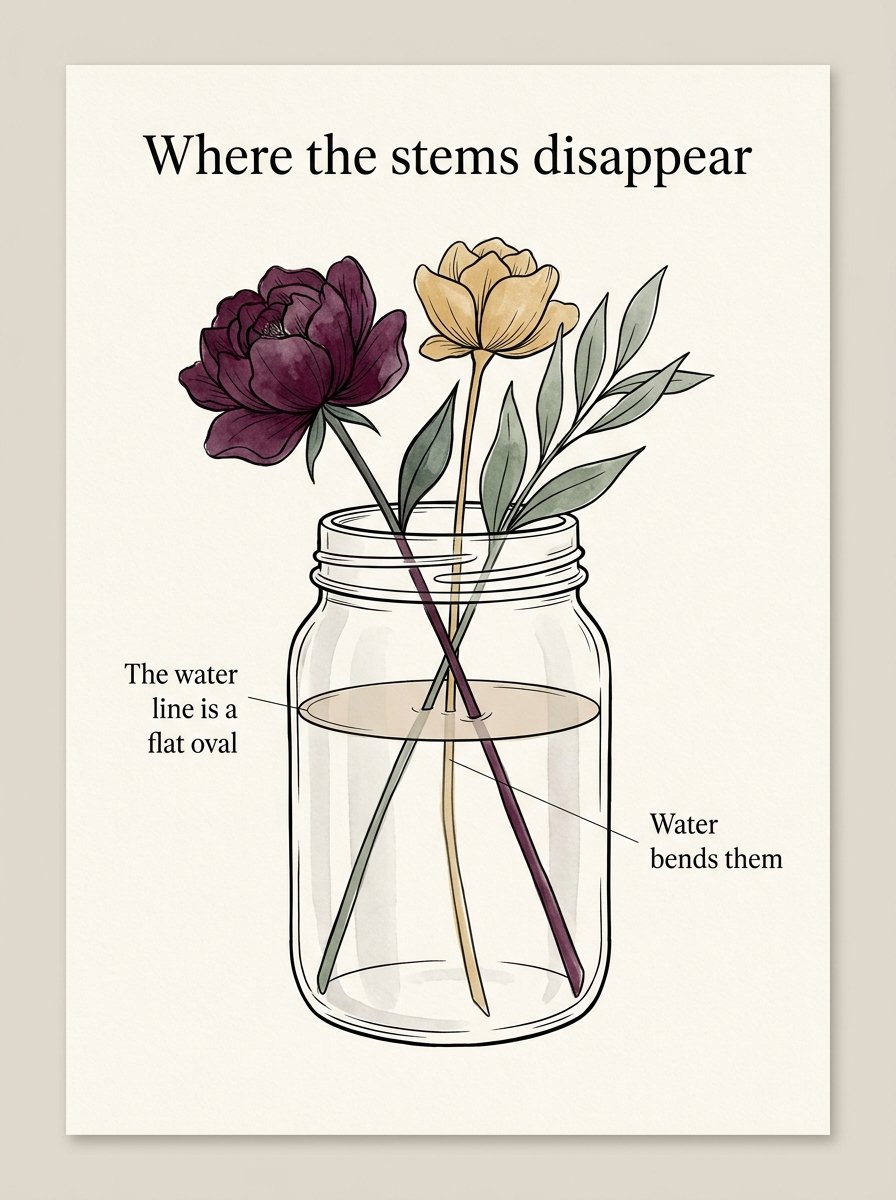
You will see a jar that reads as glass without you drawing any glass at all.
If it looks wrong, you drew the stems straight through. Water bends them.
Kink each stem very slightly sideways exactly where it meets the surface. A tiny step is enough.
(I overdid this once and produced a jar that looked like it had been dropped.)
Step 6 — Fill the blooms, then stop before you want to
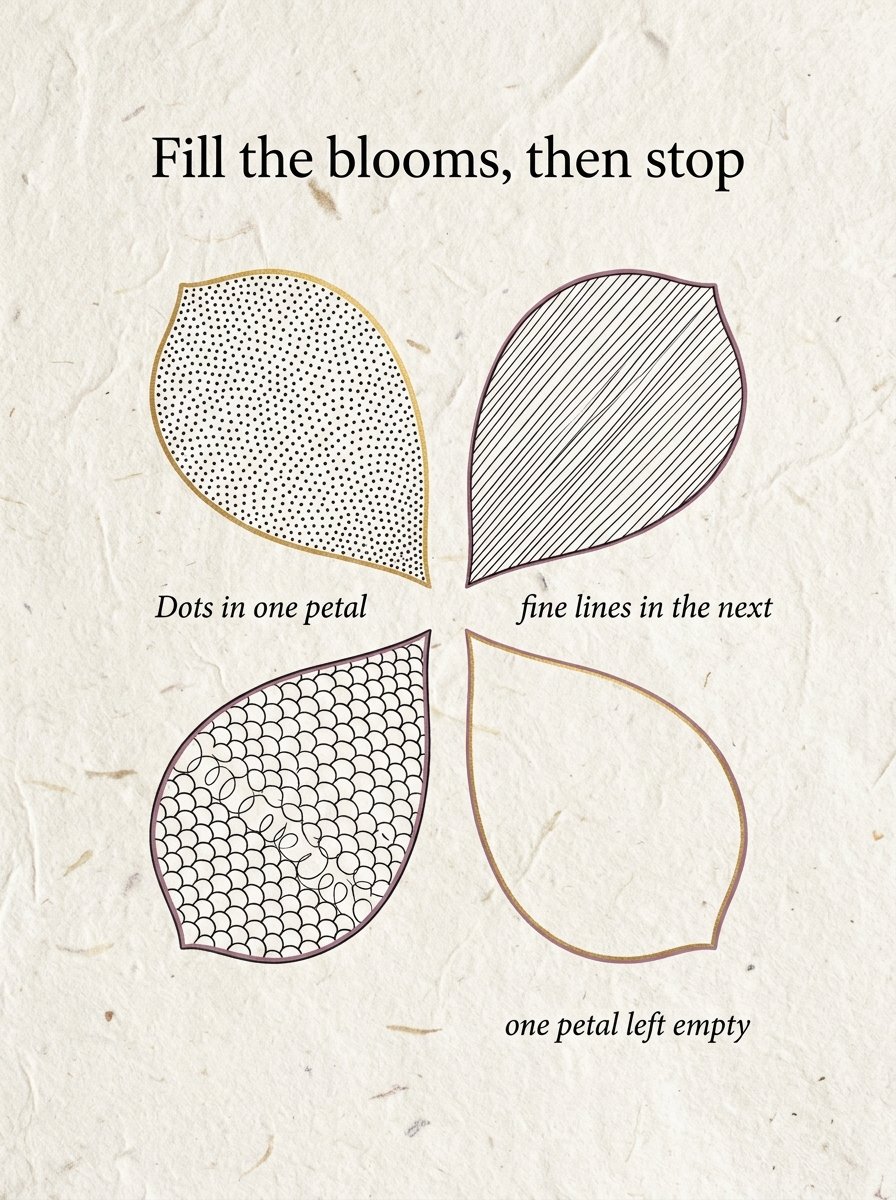
Now the patterns go in. Dots in one petal, fine lines in the next, one petal left empty.
Work one petal at a time. Never fill a whole flower in one pass.
Do not fill every petal. The empty ones are what make the full ones look chosen.
Roughly one petal in three stays bare. That ratio is doing quiet work.
Then one solid black shape, somewhere low. Under the rim is the safest place.
You will see the whole drawing snap into focus. The black is doing that, not the detail.
If it looks wrong, you have filled everything. There is no fix except a fresh page.
(I have a bin that would corroborate this.)
Step 7 — Three ways to change how to draw flowers in a vase, once the bouquet works
Change one thing at a time. The skeleton underneath stays exactly as it is.
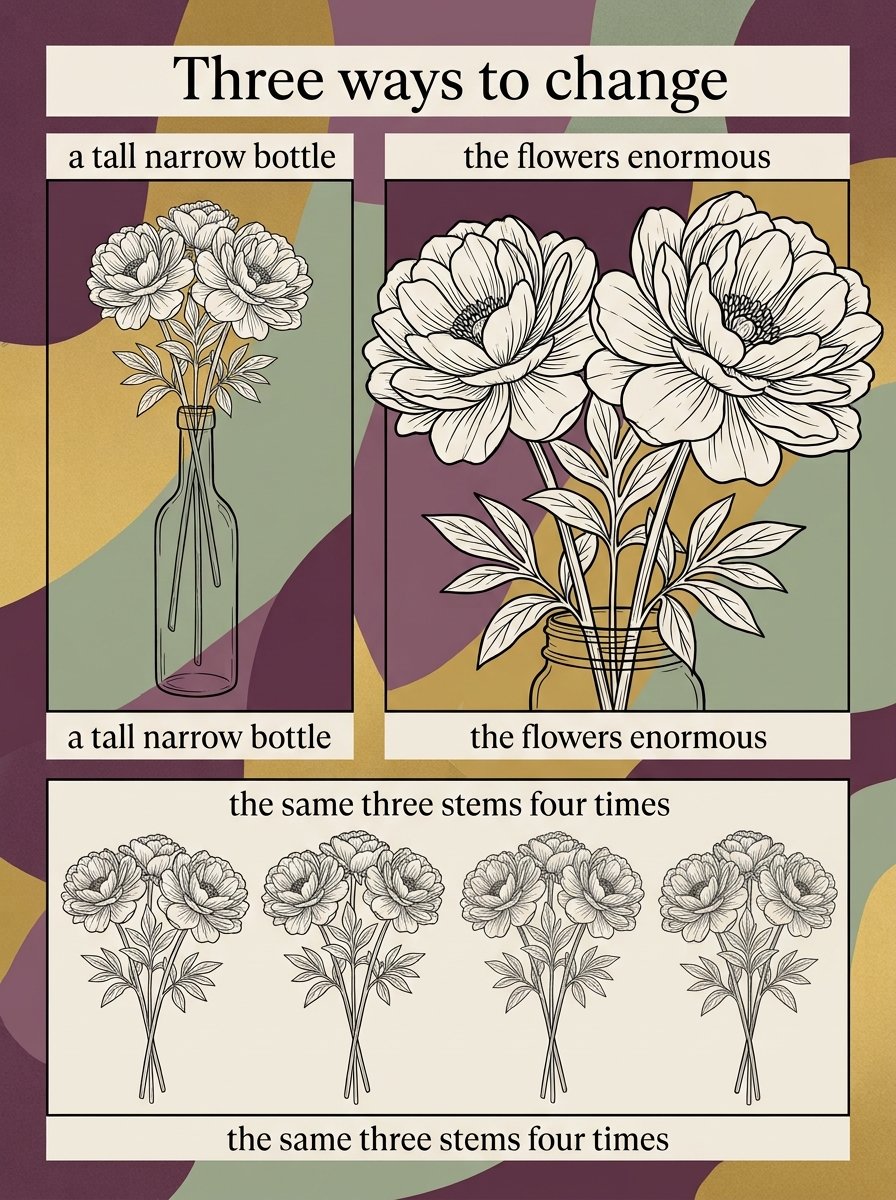
Swap the jam jar for a tall narrow bottle and the bouquet turns formal. Fewer stems, longer necks.
Or keep the jar and draw the flowers enormous. Two blooms fill the page and the vase nearly vanishes.
Or draw the same three stems four times across one page. Turn the bouquet a little further each time.
That last one teaches more in an evening than copying a photograph does in a week.
Odilon Redon is the reason I stopped apologising for inventing flowers. He moved from charcoal into pastel during the 1890s.
His late flower pieces are not portraits of anything that sat on a table.
He wrote about painting an object down to the smallest accidents of its appearance. The day left him unsatisfied.
So the next day he worked from memory instead, and let imagination run.
His Flower Clouds of 1903 hangs in the Art Institute of Chicago. Nothing in it grew anywhere.
(He also left a pastel called Ophelia among the Flowers, about 1905, where the flowers are frankly doing as they please.)
So the bouquet on your page need not be the bouquet on your table.
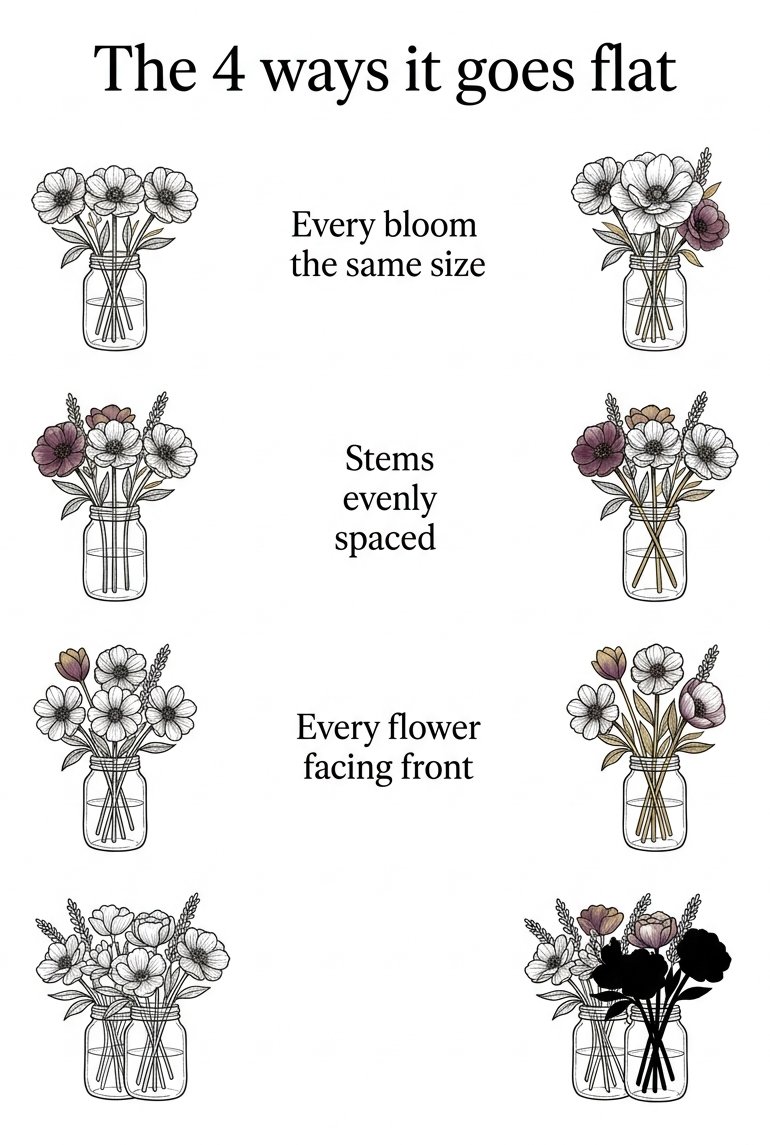
Step 8 — The 4 ways it goes flat, and the fix for each
Flat one. Every bloom the same size. Shrink the back one by a third.
Flat two. Stems evenly spaced. Move one stem until two of them cross.
Flat three. Every flower facing front. Turn one into a tilted oval.
Flat four. No black anywhere. Put one solid shape under the rim.
You will notice all four are the same mistake wearing different hats.
Nothing is behind anything else. That is the only thing wrong with a flat bouquet.
Depth is not shading and it is not skill. It is overlap, size and one turned head.
(I made all four at once for months and blamed my pen, which had done nothing.)
How do you draw flowers coming out of a vase so they do not look stuck in?
Let two stems break the outline of the bouquet. One high, one low and off to one side.
A bouquet with a tidy edge reads as a hedge. Two escapees read as flowers.
Let one leaf cross in front of the jar as well. That single overlap puts the jar behind the flowers.
Make the crossing leaf slightly darker than the jar line. The darker shape always comes forward.
(It is the cheapest depth in drawing and I use it constantly.)
How do you draw a glass vase without getting the water line wrong?
Draw the water line as a flat oval, never a straight line. A straight line makes the jar read as empty.
Put it about a third of the way down. Any lower and the flowers look thirsty.
Then darken a narrow band just beneath that oval. Water is darkest where it meets the glass.
Leave one small white gap on the jar for the window. One gap, not four.
Glass is mostly what you leave out. Draw the rim, the base, the water line and stop.
(My first glass jar had 6 highlights on it and looked like cut crystal in a catalogue.)
Free Starter Pack
H pattern templates, for the petals you leave empty.
Sent tonight. Small fills for petals, leaves and the space under a rim.
Unsubscribe in 1 click, no hard feelings
Your free vase template, and how to draw flowers in a vase with it tonight
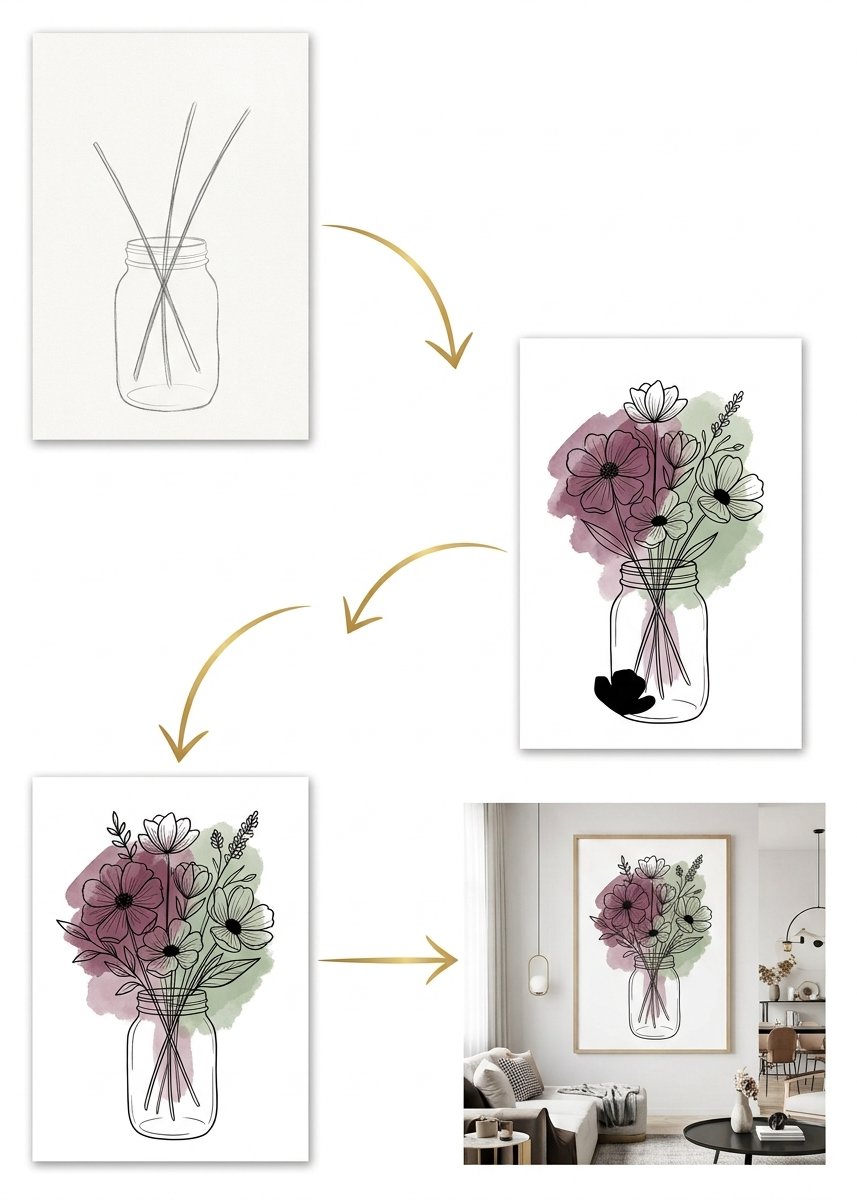
The template gives you the jar, the shelf line and three faint stem paths that already cross.
Trace the jar. Ink the three stems. Put the small bloom at the back before anything else.
Then the middle bloom, turned away. Then the big front one, overlapping.
Patterns in some petals, one solid black under the rim, and stop.
12 minutes, one jar, three flowers, one of them looking somewhere else entirely.
(Mine took 40 the first time, because I kept turning the paper round to admire it.)
Download the free vase template →
That is the whole method, and it fits on one jar.
Every one of the 60 flowers arrives already broken into steps
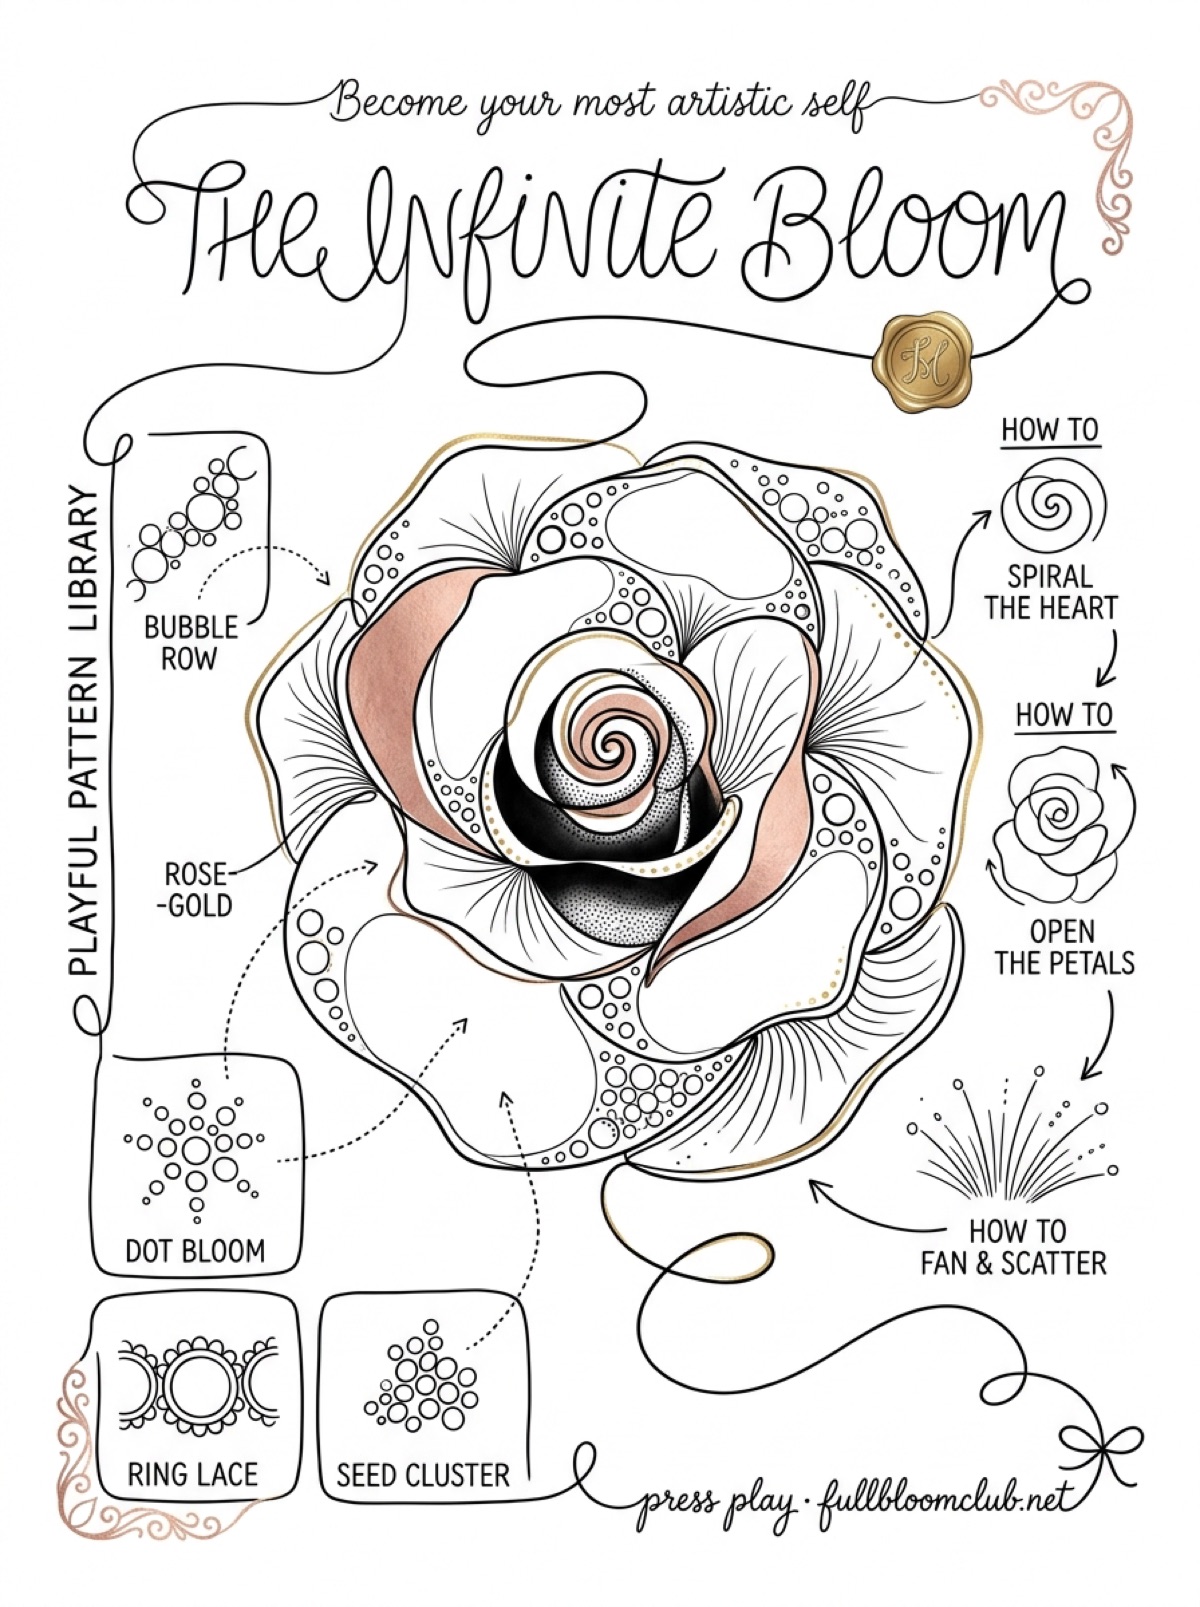
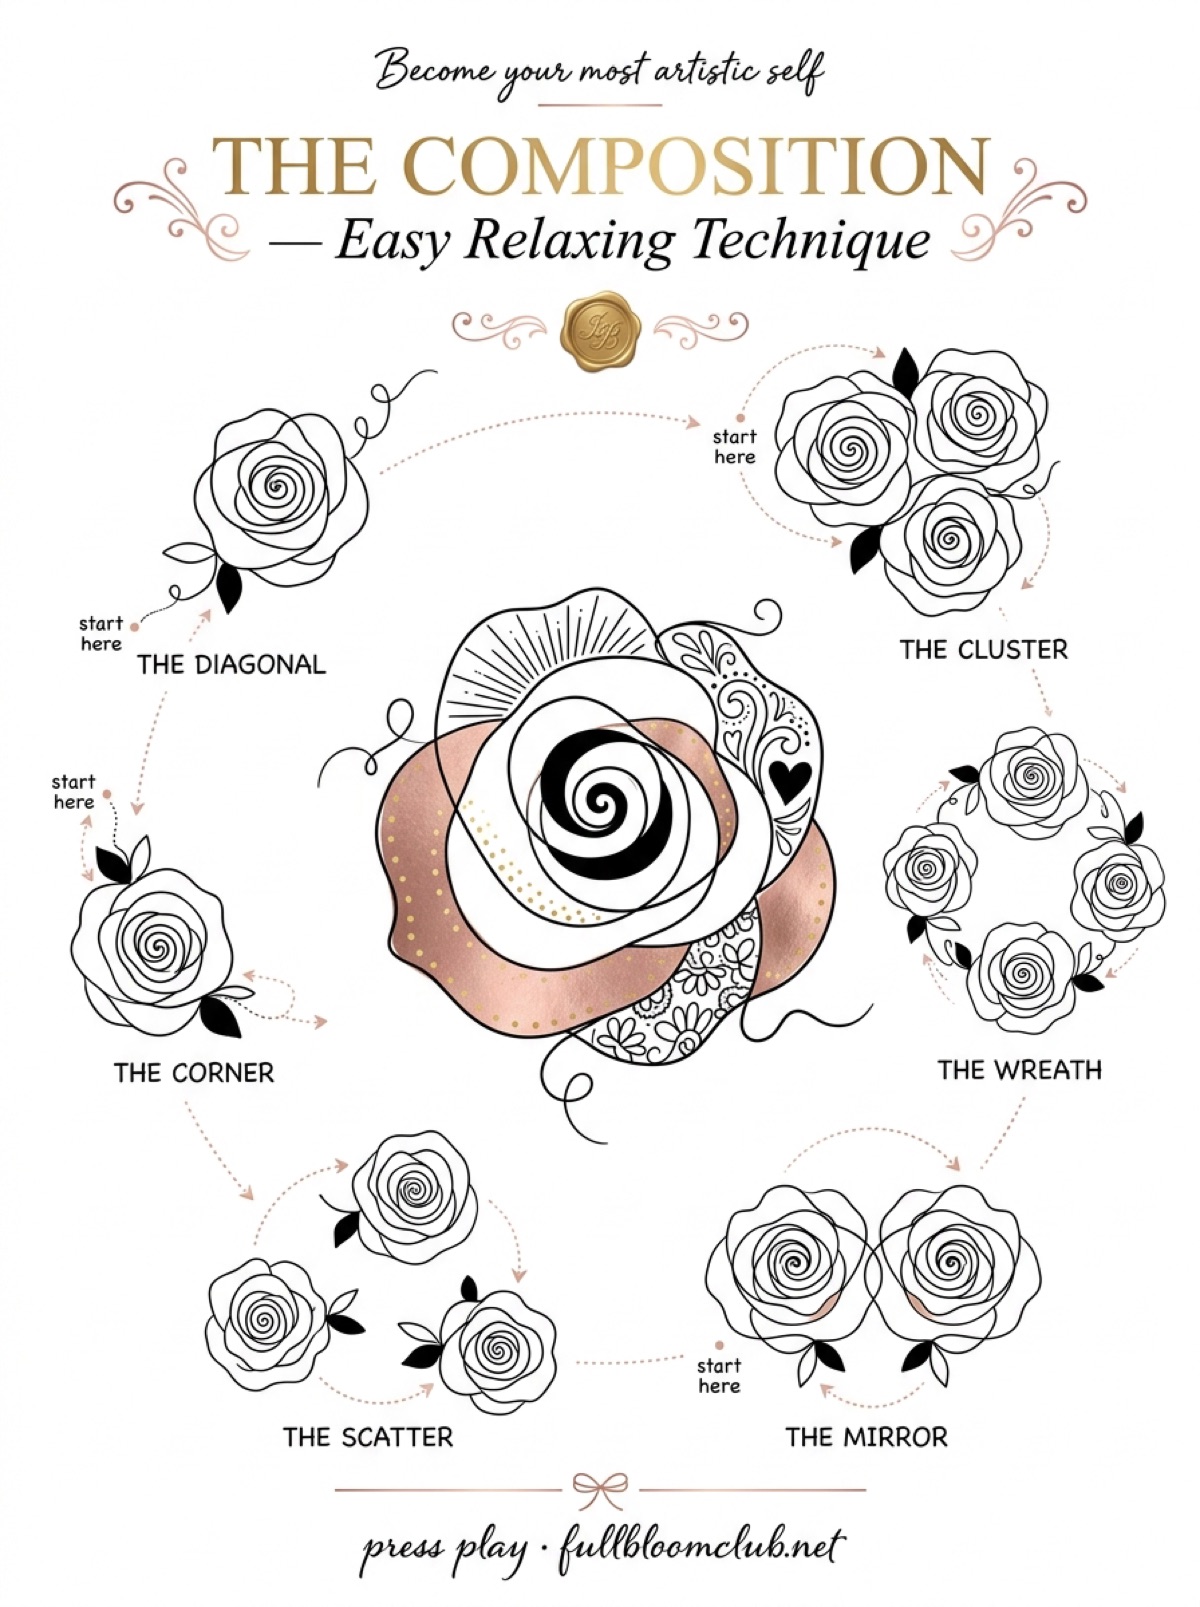
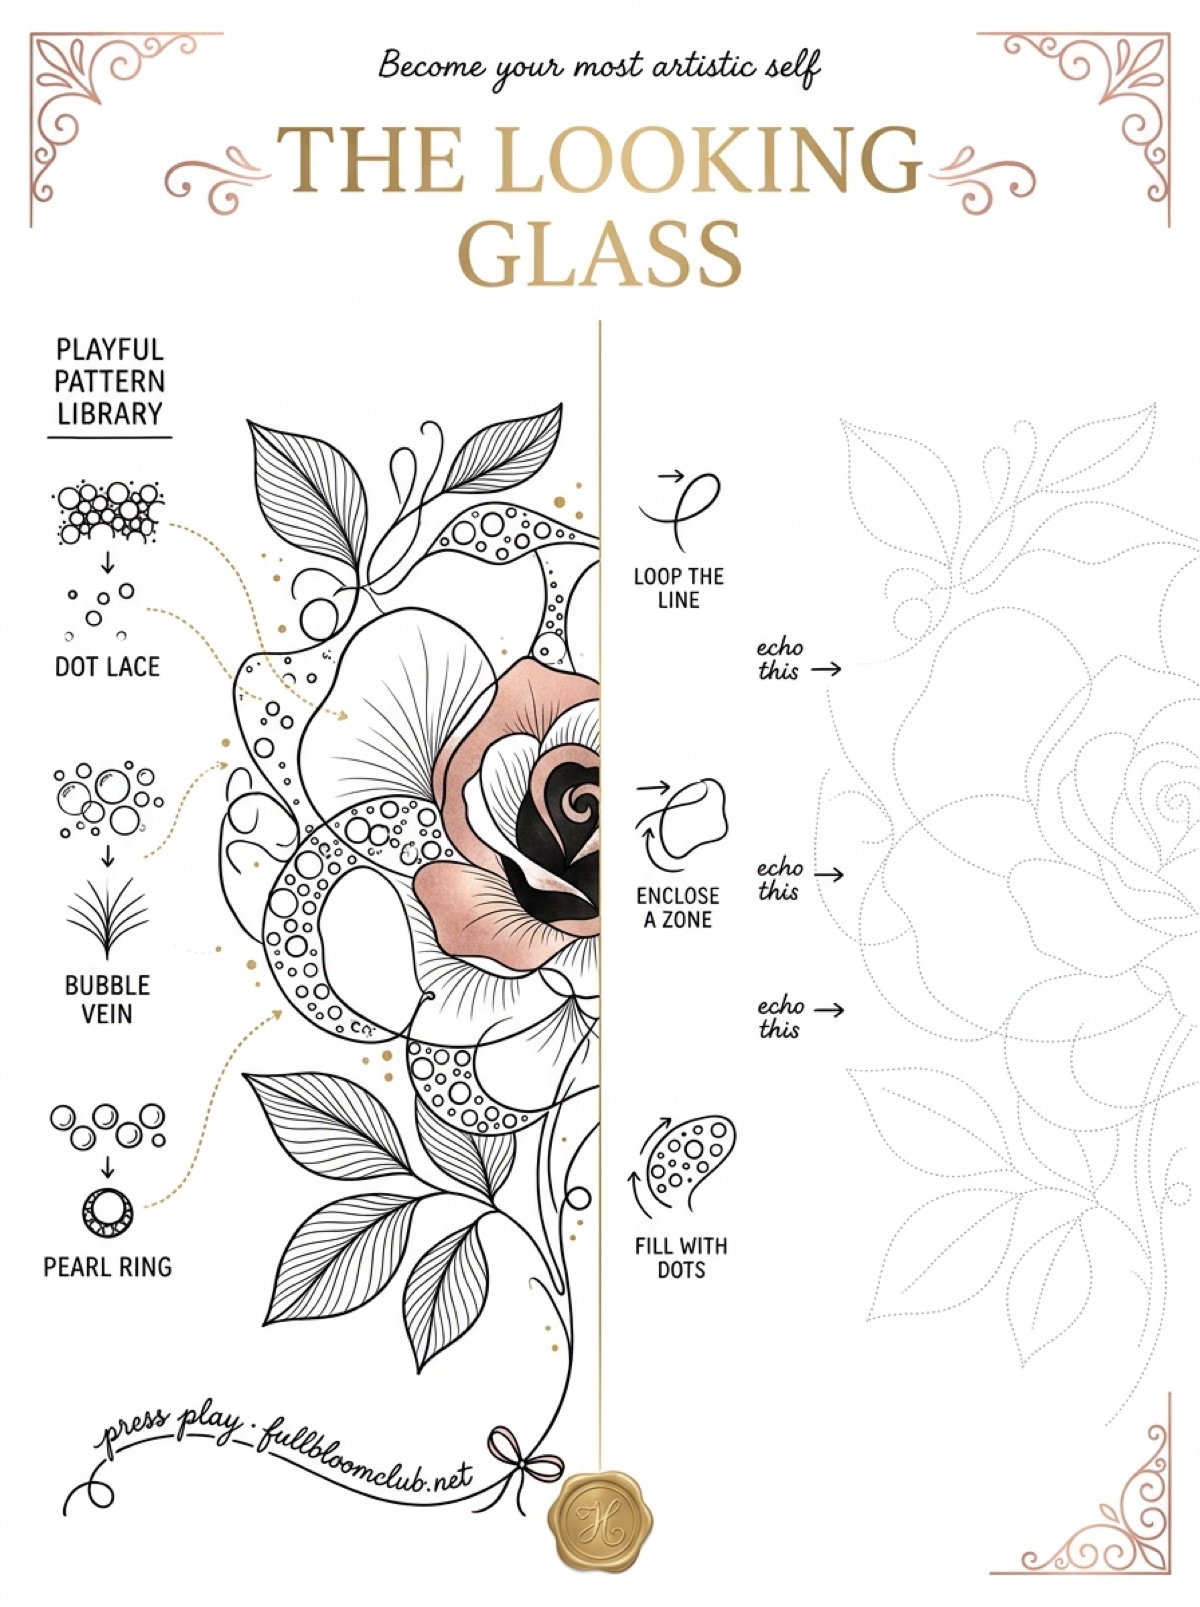
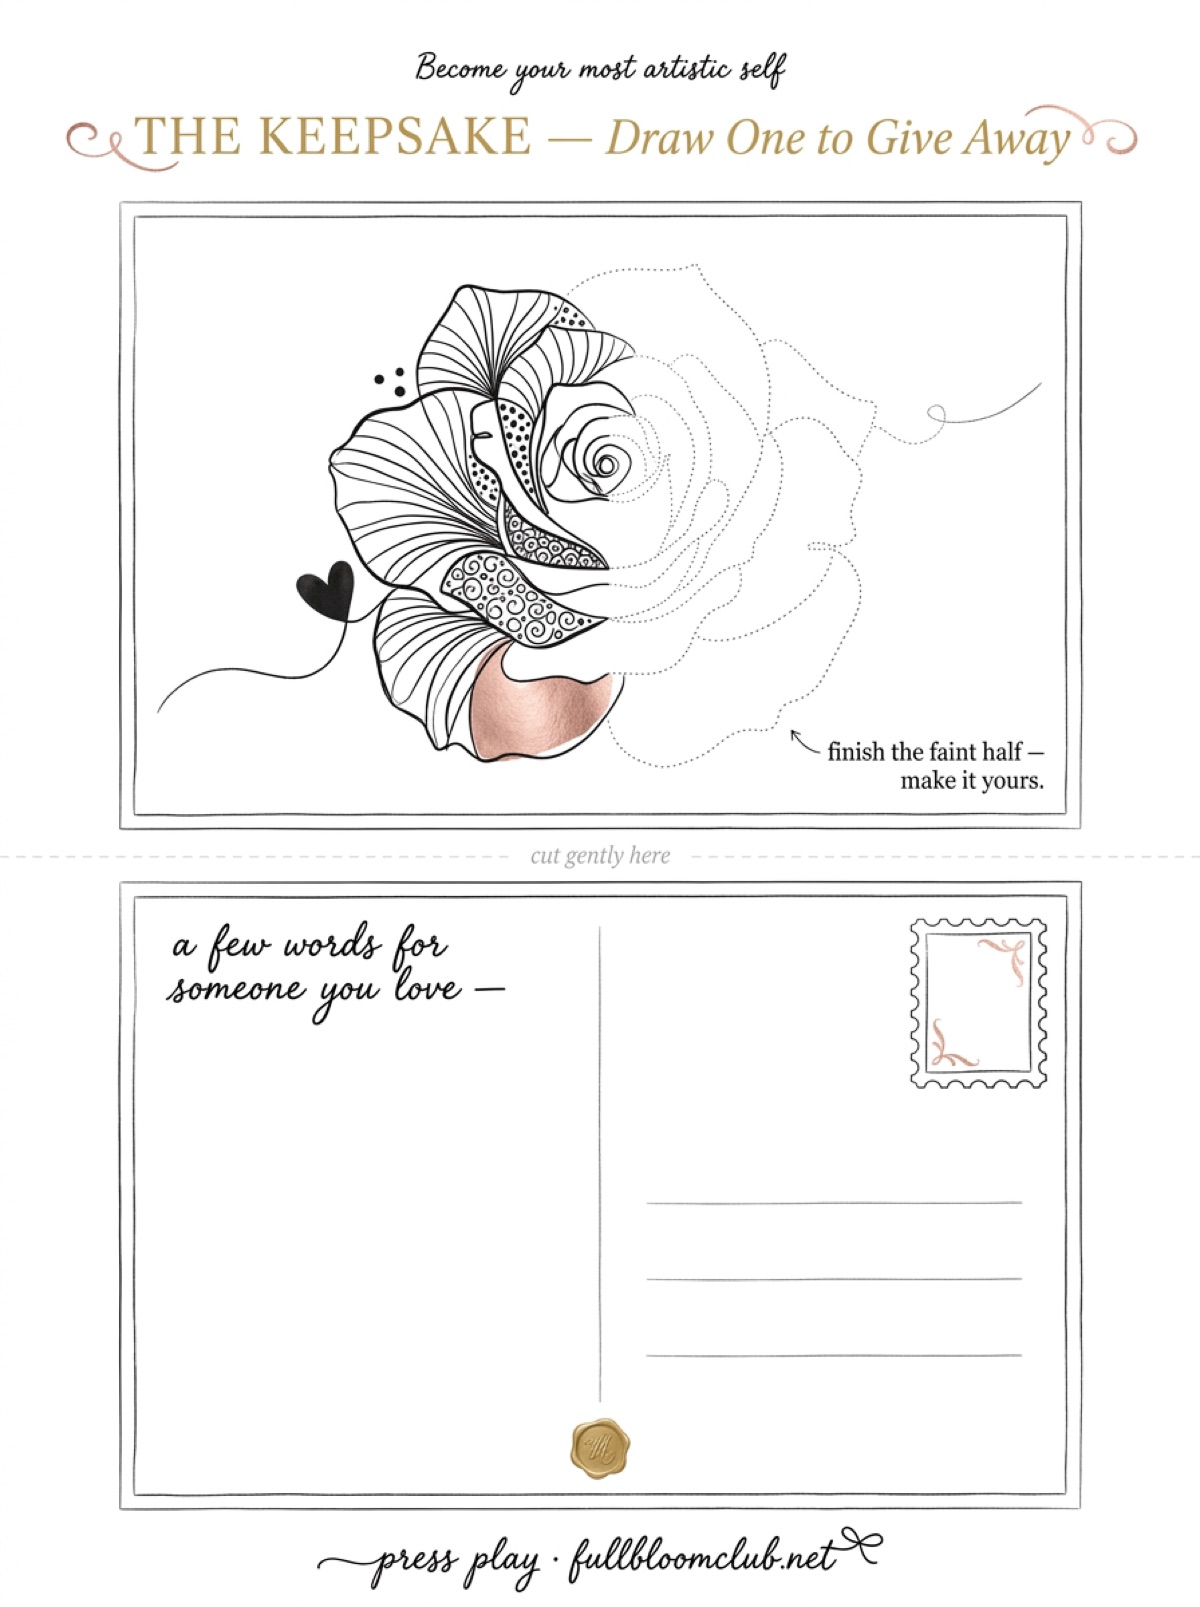
Begin with the tulip, then the columbine. Inside: 60 flower guides, 30 line-art blooms and 30 pattern sheets, for the evenings when three stems are not enough.
Instant download · print it whenever you like
The jam jar is still here, and two tulips have given up and lain down across the table. The drawing kept all three upright, which seems fair enough, given it never has to fetch its own water.
Mirabelle wrote this. No training, strong opinions, many pens. Peer reviewed by a cat who drank from the vase and denied all knowledge.