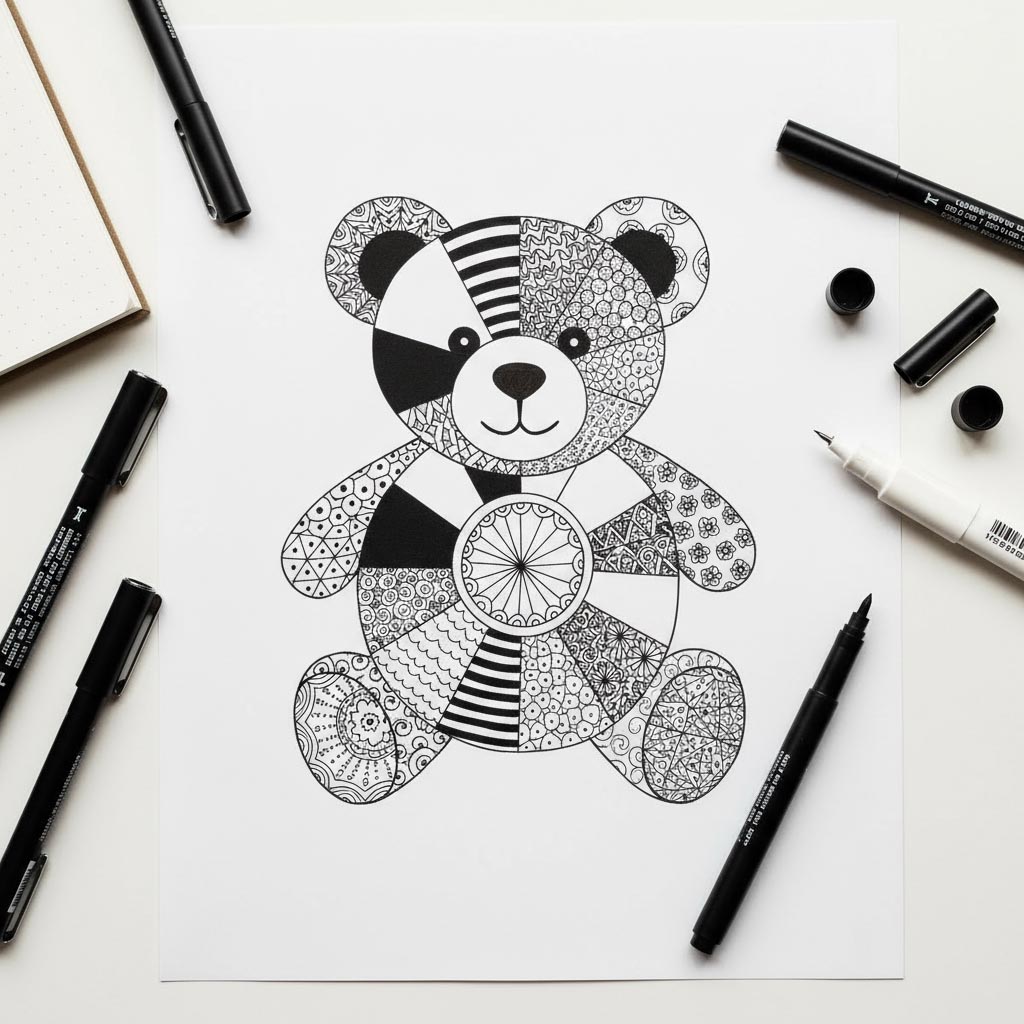
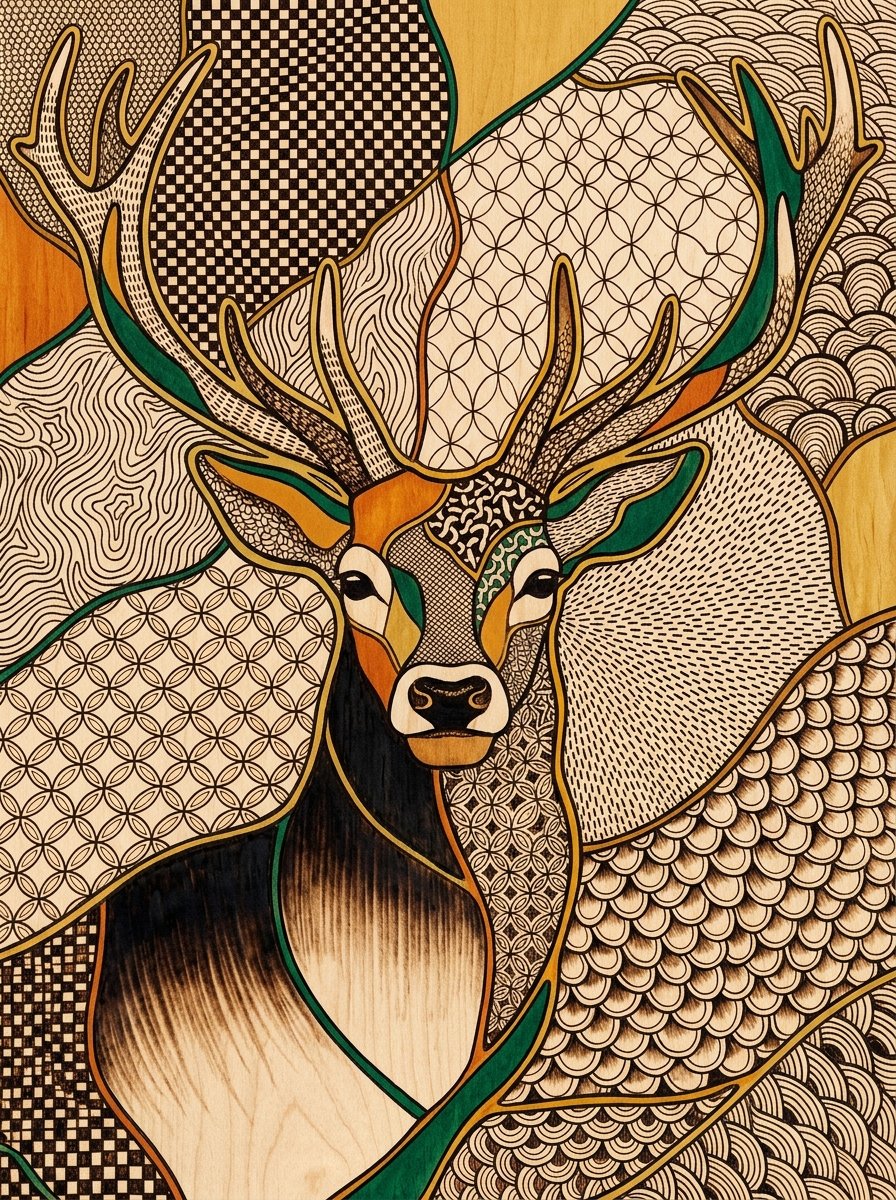
Heat travels along the grain of a piece of wood up to 2.75 times faster than it travels across it. Most wood burning patterns for beginners live or die on that one number.
You are not making a fire. You are holding a hot point still enough to stain.
So the pattern matters more than the pen. A line that runs along the grain behaves one way. The same line across the grain behaves like a different line. Nobody tells beginners that. So the first attempt comes out blotchy in places and shy in others. The blame then lands on the hand.
(It is not the hand. I checked, at some length, with 4 ruined offcuts.)
Download the free transfer sheet →
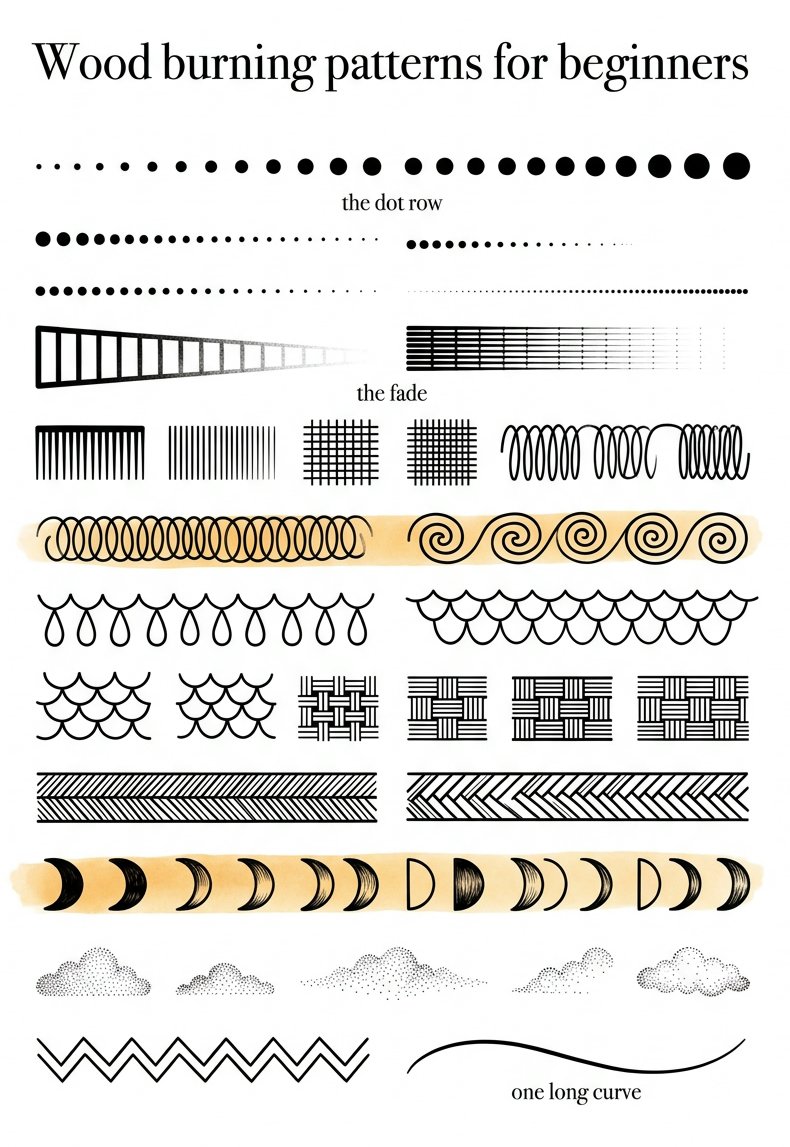
That is the free sheet, and below it sit 95 traceable wood burning patterns for beginners, in 5 groups. Then the transfer method that works on a curved spoon. Then the one mistake that ruins a good line halfway through.
The sheet carries 9 of the marks below, at the size they work best. The dot row, the fade, the comb, the coil and the scales. Then the basket weave, the herringbone, the half-moons and one long curve.
Print the sheet full size. Never fit to page. (The printer will offer to shrink it. Say no.) Tape it face down and go over the lines. Then burn the marks in the order they sit, left to right. It takes about 20 minutes, and it settles your hand for everything after it.
A burner runs hot and wood smokes a little. Work near an open window. Park the pen in its stand every time you stop.
Everything below starts from a line drawing. You transfer it, then you follow it with the pen. So the hard part is not the burning. It is having a drawing worth transferring. Most evenings, that is the part that is missing.
Trace a leopard tonight and let the pen do the rest.
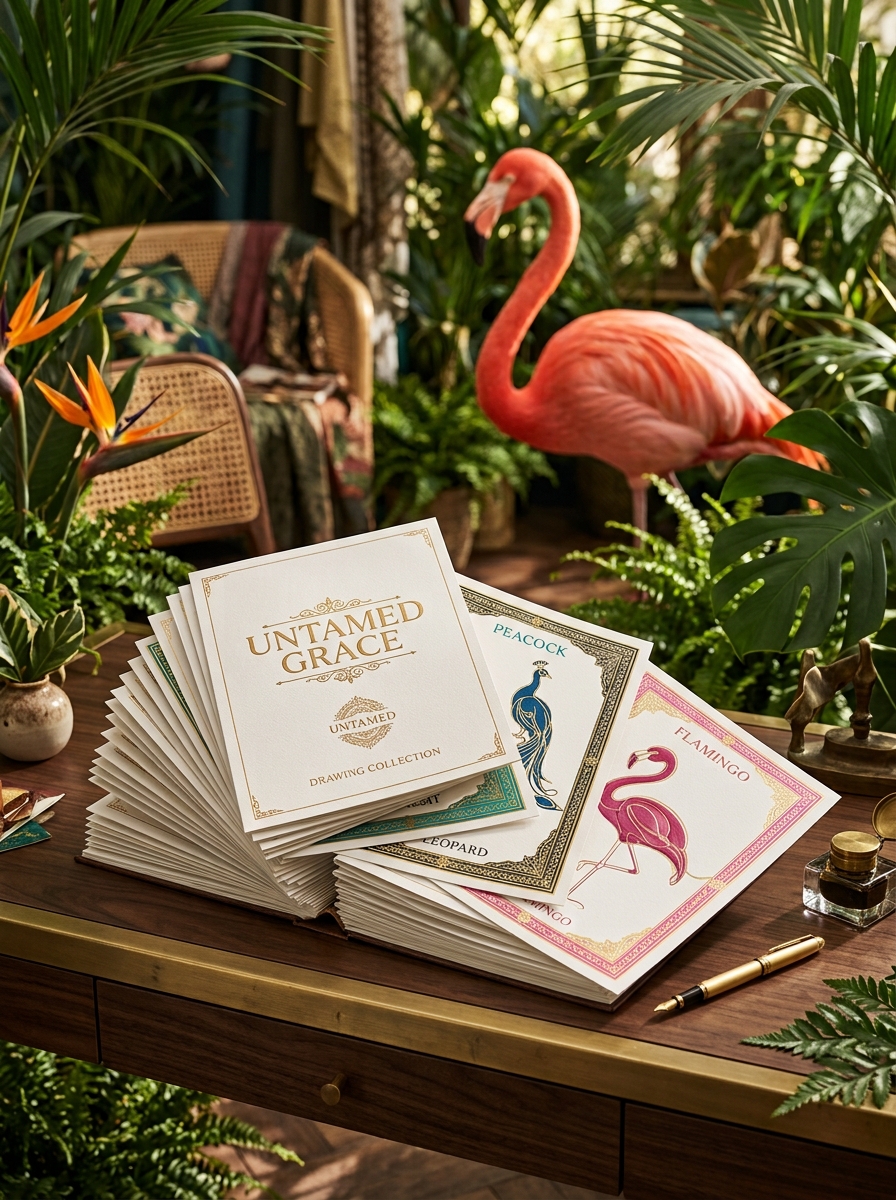
The Collection
UNTAMED GRACE. Flamingos, koi, and one unicorn nobody asked for.
Inside: 33 step-by-step line art sheets of creatures and blooms, drawn in flowing line. (The unicorn still has not explained itself.) What you get: a drawing worth transferring tonight, and a board on the shelf that people pick up.
Print one, trace it, burn it. The sheets are line drawings, which is exactly what a piece of wood wants from you.
Which wood burning patterns for beginners work on the grain, and which fight it?
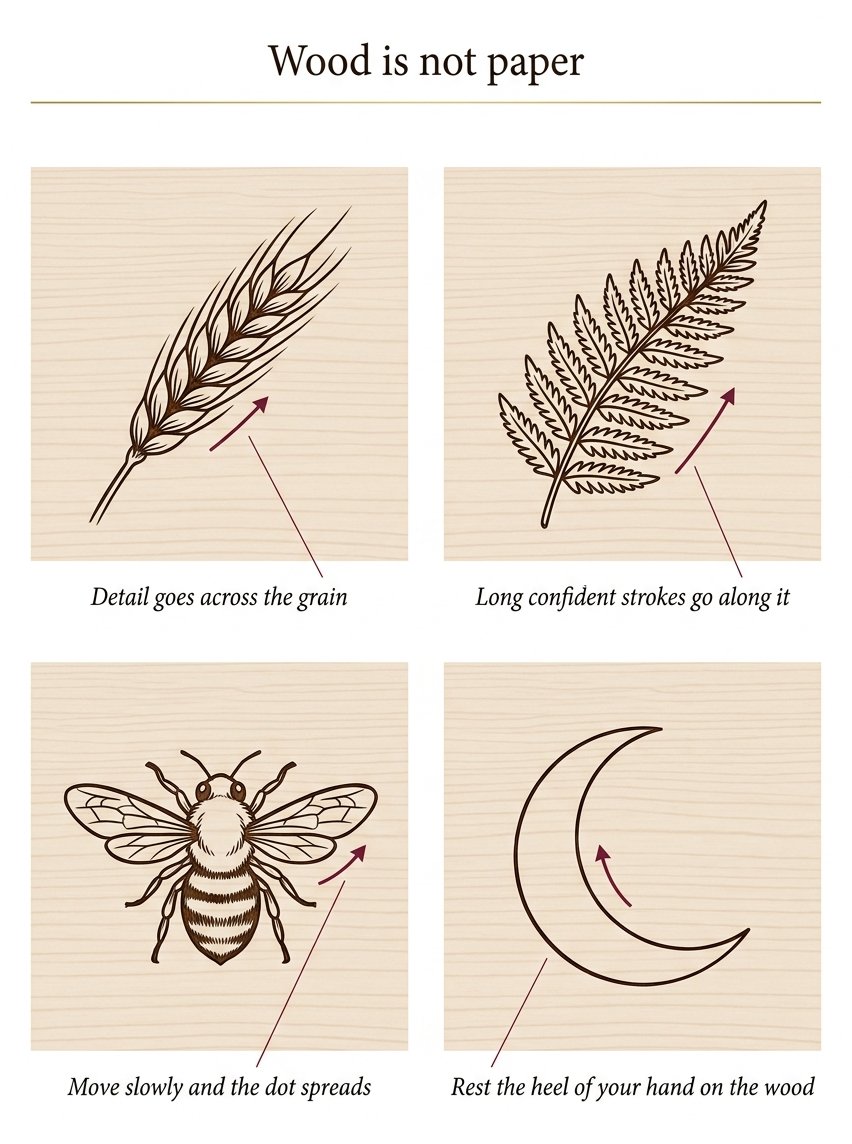
Wood is not paper. It has a direction, and the direction decides how your line arrives.
Along the grain the pen runs easy. Too easy. It dives into the soft early wood, and the line comes out thick and wandering. Across the grain the pen drags. The line comes out thinner, slower, and far more even.
So the rule is short. Detail goes across the grain. Long confident strokes go along it.
(I learned this the wrong way round on a bread board. I produced a rosemary sprig with one enormous leaf.)
Two more things decide the line, and both are free. Speed, and contact. Move slowly and the dot spreads. Move fast and you get a scratch with no colour.
Rest the heel of your hand on the wood, not in the air. A hovering hand shakes at exactly the frequency that shows.
What can I finish tonight if the present is tomorrow?
Small, closed, and no shading. That is the whole brief for a gift on a deadline.
There is a reason no shading is the right call. A sculptor in Boston put down his chisel. He heated a poker in the fire and drew pictures with it. The Witches from Macbeth. The Blind Beggar of Gretna Green.
He is credited as the first to bring poker pictures to America. A poker has no dial and no fine tip. Every tone came out of two things. How long he let the iron rest, and how fast he moved it.
Tone is speed, not equipment. On a deadline, skip tone altogether and let the shapes carry it.
A wheat ear is the fastest good-looking thing here. One stem along the grain, then short strokes out from it. Each stroke crosses the grain, so it stays fine. A rosemary sprig works the same way and forgives more.
A fern frond is the same again, one size up. It is the first one that makes people assume you trained. Three seed heads sit well on a square. Keep the stems long and the heads small.
An initial in a circle is the safest present here. The circle is the hard part. Draw it round a glass, never freehand.
A bee wants its stripes across the grain or they blur into one. A swallow mid-turn needs one long wing stroke and nothing else. A crescent moon takes 4 minutes. A thistle is all texture, so burn the head first. (I leave the head till last exactly once a year, and regret it at the same speed every time.)
Two cherries are a gift for someone who likes small things. A mountain line is one stroke and a lot of nerve. A wave curl is the same stroke, turned over. A honeycomb corner fills an empty edge and asks nothing of you.
An olive branch is the one people frame. A house with smoke is the one people cry at. The smoke is one wandering line, and it must not be tidied. Three stars become a map if you space them wrong on purpose. A wishbone is 2 strokes.
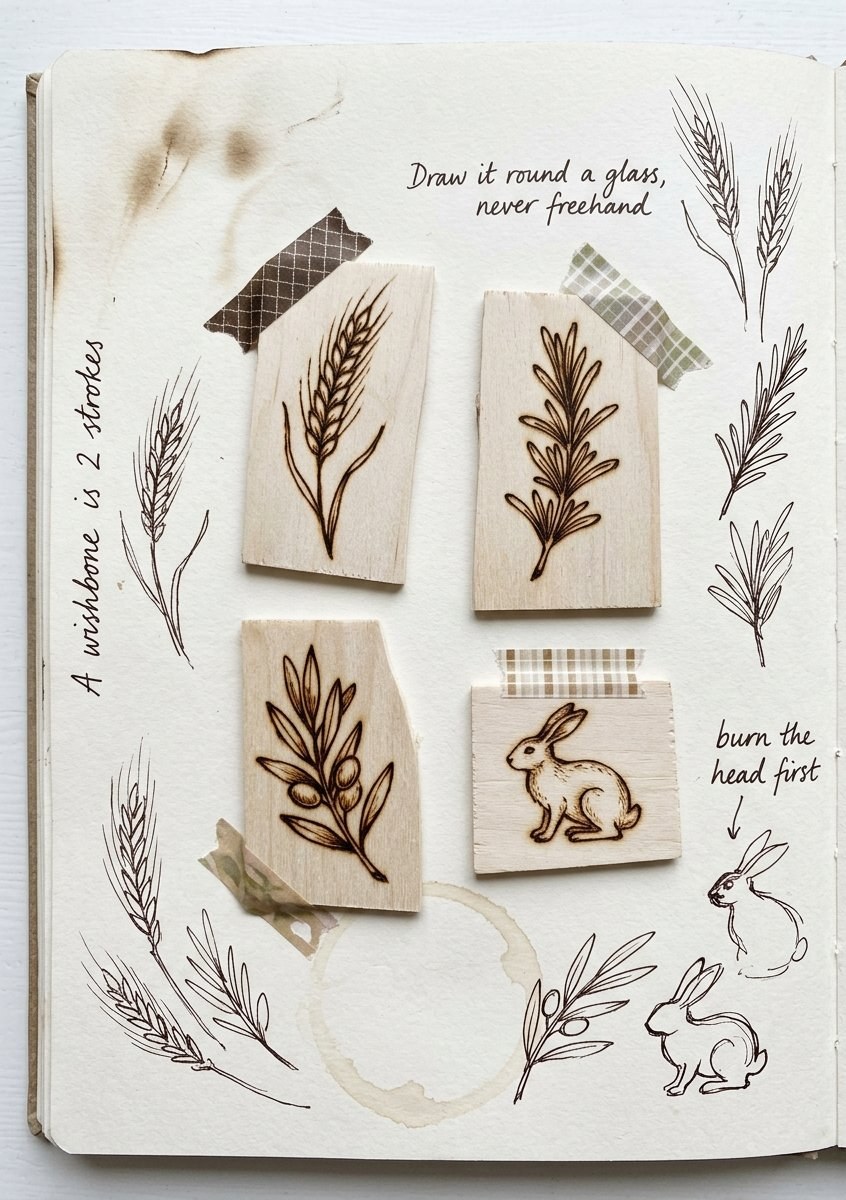
A hare in profile is the hardest thing in this group. It is also the one worth the risk. A ring of tiny leaves closes the gift, and it hides a wobbly edge better than anything else here.
Where should I make my first marks?
On the offcut. Every board sold has one. If it does not, the back of the board is an offcut in disguise.
(I keep mine in a drawer with the batteries that may or may not work. It is that drawer.)
Here is the argument for drills, from a mountain village on the old road between Edo and Kyoto. A craftsman there named Ishikawa Nihei cut rods of different woods. He glued them into a bundle. The pattern then lived inside the block.
He shaved sheets off the end with a hand plane, some as thin as 0.2 millimetres. The same pattern came off again and again. He built the unit once and repeated it for years. Drills are that, on a smaller budget.
Burn a row of dots first. Touch down, lift, and count how long each dot needs. Then a dotted line that thins, which teaches lifting better than anything. A comb of parallel lines shows the grain at once. Watch where the line fattens. You have just read the board.
A crosshatch square is where beginners find out their pen is too hot. A fade from black to nothing is the most useful mark on this page. Everything shaded is that fade, repeated. A coil tells you whether you can turn the wood instead of your wrist. You should turn the wood.
A running spiral is a coil that keeps going, and it will wander. A chain of teardrops is the first mark that looks deliberate. Scales are teardrops in rows. A basket weave is scales that have taken a job.
A herringbone band goes wrong when the angle drifts, so mark both ends first. A row of half-moons is quick, and it reads as lace from a step away. A stipple cloud is dots with a mood. A zigzag band is the fastest way to fill a border.
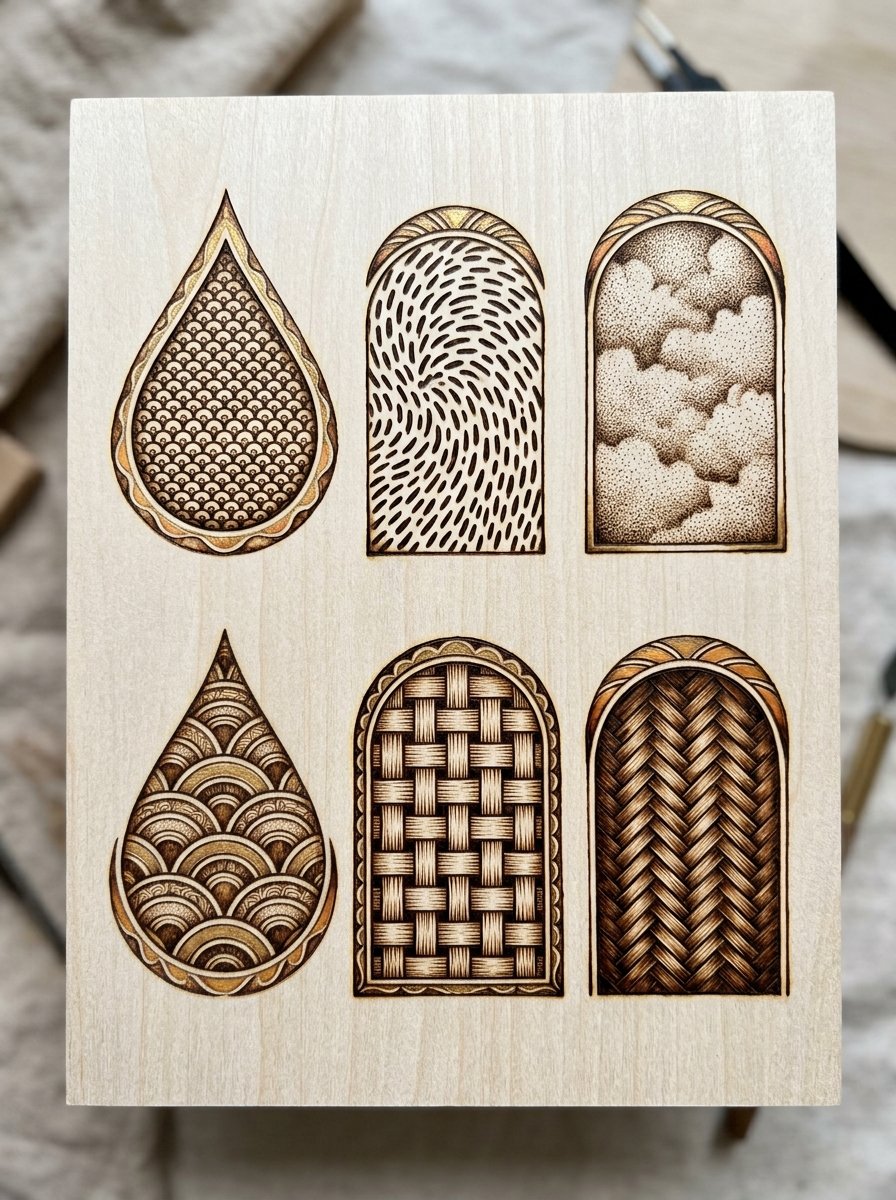
A row of open circles stays open only if you stop early. False grain is you burning grain onto grain, and it looks strange and lovely. A pressure line changes weight as it travels. A dash border rescues any piece that ended awkwardly. One long curve, drawn in a single breath, is the last drill and the honest one.
Which wood burning patterns for beginners survive being looked at every day?
Kitchen things. The test is not whether it is beautiful on the night. It is whether it is still interesting in March.
What keeps a piece interesting is depth, and depth is contrast. Near Siena, around 1520, Fra Giovanni da Verona built pictures out of cut wood. A 72-sided sphere. The instruments geometers used. A panel could hold as many as 1,000 separate pieces.
Where the timber would not give him contrast, the wood was darkened. By staining, or by burning it. That is your instruction, 500 years early.
Burn the shadow side dark, leave the lit side bare, and stop outlining everything at one tone.
A lemon branch works because the leaves give long strokes and the fruit gives a fade. A garlic bulb is the sleeper here. All those papery lines, each one across the grain. (Mine has hung by the bread bin for 2 years and I still check them.)
A pear in outline is 1 line, and it hangs anywhere. A fig cut in half is texture inside a simple shape. An asparagus bundle wants its string burned darkest.
A whisk is a trap. Burn the back loops first, so the front loops sit on top. A milk jug is a shape you already know, so any wobble shows. Go slow on the rim. Three stacked bowls are 3 curves and 3 shadows.
A scored loaf is the funniest thing here, because the scoring marks are already burn marks. Grapes want one dark grape or they read flat. An artichoke is scales again, which you practised. A bay sprig fills a narrow gap.
A mushroom cluster is gills, and gills are the fade. A jam jar with a cloth lid is checks on a curve, so the checks must bend. An egg in an egg cup has almost no marks in it, and that is the skill. A teapot with steam is the same trick as the house.
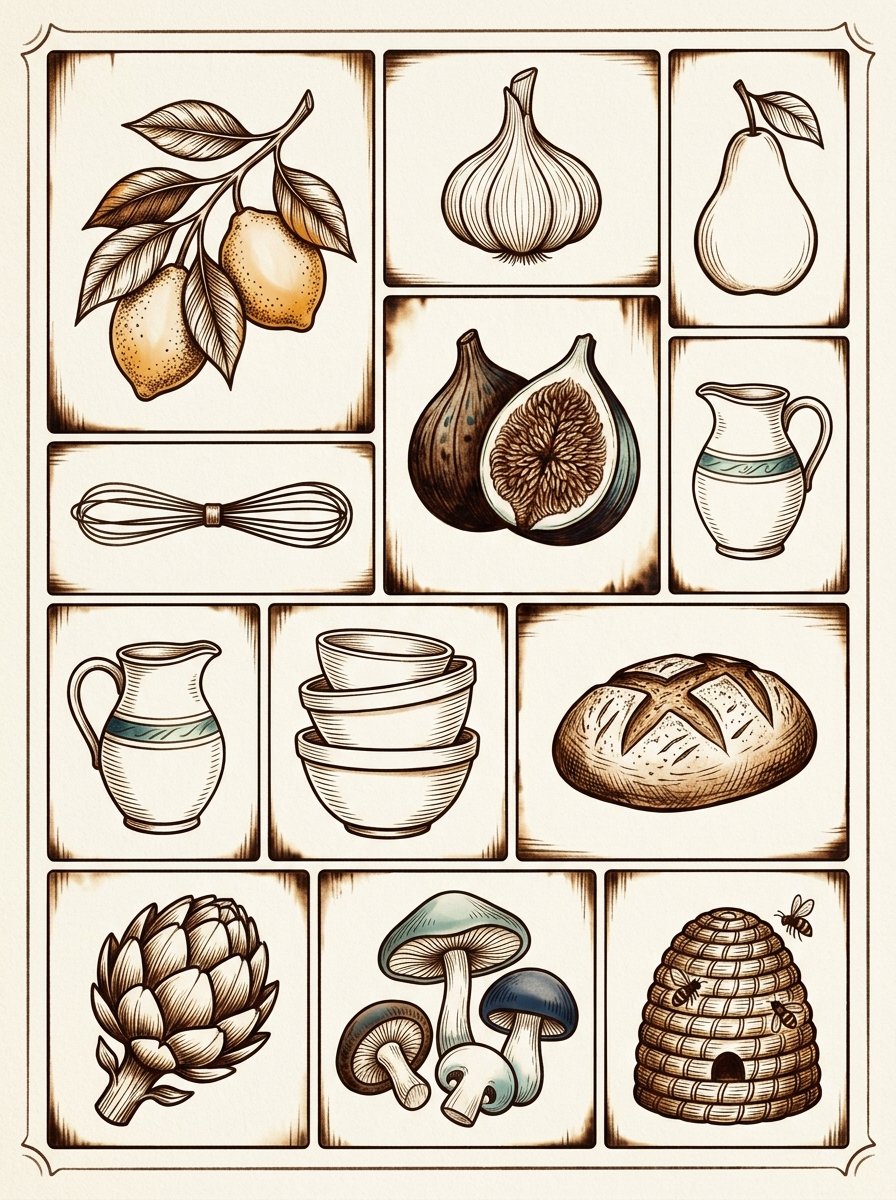
A chilli string is a row that gets smaller. A wheat sheaf is the wheat ear grown up. A beehive skep is 12 stacked curves, and it looks like weeks of work.
What do I burn onto a plain board or a spoon?
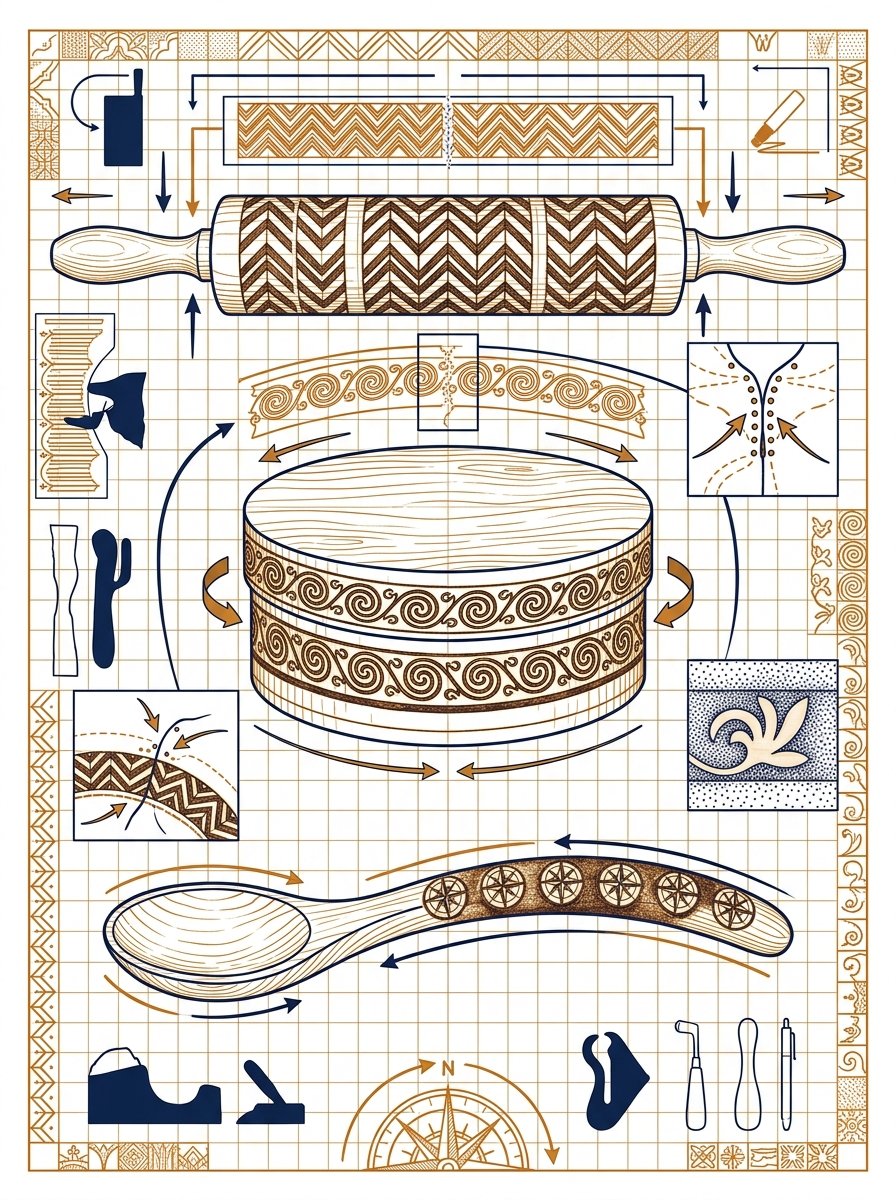
The object decides the design. A curve cannot take detail, so a curved thing gets a band.
A carving family in the Carpathians solved this on flasks and spoons. The Shkribliaks covered small wooden objects in geometric work, with copper wire and sheep horn set into the surface.
Mykola Shkribliak changed one thing, and it is the cheapest trick on this page. He introduced a pitted background, to heighten the contrast with the carved design. So texture the space around the motif, not the motif. A stippled background makes an untouched shape lift off the wood. You burn less and get more.
A spoon chevron follows the handle and nothing else. A board rope edge takes an hour, and it turns a plain board into a present. A compass rose belongs on a box lid, centred, and the centre is where you start. A coaster dot ring is 40 dots and a glass to draw round.
A hanger name is lettering, so print the letters and trace them. Nobody freehands letters twice. A key fob arrow is 3 strokes. A plant label leaf is the smallest thing worth burning. A bookmark ladder is 2 lines and rungs, and the rungs must not be even.
A napkin ring band bends, so lay the pattern out flat first. A brush handle stripe is a pressure line on a round thing. A peg dot is 1 dot, done well. A lid monogram is the initial in a circle again, bigger.
A rolling pin vine spirals as you roll it. That is either delightful or a mess. You find out at the end. A salt cellar sun is rays, all of them across the grain. A drawer knob star is tiny and repeatable. A stool leg ring is the band that makes furniture look considered.
A door wedge triangle is a joke nobody gets, and I keep making them. A candle holder crescent glows properly when lit. A trivet grid is straight lines on a flat square, which is where every beginner should have started.
Which wood burning patterns for beginners are worth a whole evening?
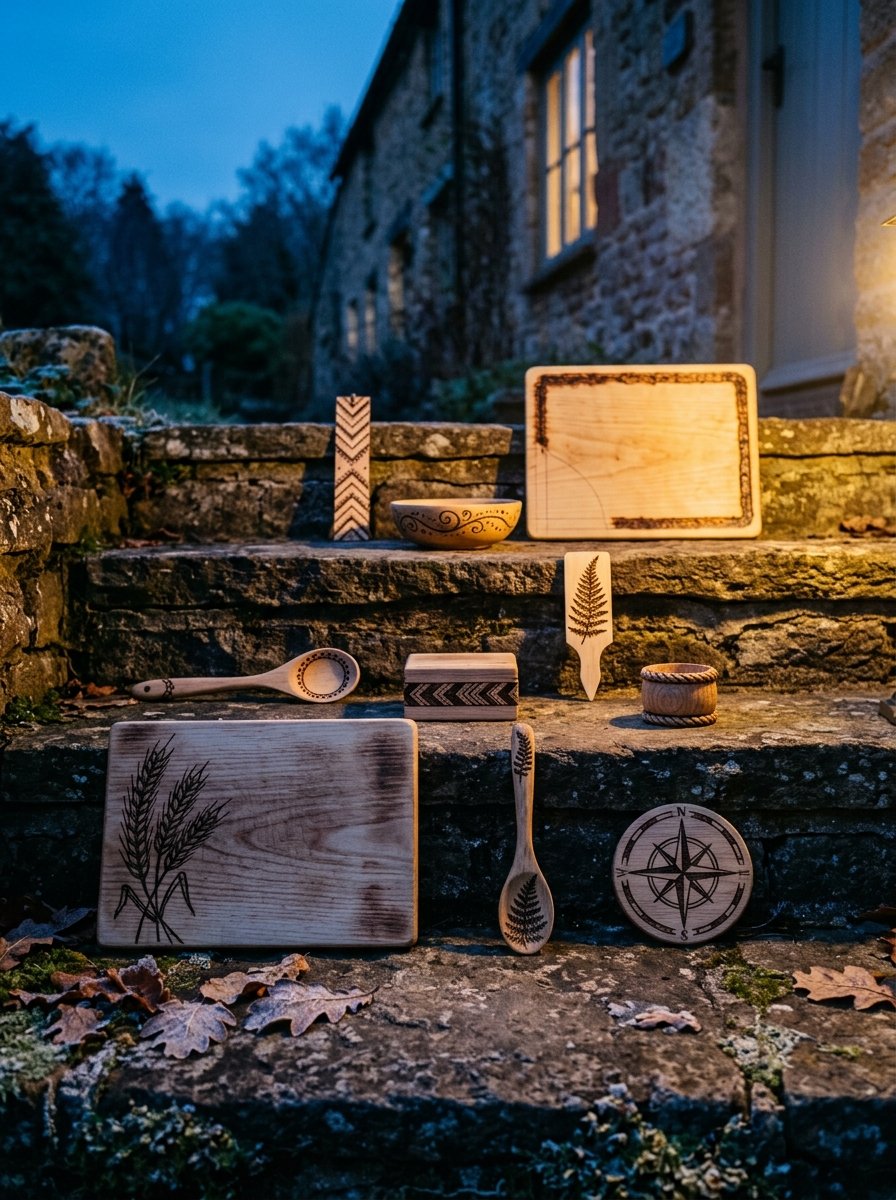
The whole evening, set out on the step. Every mark on it came off a printed outline.
One big piece. No deadline, no gift, nobody waiting.
A marquetry maker who trained in Paris still cuts every piece of his own work by hand. He tilts the saw table about 14 degrees. He cuts two layers of veneer at once. The blade is thinner than a pencil line.
He was asked why he does not hand the cutting to somebody else. His answer is at the bottom of this page. An evening piece is the one where your own hand is the point. Nobody is waiting for it, so nothing has to be rushed.
A stag head is antlers, and antlers are the fade at its most forgiving. A leopard mid-prowl is spots that shrink toward the back. A peacock tail is the same eye repeated 30 times, and the repetition is the rest. (I have burned that eye 30 times in a row and would do it again tonight.)
A flamingo on one leg is one long curve and a decision about the knee. A turning koi wants its scales bending with the body. A seahorse is ridges across the grain the whole way down. A heron is a shape made mostly of nothing. An owl face is 2 discs and about 200 small strokes.
A hummingbird is small and fast, so burn it hot and quick. A monstera leaf is the best beginner piece on this page, because the holes do half the work. A lotus is layered petals, each one darker at the base. An orchid stem holds 3 blooms and a curve.
A sunflower head is a spiral of seeds and a ring of long strokes. A dandelion clock is 100 tiny lines and a very calm evening. A jellyfish is trailing lines that may wander freely. A dragonfly is 4 wings, and the wings are crosshatch drawn lightly.
A swallow pair reads as a pair only if one sits lower. A curled fox is one closed shape with texture inside it. A whale tail is 2 strokes, a fade, and a frame.
Free Starter Pack
10 pattern templates for the fills inside your traced outline.
Sent tonight. Small marks that sit inside a burned shape.
Unsubscribe in 1 click, no hard feelings
How do I get the drawing onto the wood?
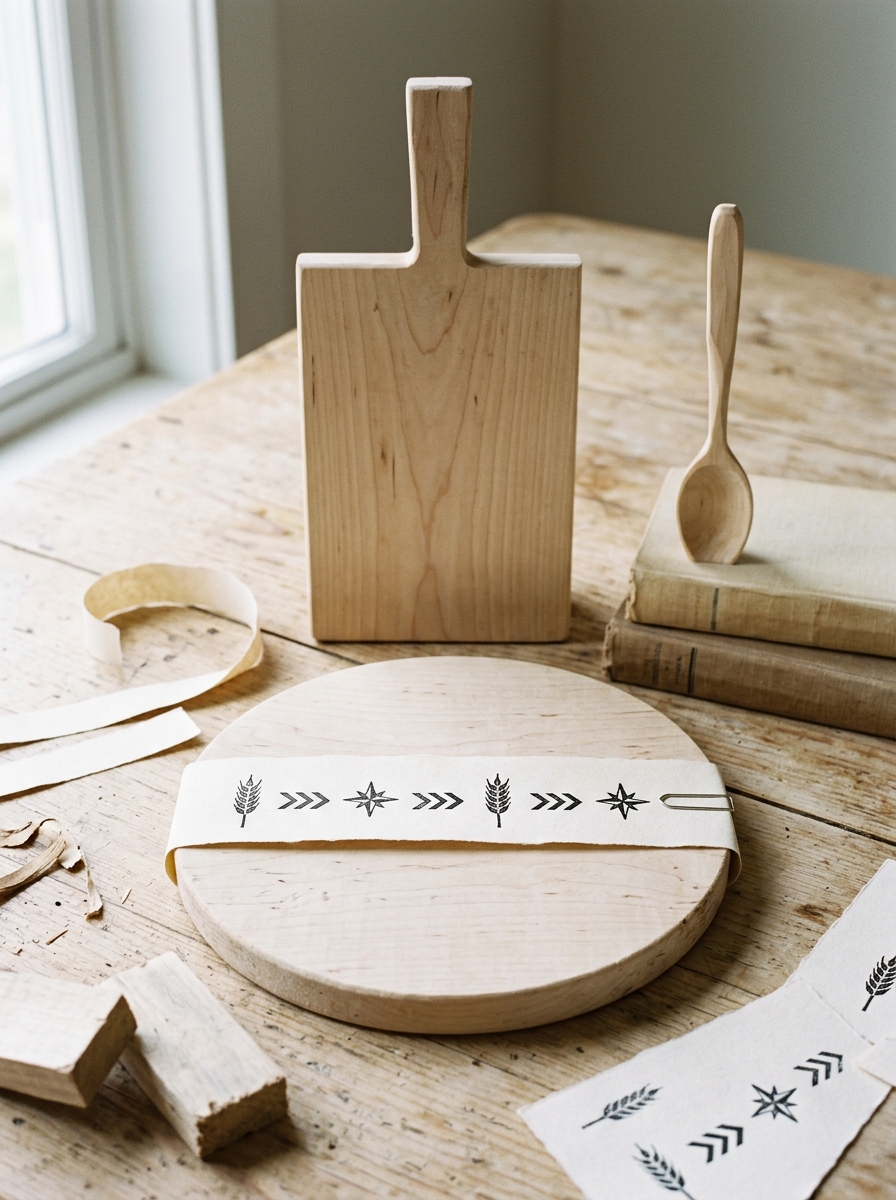
The paper strip goes round the board first. It is the only place the band can be got wrong for free.
Graphite paper, and nothing else is worth the argument. This is the step that decides whether wood burning patterns for beginners come out crisp or vague.
Sand the board smooth along the grain, then wipe it. Lay the graphite paper shiny side down. Put the printed drawing on top. Tape 2 corners only, so you can lift and check.
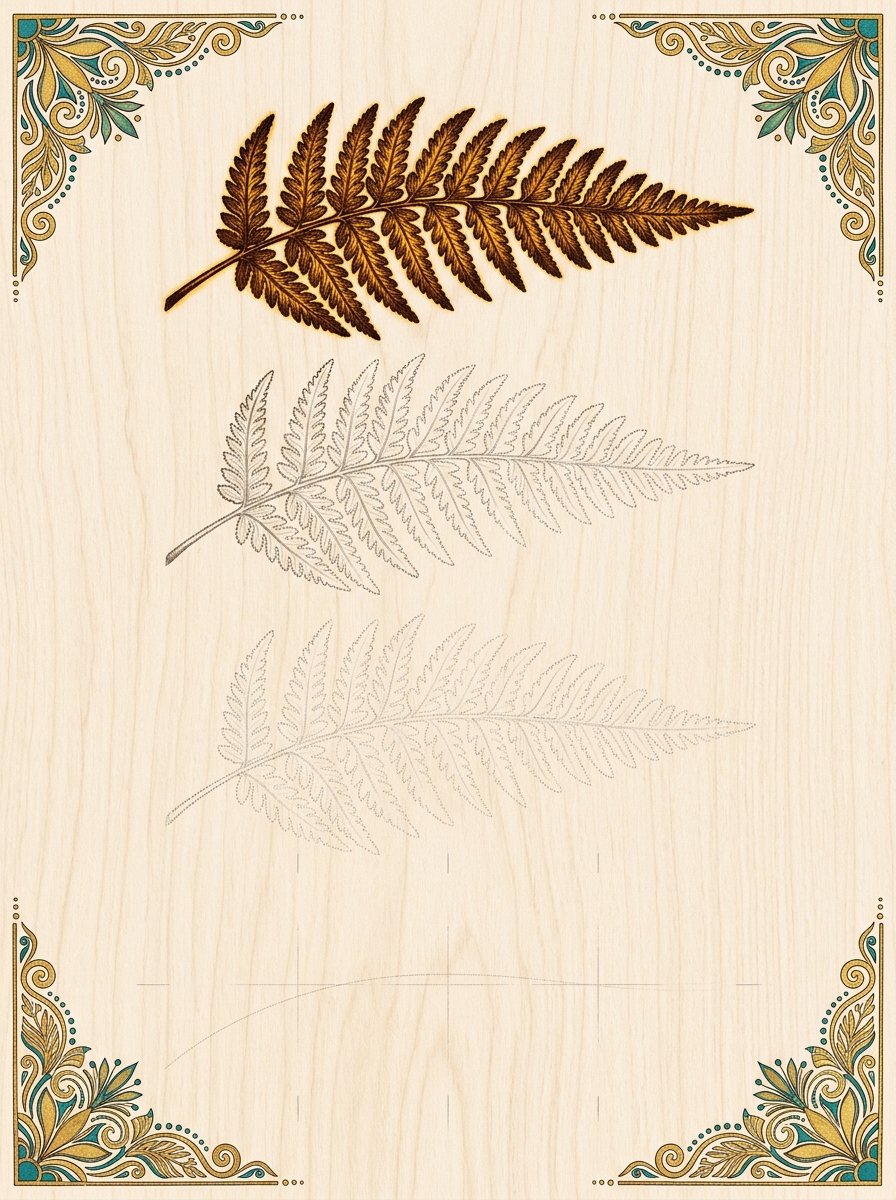
Go over every line with a hard pencil. Press lightly. A heavy hand dents the wood, and the dent takes the burn differently. Lift a corner before you finish. A faint line means you are pressing too lightly. A shine on the wood means too hard.
(I once burned an entire heron following a line I could not actually see. It came out as a very confident goose.)
On a curved thing, cut the paper into strips and transfer in sections. A flat sheet on a curve lies to you by about 3 millimetres. That is exactly enough to make a band miss its own ends.
Follow the line at a steady speed and let the dark arrive on its own.
Then burn. Start at the top left if you are right-handed, so your hand never rests on a fresh mark. Wipe the graphite off with a soft eraser at the end.
Begin with the koi, transfer it, and burn it before the night is over.
33 line drawings, ready to trace onto wood
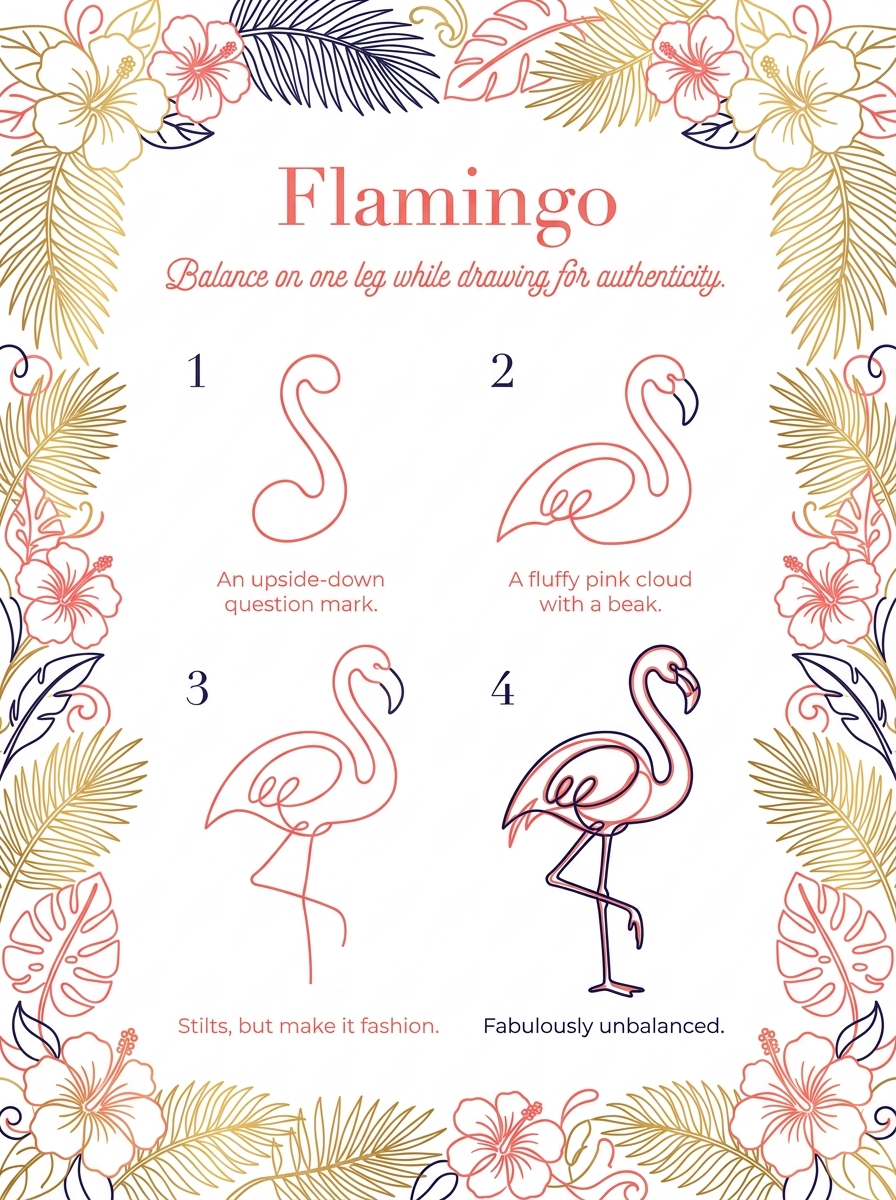
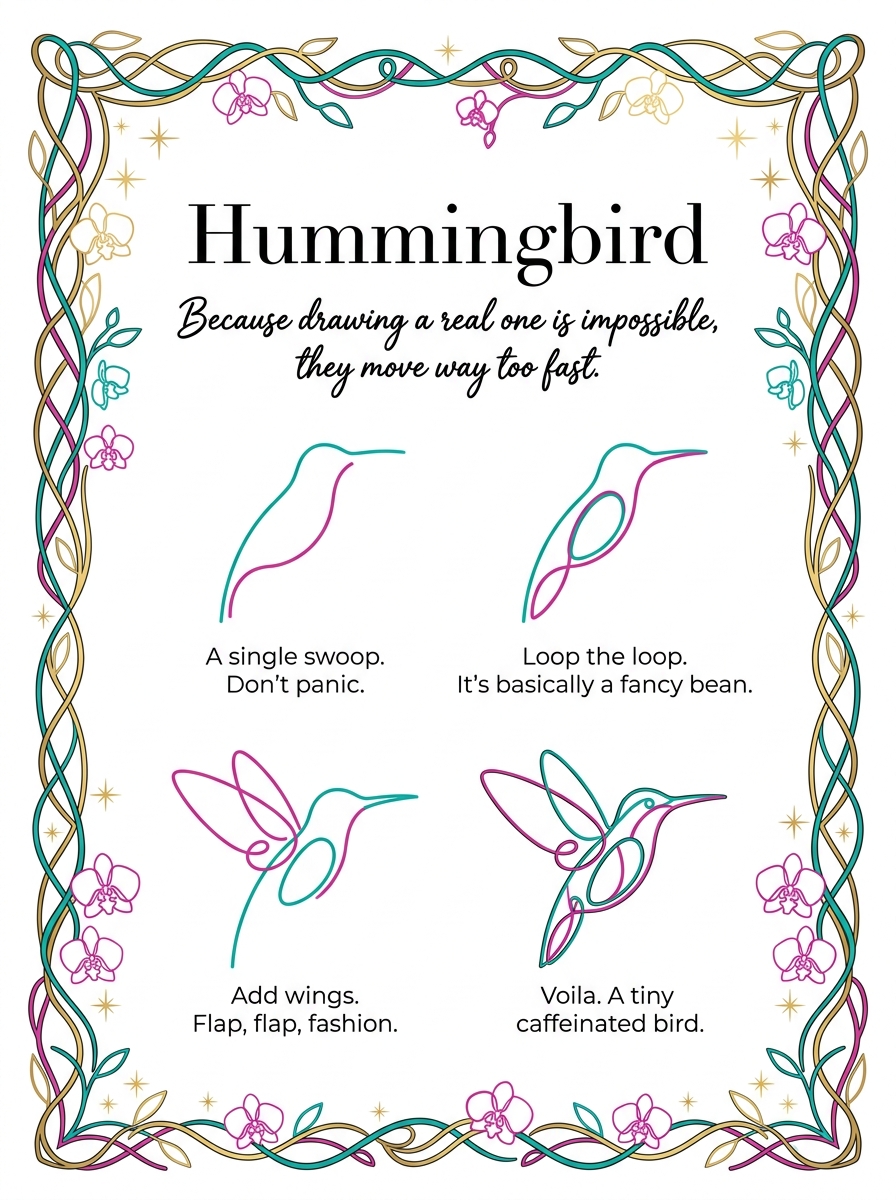
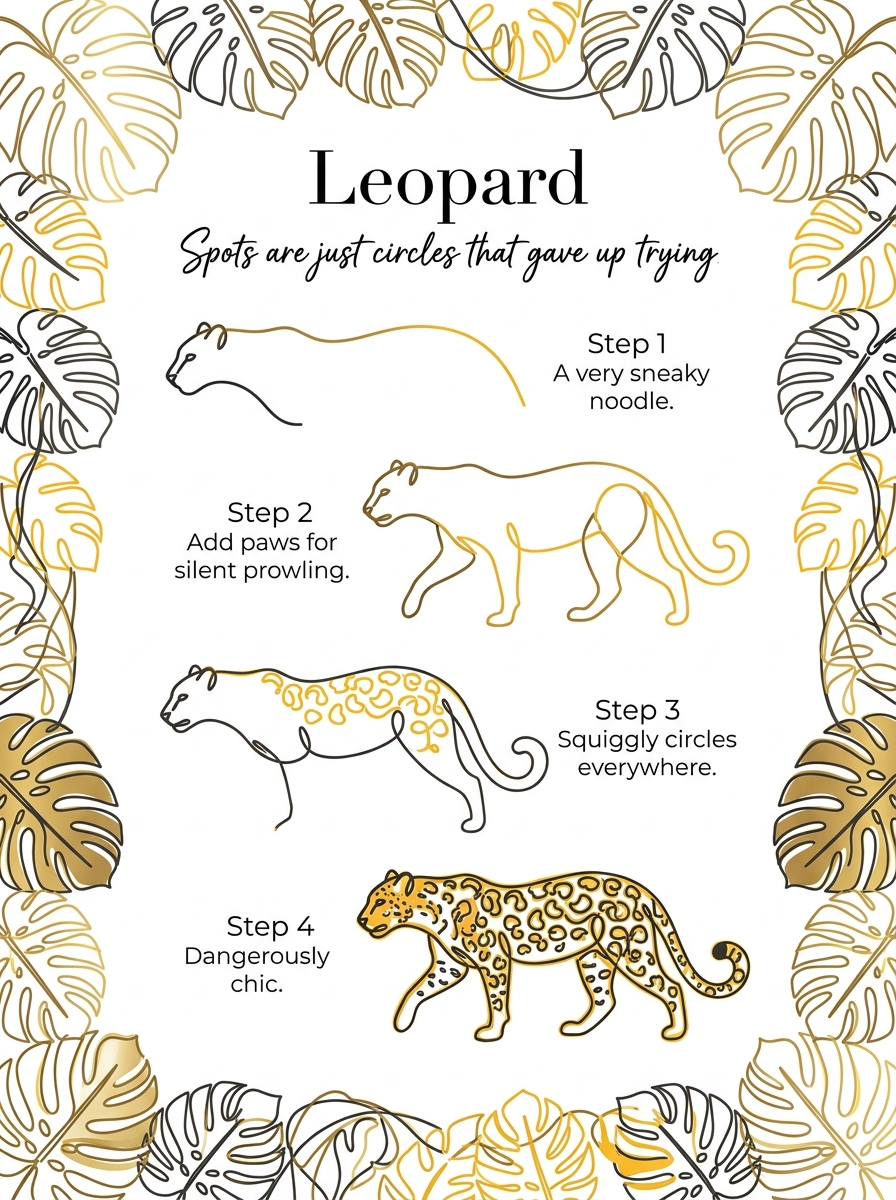
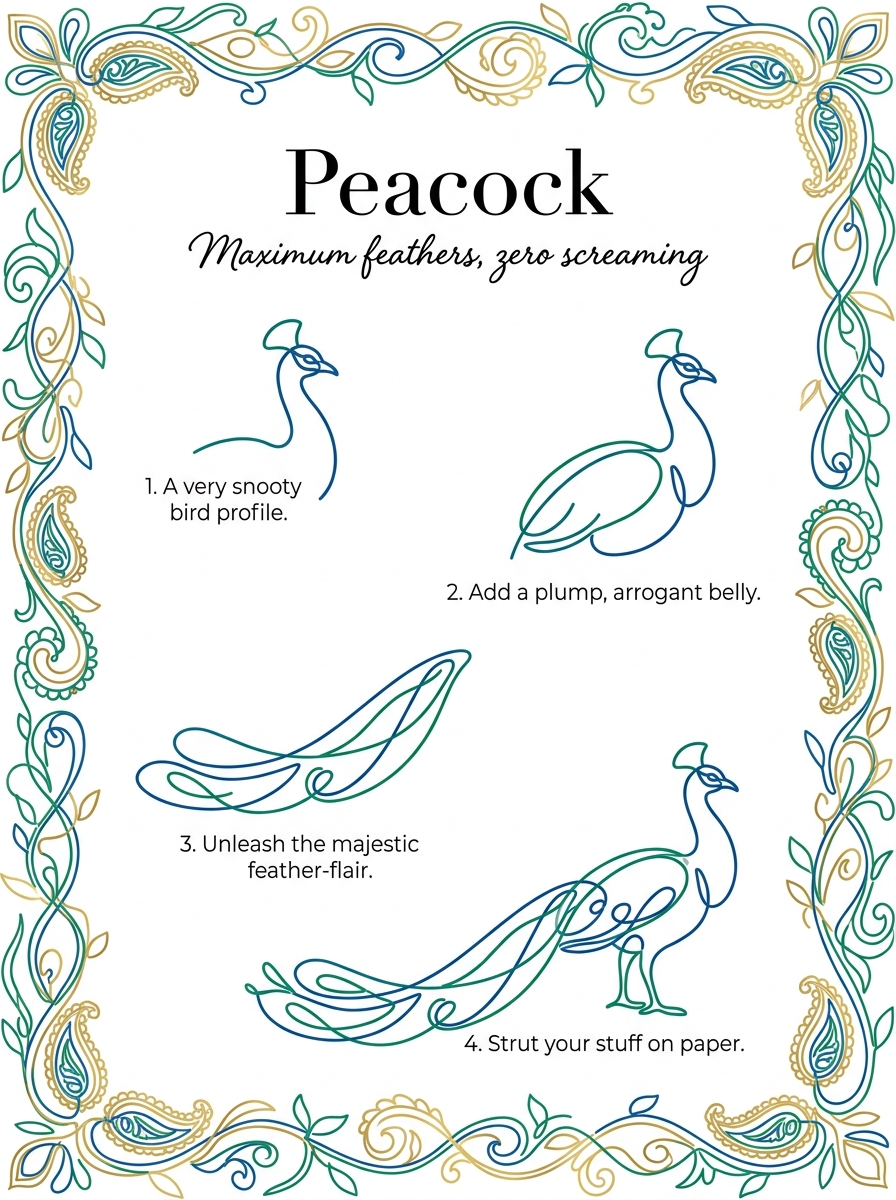
Inside: 33 step-by-step sheets of creatures and blooms, plus the bonus line-art set and colour guides.
Instant download · print as often as you like
A board keeps every line you give it, including the shaky ones, and it never mentions them again. Somewhere under your hand the wood goes from pale to warm. The room starts to smell faintly of a campfire that is not happening.
“I do all the marquetry, because I feel that if it is going to have my name on it, I should be doing the cutting.”
Silas Kopf, Woodworker’s Journal, 2004
Mirabelle wrote this. No training, strong opinions, many pens. Peer reviewed by a cat who inspected the offcuts and claimed the warmest one.