I have just traced a poppy onto a scrap of cotton. I am looking at the thing everybody calls hand embroidery patterns for beginners. It is a line. That is the whole of it.
No shading. No stitch chart. One outline sitting on cloth, waiting.
I put a needle up through it. The line came back in thread instead of pencil. (I said something out loud. The cat left the room.)
Here is the part nobody mentions. An embroidery pattern and a botanical line drawing are the same object. Trace either one onto cotton and it becomes the other.
So the hard part was never the stitching. It is choosing the line.
Below is one poppy taken all the way, in 8 steps. Then 91 designs to run the same 5 stitches over. The free sheet comes first.
Download the free trace, outline, fill sheet →
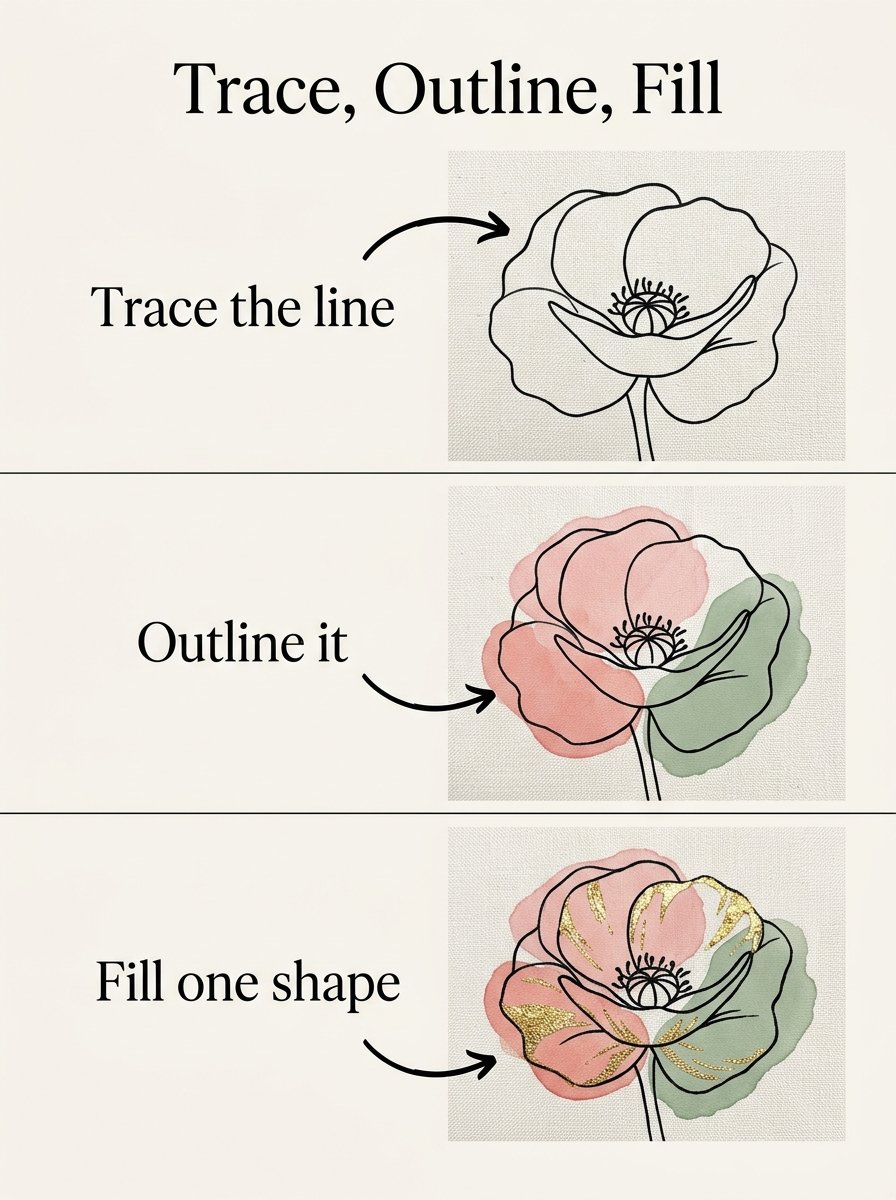
The sheet shows the 3 stages on one page. Trace the line. Outline it. Fill one shape.
Print it and keep it beside your hoop. (It is the only page you need open. I have tried working with 4 open. It went badly.)
Then the 8 steps, in order. Choosing a line. Getting it onto cloth at a window. Where each line starts, so the knot never shows. The 5 stitches, which is all of them.
Then building in stages. Then the step where most people put the hoop down. Then the variants, and the 4 things that go wrong.
I have drawn every one of these badly at least once. That is most of what I know.
A traced line is a generous thing. It does not care whether you can draw, and it does not change while you look at it.
The sheet gives you 1 poppy. It does not give you the next line. That question arrives about 20 minutes in.
The Collection
Where do the lines come from once the free sheet runs out?
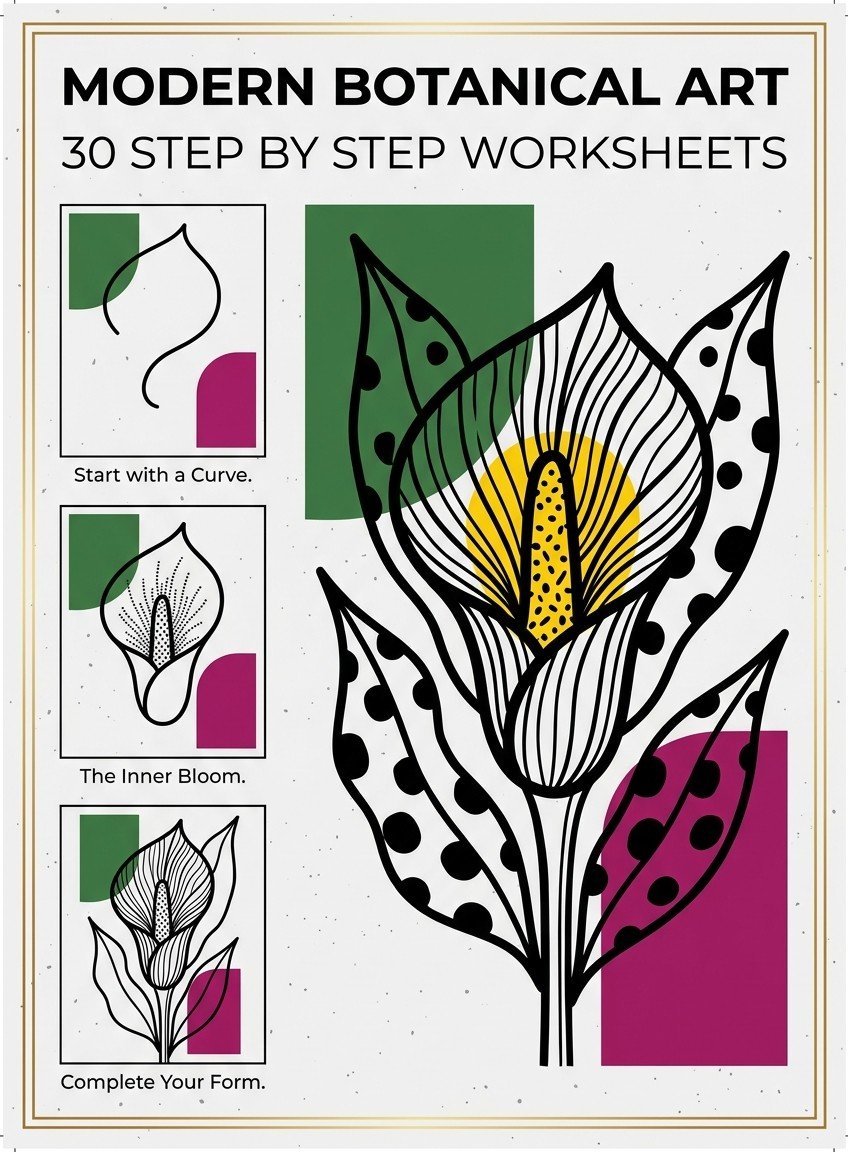
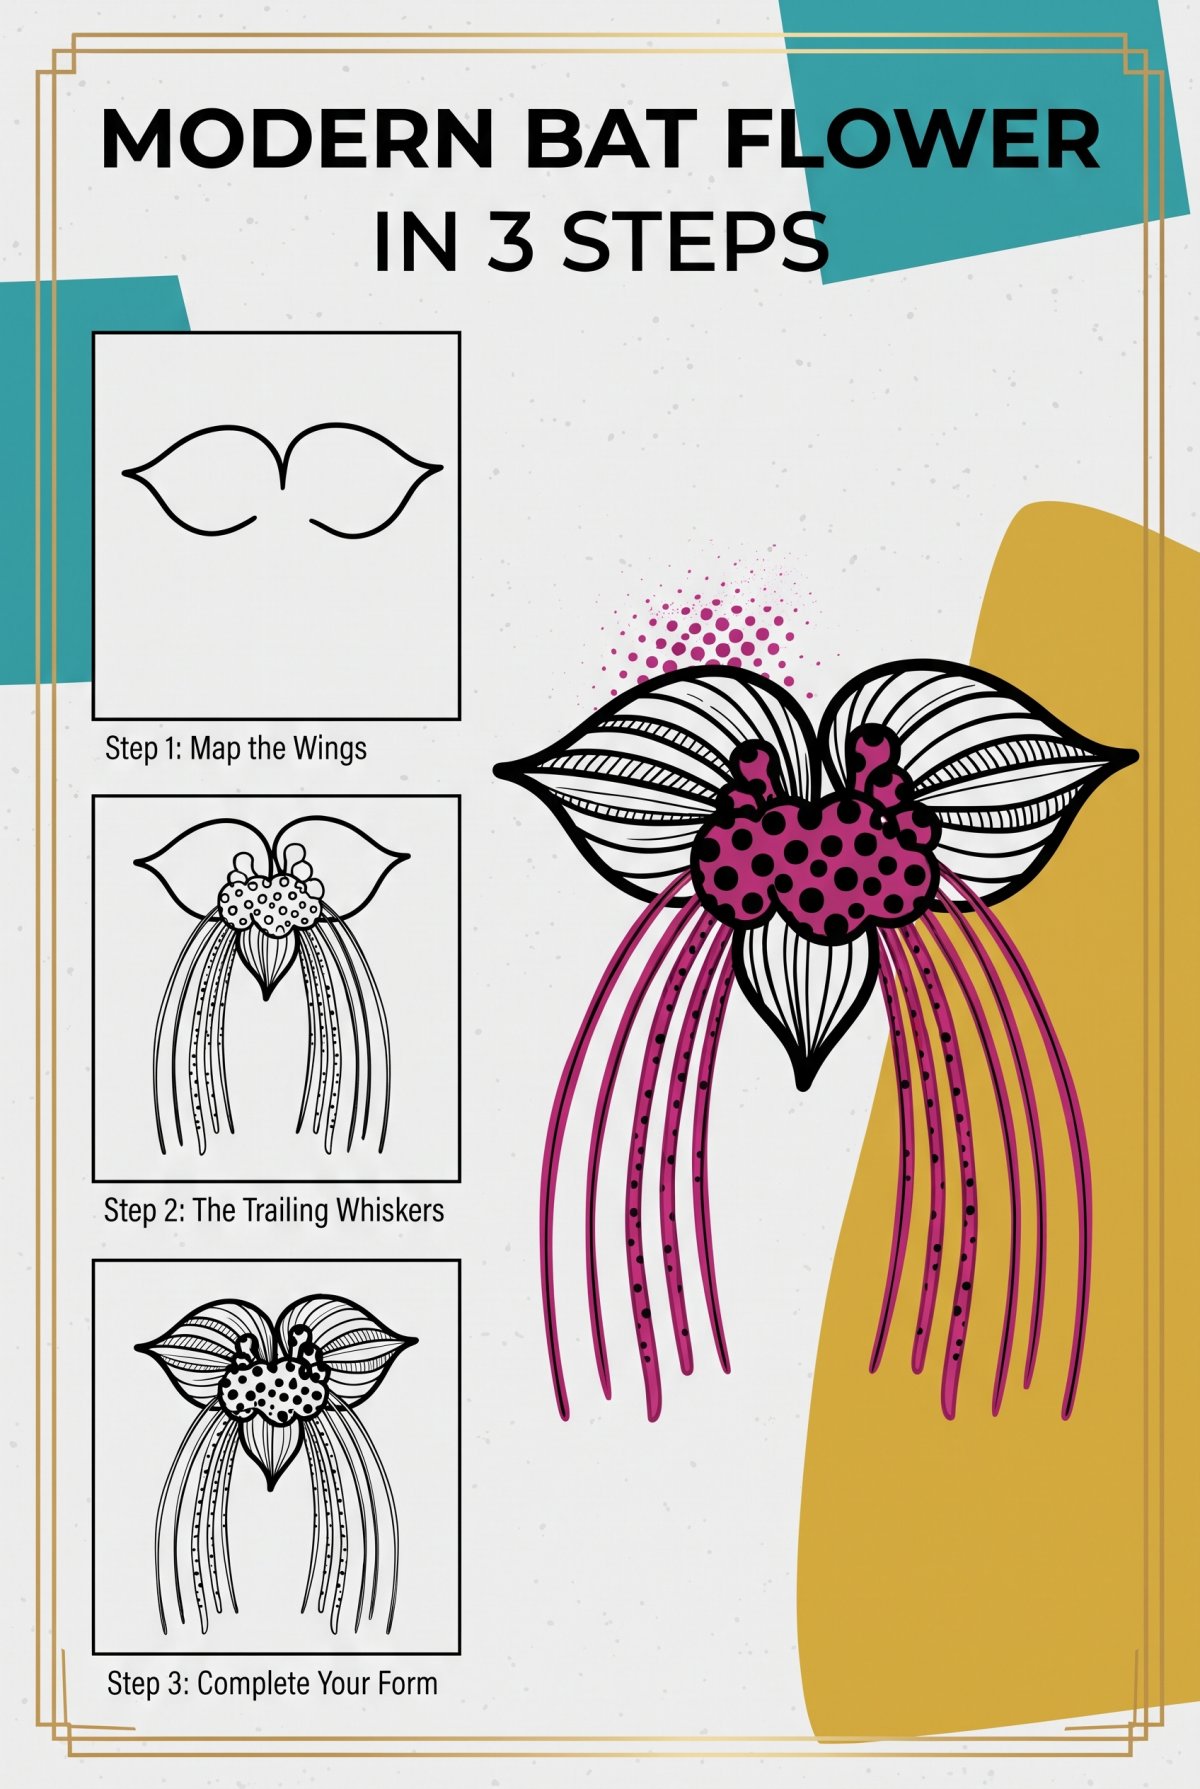
MODERN BOTANICAL ART. Passionflowers, pitcher plants, flame lilies. For the evening you want to trace a flower nobody else in the group has heard of. Inside: 32 step-by-step sheets, each one built as clean outlines. (The bat flower is in there. It looks like it is planning something.) What you get: a line worth putting a needle through, and 32 of them.
Back to the poppy. The first decision is the one that decides the evening.
Step 1 — Choose a line, not a picture
Do this: pick a design with one clear outline and no shading.
You will see that the good ones look almost boring on paper. A daisy. A wild rose. A tulip. A poppy. A cornflower.
If it looks wrong, there is too much going on inside the shape. Thread cannot do soft edges. Anything smudgy turns to mud.
Flat shapes with a clean edge come out best. A cosmos, a forget-me-not, an anemone, a snowdrop, a crocus, a bluebell, a camellia.
I spent a whole evening on a rose with 40 petals. It finished looking like a cabbage in poor weather.
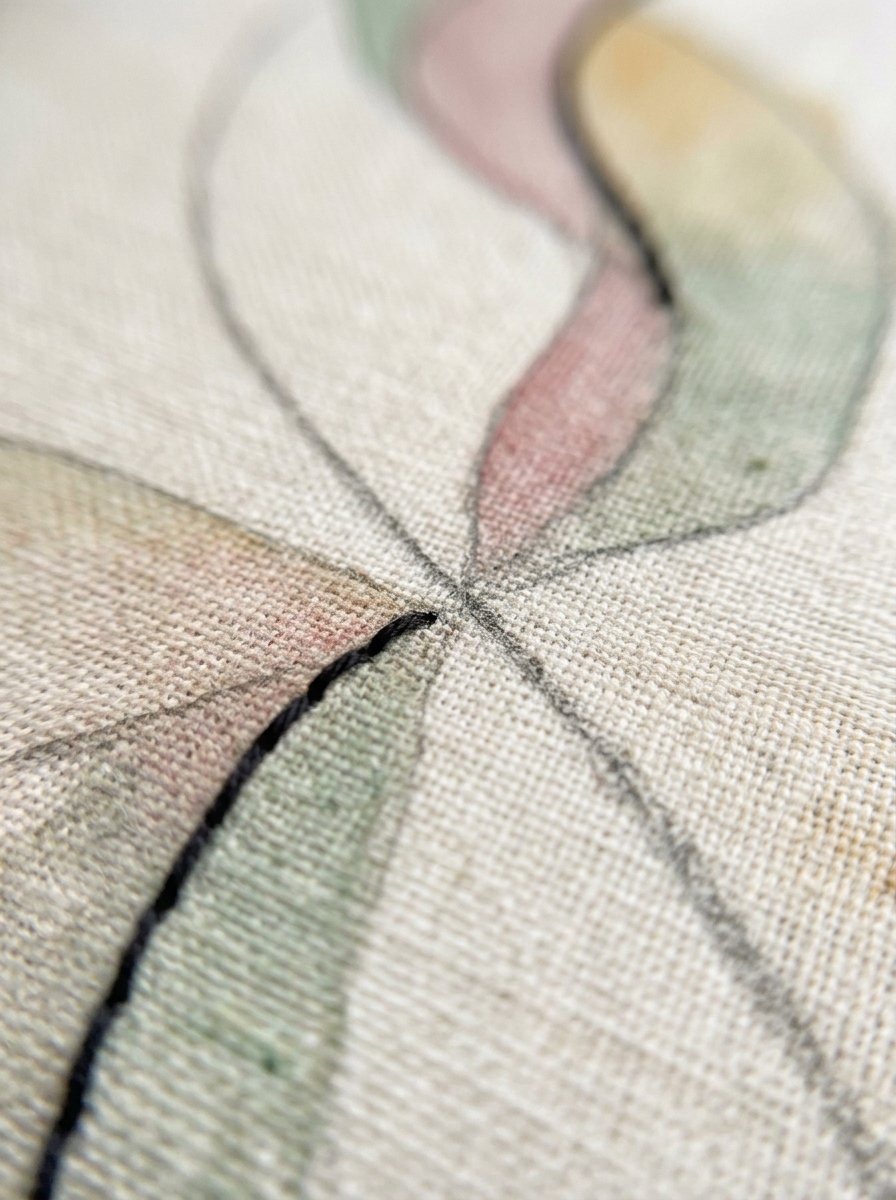
Step 2 — Put the hand embroidery patterns for beginners onto cloth at a window
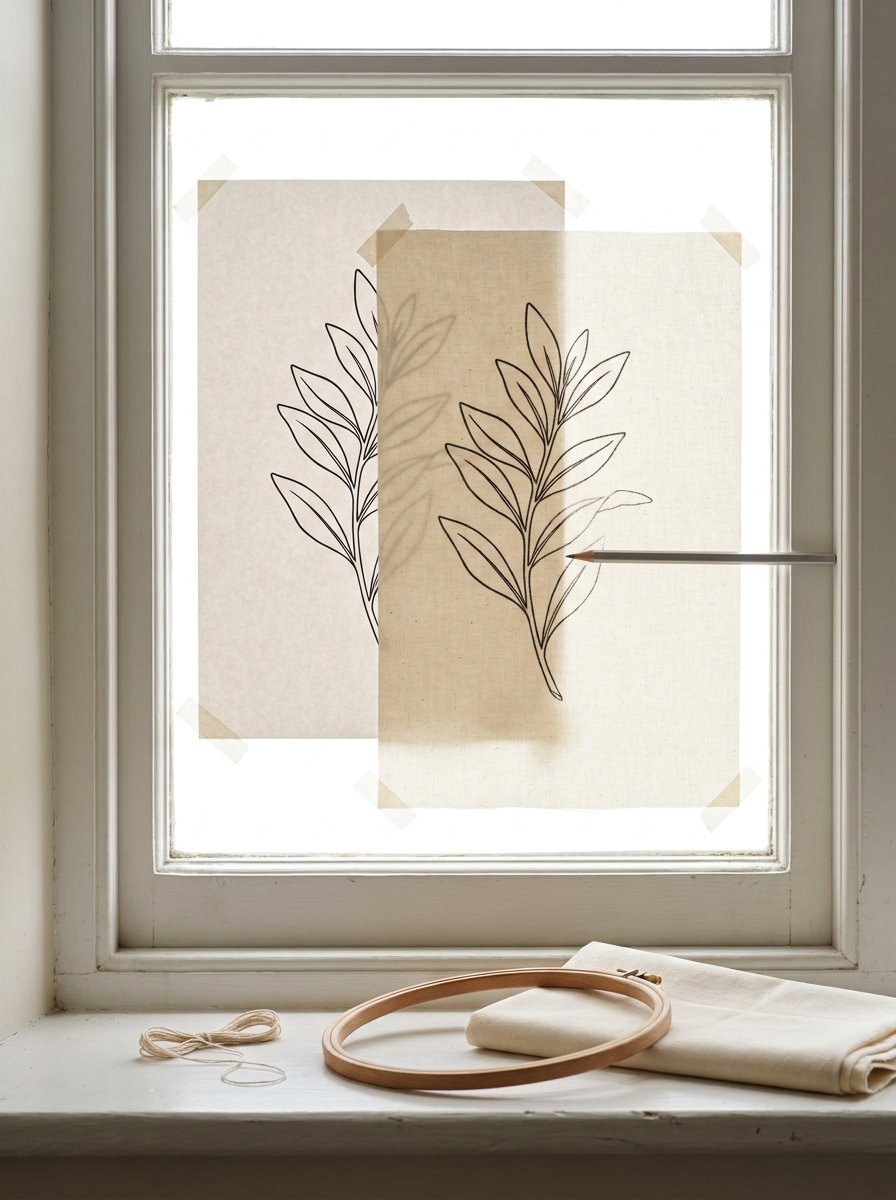
Do this: tape the printed page to a window in daylight. Tape the cotton over it. Trace with a pencil.
You will see the line come through the cloth clearly enough to follow. Daylight does all the work here.
If it looks wrong, the cloth is too thick or the light is too weak. Move to a brighter window before you blame the pencil.
Print at actual size, not fit to page. (The print box will offer to scale it down for you. It is wrong.)
Leaves are the kindest first trace. A bay leaf, an oak leaf, an ivy leaf, a fern frond. Then a willow sprig, an olive branch, a eucalyptus stem, a laurel spray.
I traced my first 6 designs too small. A shape under 3 cm has nowhere to put a stitch.
Step 3 — Know where each line starts and where the knot hides
Do this: before the needle goes in, decide where the line begins. Start it under a leaf, behind the stem, inside the petal, or at the knot.
You will see the join disappear. A line that starts in the open always shows its first stitch.
If it looks wrong, you started in the middle of a long smooth curve. Nothing forgives that.
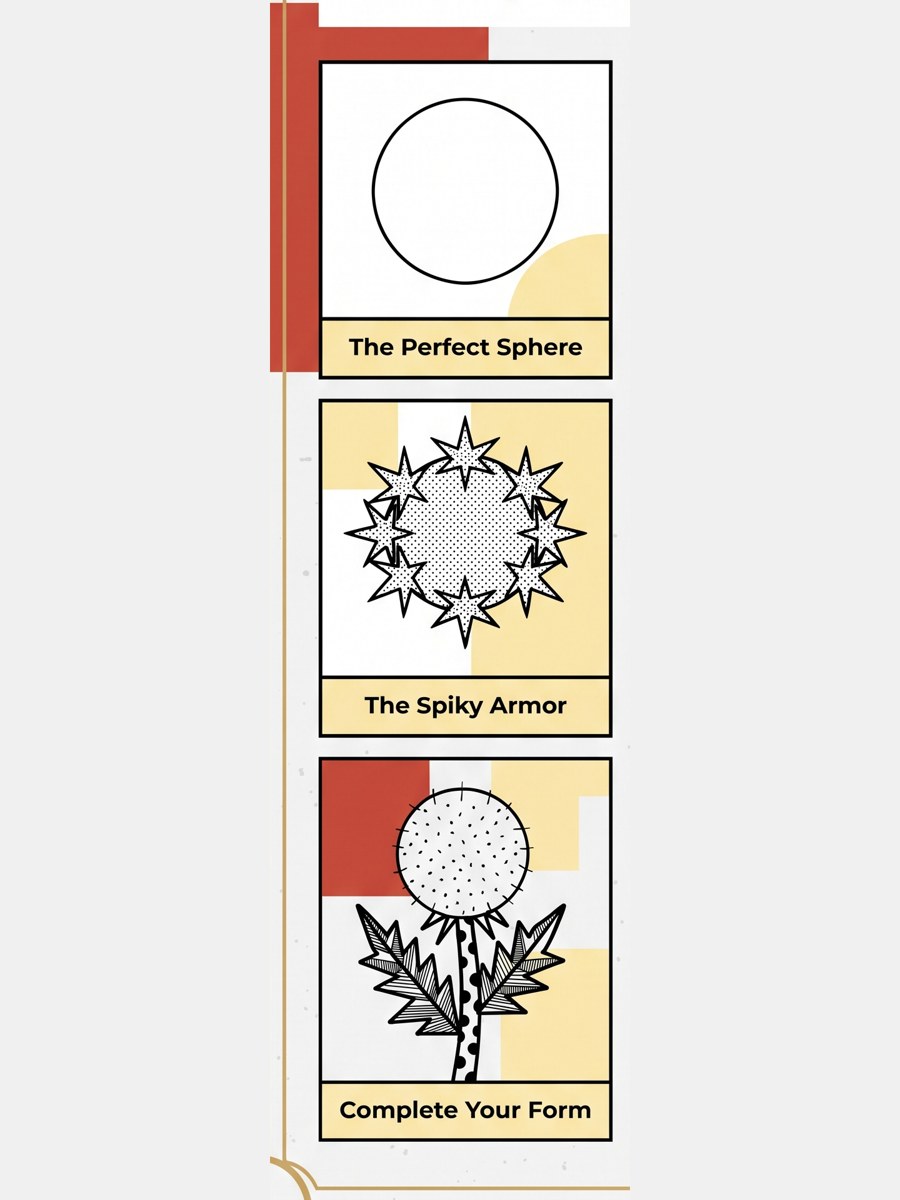
Seed heads teach this fastest, because they are all joins. A nigella pod, a poppy seed head, a honesty disc, a teasel. (A join hidden under a bract is invisible. A join in open cloth is a small knot with an audience.)
Then an allium globe, a dandelion clock, a sycamore key, an acorn, a pine cone, a rosehip, a sweet pea pod.
I used to knot everything on the front and call it rustic. It was not rustic.
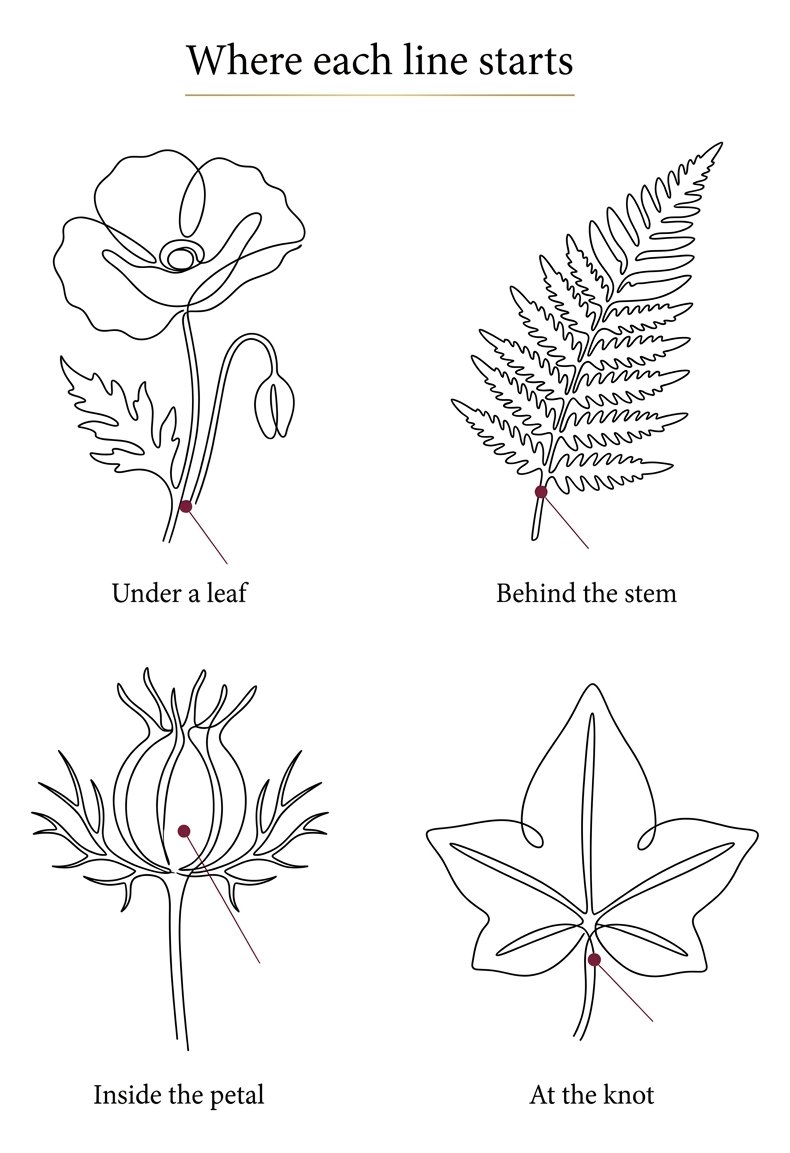
A line that starts in the open always shows its first stitch.
Step 4 — Learn 5 stitches and stop
Do this: learn back stitch, stem stitch, satin stitch, the lazy daisy, and the french knot. That is the list.
You will see that 3 of them do all the outlining and 2 of them do all the filling.
If it looks wrong, you are using a filling stitch on a line. Outline, fill, stop.
Back stitch draws. Stem stitch draws curves better. Satin stitch fills a small shape solid. The lazy daisy makes a petal in 1 movement. The french knot makes a dot.
Stem stitch suits anything that travels. A rosemary sprig, a wheat ear, a grass seed head, a vine tendril, a pea shoot, a bracken curl.
Satin stitch suits small solid shapes. A holly sprig, a ginkgo fan, a maple leaf.
French knots are for anything mostly made of dots. Cow parsley, mimosa, a lavender spike. (I once put 200 of them on a page and lost an evening I do not regret.)
The lazy daisy is a whole flower in 1 stitch. A marguerite, a clover.
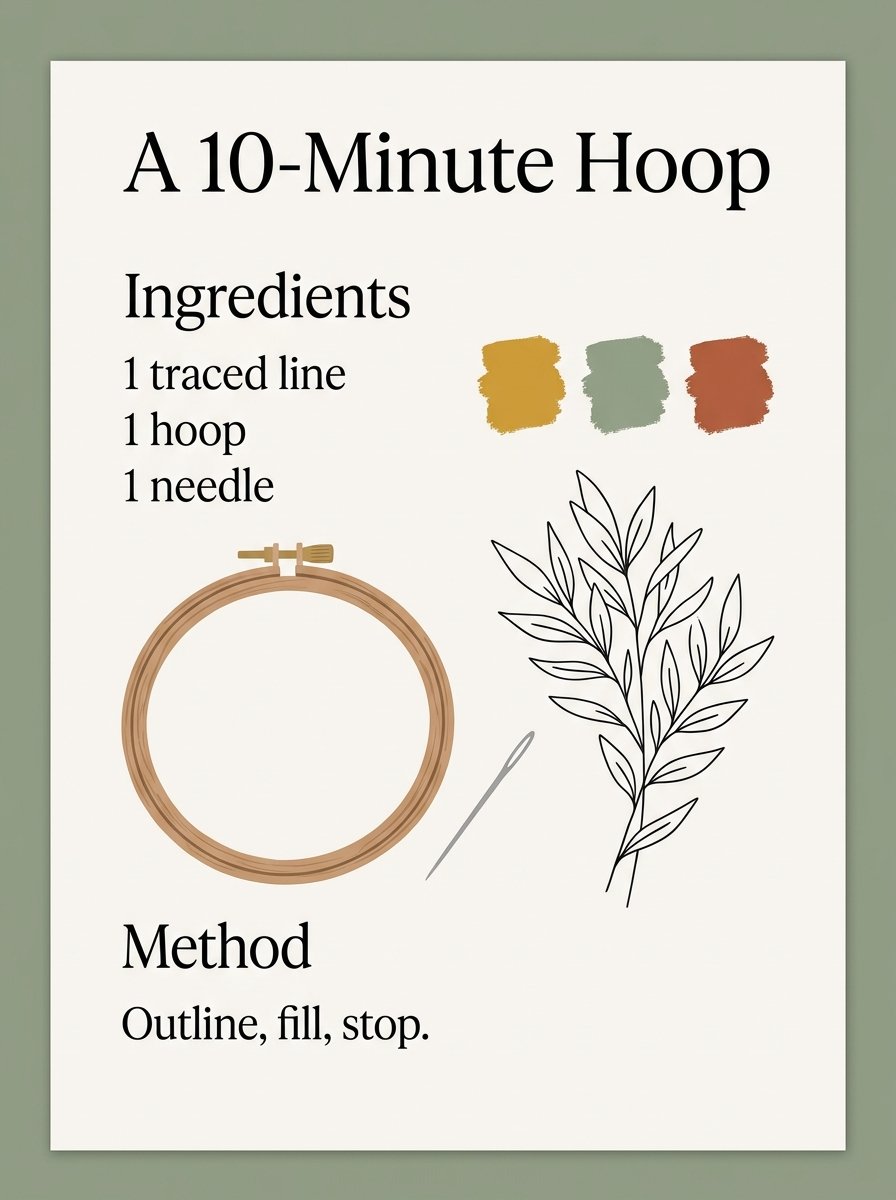
Think of it as a 10-minute hoop with 3 ingredients and 1 method. Ingredients: 1 traced line, 1 hoop, 1 needle. Method: outline, fill, stop.
Step 5 — Build it in stages, never all at once
Do this: outline everything first. Then fill. Then add the dots last.
You will see the piece look finished 2 stages before it is. That is normal, and it is the best part.
If it looks wrong, you filled one flower completely before outlining the rest. The piece goes lopsided and you cannot see why.
Spires prove it. A foxglove spire, a lupin spire, a delphinium spire, a hollyhock. Outline the stem, then work up.
Big round heads want the same order. A peony bud, a hellebore, a sunflower head, a dahlia, a zinnia. (A dahlia looks like 1 flower until you outline it. Then it is 30 small shapes.)
I finished a sunflower head first once, and had no patience left for the stem. It is still in a drawer, holding nothing up.
Free Starter Pack
10 pattern fills for the shapes a traced flower leaves empty.
Sent tonight. Small patterns to drop inside an outline.
Unsubscribe in 1 click, no hard feelings
Fills are the part the traced line deliberately leaves to you. Which is where most people stall.
Step 6 — This is where most people put the hoop down
Do this: when it stops looking good, change the line, not the stitch.
You will see that almost every abandoned hoop was abandoned in the middle. The stitches were fine. The design was crowded.
If it looks wrong here, count your shapes. More than 9 and the eye has nowhere to rest.
In 1894 Jessie Newbery started the first embroidery class at Glasgow School of Art. She taught it back to front on purpose. Design first, stitch second.
She gave her students plain linen, simple stitches and appliqué. She thought the design of a pepper pot mattered as much as a cathedral.
Her class was full of beginners. She gave them fewer stitches and better lines, and the work got famous.
So when it stalls, add a creature instead of a stitch. A honeybee, a ladybird, a snail, a dragonfly. Or a moth, a swallow, a wren, a fieldmouse, a hare.
One small living thing in the corner does more than 3 new stitches. (I have tested this in the other order, expensively, in time.)
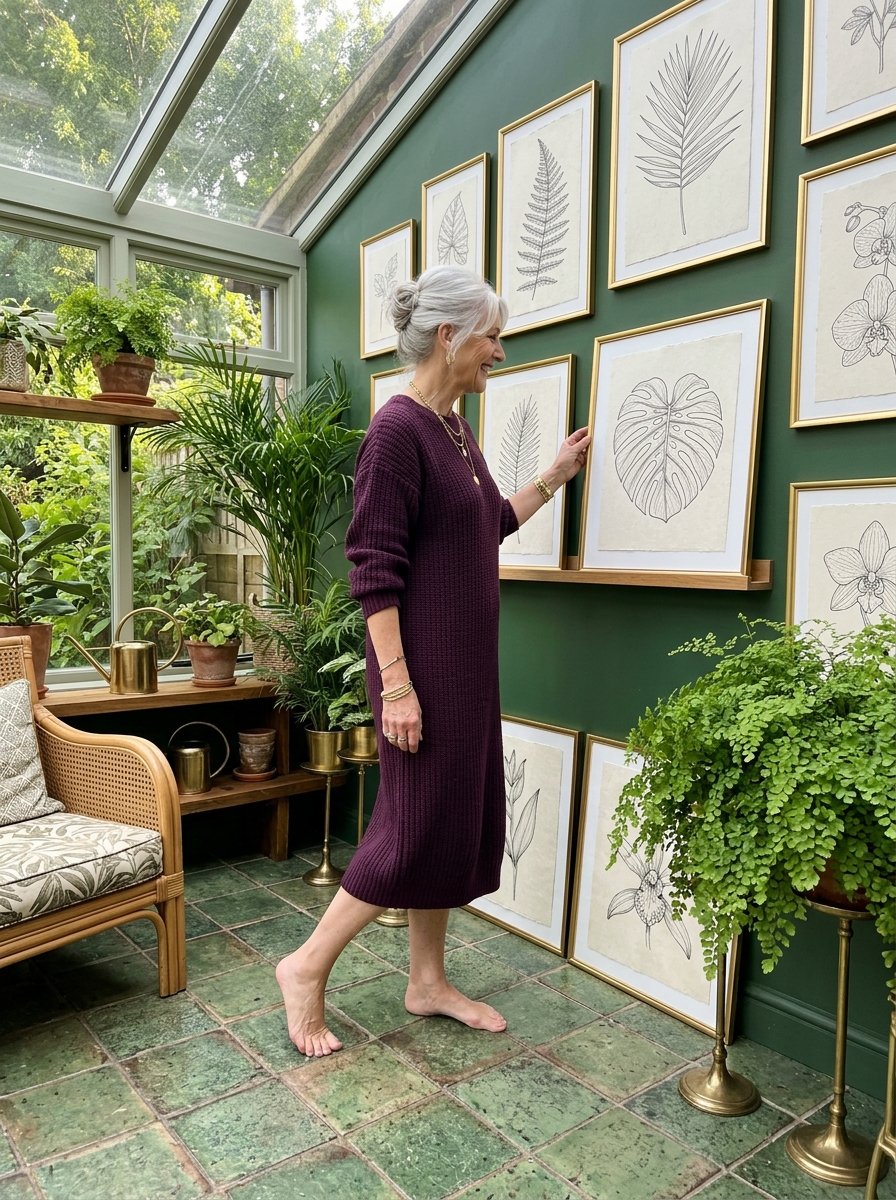
She gave them fewer stitches and better lines, and the work got famous.
Step 7 — 1 traced line, many hands: hand embroidery patterns for beginners as borders
Do this: trace one small motif 5 times in a row, evenly spaced. Turn every other one upside down.
You will see a border appear that looks nothing like the single motif. One motif, one border. That is the whole trick.
If it looks wrong, the gaps are uneven. Join them with a tendril and the eye stops measuring. (The eye cannot count and admire at the same time. Give it something to follow.)
In 1885 Elizabeth Wardle saw the Bayeux Tapestry and decided England should have a copy of its own. 35 women of the Leek Embroidery Society worked from hand-coloured photographs.
They traced the drawings out and finished all 70 metres in 1886. It hangs in Reading Museum now.
35 pairs of hands, 1 traced line, and it still reads as one work. That is the most encouraging fact in this article.
So: a running vine, a scallop border, a chain of leaves, a dotted arch. Repeat the sprig and turn every other one. (A running vine forgives a shaky line. A straight chain of leaves does not.)
Then a row of chevrons, a scatter of seeds, a wave line, a loop border, a row of small crosses. I spaced my first border by eye and it drifted 4 mm per motif. Now I press creases into the cloth first.
Then a sprig repeat, a lattice, a half-moon row, a zigzag ribbon, a string of beads, a row of arches.
And for a gift, a single initial, a monogram pair, a small heart. Corners are where borders go wrong, so turn the corner with a dot. (A dot is not a cheat. It is what the corner was asking for.)
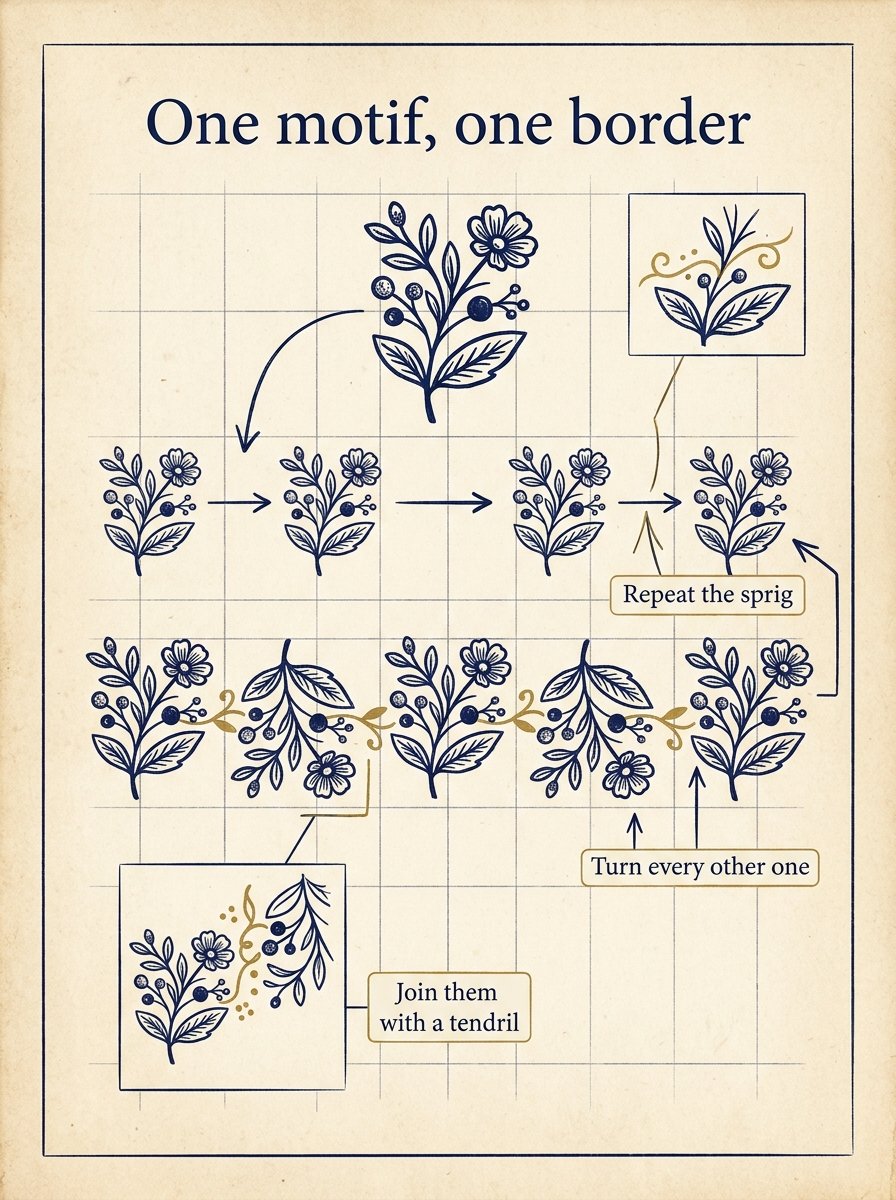
35 pairs of hands, 1 traced line, and it still reads as one work.
Step 8 — The 4 things that go wrong, and the fix for each
Do this: check the tension, the strand count, the size, and the order.
You will see 3 of the 4 fix themselves the moment you slow down.
Puckered cloth means the thread is pulled too tight. Loose stitches mean too many strands.
A muddy shape means the design was too small. A lopsided piece means you filled before you outlined.
If it looks wrong and it is none of those, it is the size. It is nearly always the size.
Simple shapes rescue a bad evening. A star, a crescent moon, a sun with rays, an arrow.
Or a whole small tree, a hedgerow line, a hill line, a row of poplars, a cloud line, a monstera leaf.
I keep a scrap of cotton beside the hoop and run 20 of a stitch on it before I commit 1. They arrive around number 12.
Can any line drawing be used as one of these hand embroidery patterns for beginners?
Almost any, if it passes 1 test. Cover the drawing and ask whether you could describe it as outlines only.
A line drawing already is a pattern. Shading is what breaks the translation, because thread has no grey. (You can fake grey with 1 strand instead of 3. It is still not grey.)
I have tried a charcoal sketch on cotton. The cloth took the line and lost the picture. Botanical line drawings work best of all. They are built as outlines in the first place, which is why the transfer is so clean.
Do hand embroidery patterns for beginners have to be flowers?
No. The flowers are only popular because their edges are forgiving. A wobbly petal still reads as a petal.
A wobbly straight line reads as a mistake. So lettering and geometry are harder for a beginner, not easier. (Thread has no ruler. A petal hides a wobble; a letter puts it on display.)
Start with a flower, a leaf or a small creature. Move to letters once your line stops shaking.
After the poppy, the question is always the same. What line next. 32 of them, already drawn as outlines, is a good answer.
32 botanical outlines, each one built step by step
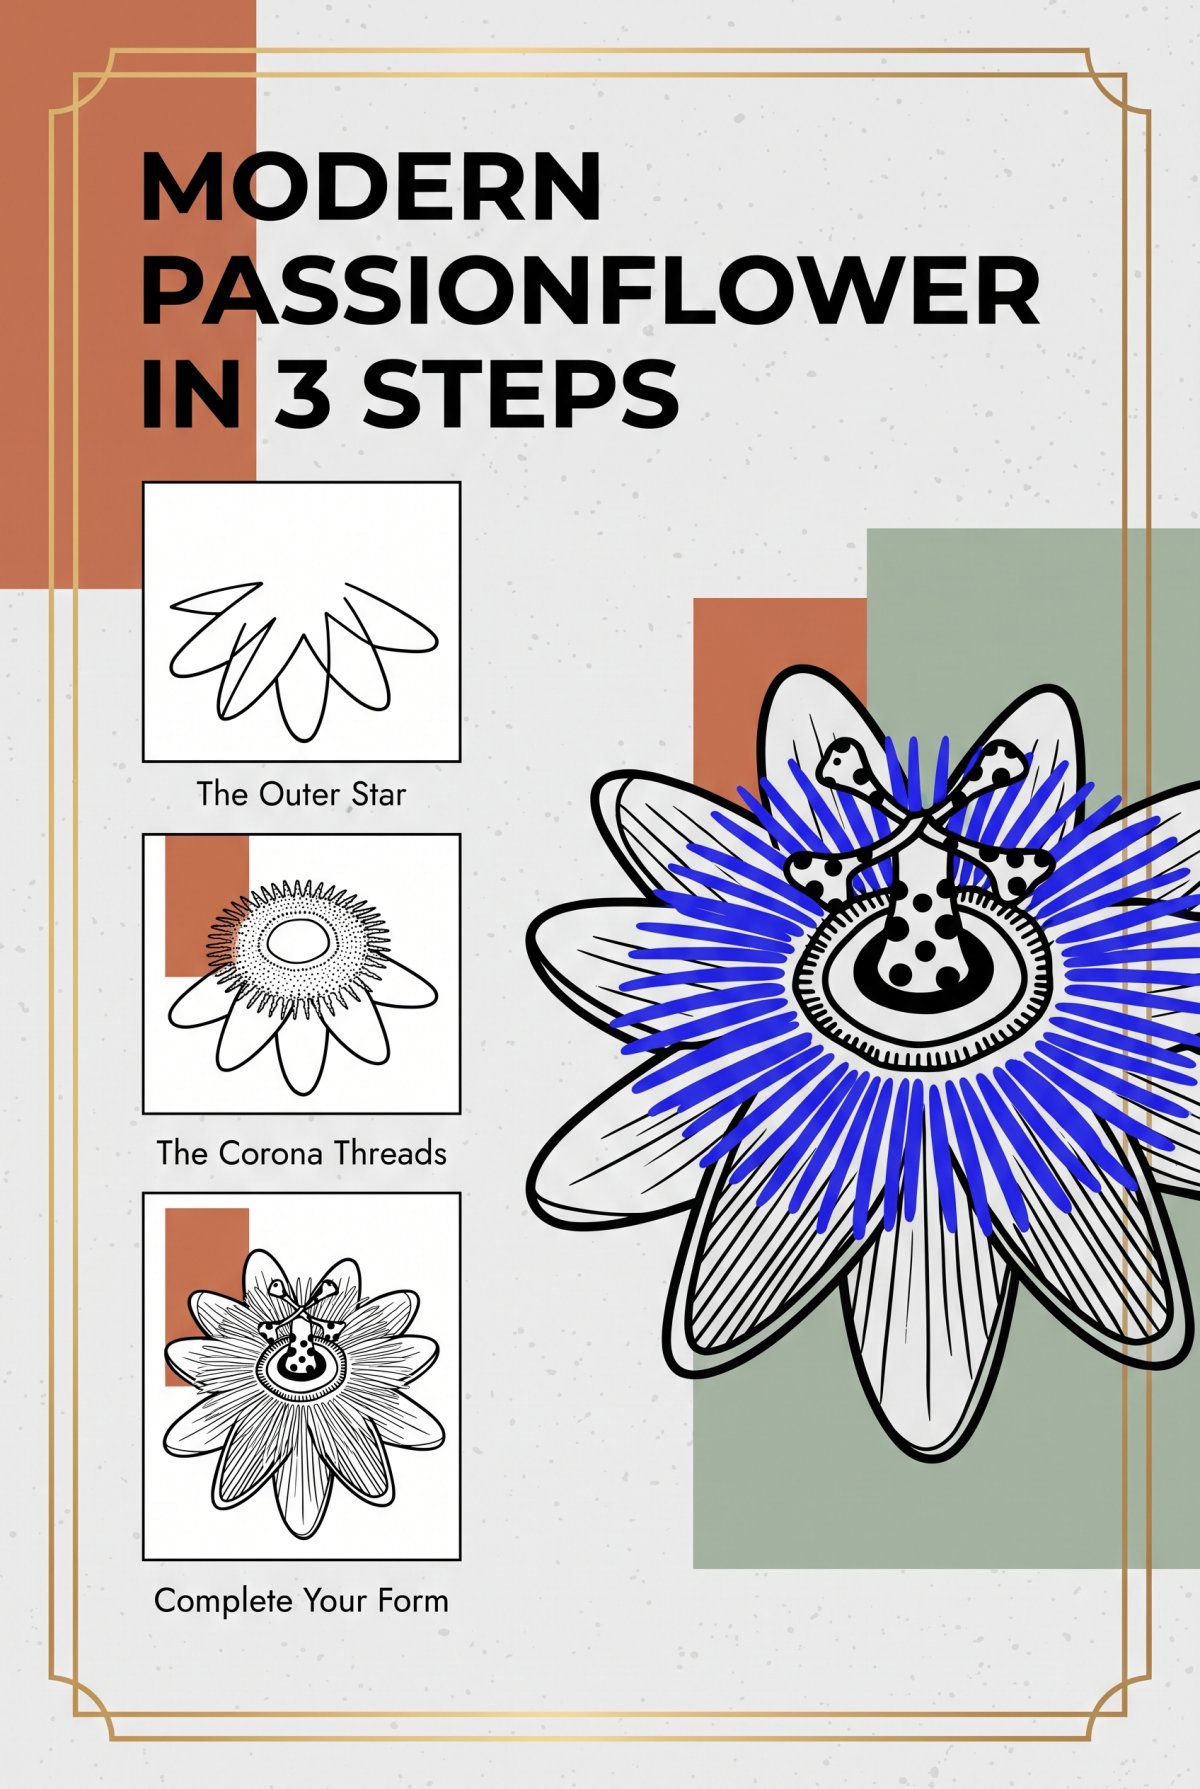
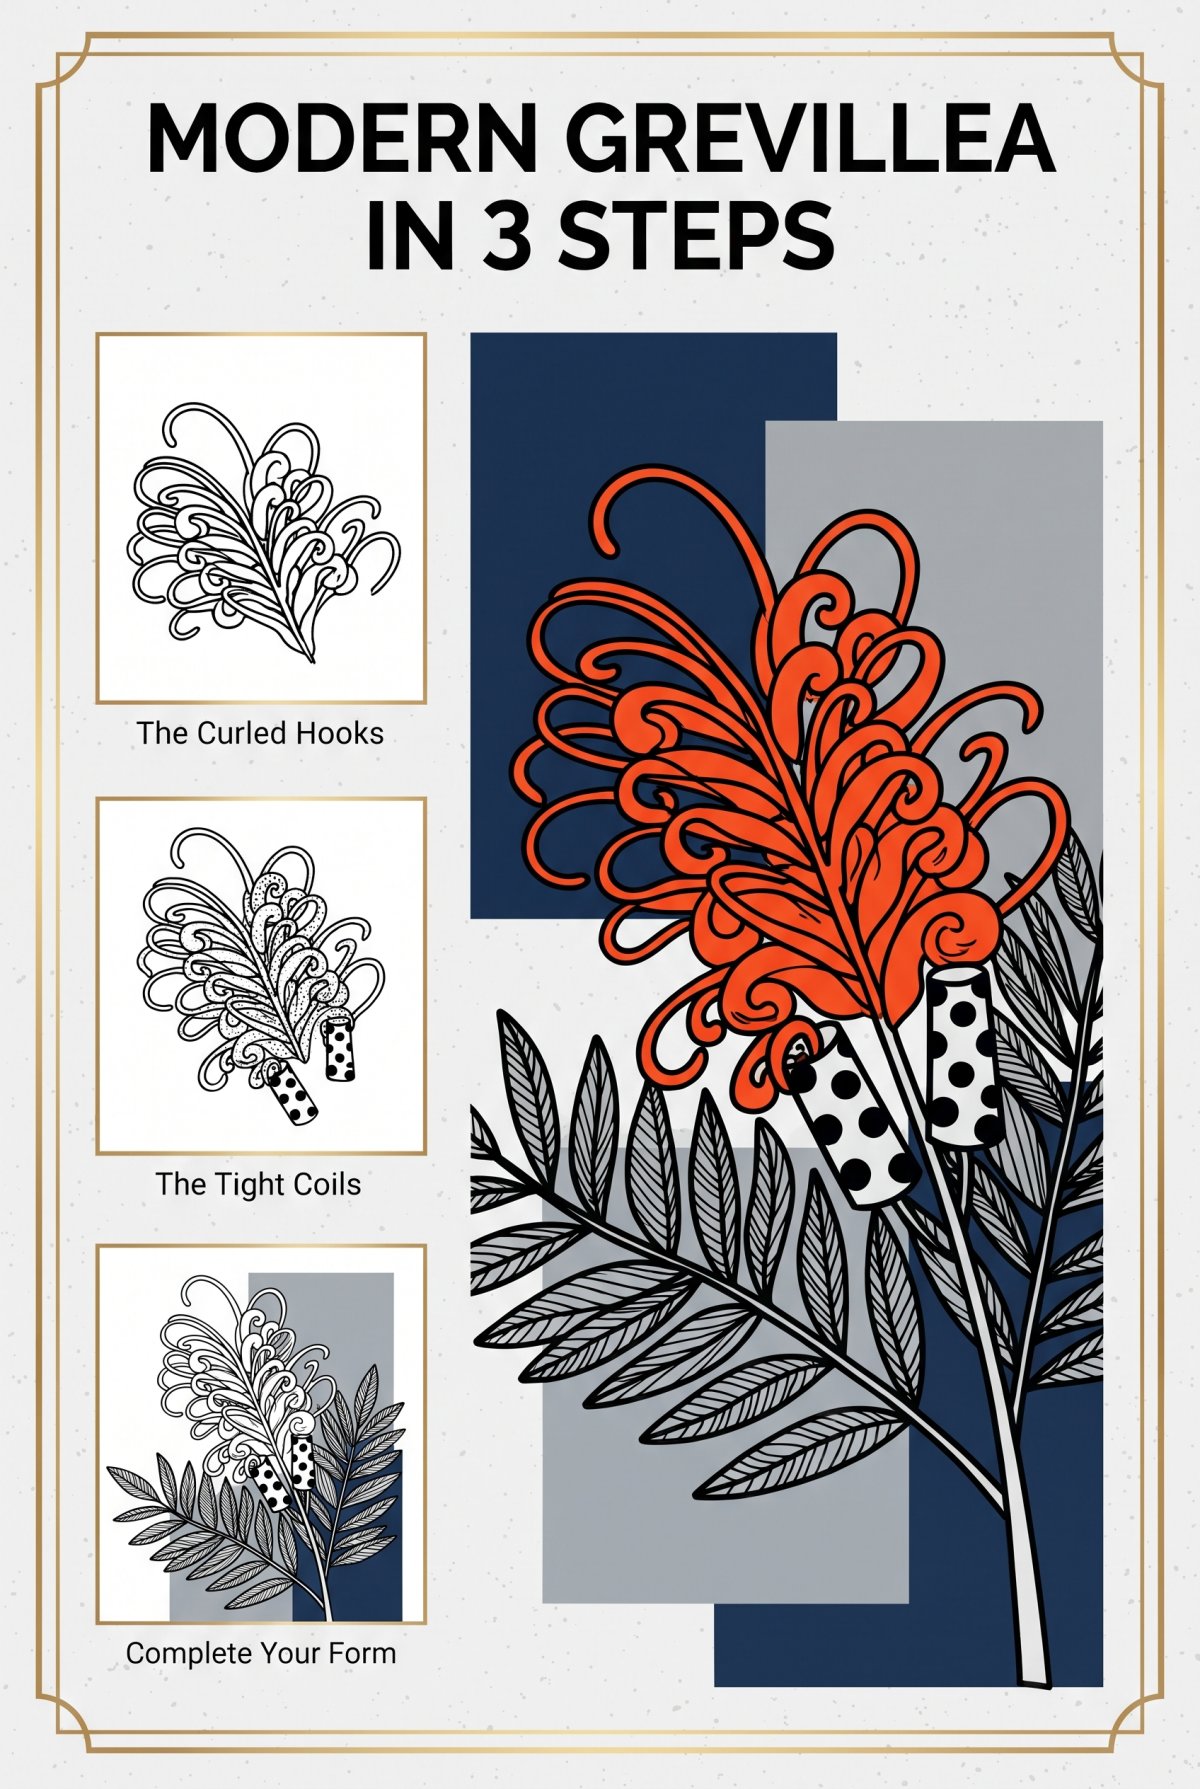
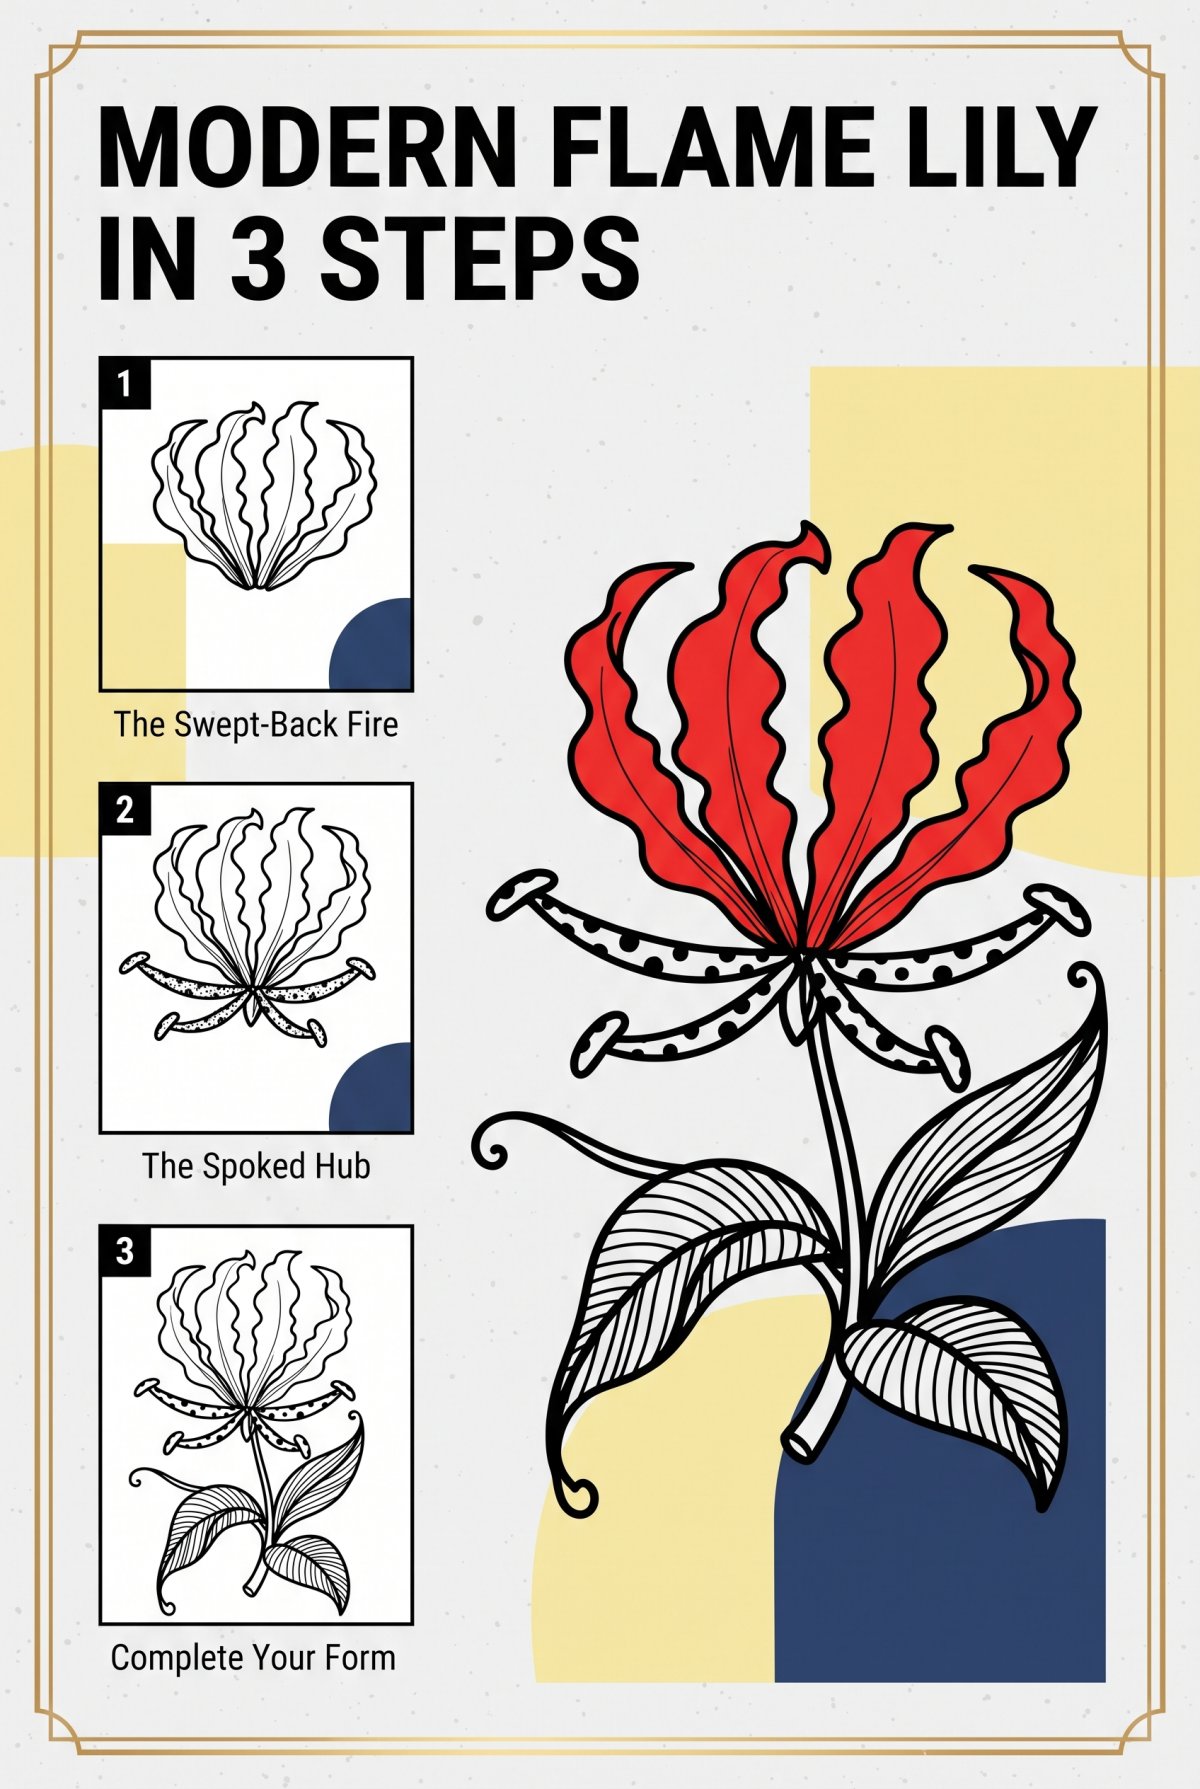
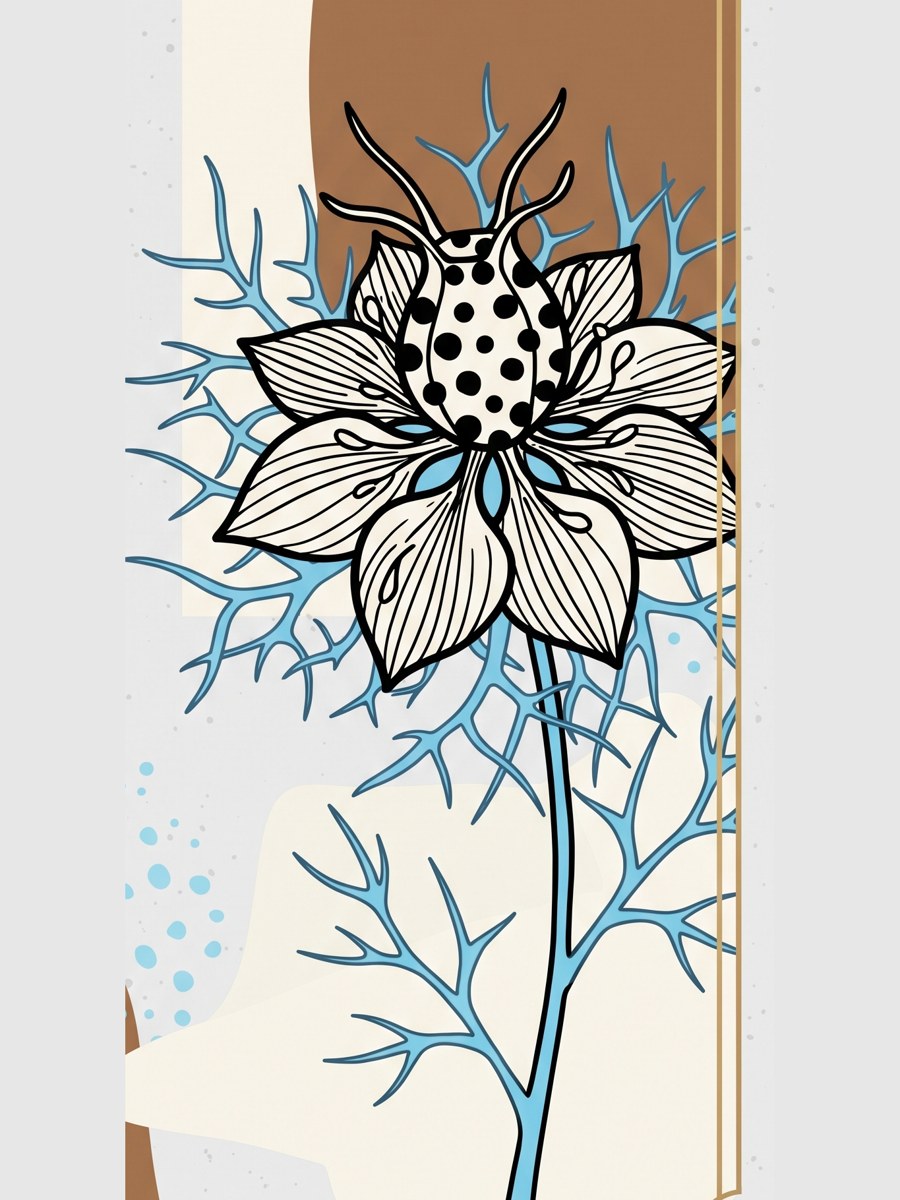
Start with the nigella and trace the pod first. Inside: 32 step-by-step sheets of flowers most people have never drawn.
Instant download · print as often as you like
Put the needle down while the poppy is still half thread and half pencil. The line will wait exactly where you left it, in daylight, being patient about the whole thing.
Mirabelle wrote this. No training, strong opinions, many pens. Peer reviewed by a cat who found the thread and considered the matter closed.