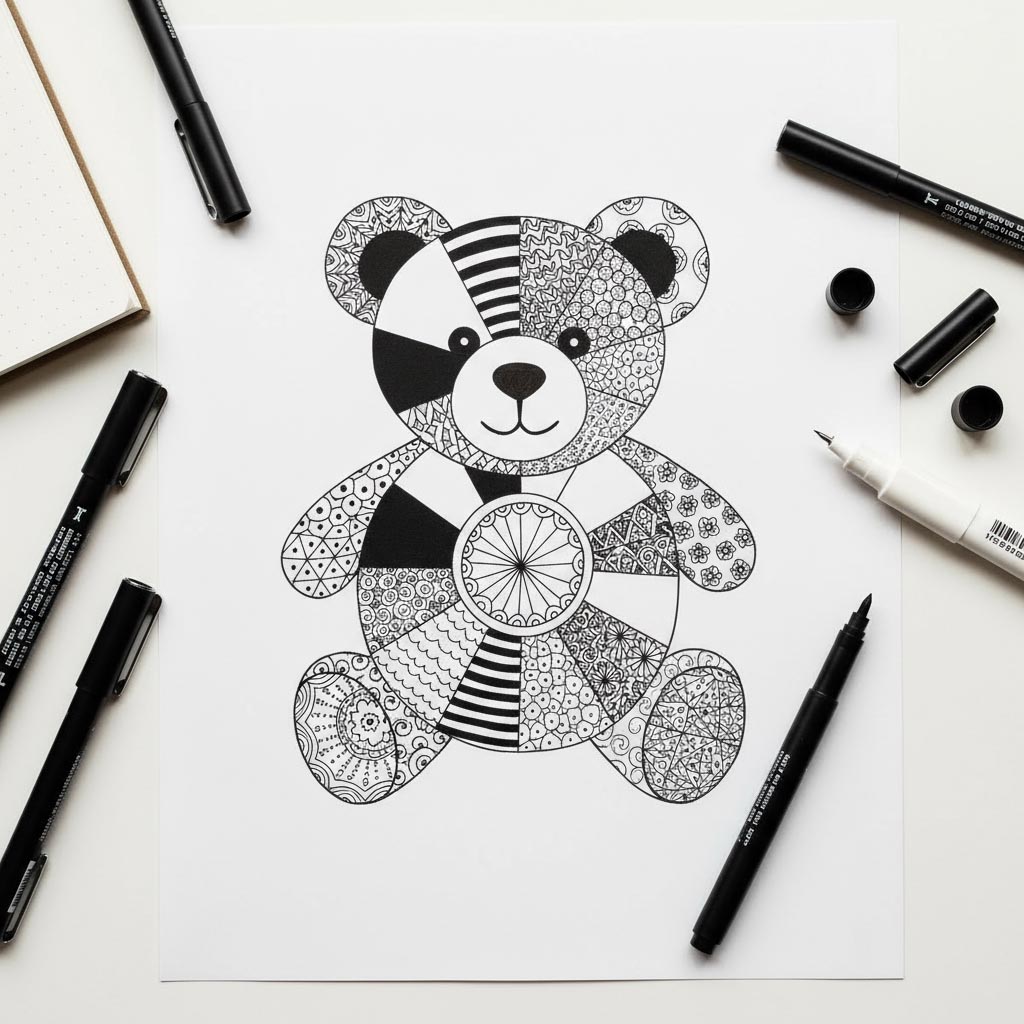
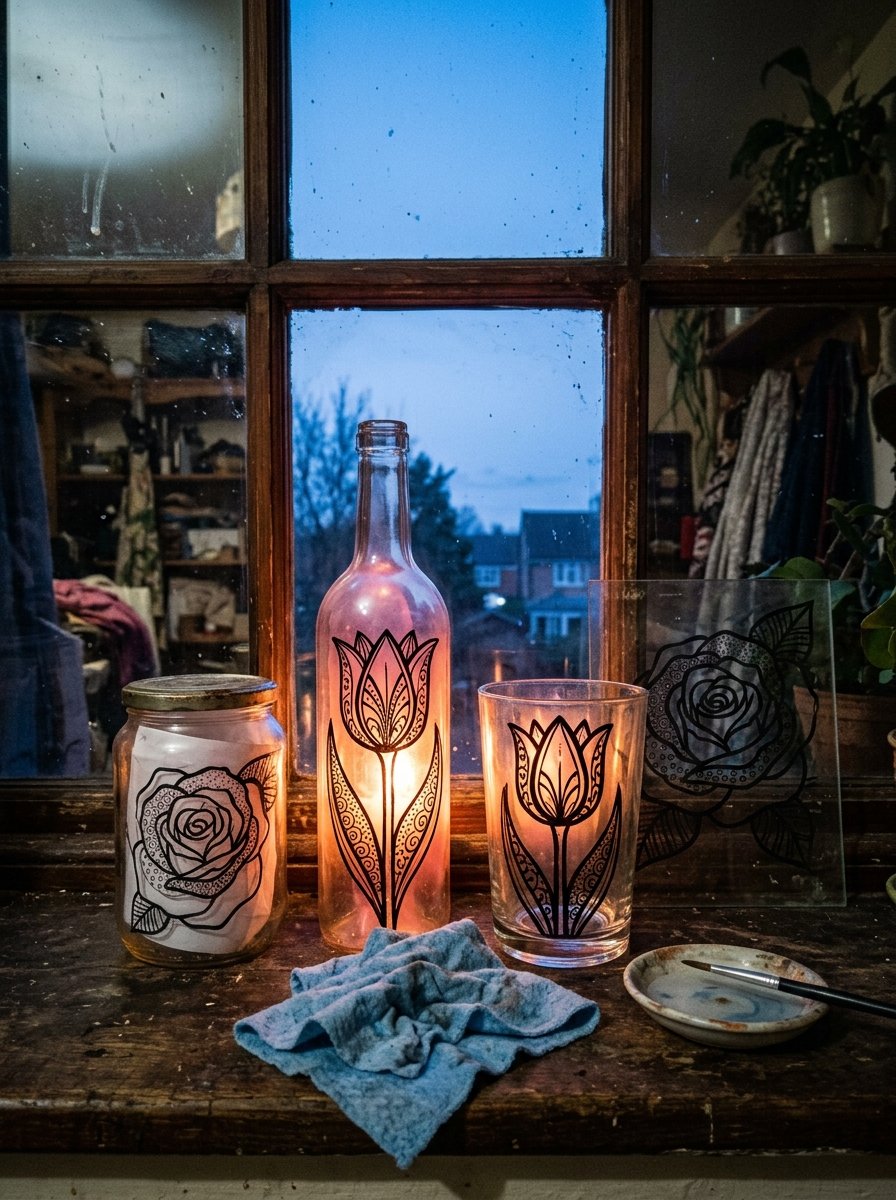
In 1908 a painter walked into a Bavarian town looking for a local craft and came out carrying glass. Nearly all good glass painting ideas for beginners start where his did, with a line somebody else drew.
The outline shows through the glass. You trace it on the outside, then fill it in. The hard part is over before you begin.
That is not a trick somebody invented to be kind to beginners. It is how the trade has always worked. A folk workshop called the design a Riss, slid it under the pane, and followed it.
(I freehanded a rose onto a tumbler for two evenings. Neither rose survived.)
Download the free glass outline sheet →
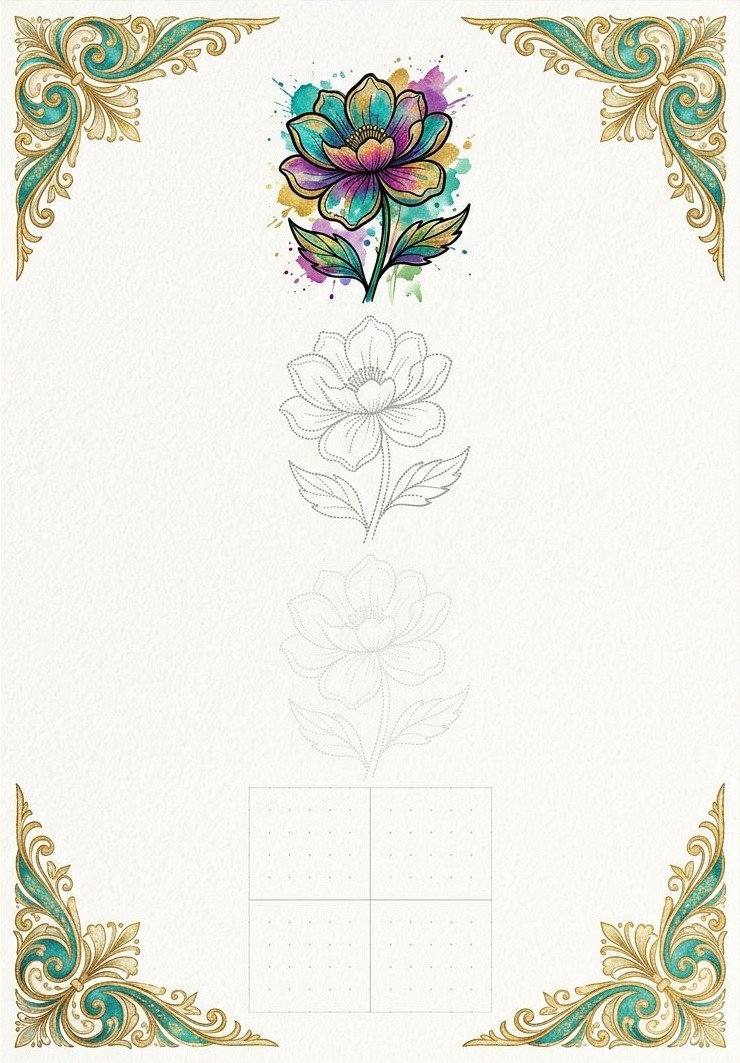
Print the sheet at actual size, not fit to page. (Shrunk to fit, the flower comes out a size too small for the jar. You find that out at the taping stage.) Slide it inside a jar and it is ready to trace.
Most glass painting ideas for beginners fail because nobody puts a line behind the glass
Here is the claim you have probably absorbed. Painting on glass is a separate skill. The surface is slick, the shape is round, and paint slides. You need a steady hand and years.
Every part of that is true about the surface. None of it is true about the skill.
Glass has one property paper does not. You can see straight through it. A drawing placed behind it is still visible from the front. (This is the entire technique. The rest of this article is detail.)
So the line does not have to come from your hand. It only has to end up under the glass.
I resisted this for a long time. It felt like cheating, which is a thought I have had about every useful thing I ever learned.
Tracing is the oldest move in the craft, and the people who invented it were not beginners.
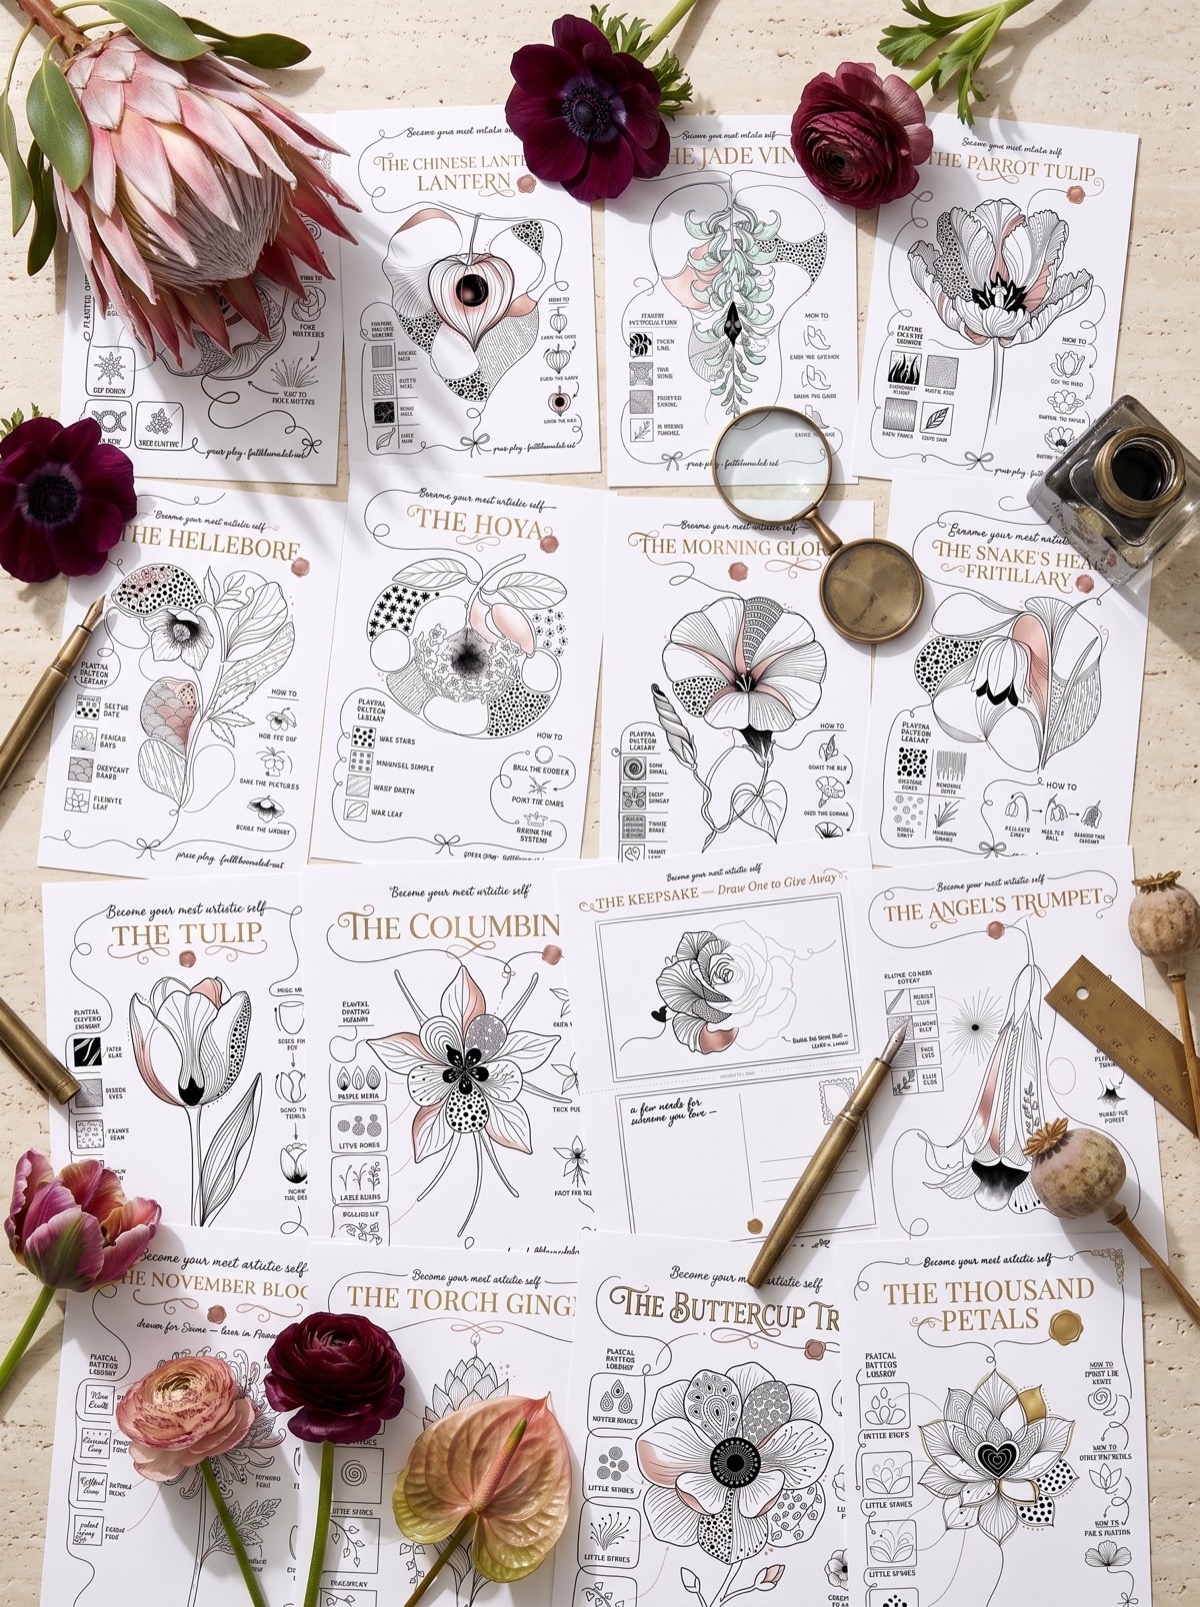
The Collection
70 flowers in BLOOM & PATTERN, each one a line waiting for glass.
For the evening a jam jar deserves better than a label. Inside: 70 flower outlines, 30 line-art ideas and 30 pattern guides. (The jade vine is showing off.) What you get: a line to slide behind the glass tonight, and a shelf that looks bought.
Back to the glass, and the workshop that never drew freehand.
The trade never asked anyone to draw on glass freehand
In 1908, in the Bavarian town of Murnau, a painter went looking for a local craft. She found reverse glass painting, and a glass painter named Heinrich Rambold agreed to teach her.
Gabriele Münter did not begin with her own designs. She began by making a large number of copies. She worked from his patterns until her hand knew the shapes.
Later Kandinsky, Franz Marc and August Macke learned the same folk technique from the same small town. (Documented here, if you like a receipt.)
So the first serious painter in that story spent her apprenticeship tracing somebody else’s lines. Nobody has ever held it against her.
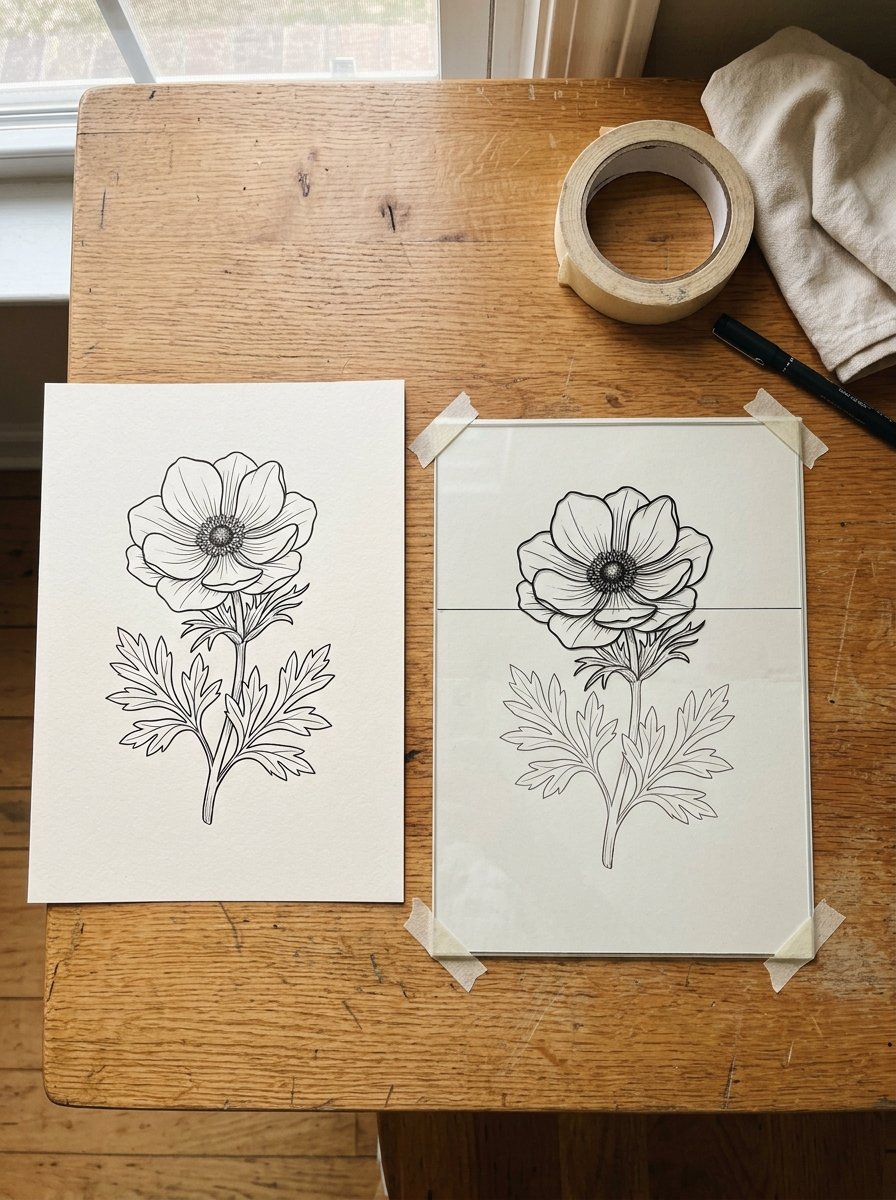
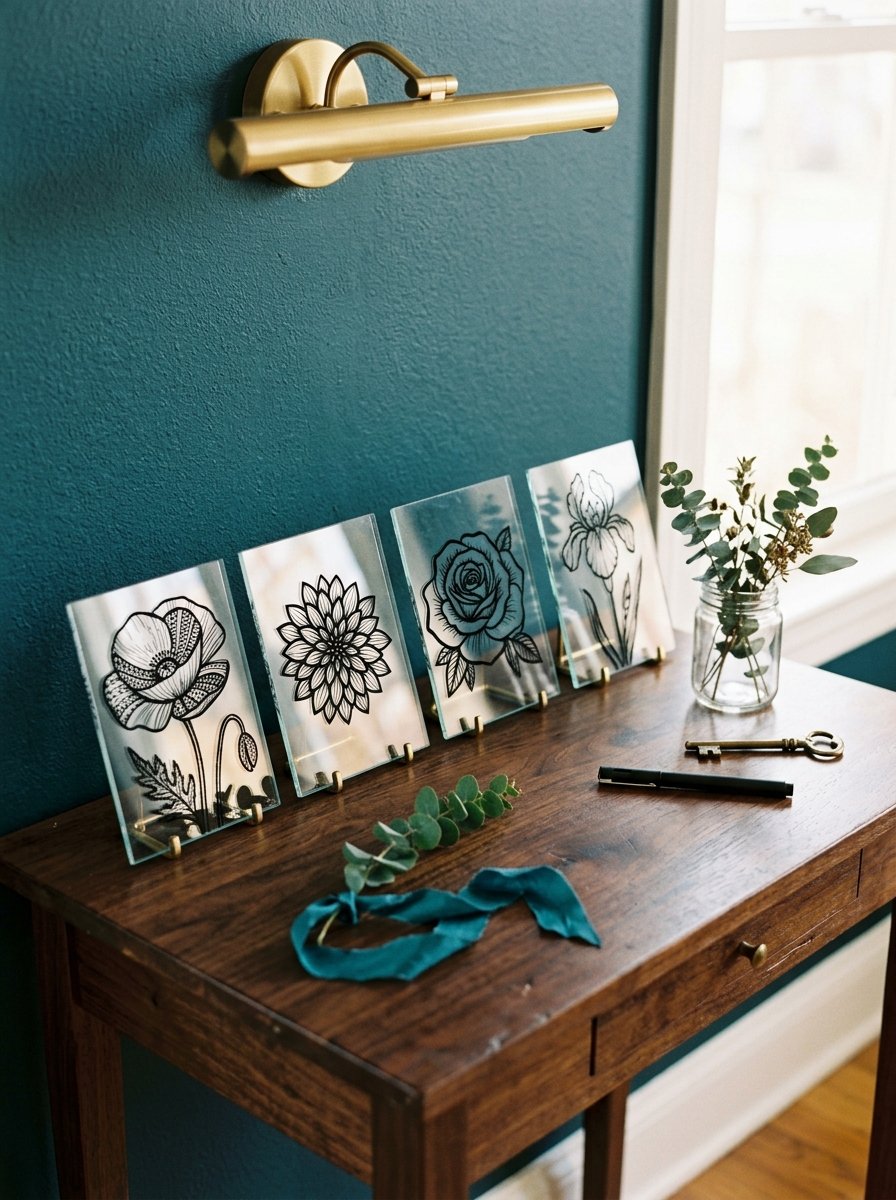
Do this tonight, and you will feel the difference in about a minute. Tape an outline to the inside of a flat glass pane. Trace it on the outside with a fine black marker.
What you will see is a line that looks better than your usual line. It is steadier, because you were following rather than deciding.
The fix, if it wobbles: slow down and move your whole forearm. A wrist draws short nervous strokes. An elbow draws long calm ones.
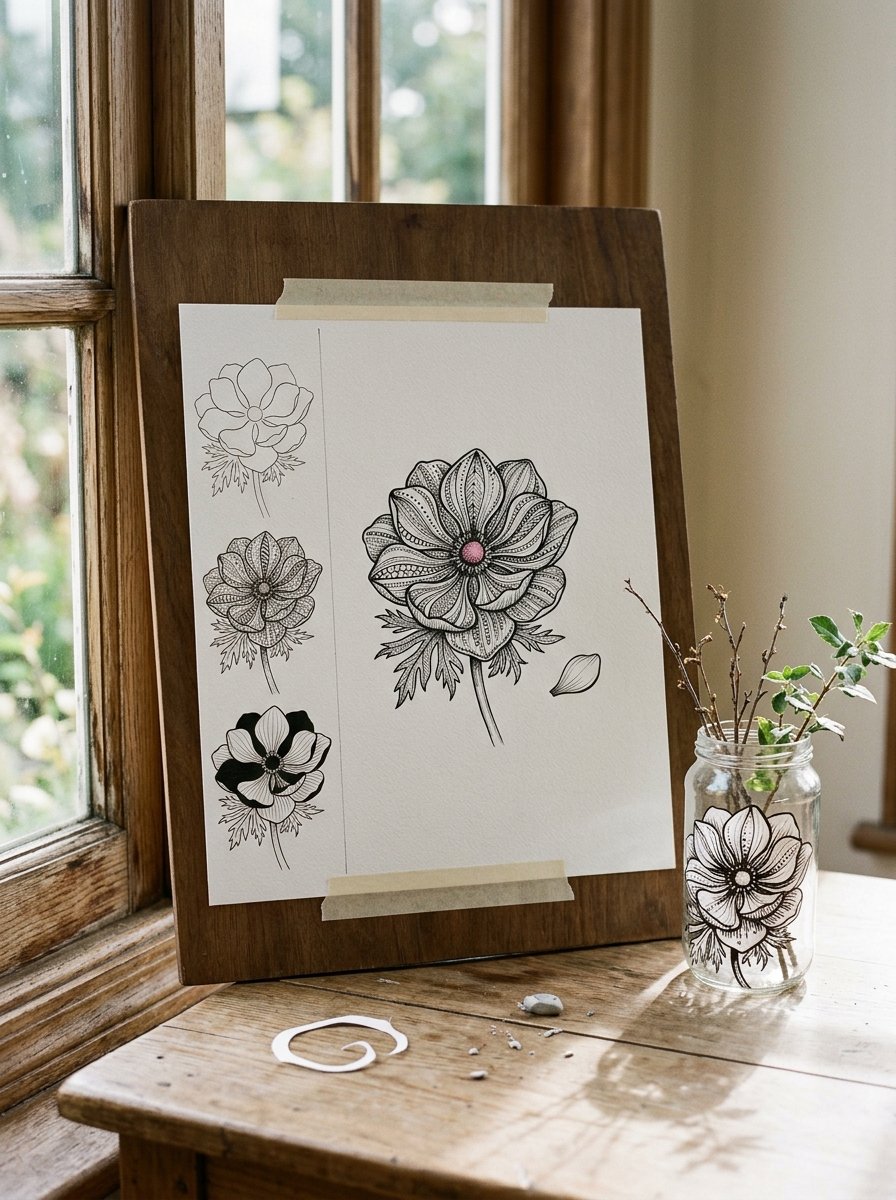
Three stages of the same flower. Trace it, fill it, then it is yours.
The line does not have to come from your hand. It only has to end up under the glass.
A folk workshop painted the outline first and the background last
Around 1760, glass painters from northern Bohemia moved into the hills around Sandl, in upper Austria. What they brought with them became a village industry.
By the middle of the next century Sandl was turning out up to 60,000 painted glass pictures a year. About 20 painting rooms were running at once. Pedlars carried them across the Habsburg lands in baskets on their backs.
The method is written down, and it is very plain. The design, the Riss, is transferred onto the glass. The traced lines are gone over in lacquer. Then the colour goes on.
And here is the part that matters for your hand. They painted front to back, which is the exact reverse of paper. Details first. Background last.
I painted my first pane in the paper order, background first. The flower ended up sitting on top like a sticker.
The craft is still alive there, and it went onto the UNESCO list in 2012.
Try it on a flat pane and the logic arrives instantly. Paint the flower first. Let it dry. Then flood the whole background in one colour behind it.
What you will see is a flower that looks lit from inside. The background sits behind it, so nothing muddies the petals.
The fix, when a colour lifts: stop touching it. Glass paint stays soft far longer than paper paint, and a second stroke drags the first one off.
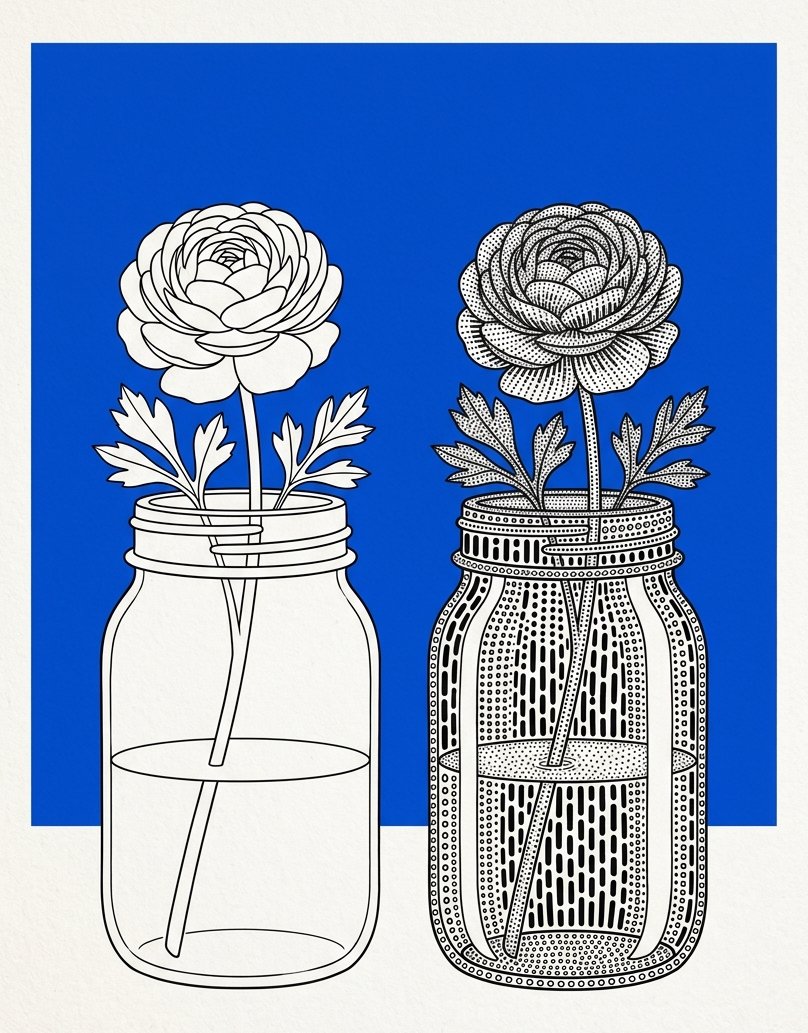
Two finishes, one outline. The bare one reads as a sketch on glass. The filled one reads as a thing you would buy.
The best glass painting ideas for beginners are the ones already drawn on paper
One more workshop, and this one was enormous.
Agnes Northrop designed floral, garden and landscape windows at Tiffany Studios in New York. She did it for her whole working life, until the studios closed in 1932. Her Magnolia panel was shown at the Paris Exposition of 1900.
The process did not start with glass. It started with a small watercolour. That design was then blown up into a full-scale hand-drawn cartoon, with every lead line marked on it.
Then the cartoon was cut apart. The paper templates were stuck onto a sheet of plate glass, propped in front of a studio window. (The Magazine Antiques sets out the whole sequence.)
Read that again. The most admired glass workshop in America worked by putting paper against glass and holding it up to the light.
(I think about this whenever I feel clever for using tracing paper.)
Your version costs nothing. Any line drawing you own is a template. Any window is the light box.
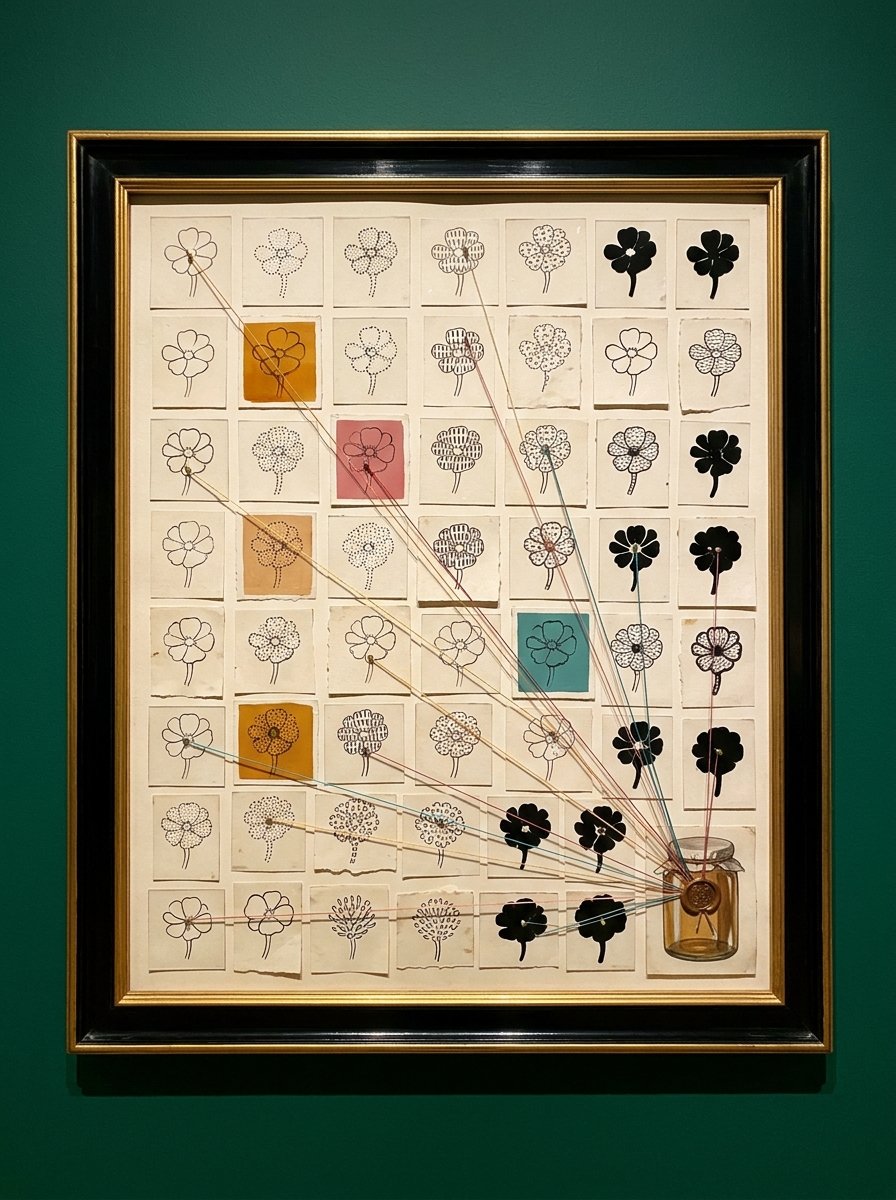
Every one of those studies is the same flower wearing a different fill. It is all outline underneath.
Curved glass moves the line, and there is a fix for it
Nobody mentions this part, and it is why a first jar goes wrong.
A jar is a cylinder. Your paper outline is flat. Curl a flat sheet inside a curved jar, and the drawing stretches. The middle spreads. The edges squeeze.
So you trace a perfectly good rose and it comes out slightly wide. Not wrong enough to name, just wrong enough to annoy.
The fix is to work in a narrow band. Trace only the middle third of the outline, where the glass is closest to flat. Then turn the jar and move the paper round.
I lost a whole evening before I understood that. I kept redrawing the rose and blaming the rose.
Curved glass does a second thing. It rolls. Sit the jar in a folded tea towel. It stops rolling, which is worth more than any brush.
And do not paint the rim. Anything within a thumb’s width of the top eventually meets a lip or a dishcloth. (A painted rim survives 2 washes and one guest.)
Paint stays where the outline traps it
Once the black outline is down and dry, it does more than describe the flower. It builds a wall.
Glass paint wants to move. It beads, it pools, it heads for the lowest point. A cured outline gives it an edge to stop against.
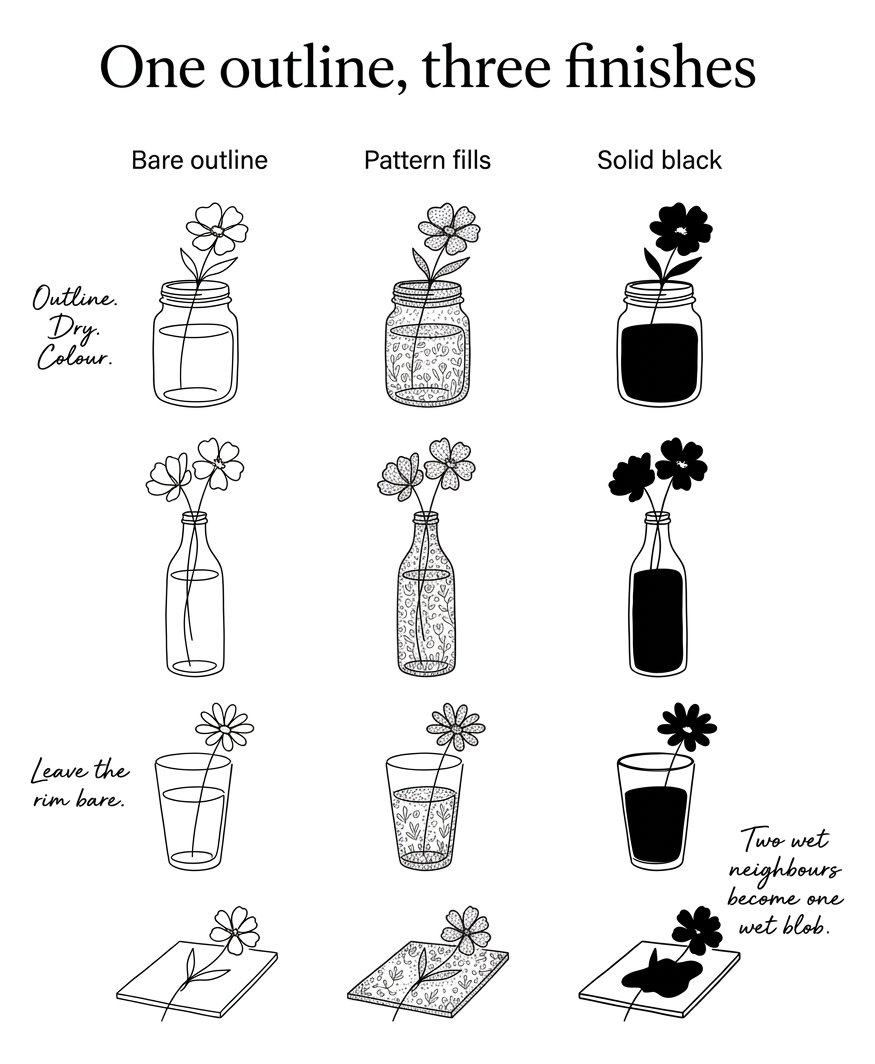
So the order is fixed. It is the only rule here. Outline. Dry. Colour. Rushing the drying is the single biggest cause of a muddy jar.
Fill one shape at a time and leave the shape beside it empty until the first is touch-dry. Two wet neighbours become one wet blob. (The empty shape can wait. It has nothing else on.)
What you will see, when it works, is a flat pool of colour with a hard black border. That is the whole look. It is also why the pattern fills matter more than skill.
Small marks inside a shape read as detail from across a room. Dots, short bars, a row of circles, a few curved lines. None of them is hard, and all of them are hidden by the outline if they go wrong.
Everything above works with any line drawing. It works better with line drawings built to be traced. That is a whole collection of ours, and the reason this article exists.
These glass painting ideas for beginners sort themselves by what you already own
You do not need to buy glass. Your kitchen is full of it. Below are 89 outlines, grouped by the thing you already have on a shelf. (I counted 31 pieces of paintable glass in my kitchen before I got bored and stopped at the pickle jars.)
Start with jars, because a jar is forgiving and free. Trace a rose, a tulip, a poppy. Then a dog rose, a daisy chain, a cornflower. Then a hellebore, a columbine, a morning glory. Finish the shelf with a snowdrop, a forget-me-not, a buttercup and a clover. Jars want one flower, big, sitting slightly off centre.
Tumblers are next, and they suit food better than flowers. Try a lemon slice, an orange wheel, an olive branch. Then a fig, a sprig of mint, a strawberry. Then a cherry pair, a vine leaf, a wheat ear. Add a thistle, a fern frond, an ivy trail and a bay leaf. Keep these near the base, or you will drink the pattern.
Bottles are tall, so give them tall flowers. A lily of the valley, a foxglove, a delphinium. A hollyhock, a snapdragon, a lupin. A teasel, a bulrush, an allium. Then an iris, a gladiolus, a larkspur and a verbascum. One stem running the full height beats three small ones.
Vases can carry the showy heads. A peony, a dahlia, a ranunculus. An anemone, a camellia, a magnolia. A chrysanthemum, a lotus, a protea. Then a hydrangea head, a sweet pea and a stock. These are the ones worth filling with pattern, because a vase is seen up close.
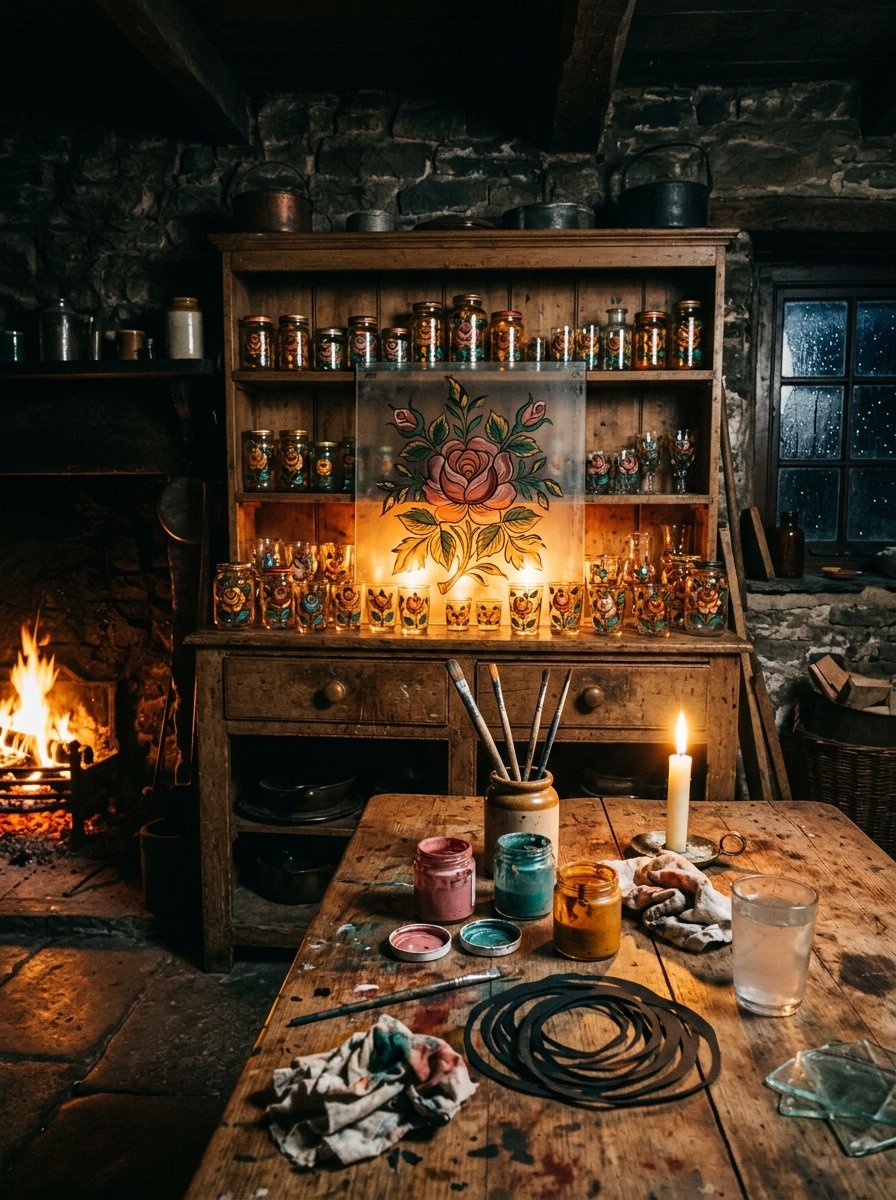
Flat panes are the easiest surface in the house, and picture glass is free. Draw a fern, an oak leaf, a maple leaf. A ginkgo, a sycamore key, an acorn. A beech nut, a hazel catkin, a pine cone. Then a holly sprig, mistletoe, a rowan berry and a hawthorn. Flat glass takes the finest line, so this is where detail pays.
Tealight holders are small, so the design must be small and bold. A moth, a dragonfly, a bee. A ladybird, a snail shell, a feather. A seed head, a dandelion clock, a star anise. Then an honesty disc, a poppy pod and a lacewing. Anything with a hole in it glows twice.
Plates and shallow dishes finish the set, and they take the strangest shapes best. A parrot tulip, a torch ginger, a jade vine. A chinese lantern, a snake’s head fritillary, a hoya. A passionflower, a clematis, a wisteria. Then jasmine, honeysuckle, a nasturtium and a pelargonium. Paint the underside of a plate and the food never touches it.
That is 89, and not one of them needs to be invented by you tonight.
Free Starter Pack
10 pattern templates for the shapes inside your outline.
Sent tonight. Small fills that sit inside a traced flower.
Unsubscribe in 1 click, no hard feelings
The checklist that keeps a painted glass out of the bin
Almost every ruined piece I have made went wrong in the same 4 places. So I drew the order out and taped it inside a cupboard door.
Wash the glass and dry it properly first, because a fingerprint is invisible until it is under paint. Slide the outline in and tape it so it cannot creep. Trace only the middle band, then turn the piece.
Outline, then wait, then colour, one shape at a time. Leave the rim bare. Then cure it however the paint tells you, and not a day sooner.
One outline, three finishes: leave it bare, fill it with pattern, or flood one shape in solid black.
Keep that order and the worst thing that happens is a flower you do not love. Break it, and you get a jar that looks like weather.
After the first jar, the question stops being how and starts being which flower next. That is a much better problem, and it is the one Bloom & Pattern was built to solve.
70 flower outlines, built to be traced
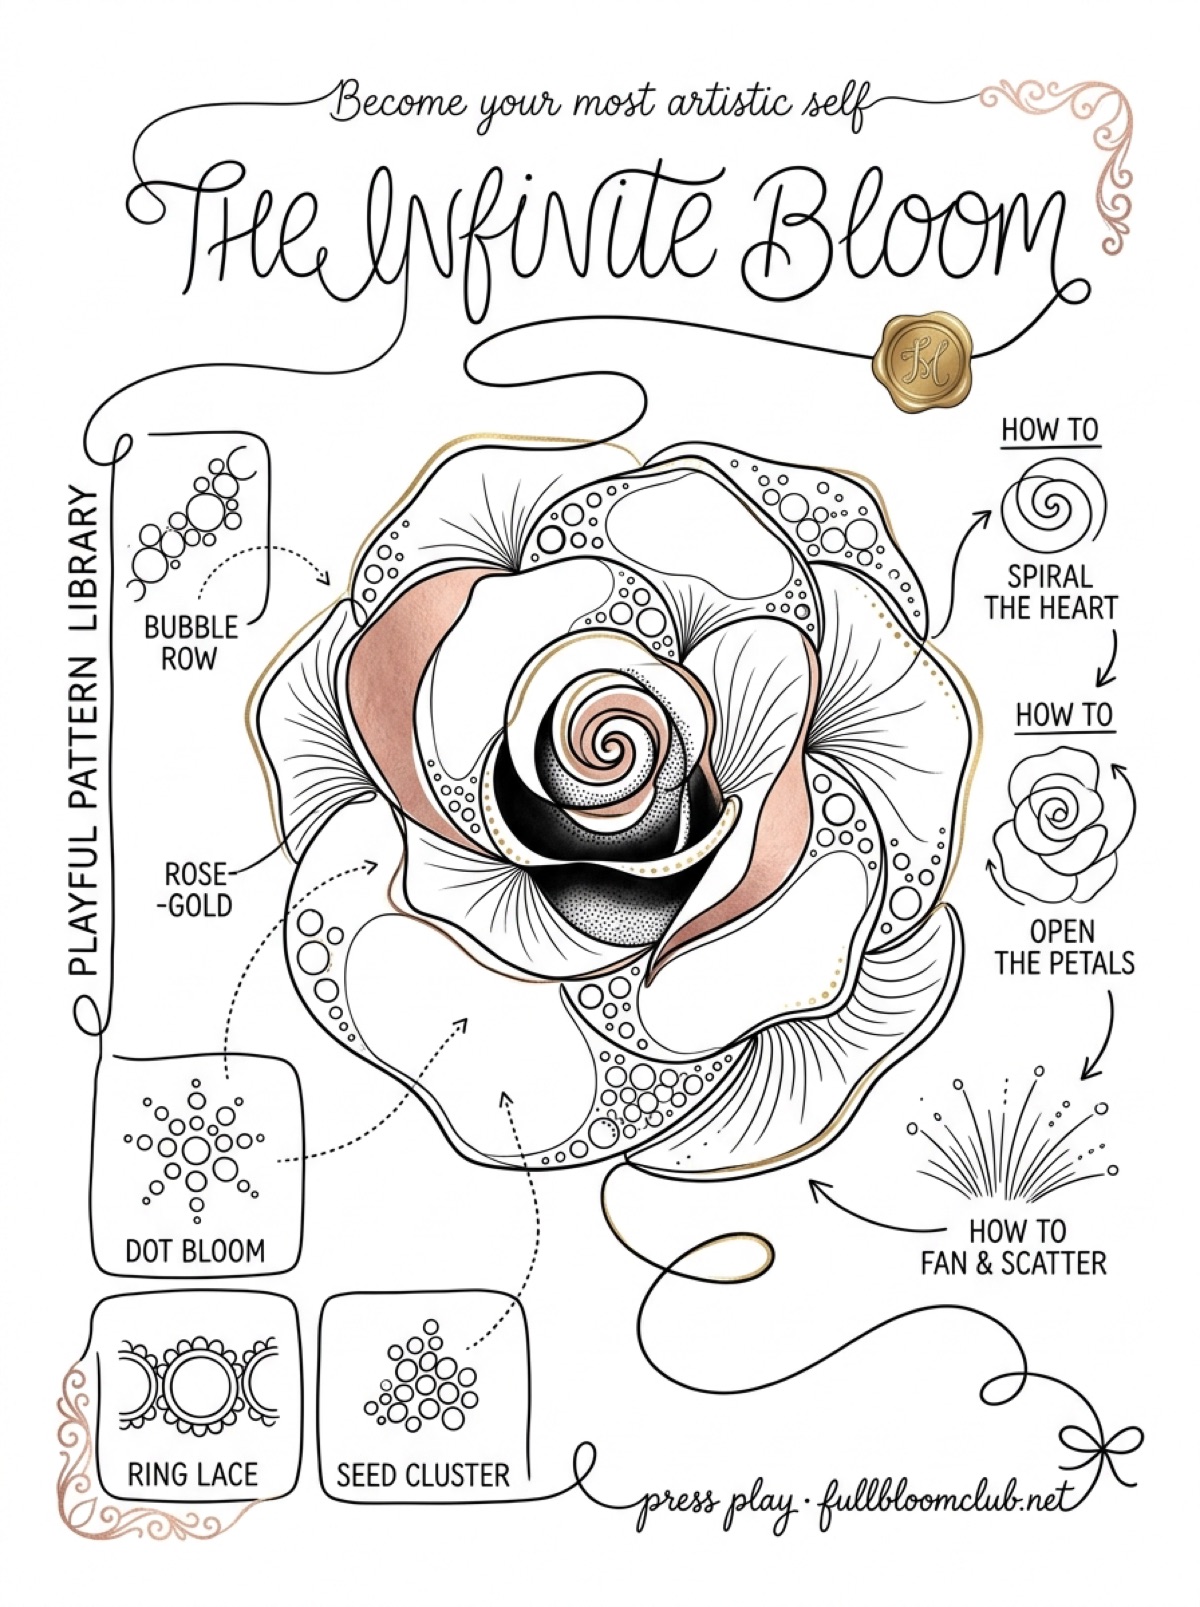
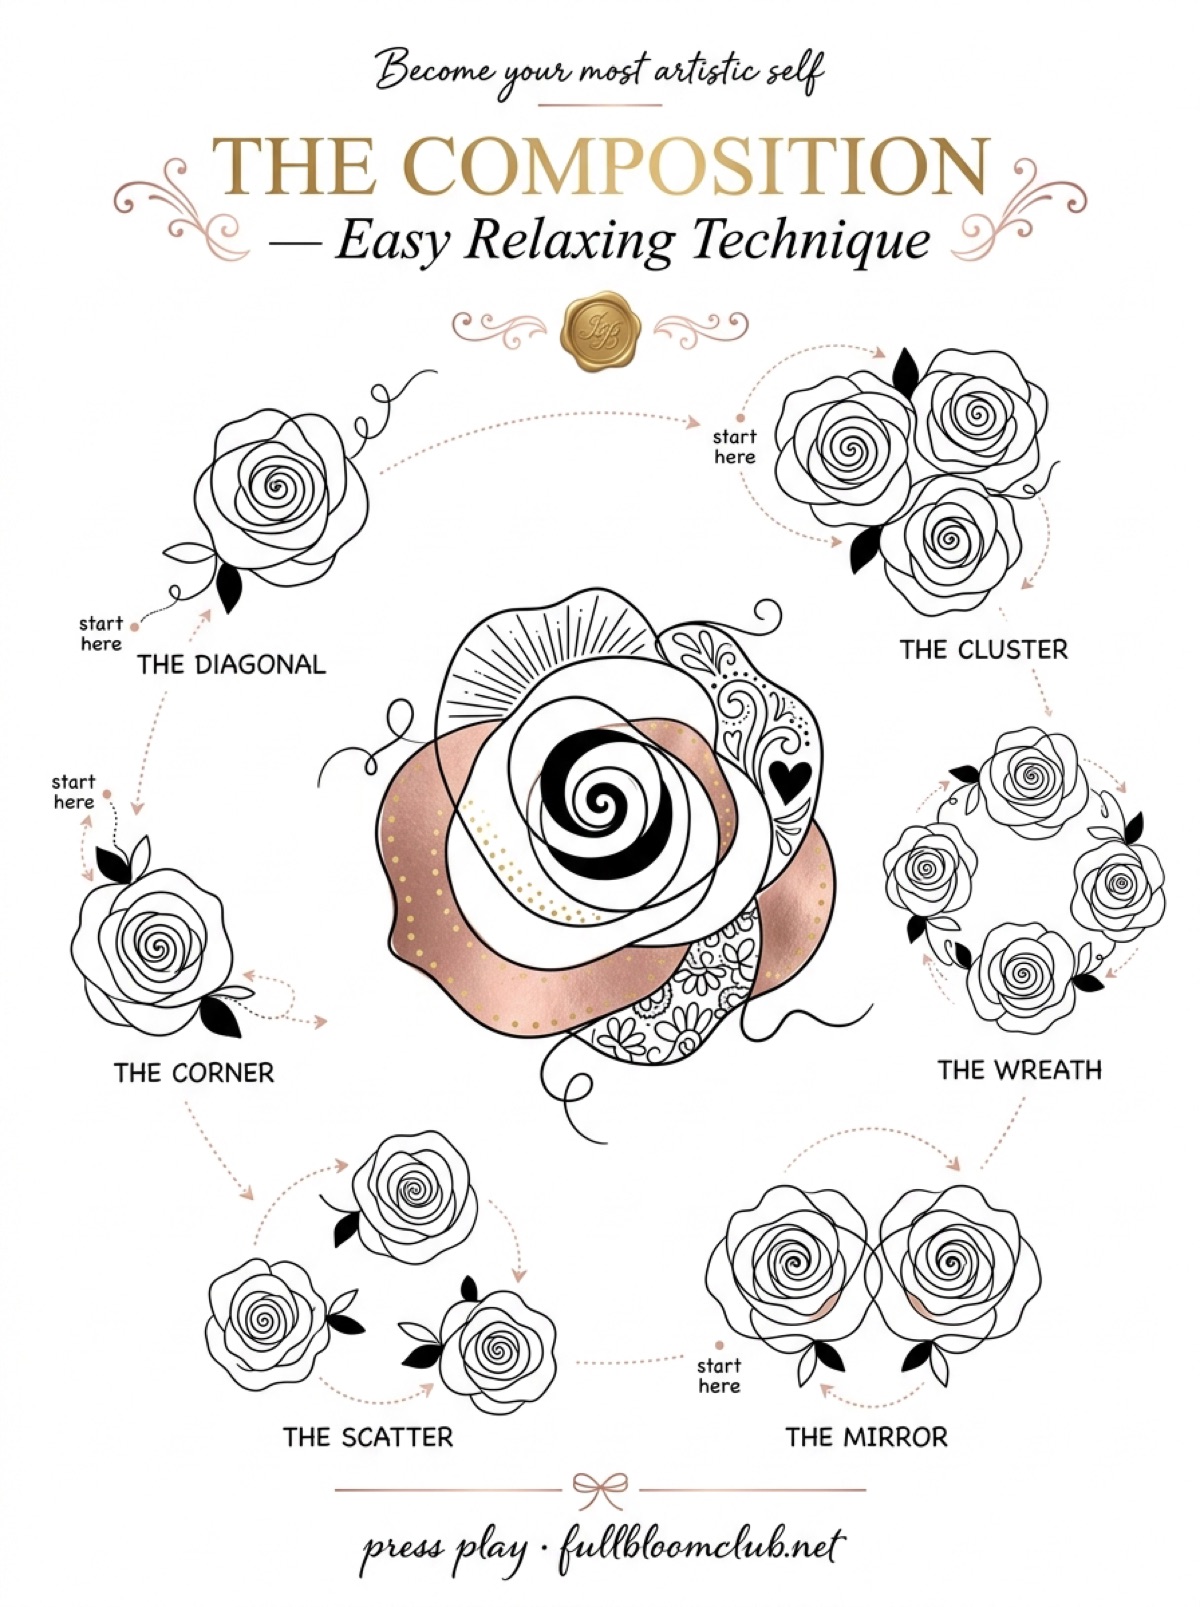
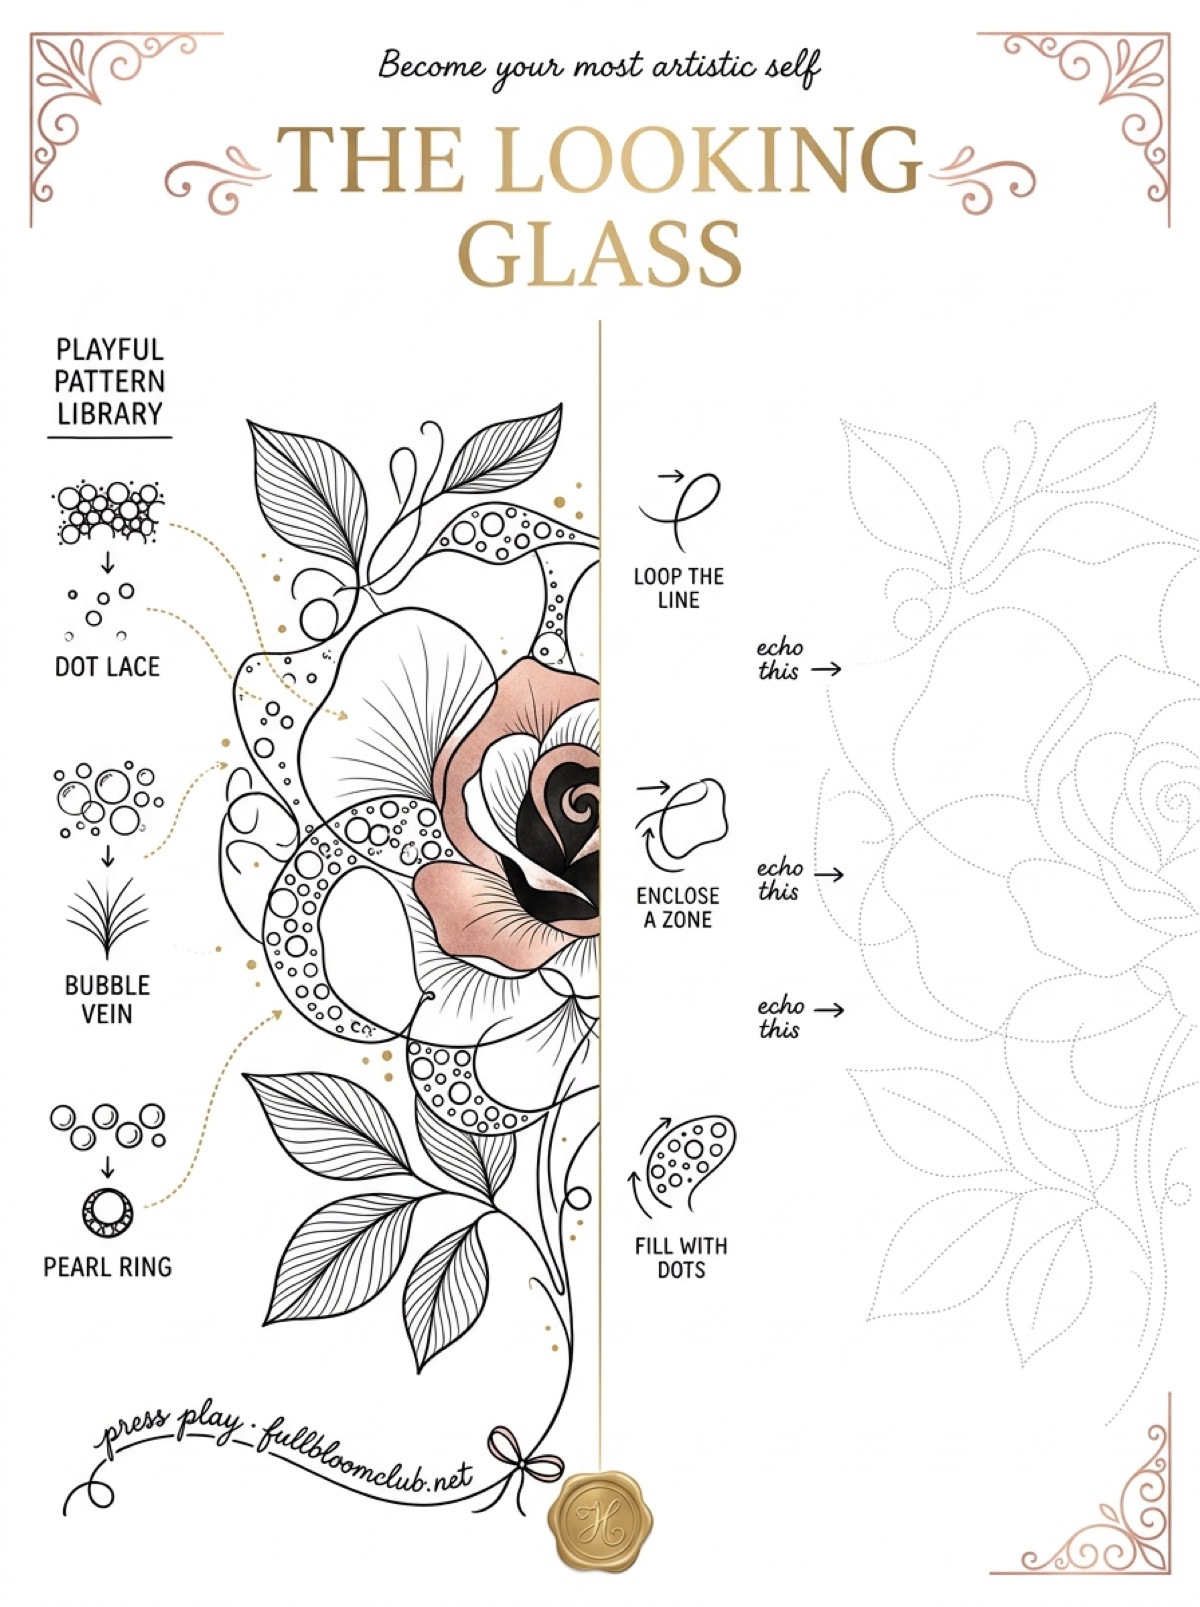
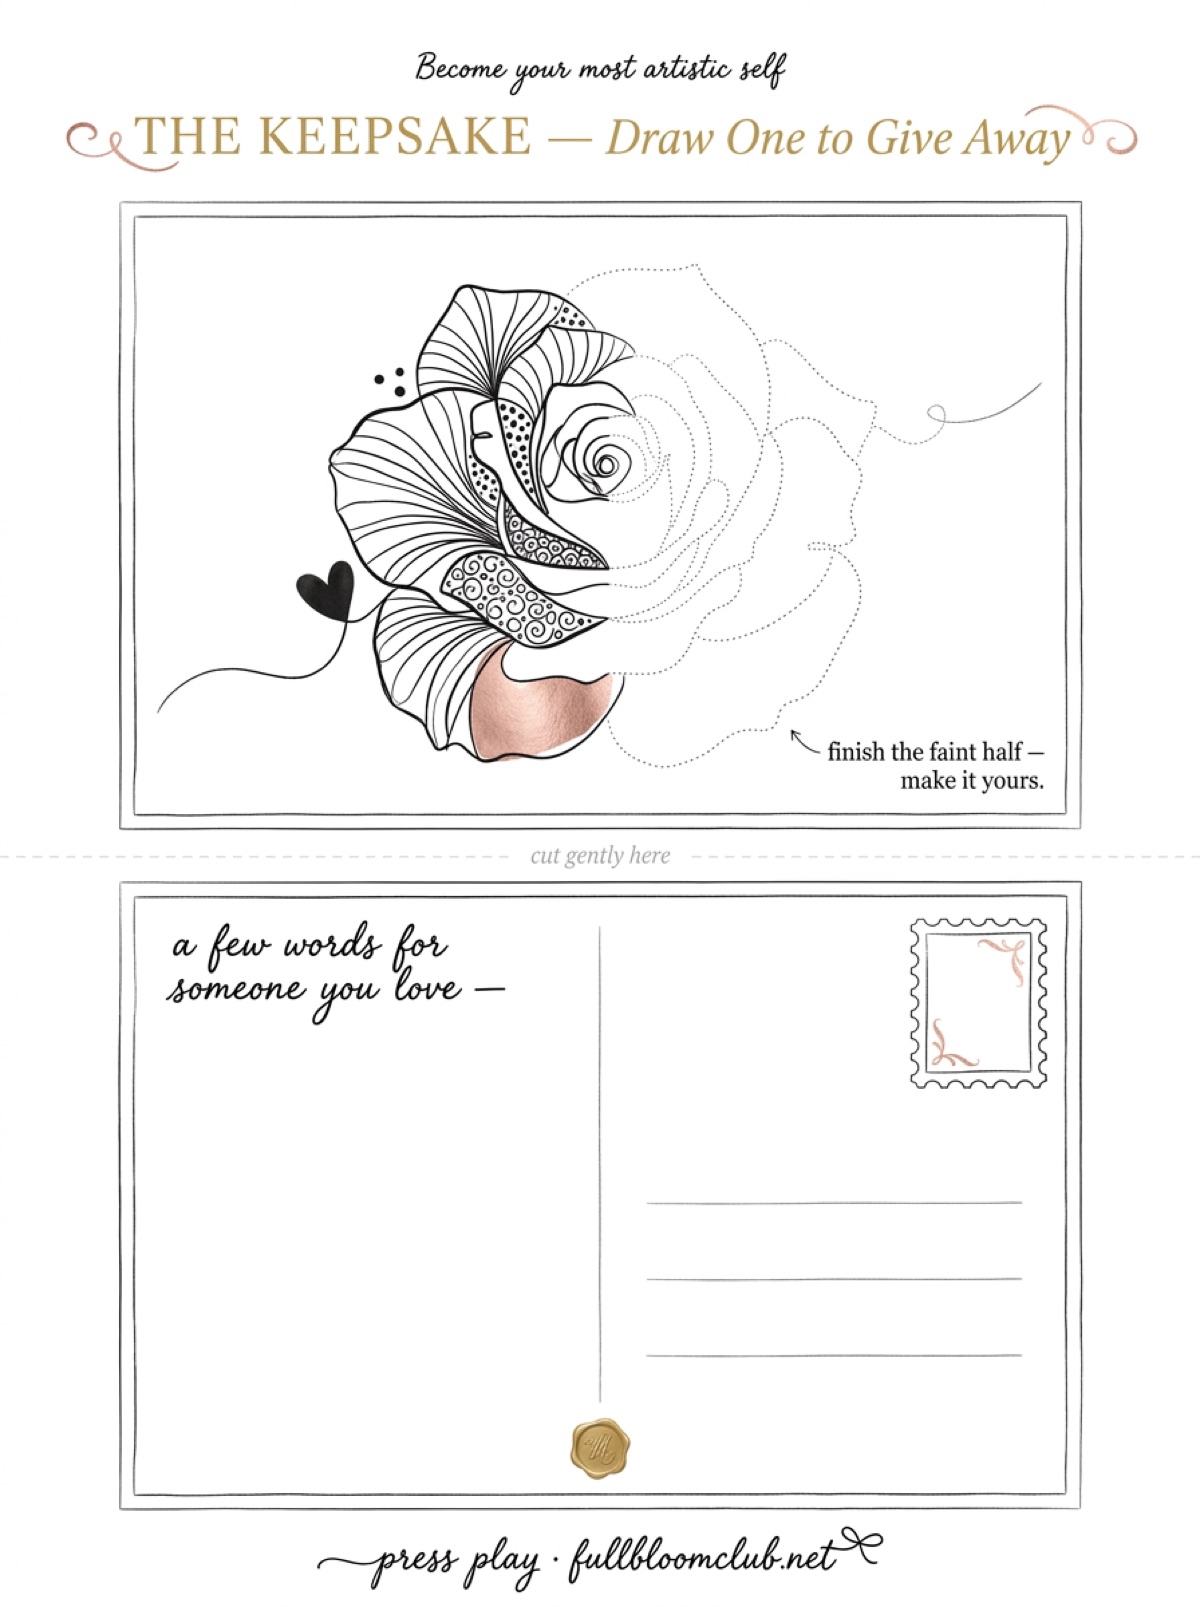
Start with the rose, and slide it inside a jam jar. Inside: 70 flowers as outlines, 30 pattern guides and 350 sheets, ready to print.
Instant download · print as often as you like
Set the jar on the sill before you go up. In the morning the light arrives early. It finds the one flower in the room made of paint, and hands it back to you.
“First copy — then make your own different version.”
Gabriele Münter, in a note to Johannes Eichner, 1933
Mirabelle wrote this. No training, strong opinions, many pens. Peer reviewed by a cat who supervised from inside the window.