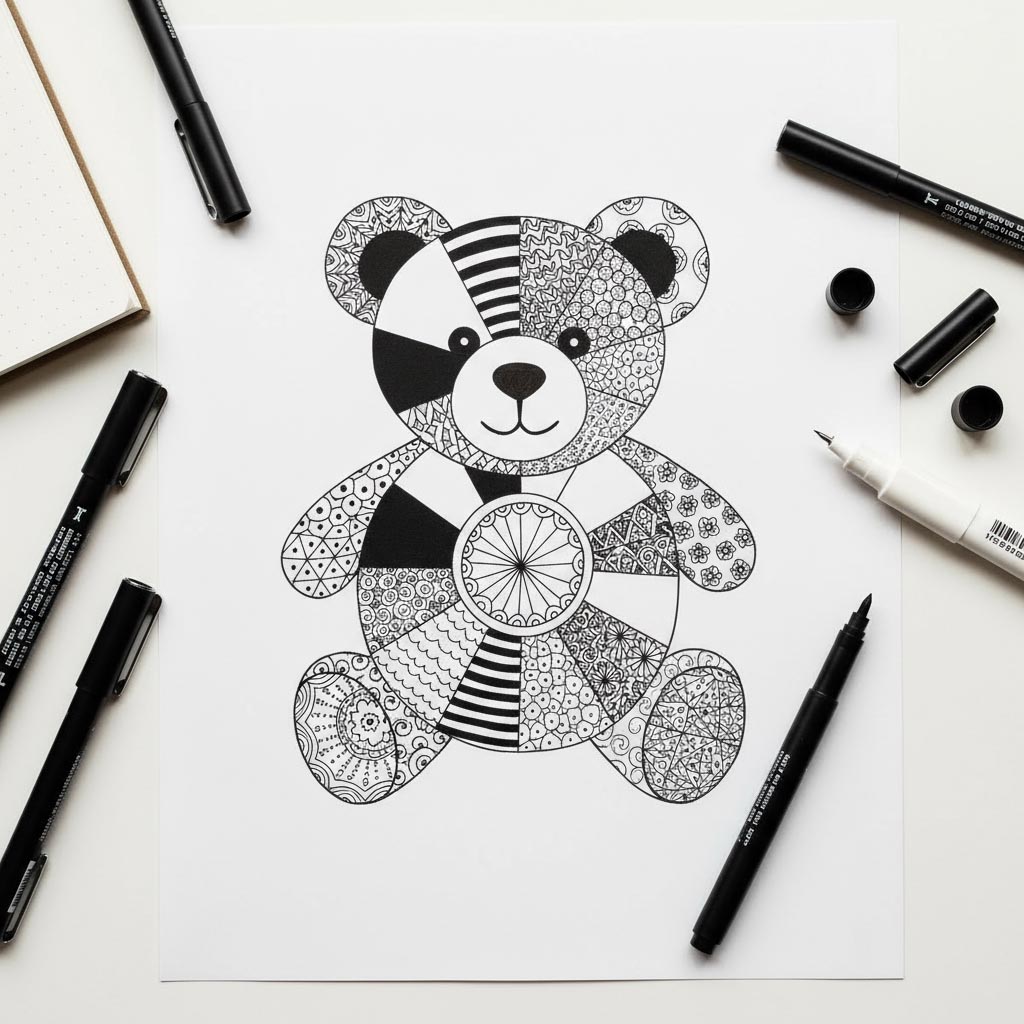
I am halfway through a moon phases drawing at the kitchen table. The circle took one second. The shadow line has taken all evening.
The shadow line is the curve where the lit part of the moon stops. Mine keeps coming out smooth, like a slice of lemon. So the moon on my page looks flat.
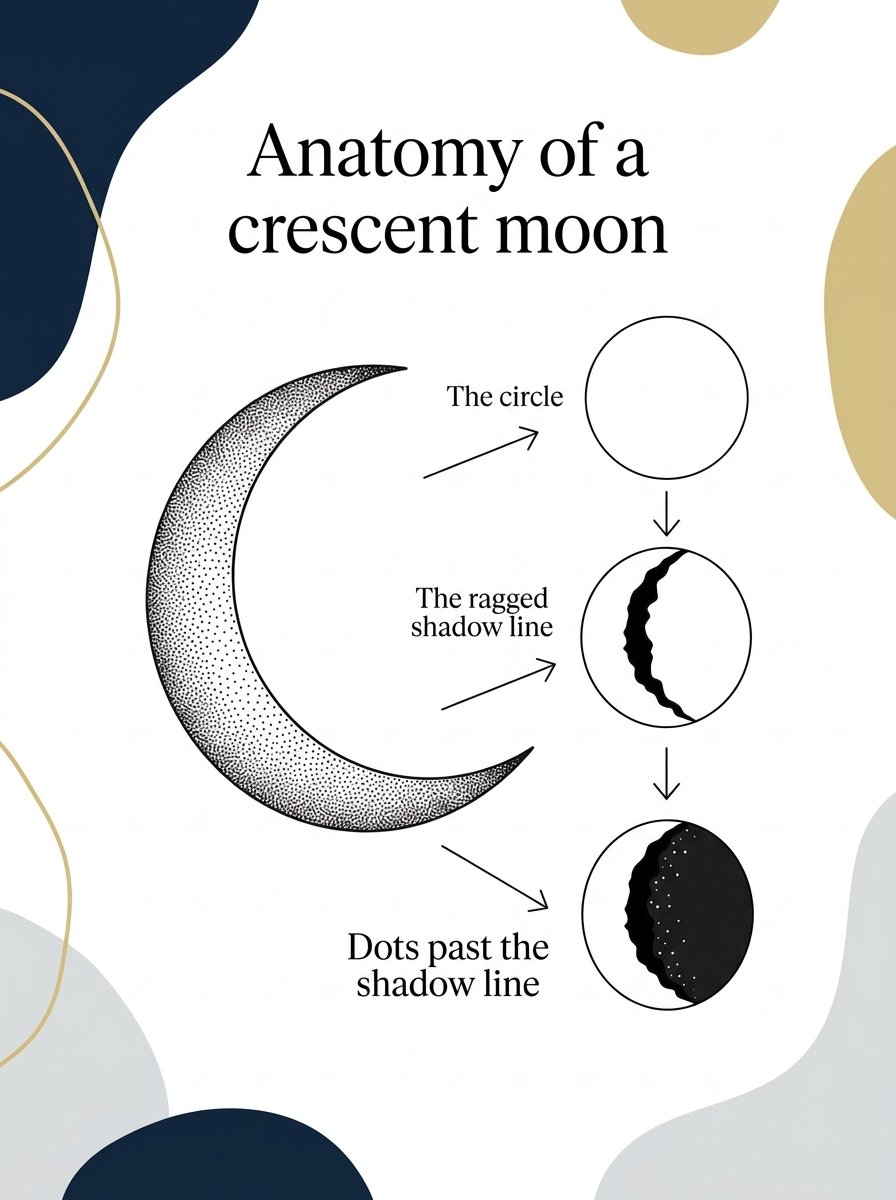
Tonight I found out why. The real line is ragged. Just past it, in the dark part, sit tiny white dots.
Those dots are mountain tops. The sun reaches them before it reaches the ground around them.
A man painted that in 1609, with a telescope and a brush. Another man had looked at the same moon 4 months earlier and missed it. (I have been missing it since about Tuesday.)
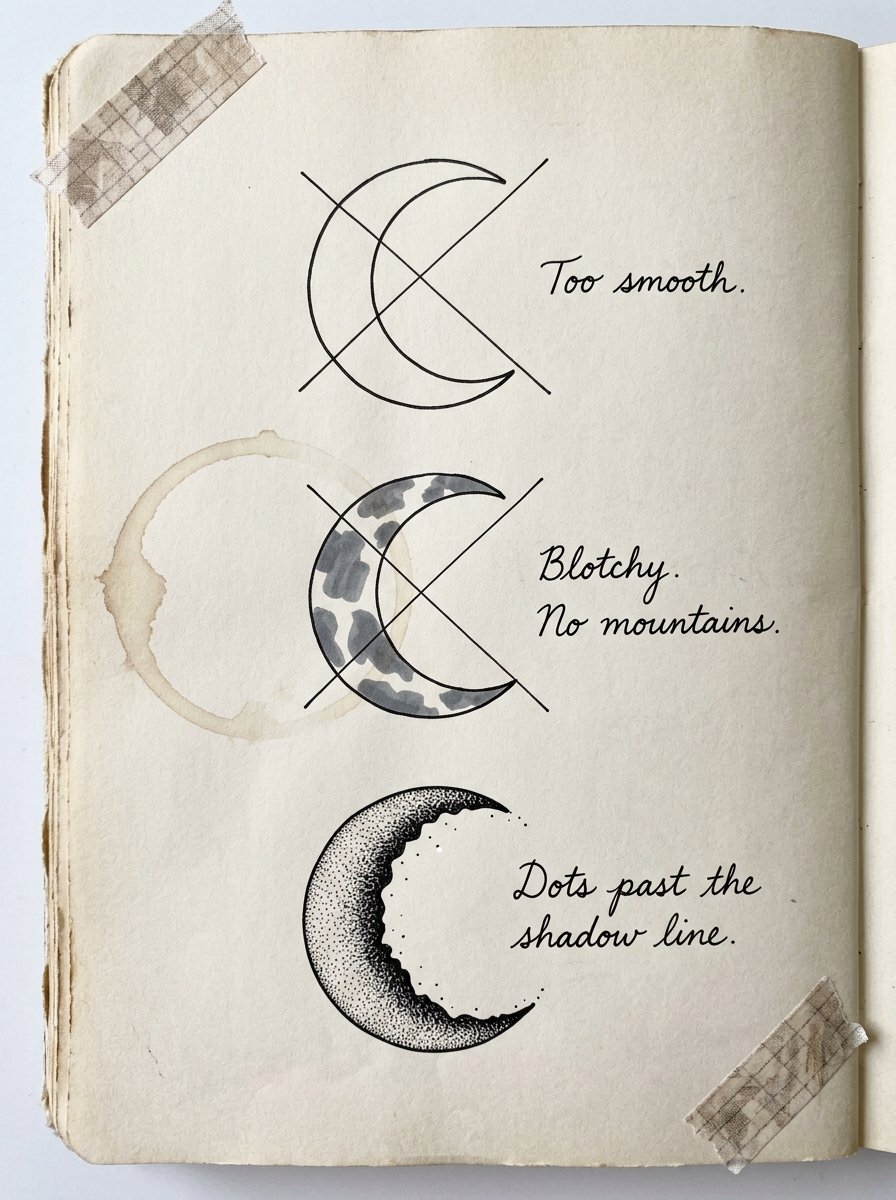
My own page from last week has 3 notes on it. Next to the first moon: Too smooth. Next to the second: Blotchy. No mountains. Next to the one that finally worked: Dots past the shadow line.
For a very long time, the moon was supposed to be smooth. Galileo later wrote that “the great crowd of philosophers” believed it was even and perfectly round. Nobody had seen it any closer than you can from a garden.
Then, in 1609, a few people pointed the new spyglass upward. Both men in this story had one. Only one of them had been trained to shade a drawing. That training decided what each of them saw.
I drew the moon smooth for years, for the same reason. I knew what it was supposed to look like, so I drew that.
A set of moon phases is 8 circles in a row, and every dark side needs filling. By the third circle I had run out of ways to fill them. Mandala drawing is where I went for more, because it is built on circles, one ring of pattern at a time.
The Collection
THE MANDALA TOOLKIT — grids, rings, and a pattern for every circle.
Once your moons are shaded, start here to fill a whole circle. Inside: 8 master grids, 88 ready elements and 8 how-to videos. (The grids do the measuring, so the first ring is never a guess.) What you get: an evening of rings, and mandalas you will want to frame.
Here is how the smooth moon ended, one drawing at a time.
An Englishman looked first and drew only blotches
On 26 July 1609, Thomas Harriot pointed a telescope at the moon and made a quick sketch. He was an English mathematician.
It is the first known drawing of anything seen through a telescope. It came more than 4 months before the famous moon paintings.
The sketch is a rough outline with a few grey patches inside. The patches sit there as flat shapes. Nothing in it says mountain. He never published it. (Every drawer in my house has a sketch like that in it.)
Harriot drew what the eye reports: a light patch, a dark patch. That is exactly what a beginner does, and I include myself. You copy the patches as shapes, and the ball goes flat.
The fix is to stop copying patches. Decide first where the light comes from. Then every dark mark has a reason to be where it is.
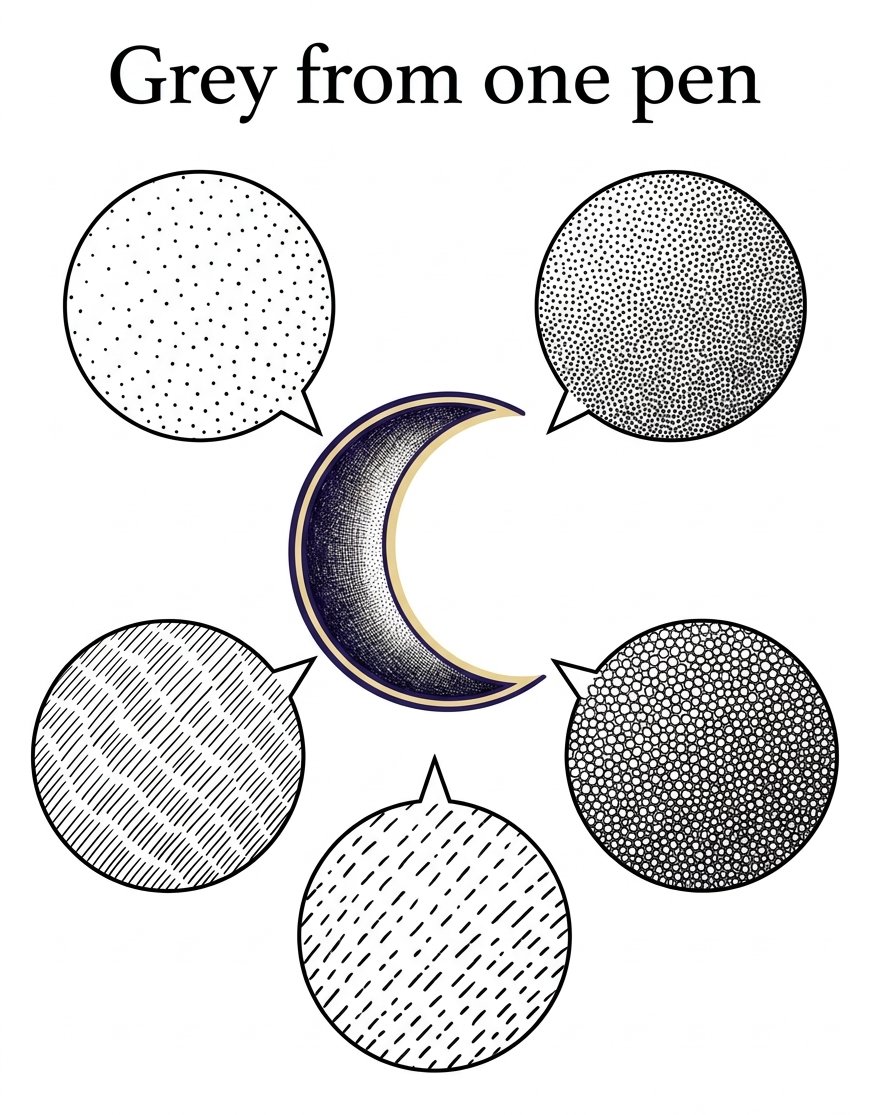
With one pen, you make grey by spacing, not by pressing. Dots far apart read pale. Dots close together read dark. Pressing harder only makes a fat line. That is how you get grey from one pen.
A Florentine who had studied shading drew it next and found mountains
In late 1609, Galileo Galilei turned his own telescope on the moon. He was believed to have studied at the drawing academy in Florence. In 1588 he applied for a teaching post there.
His friend, the painter Cigoli, said that in perspective drawing Galileo was his master. So Galileo knew what light does to a round thing.
The side facing the light is bright. The far side falls away into shade. A bump throws its shadow away from the light.
Between November and December 1609, he painted the moon in brown ink wash, phase after phase. The sheets are still in Florence, in the national library.
And he saw the dots. Bright points appeared inside the dark part, well away from the lit edge. Over two or three hours they grew and joined the rest of the light.
He knew that picture from home. On Earth, the highest peaks catch the sun while the plain below is still in shadow. He called the dots the part that “causes even greater wonder”.
The dots past the shadow line are mountain tops. They catch the sun first.
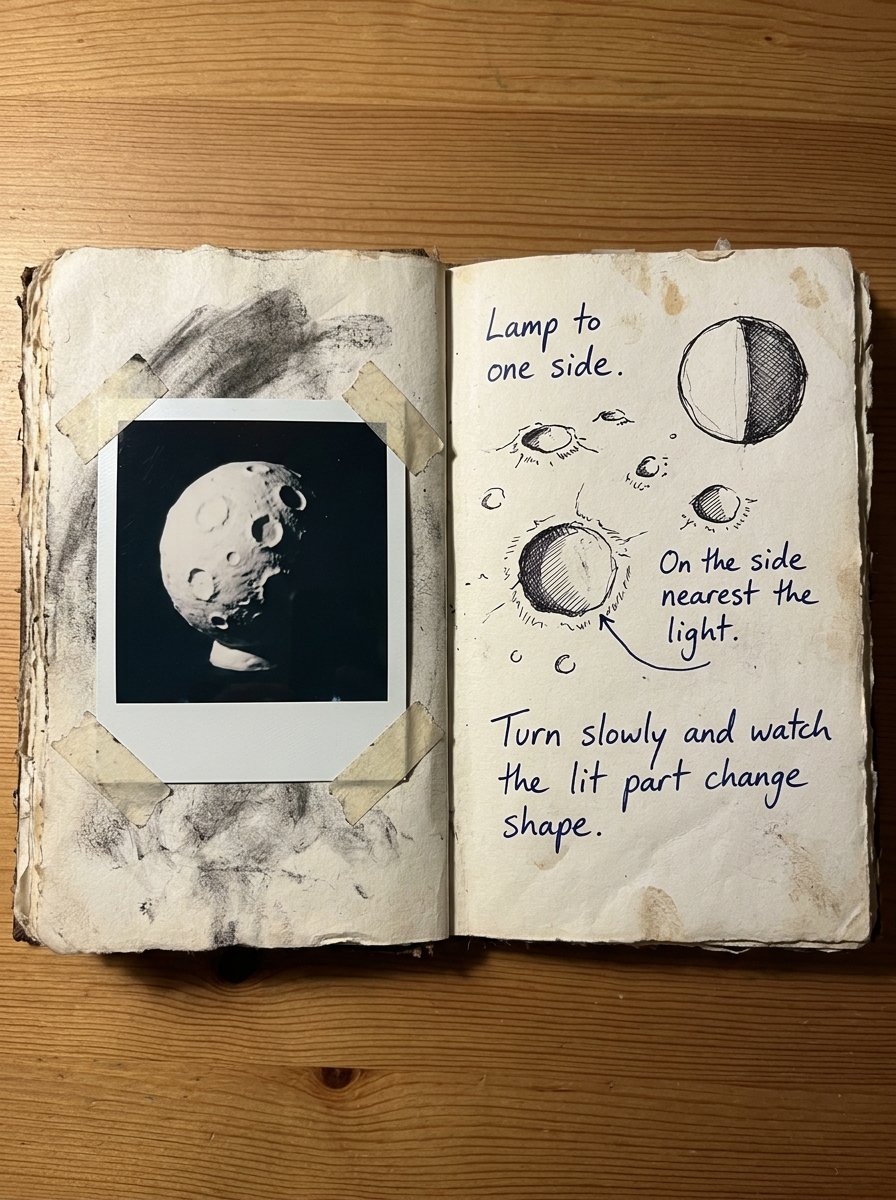
The same logic works for craters. Near the shadow line, a crater is a small bowl lit from the side. Put the ink inside the bowl on the side nearest the light. The far inner wall catches the sun, so leave it white.
I had that backwards for a whole week. My craters looked like buttons sewn onto a coat.
That is the whole anatomy of a crescent moon: the circle, the ragged shadow line, and dots past the shadow line.
An engineer built plaster moons to catch the same shadows
In 1874, James Nasmyth and James Carpenter published a book called The Moon. Nasmyth was an engineer. He drew the moon through a telescope he built himself.
Photography could not yet catch what he could see. So he made the moon in plaster, straight from his drawings.
Then he photographed the models outdoors, in full sun, against black. The low sunlight did what it does on the moon. Every ridge threw a long shadow.
A reviewer in the journal Nature called the pictures truthful and striking. (A drawing, turned into plaster, turned into a photograph. It is the longest road to a crescent I know.)
One of his models shows Mount Hadley. Almost 100 years later, Apollo 15 landed in its shadow.
You can borrow his idea tonight. Take a white ball into a dark room with one lamp. Hold it at arm’s length with the lamp to one side. Turn slowly and watch the lit part change shape.
I used a tennis ball. (It was the only round thing in the house that nobody was planning to eat.) Every phase of the set is there in your hand.
My moon phases drawing turned into a wall set over 3 evenings
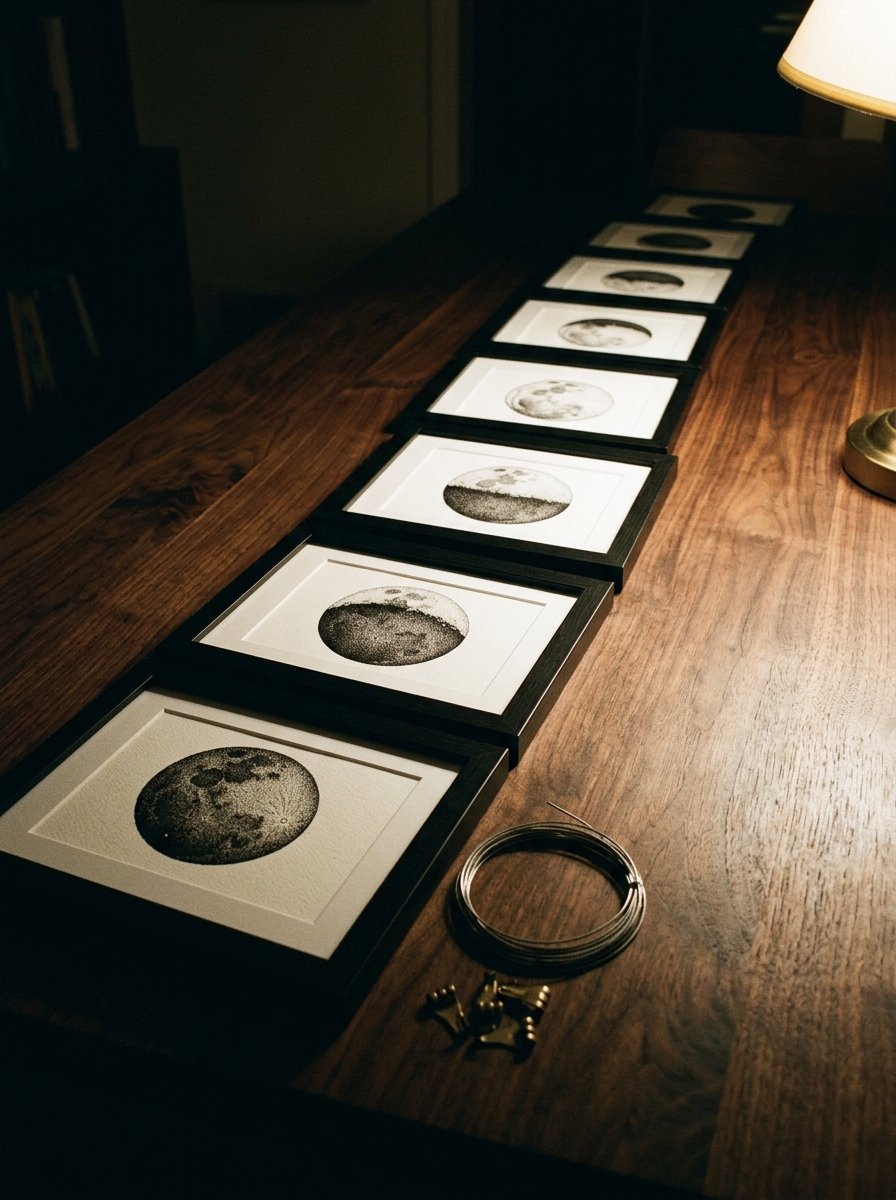
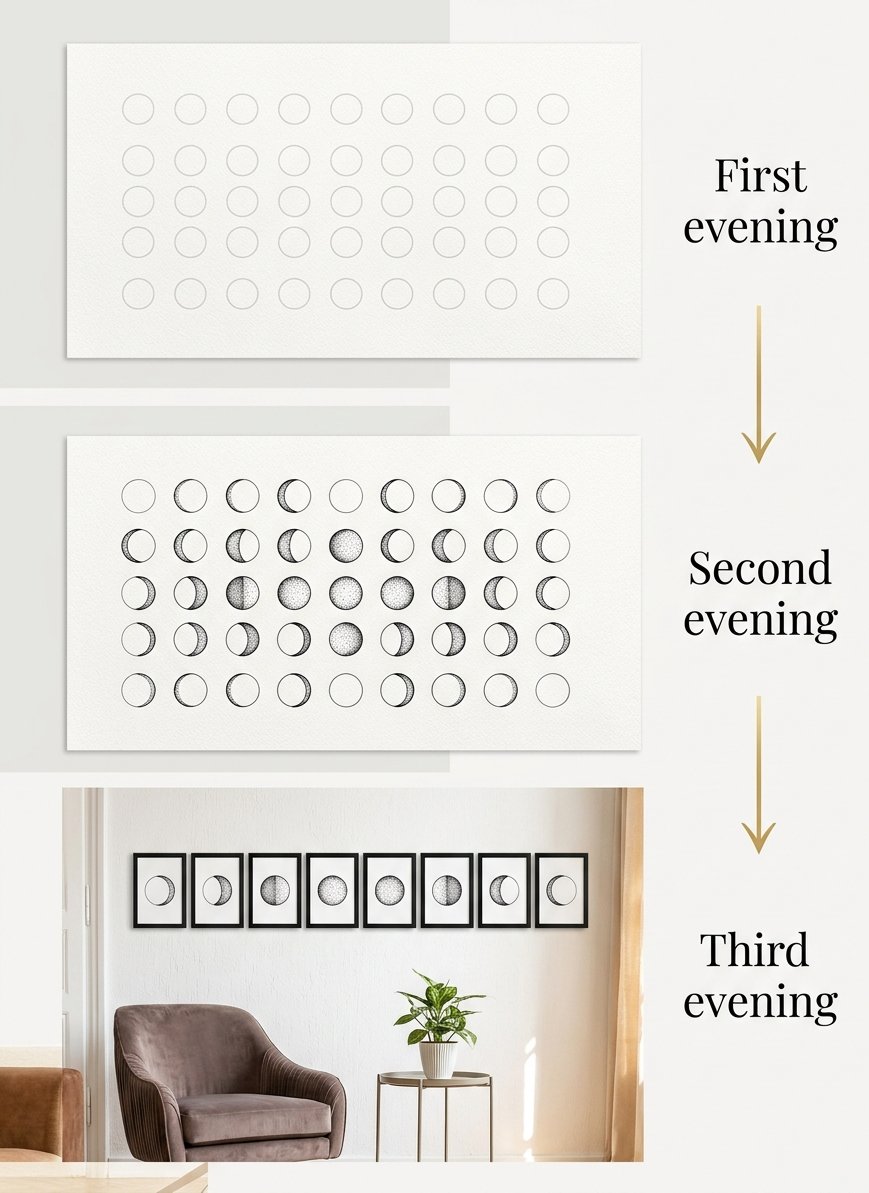
The set is 8 small moons, one per frame, in the order the sky shows them. I did it in 3 evenings, with one black fine-liner and the free template further down.
On the first evening I drew the thin ones: the new moon and both crescents. They are quick, and they teach you the shadow line.
On the second evening I drew both half moons and the full moon. The half moons have a straight shadow line, which is harder than it sounds. (Drawn slowly, a straight line wobbles. Drawn quickly, it behaves.)
On the third evening I drew both gibbous moons. Then I framed and hung the whole set. The frames took longer than the moons.
Every evening starts the same way. I decide where the sun is before the pen touches paper. For the waxing moons the light comes from the right. For the waning moons it comes from the left.
(That is the view from the northern half of the world. South of the equator, flip it.)
Each phase in my moon phases drawing came right once the light had a side
The new moon is the odd one out, because nothing is lit. Fill the whole circle with even, close dots. Leave the thinnest rim of paper showing on one side. Solid black ink ruins it. It turns a moon into a hole.
In the waxing crescent, the light sits on the right edge as a thin curve. What makes it read is 3 or 4 tiny dots just inside the dark part. Keep them close to the line.
An outline ruins a crescent. Shade the dark side instead, and the crescent appears by itself. The waning crescent is the same moon in a mirror, lit from the left.
At first quarter, the right half is lit. The shadow line runs straight down the middle. Make that straight line ragged, like the edge of torn paper.
A ruler ruins a half moon. A ruled line makes a coin, not a moon. Last quarter is the mirror image.
A ruled shadow line makes a coin. A ragged one makes a moon.
In the gibbous moons, more than half is lit. The shadow line curves out into the dark side. What makes them read is craters along that line, with the ink on the side nearest the light.
I like to work these half inked, half guide. I finish the lit side and the line first, then the dark side.
Shading the lit part ruins a gibbous moon. Keep the seas pale grey and well away from the line.
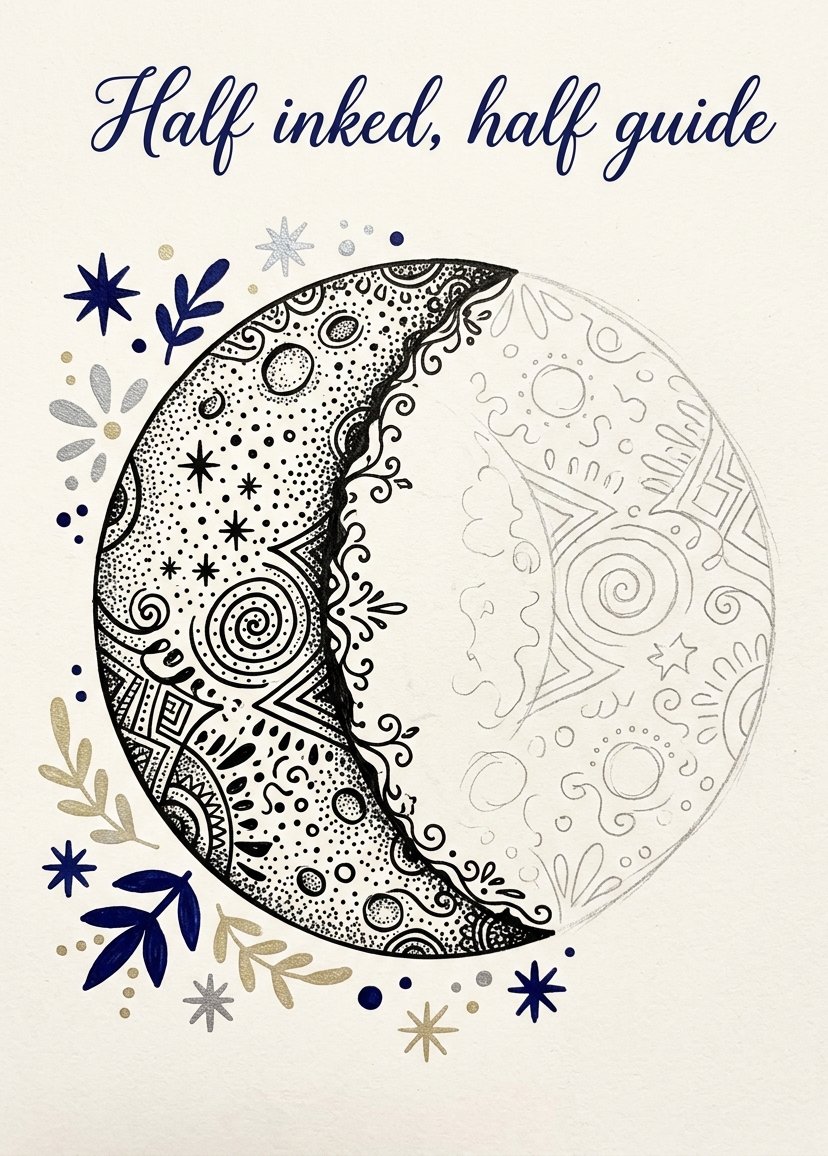
The full moon has no shadow line at all, which makes it the hardest. The light comes from straight behind you. So there are no long shadows and no dots.
What makes it read is the seas: a few soft grey patches in stipple. Too many craters ruin it. Pick one bright crater near the bottom and stop.
Decide where the light comes from, and every mark has a reason.
If stipple bores you, fill the seas with small patterns instead. Rings, tiny checks and dots all read as grey from across a room. (From the sofa nobody can tell. Up close, it is very much your moon.)
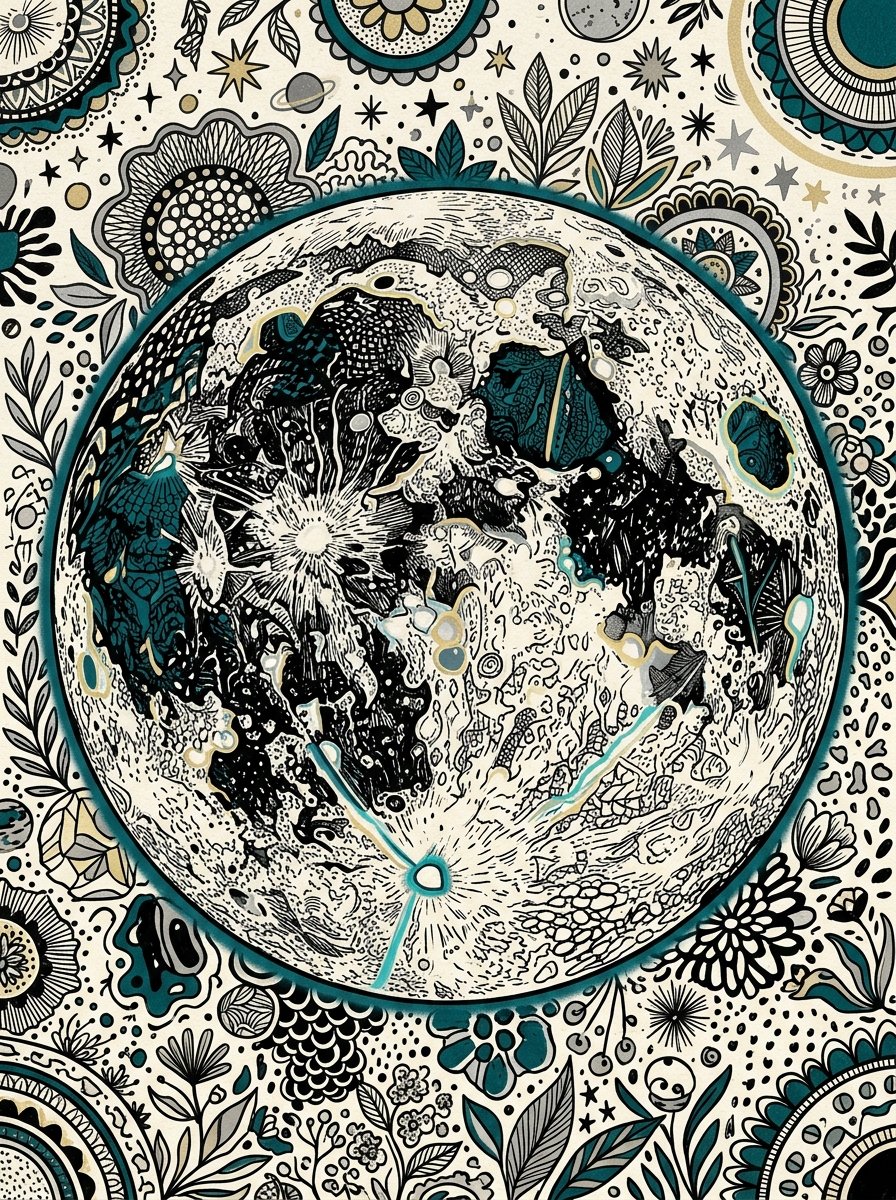
Patterns run out faster than you expect. By the fourth moon I was drawing the same little circles again.
Free Starter Pack
Get 10 free pattern templates for the dark seas of your moons.
Sent tonight. Rings, dots and small checks that fit inside any circle.
Unsubscribe in 1 click, no hard feelings
The finished moon phases drawing went up in one row at eye height
Download the template first. It has 8 circles with light guides for each shadow line, in sky order. Print it at actual size, not fit to page. (Fit to page shaves a millimetre or 2 off every circle. The frames notice.)
Download the free moon phase template →
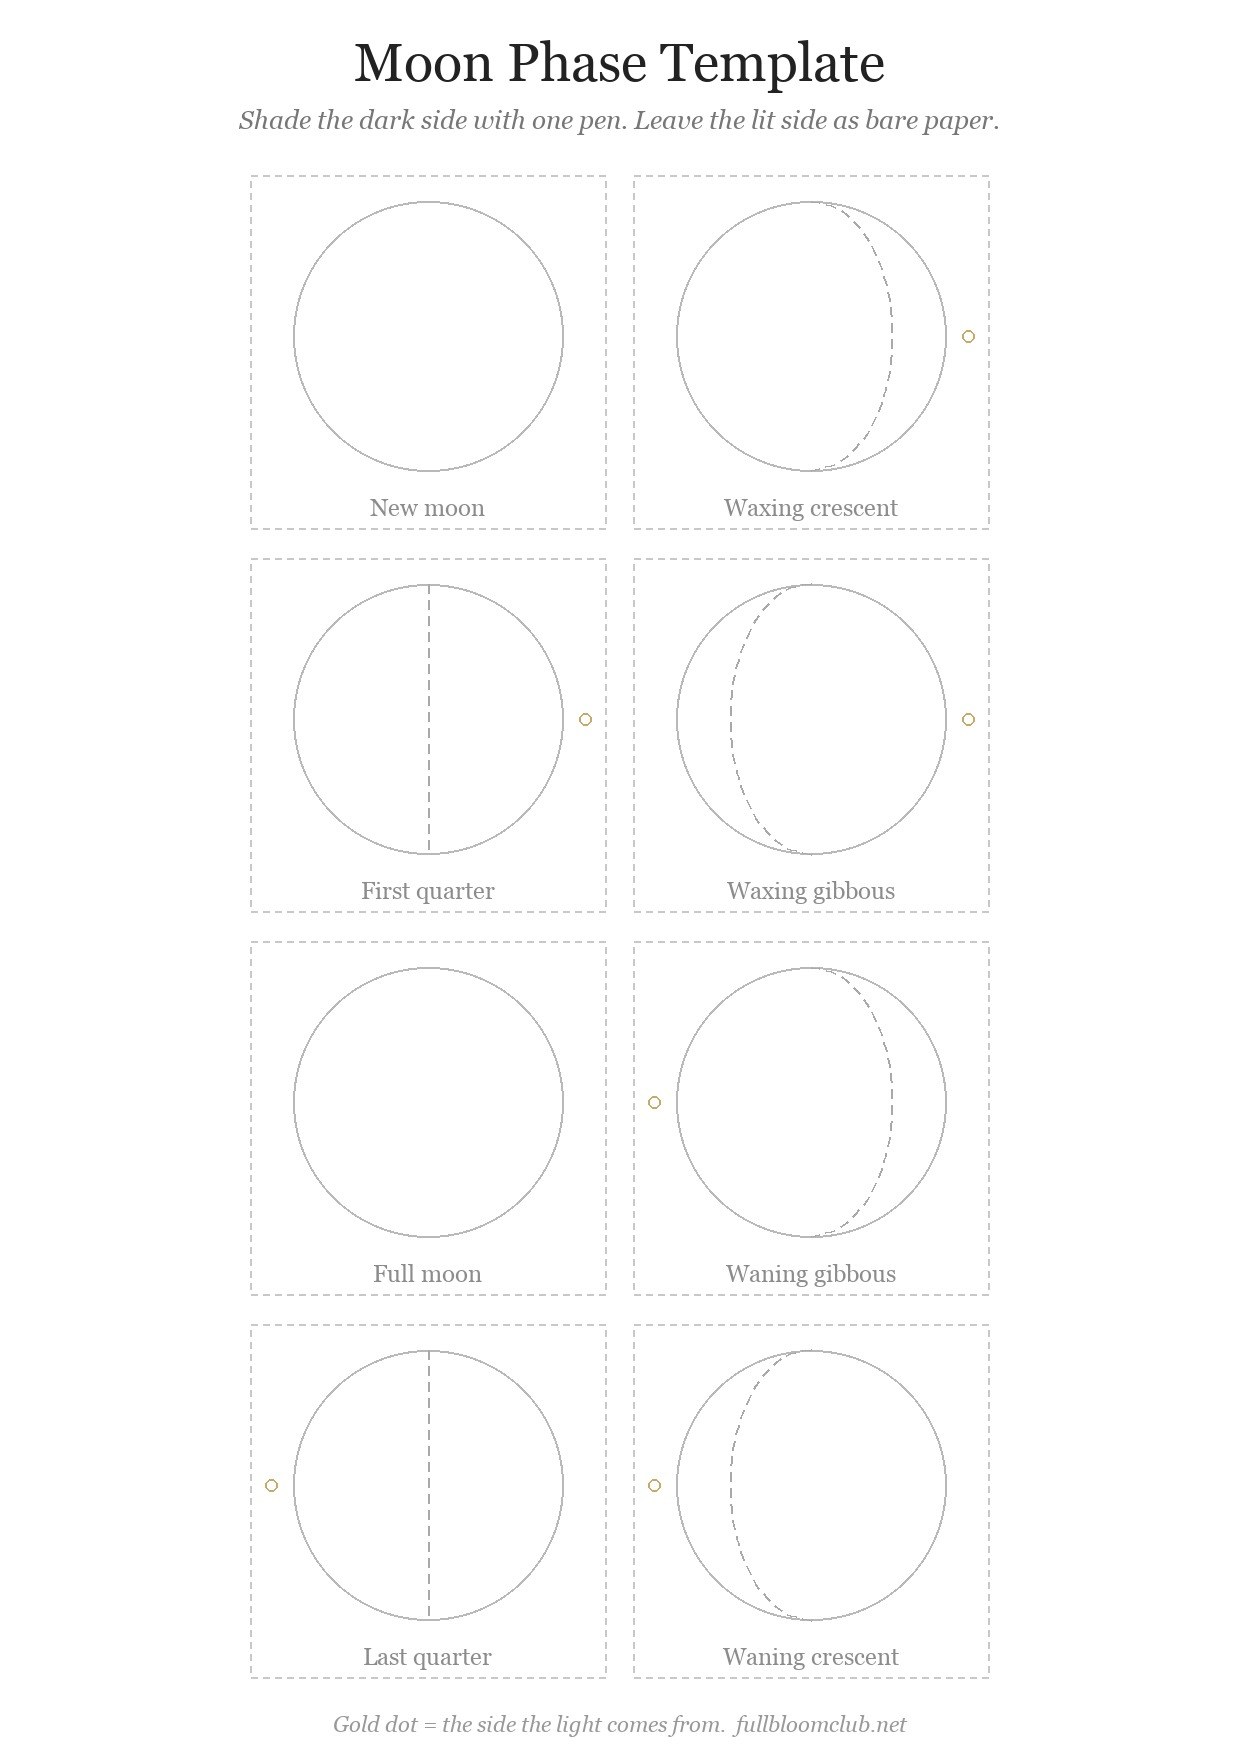
Each square is 6 cm wide, and each moon is just under 5 cm across. That fits a small square frame with a window of about 5 cm. Cut along the grey square once the ink is dry.
Hang them in one straight row, in sky order. The new moon goes on the left and the waning crescent on the right. Leave the same gap between every frame, about 4 cm. (Hung backwards, the month runs in reverse. Nobody says anything, but the row looks wrong.)
Put the middle of the row about 145 cm from the floor. Cut a strip of paper to the full length of the row. Tape it to the wall, check it is level, and hang the two end frames first.
I hung mine by eye the first time and the row climbed 3 cm from left to right. The paper strip takes 2 minutes and it does not have opinions.
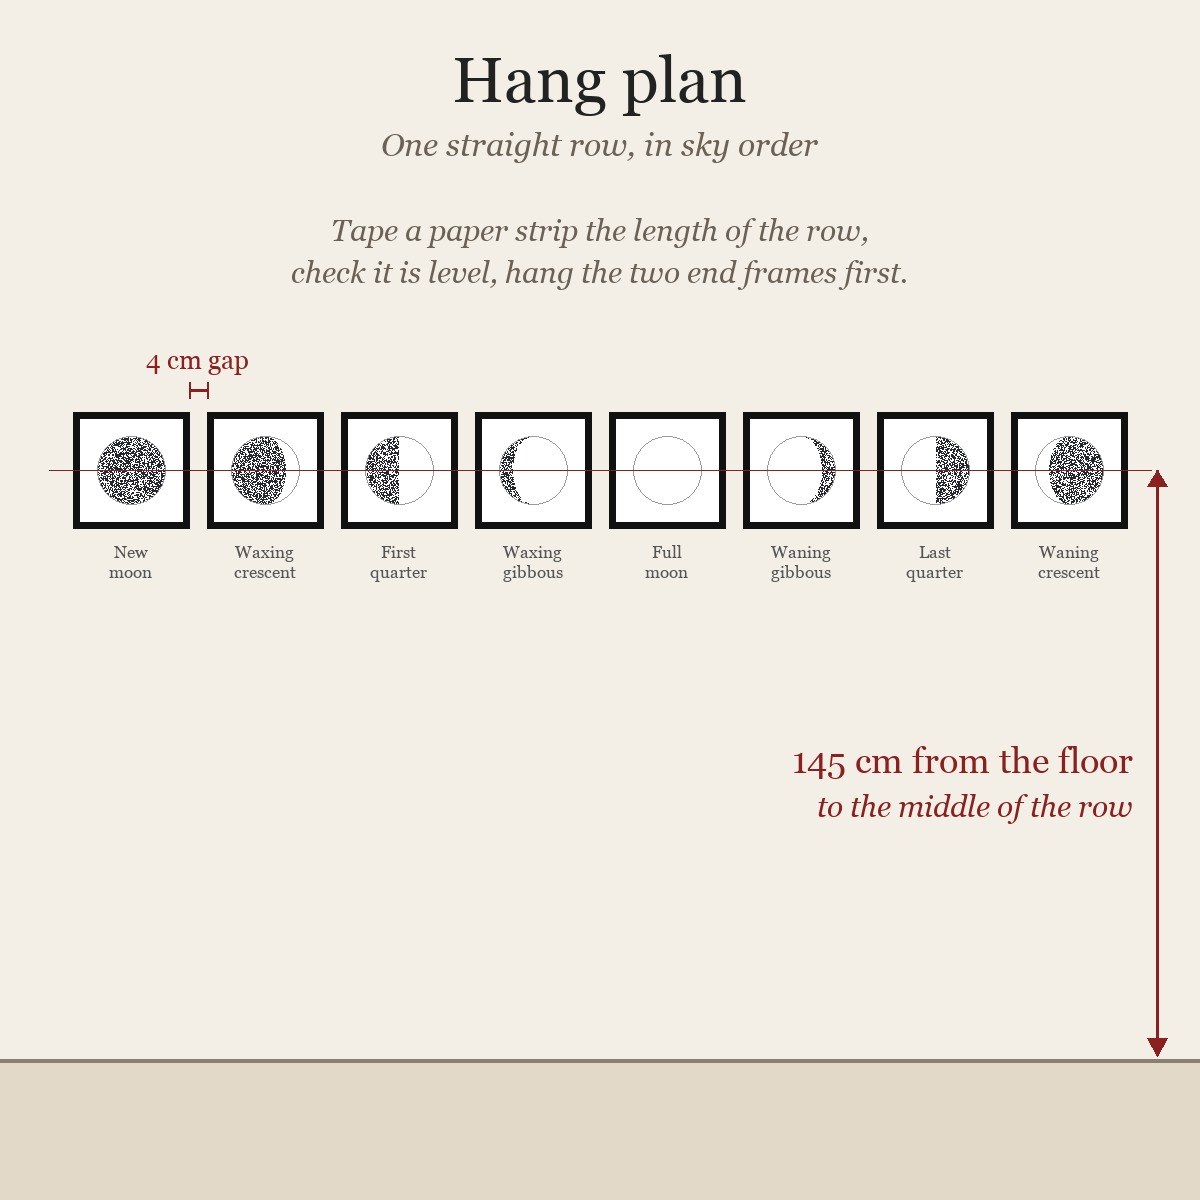
From across the room, the row reads as one month. Up close, each moon has its own dots past the line.
If the dark seas became your favourite part, the mandala toolkit is the next step. It fills a whole circle from the centre out, one ring of pattern at a time.
8 master grids, 88 elements and 88 original mandalas
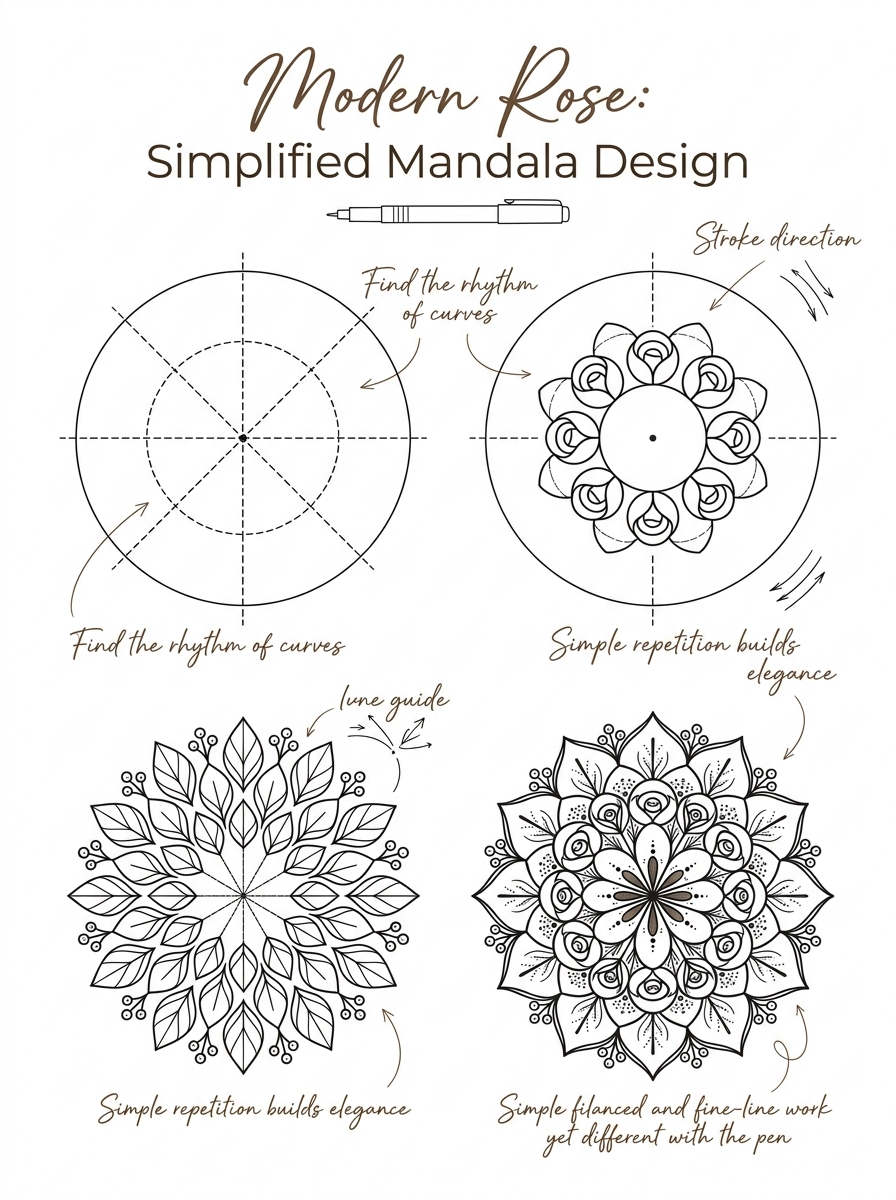
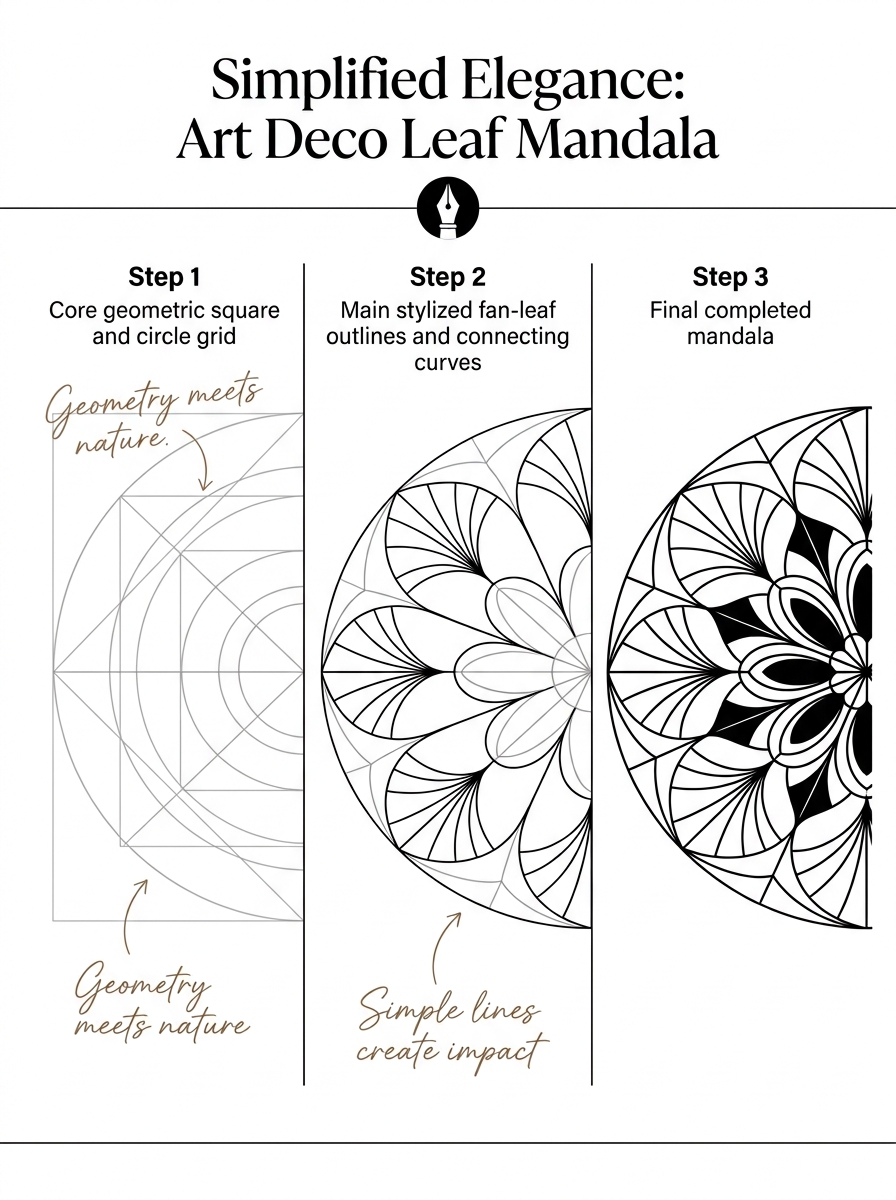
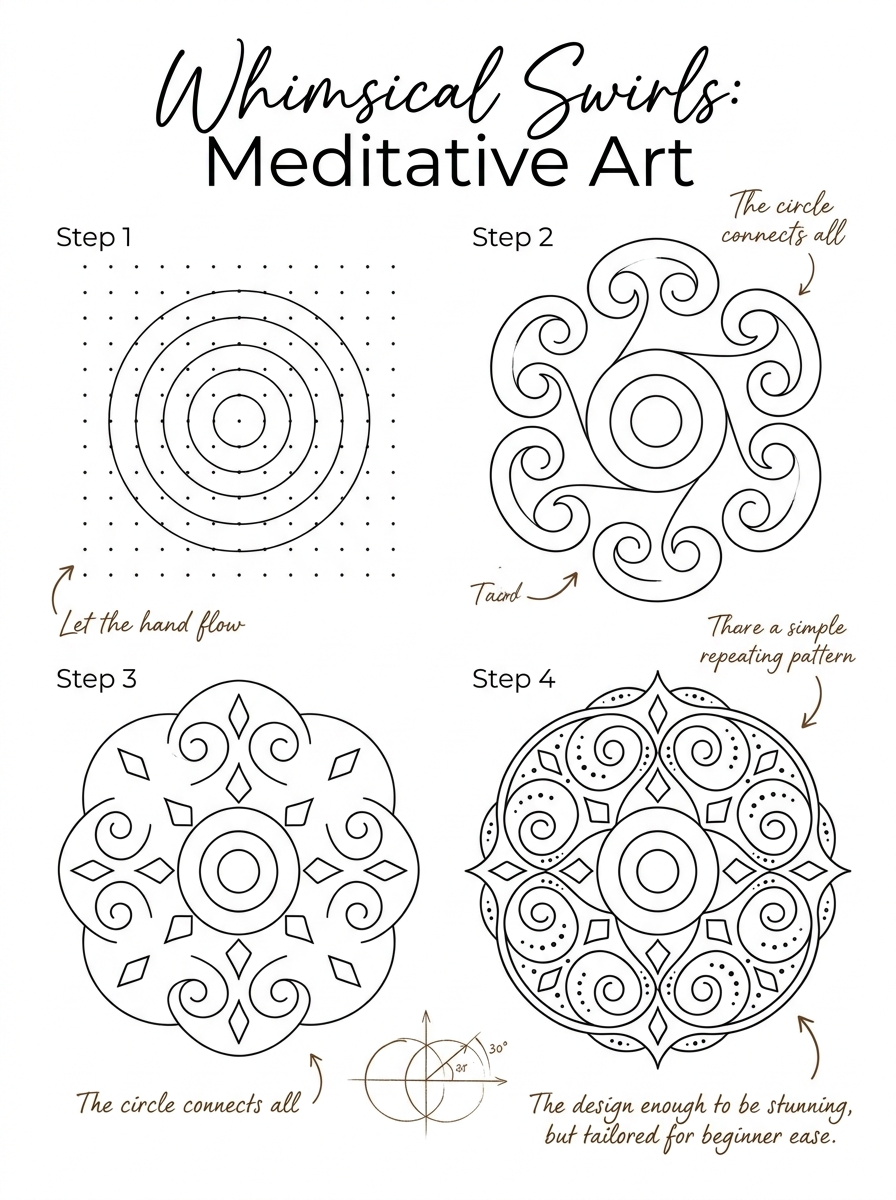
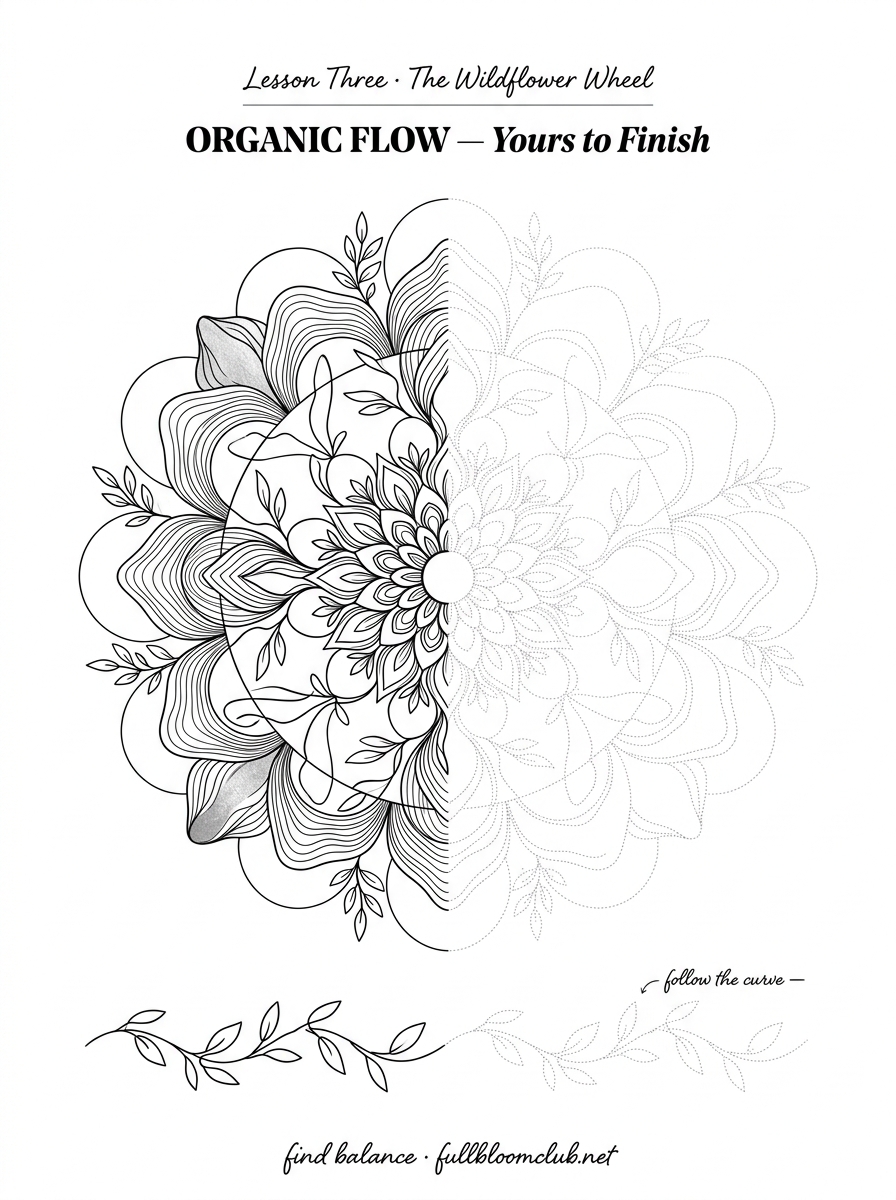
Start with one grid and one ring. Add a ring each evening from the ready elements. By the weekend the circle is full, and it looks planned. Watch the how-to videos, or print the grids and draw freehand.
Instant download · print as often as you like
Somewhere over the rooftops tonight, the light is climbing a mountain nobody can stand on. It reaches the peak first, then takes its time with the valleys.
“more and more bright points light up, as if they are sprouting”
Galileo Galilei, Sidereus Nuncius, 1610
Mirabelle wrote this. No training, strong opinions, many pens. Peer reviewed by a cat who reviewed it at 3am from the windowsill.