A carved pumpkin lasts about 7 days. A whole one can last into November. That is why all 81 of these pumpkin painting ideas for adults leave the knife in the drawer.
The numbers come from a horticulture professor at Cornell. He gives a carved pumpkin about a week. A good whole one, he says, should easily reach Halloween.
Painting a pumpkin is drawing on a ball. The ball has grooves, and the grooves do half the work.
The ideas are sorted by the evening you are having, not by subject. Each one says how the design gets onto the curve, and what ruins it.
Start with the free pattern strips. Cut one out, bend it round the pumpkin and trace it.
Download the pumpkin pattern strips →
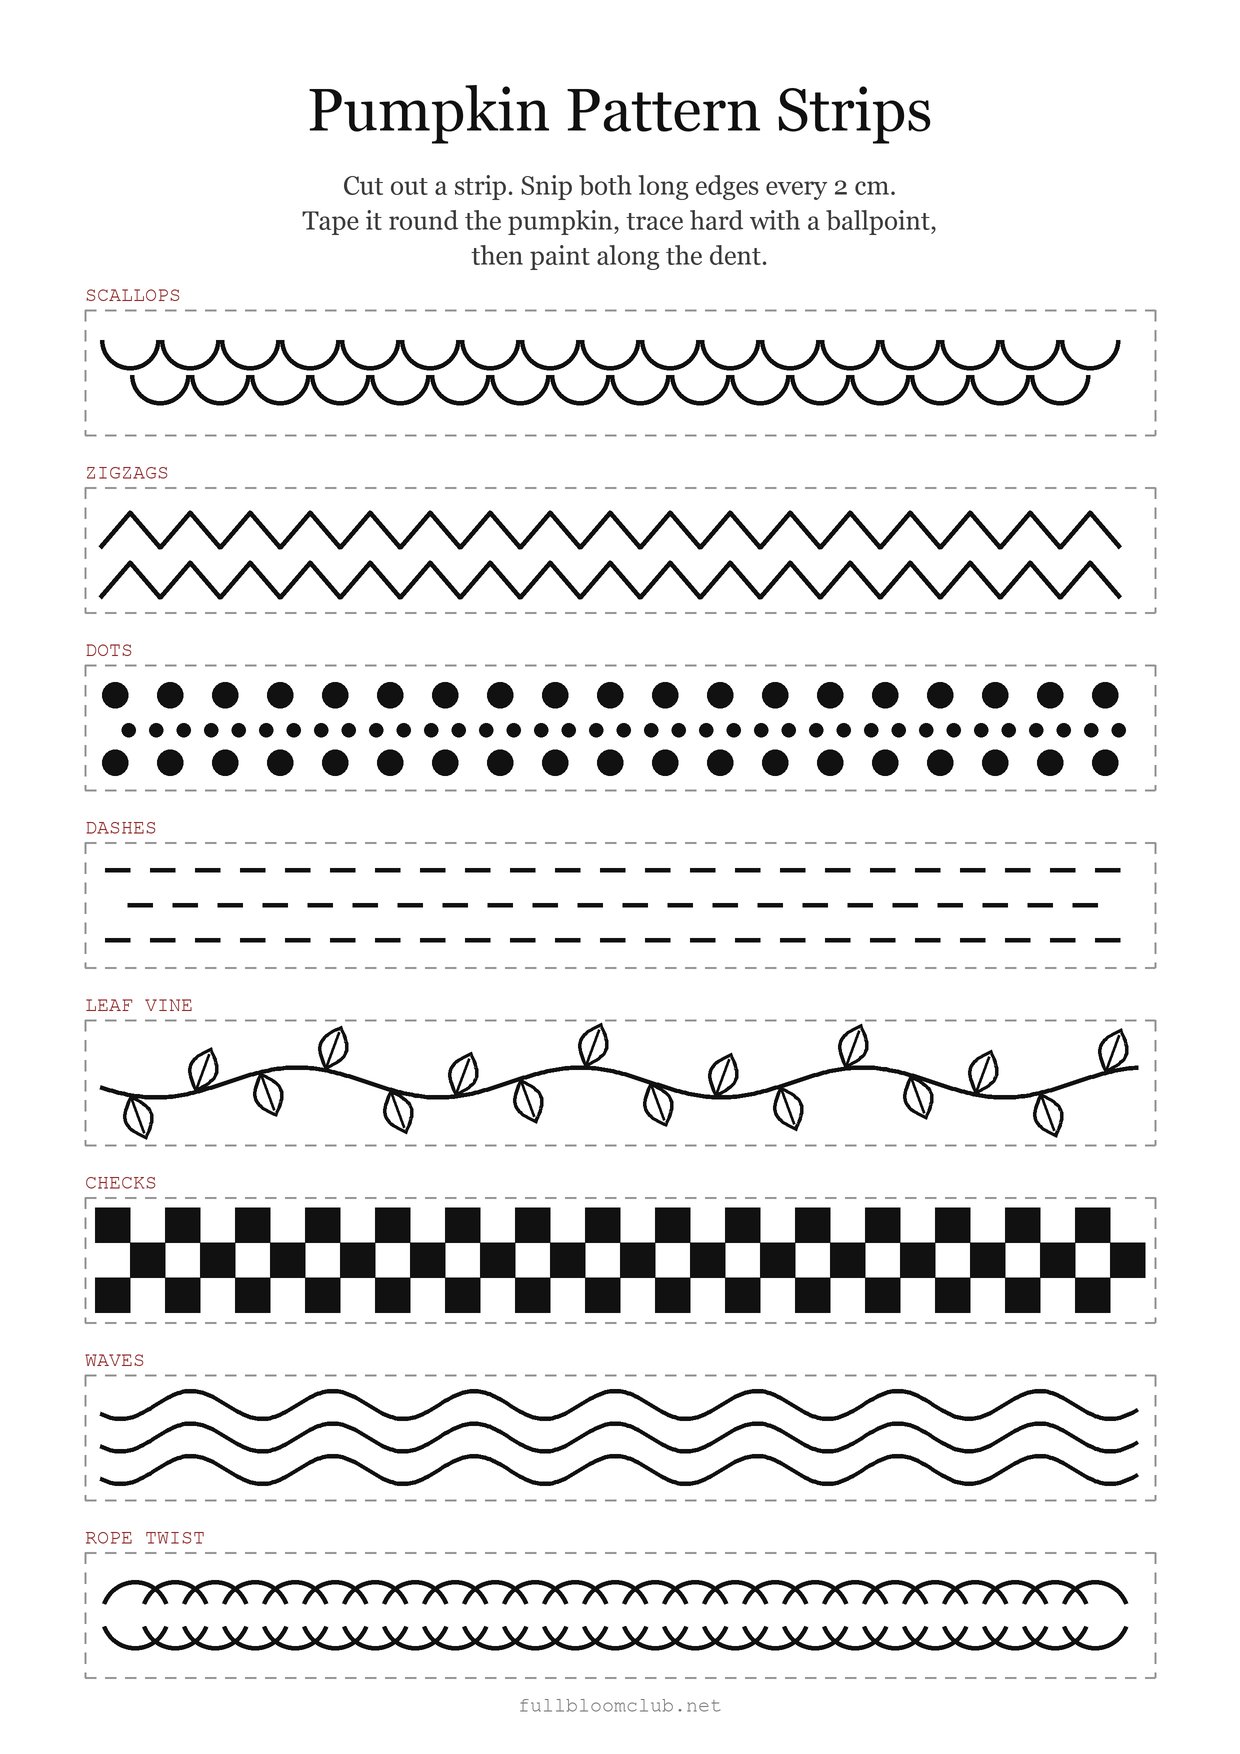
The sheet has 8 strips: scallops, zigzags, dots, dashes, a leaf vine, checks, waves and a rope twist. Each strip is a band you can wrap round a pumpkin.
Snip into both long edges every 2 cm, about an inch. The snips let flat paper bend round a curve. Tape the strip on at both ends.
Trace over the pattern with a ballpoint, and press hard. The pen leaves a shallow dent in the skin. Lift the paper and paint along the dent.
(Press too lightly and the dent never appears. I once traced a whole strip and lifted it off a perfectly clean pumpkin.)
Before any of this, wipe the pumpkin with a damp cloth and let it dry. Some shop pumpkins are waxed, and paint beads up on wax.
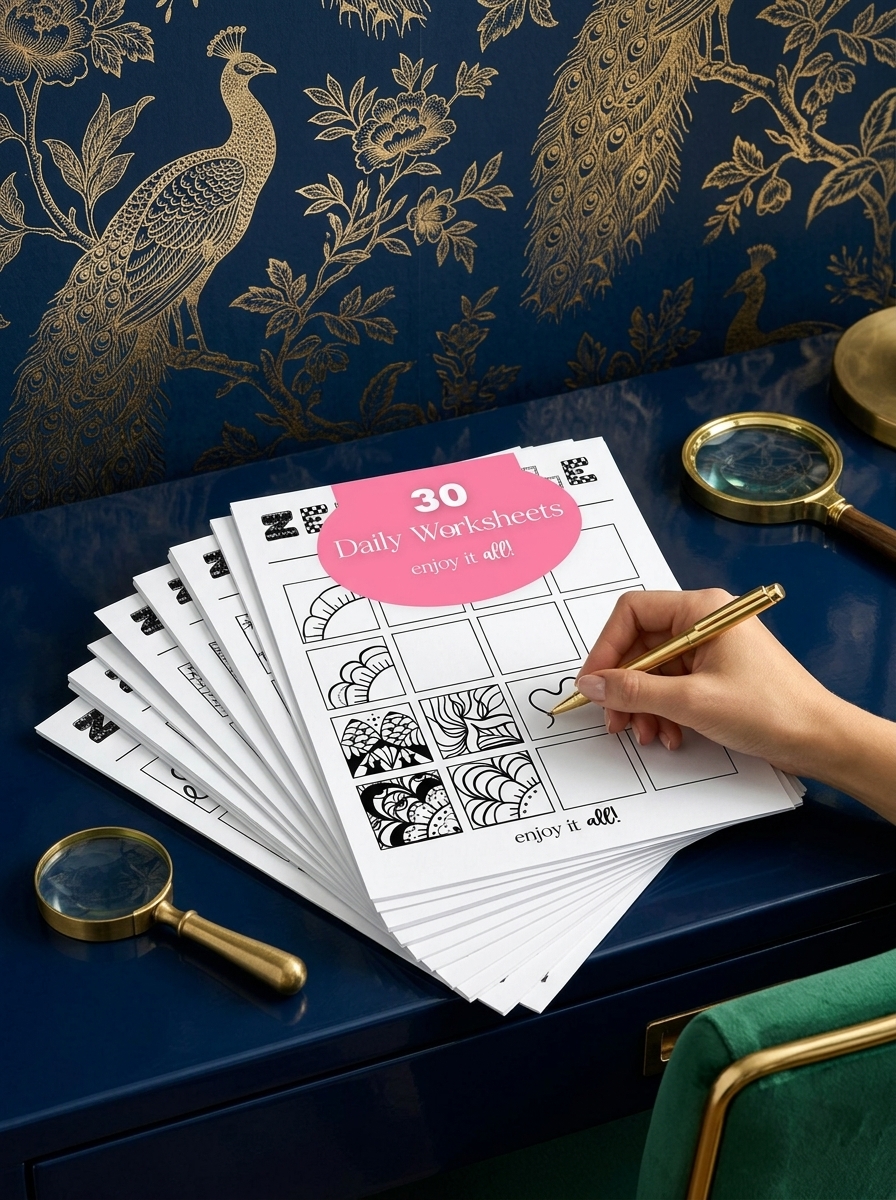
The strips give you 8 bands. A big pumpkin usually has more ribs than that, and every rib wants a pattern. For the next pattern I open the zen doodle toolkit. It has 30 daily worksheets and pattern banks, so the next rib always has something waiting.
The Collection
ZEN DOODLE MASTERY — dots, bands, and a pattern for every rib.
Pick a new pattern each evening from 30 daily worksheets and banks of bold fills. Print them, or draw them freehand. What you get: a different pattern on every rib, and a pumpkin that looks planned.
Now the ideas. Pick the evening that sounds like yours and start there.
Which pumpkin painting ideas for adults can I finish in 1 evening?
The pumpkin is already on the step, and you have one evening. Skip the base coat. Draw straight onto the orange skin with a white paint pen.
Start with the grooves. Run a white line down every groove, stem to base. The groove holds the pen tip, so the line cannot wander.
Then try two lines hugging each groove. Or paint a row of short dashes down each groove, like stitching. Or paint tiny triangles down it, like bunting.
What ruins all of these is starting at the bottom. Your hand drags through the wet paint. Work from the stem down, and turn the pumpkin away from you.
I learned this with my palm in a wet zigzag, 4 ribs from finishing. The smear went round with my hand.
For a quick crown, work round the stem. Paint a ring of scallops, a ring of dots, or short rays like a child’s drawing of the sun. Keep each crown within a hand’s width of the stem.
(Past that, the curve turns away and the pattern disappears from the front.)
The widest part of a pumpkin is its belly. Give it one zigzag band, or one slow wavy line.
For a level band, stretch a rubber band round the belly and paint along its edge. (A pumpkin will never admit it is lopsided. The rubber band will.)
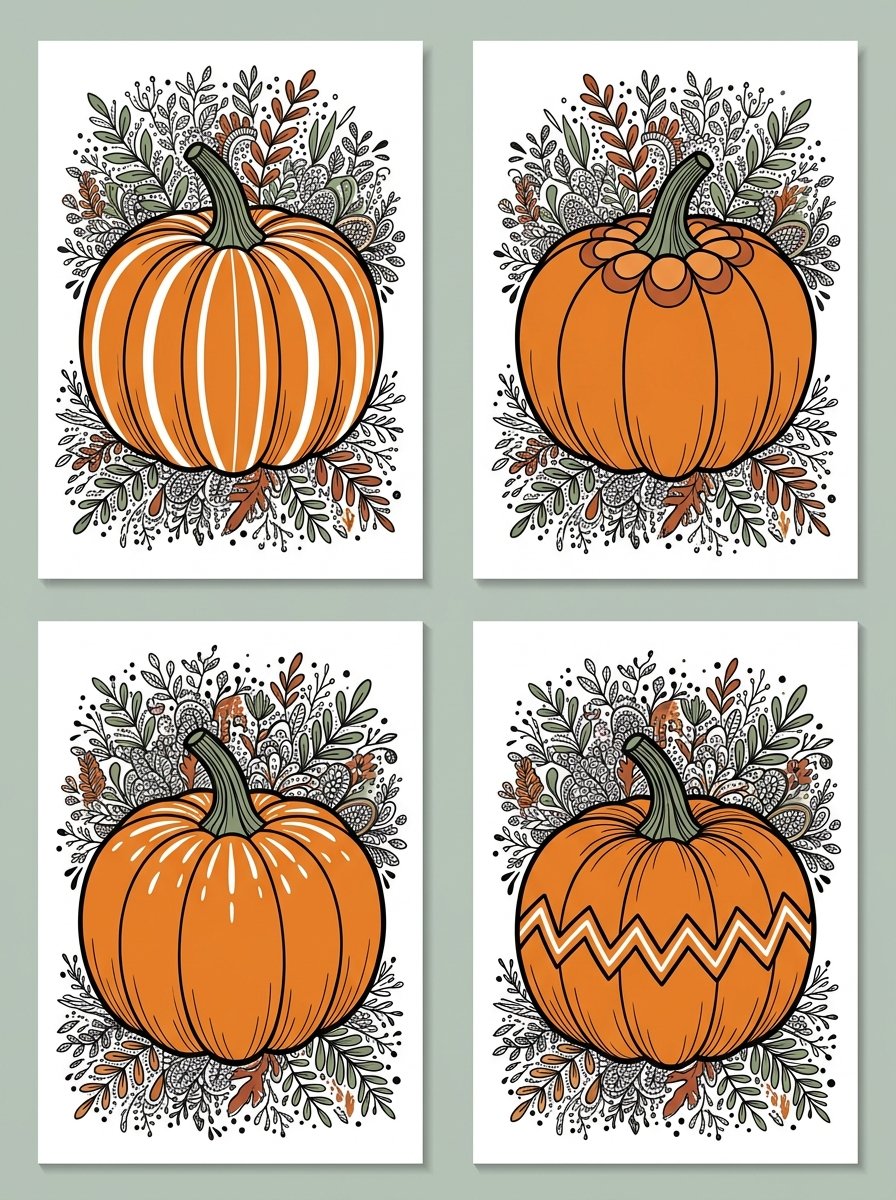
Fill every second rib with solid white. The groove is the edge, so a shaky hand never shows.
Dot a line down the middle of each rib. Or draw a single row of small hearts down one groove.
Or climb one groove with a tiny leaf vine, one leaf every 2 cm on alternate sides. The last leaf is the one that goes wrong. It lands on the base, where the pumpkin sits. Stop the vine 3 cm short of the bottom.
I have never painted on anything round. Where do I start?
Start with dots. A dot has no direction, so it cannot bend the wrong way. A line on a curve can.
Yayoi Kusama was at elementary school when she first saw a pumpkin. Her grandfather had taken her to a big seed-harvesting ground. There it was, the size of a man’s head.
In her autobiography, she says it started talking to her straight away. At 17 she showed a painting called Kabocha, the Japanese word for pumpkin. Her famous pumpkins are covered in dots that follow the ribs.
That is the lesson for a first pumpkin. Dots on a curve are forgiving. A slightly wrong dot still looks like a dot.
A dot has no direction, so it cannot bend the wrong way.
To make one, dip the round end of a plain wooden brush handle in paint. Touch it straight down and lift straight up.
The handle is a stamp, not a brush. Think of setting down a coin, not drawing a circle.
What ruins it is dragging. A dragged dot turns into a comma. Dip again after every second dot, or your dots shrink as you go.
(Shrinking dots look deliberate for about 6 dots. After that they look like a leak.)
Paint the pumpkin yellow and put black dots in rows down each rib, biggest at the belly. Put white dots on bare orange skin. Or scatter one size all over, like confetti.
Try graded dots: big ones round the base, tiny ones at the stem. Put a small dot inside a bigger one, like a target. Make a dot flower from 5 dots round a centre dot.
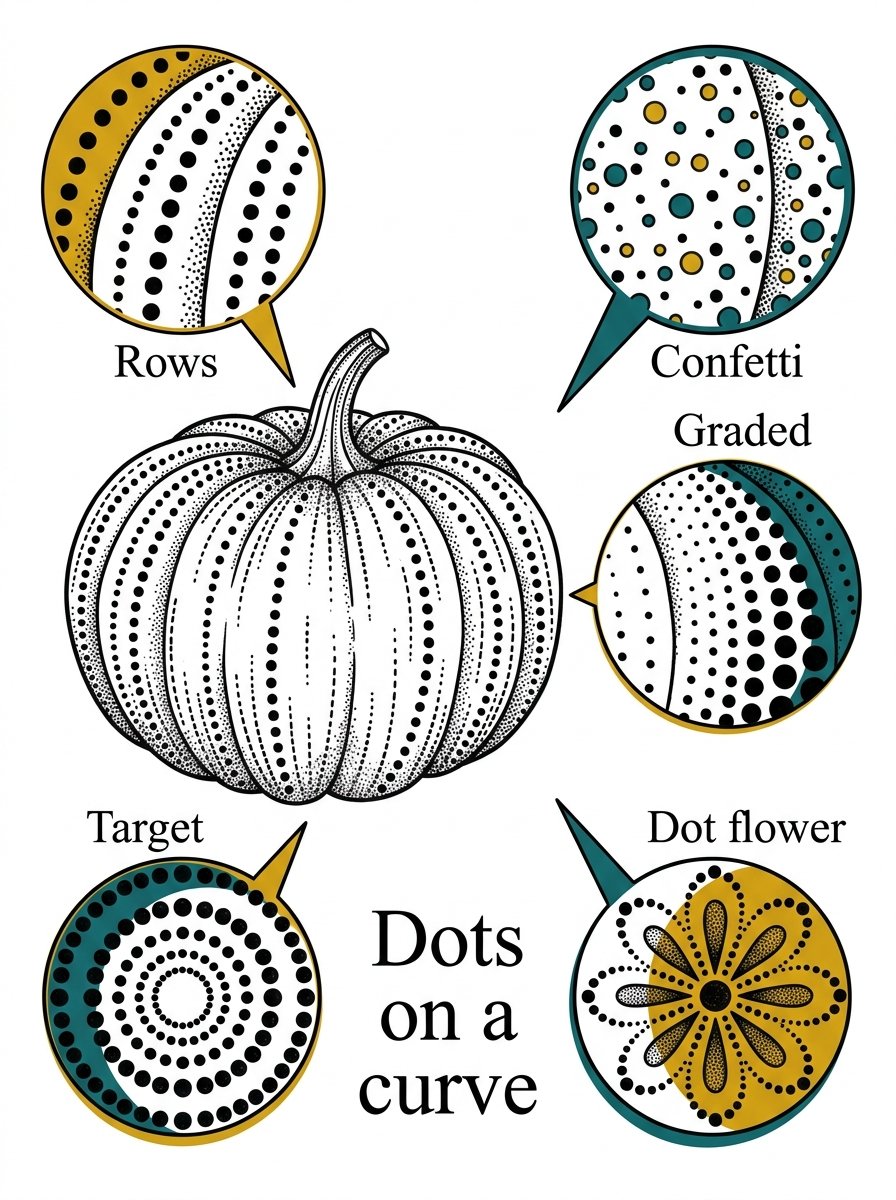
Ring the pumpkin with bands of dots, a hand’s width apart. Dot only the top half, as if it had been dipped. Alternate a rib of dots with a rib of dashes. Or join the dots with short lines into a net.
(I did the confetti one first and ran out of paint three ribs from the end. That pumpkin now has a front and a back.)
What pumpkin painting ideas for adults look good on a dinner table?
Guests are coming, and the pumpkin will sit within reach of every plate. Up close, clean lines matter more than bold colour. Use small pumpkins and a fine paint pen.
Write each guest’s name on a small pumpkin and use it as a place card. Write on the flattest face, never across a groove. A groove cuts a letter in half.
(Spell every name out on paper first. A pumpkin does not have a back button.)
Lettering on a curve drifts. The letters walk downhill as you go. Draw a faint pencil line first, and sit every letter on it.
You know this problem from writing a card standing up in the shop. The letters slope away at the end.
Letter Welcome across the front of the biggest pumpkin. Or paint one initial inside a ring of dots.

Cover a pumpkin in overlapping scallops, like roof tiles. Start at the stem and work down in rows. Each row tucks under the one above.
Scatter tiny leaf sprigs all over. Run a band of small checks round the belly. Paint a lace collar round the stem, with a dot inside each scallop.
Draw one large leaf, veins and all, on the flattest side. Paint only the stem gold and leave the rest bare. Cover a pumpkin in tiny crosses, like cross-stitch.
Give three mini pumpkins matching bands in the same two colours, and run them down the middle of the table. Paint a small bee on each place-card pumpkin.
Let everything dry overnight before it goes near a tablecloth. Paint on a cold pumpkin stays tacky for longer than you expect.
Which designs can people see from the street?
From the garden gate, thin lines disappear. Use lines thicker than a pencil. Pick two colours that argue, like black and white or navy and cream.
(Squint at both colours. If they blur into one, the gate sees neither.)
Test before you finish. Paint one section, walk to the gate and look back. If you cannot read it from there, go bolder.
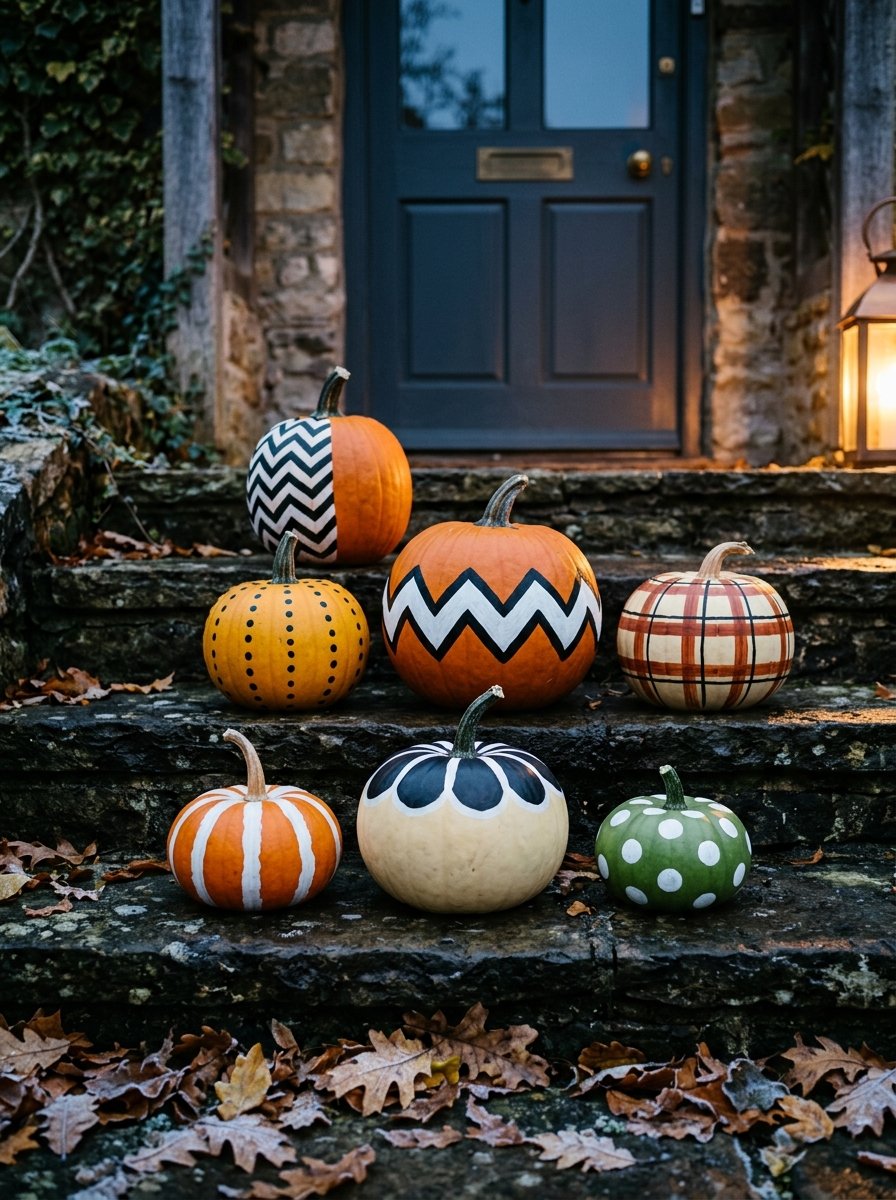
Paint a pumpkin black and put a white stripe in every groove. Paint a white one with a single giant black flower on the front. Paint the top half black and the bottom half orange, with a zigzag where they meet.
Give it big white spots, each the size of a large coin. Paint one big spiral on the front, or harlequin diamonds all over.
Try wide bands in three colours, rows of chevrons, or a black and white checkerboard.
For a night sky, paint it navy with small white stars and one crescent moon. For a sunflower, make the stem the middle and paint petals out from it.
Black leopard spots on bare orange skin carry a long way. So does a tower of three pumpkins, each with one bold pattern.
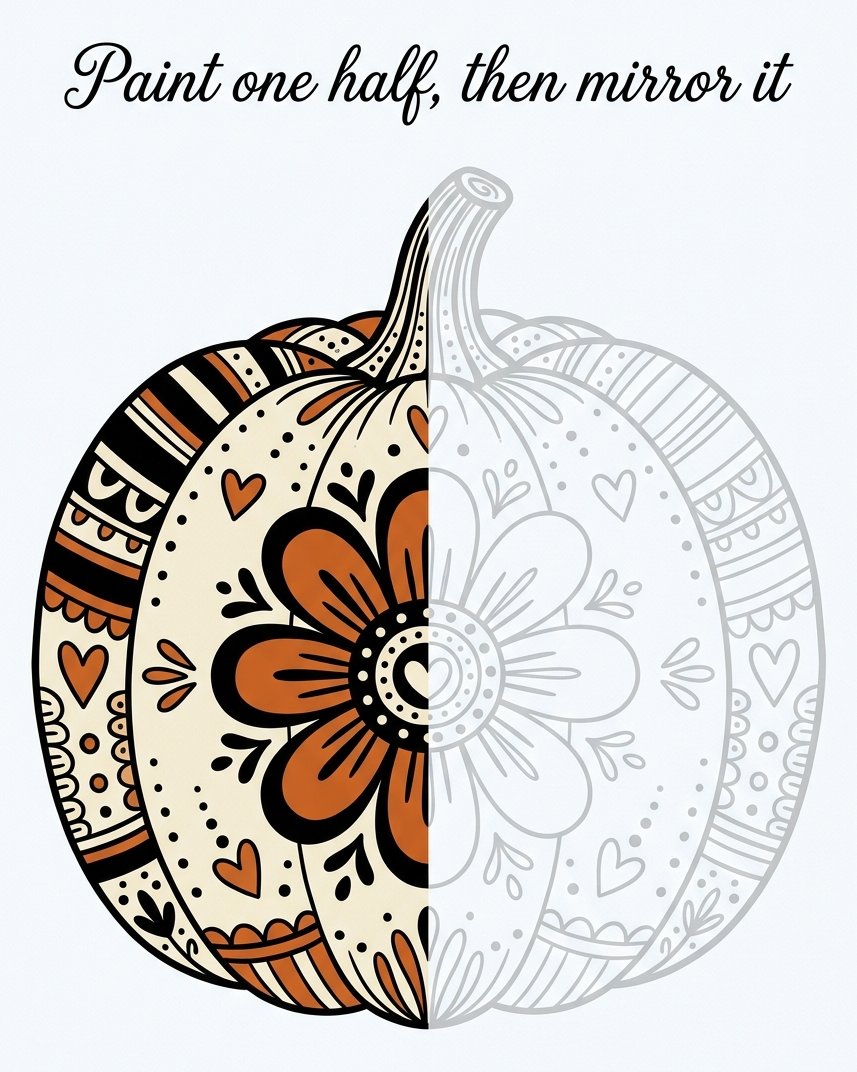
For a big folk flower, paint one half, then mirror it. Mark the middle with a pencil line down one groove. Paint the left half first, then copy each shape across.
Painting both halves at the same time is what ruins it. The second side always grows. (Mine grew a whole extra petal, which is one way to learn a pumpkin is not symmetrical.)
My pumpkin has a scar on it. Can a pattern hide it?
Yes, if the scar is hard and dry. A soft patch is the start of rot, so choose another pumpkin.
Every crate at the farm gate holds one of these, going cheap because somebody dropped it.
In 1927 Clarice Cliff had a stock of old white pottery with faults in the glaze. She painted bold triangles over it, and the triangles hid the faults.
Bright bands went on while each pot turned on a potter’s wheel. Her first painter, Gladys Scarlett, was told to exaggerate her brushstrokes. That way every pot looked hand-painted.
The range was called Bizarre. A senior salesman drove a carload to a big shop, and was amazed at how popular it was.
That is the plan for a scarred pumpkin. Do not hide the mark. Put something more interesting on top of it.
For bands, copy the potter’s wheel. Set the pumpkin on a cake turntable or a spinning tray. Hold the brush still and turn the pumpkin.
(A lazy susan works. So does a dinner plate sitting on a folded tea towel.)
Hold the brush still and turn the pumpkin.
My first band was too thin, and the scar showed straight through. I painted a wider band over it. Now it is gone.
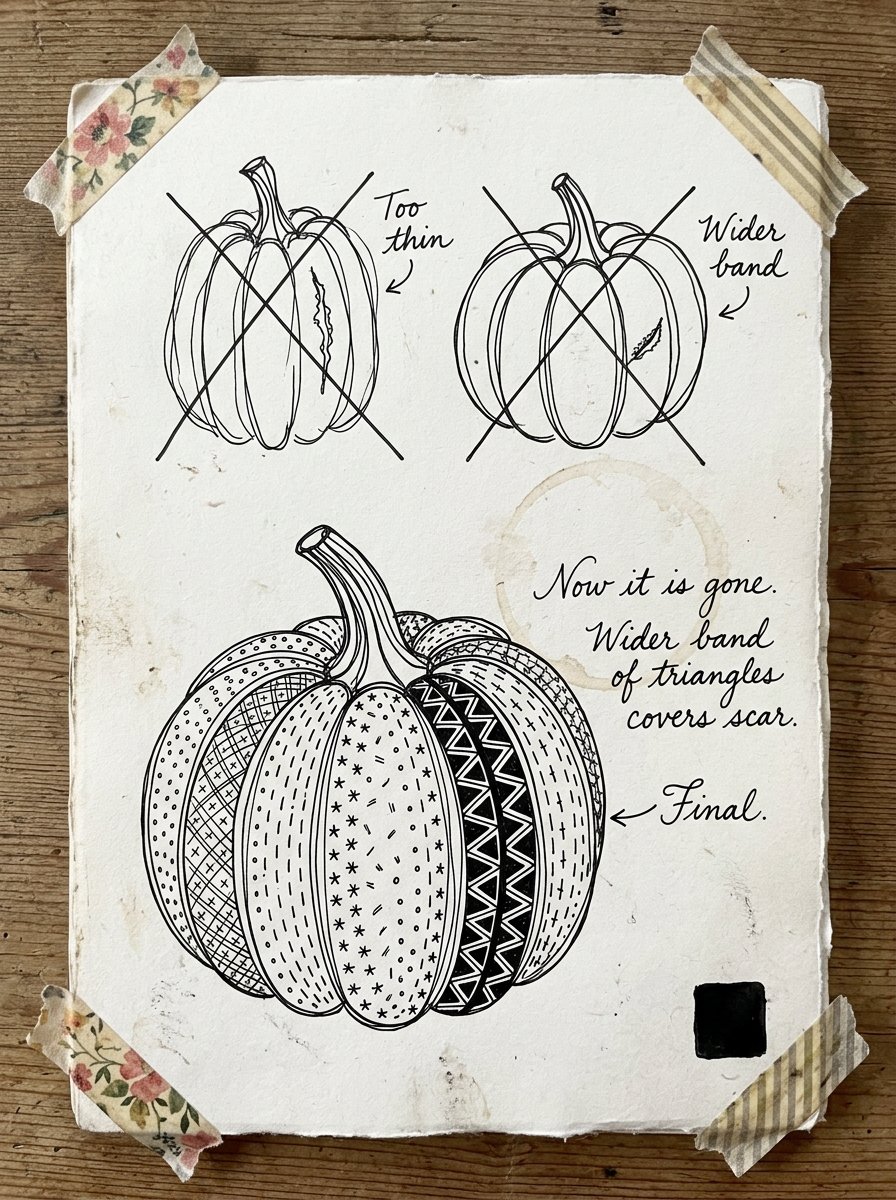
Paint a band of bold triangles right over the mark. Or band the whole pumpkin in three colours, with the middle band on the scar.
Make the scar the centre of a flower, with petals painted out from it. Paint a leaf over it, veins crossing the mark. Sit a small bird on a bump, as if the bump were a branch.
Paint a square patch over the mark and fill it with checks. Add little stitch marks round its edge.
Or turn the whole pumpkin into a quilt. The rule is a different pattern in every rib. Pick four patterns and repeat them in order round the pumpkin.
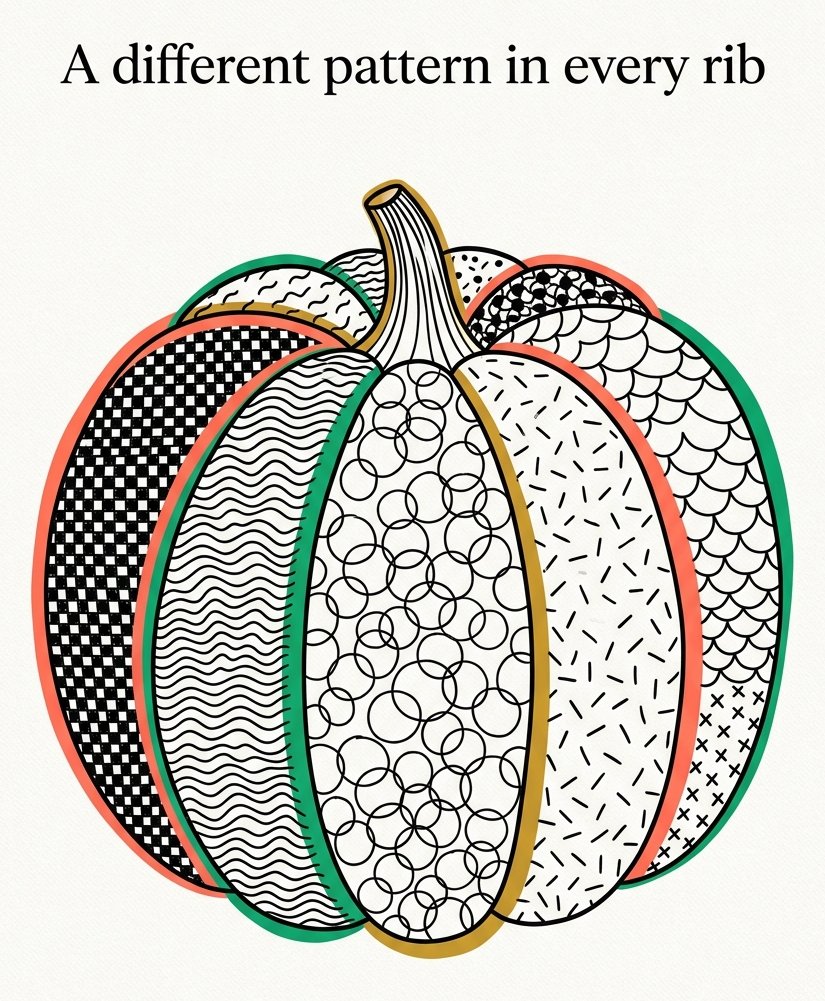
Paint a crack gold, like a mended bowl. Cluster dots over the mark and let them thin out around it. Scatter small stars round it, or tie a painted ribbon bow over it.
What ruins every one of these is matching the orange. An orange patch on an orange pumpkin just looks like a repair.
Which pumpkin painting ideas for adults still look right in late November?
Orange and black say Halloween. For a pumpkin that stays out afterwards, paint in cream, sage, rust and gold.
Damp is the other problem. A pumpkin usually softens first where it sits. Stand it on a saucer or a slate, not straight on wet stone.
Paint a wreath of autumn leaves round the stem. Draw a ring of wheat ears round the belly. Scatter acorns and oak leaves in brown pen.
Paint a pumpkin cream and add a plaid of rust and sage lines. Paint across the ribs first, then down them. The rubber band keeps the cross lines level.
Draw one pear in a single line on a cream pumpkin. Wrap a pumpkin vine round it, tendrils and all. Paint one sage green and add white leaves.
Draw cable-knit lines down each rib, like a winter jumper. Try cream gingham. Or wrap one leafy line all the way round without lifting the pen.
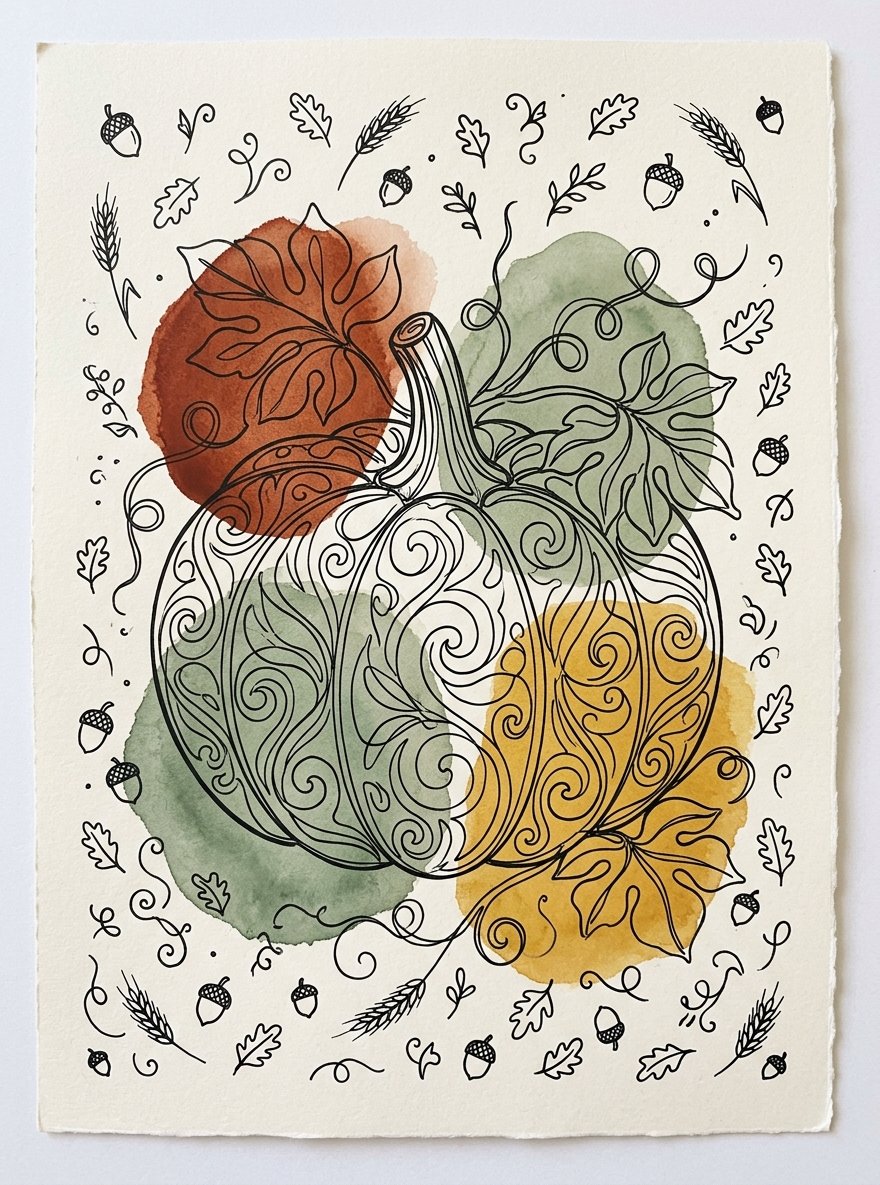
Paint it terracotta with a folk border of white dots and short lines. Paint a white one with gold in every groove and a gold stem.
Draw pinecones in pen. Put a row of small birds on a painted branch round the belly. Fan feathers up from the base.
Add sprigs of red berries, or a band of seed heads round the middle. Letter the word harvest on the front.
Paint a ring of small mushrooms round the base. Draw a tiny house with one lit window. Curl a sleeping fox round the bottom.
(Last year my cream plaid one outlasted two bunches of flowers and a lettuce.)
If you want one of each, paint three: one for the step, one for the table, one for November.
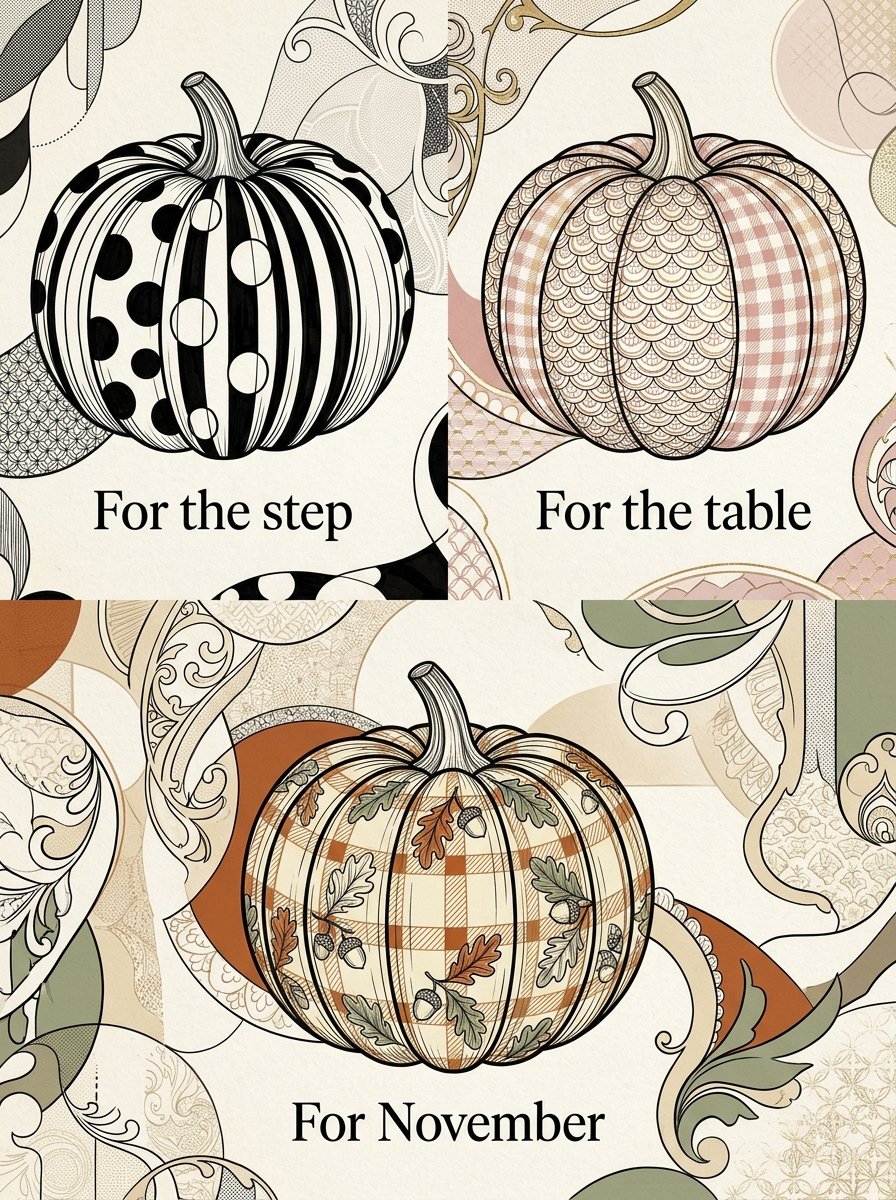
Do not hide the mark. Put something more interesting on top of it.
Can you eat a pumpkin after it has been painted?
I would not, and I keep the two jobs apart. The painted pumpkin is for looking at. A plain one is for soup.
(Paint sinks into the skin. Peeling it back off is not the tidy job it sounds like.)
Paint also changes what happens at the end. Delaware’s environment department says painted pumpkins belong in the rubbish. Water-based paint is not toxic to people, but it may harm wildlife.
What do you do with painted pumpkins after Halloween?
Leave it out, if the design is not a Halloween one. A cream plaid or a leaf wreath looks right until the pumpkin softens.
You can also paint over an October design. Cream covers black stripes in a couple of coats, and then November can start.
(Mine took 3. Black stripes are determined to come back.)
When it finally softens, it goes in the rubbish. Not the compost heap, and not the garden for the birds.
Free Starter Pack
Get 10 free pattern templates for the ribs of your pumpkin.
Sent tonight. Bold bands, dots and scallops to copy round a curve.
Unsubscribe in 1 click, no hard feelings
Every design above comes down to a small pattern: a scallop, a check, a band. After a few pumpkins I kept reaching for the same three. The zen doodle toolkit is where I find the next one. Its 30 daily worksheets give a new prompt each day, and the pattern banks cover the ribs left over.
30 daily worksheets and pattern banks for every rib
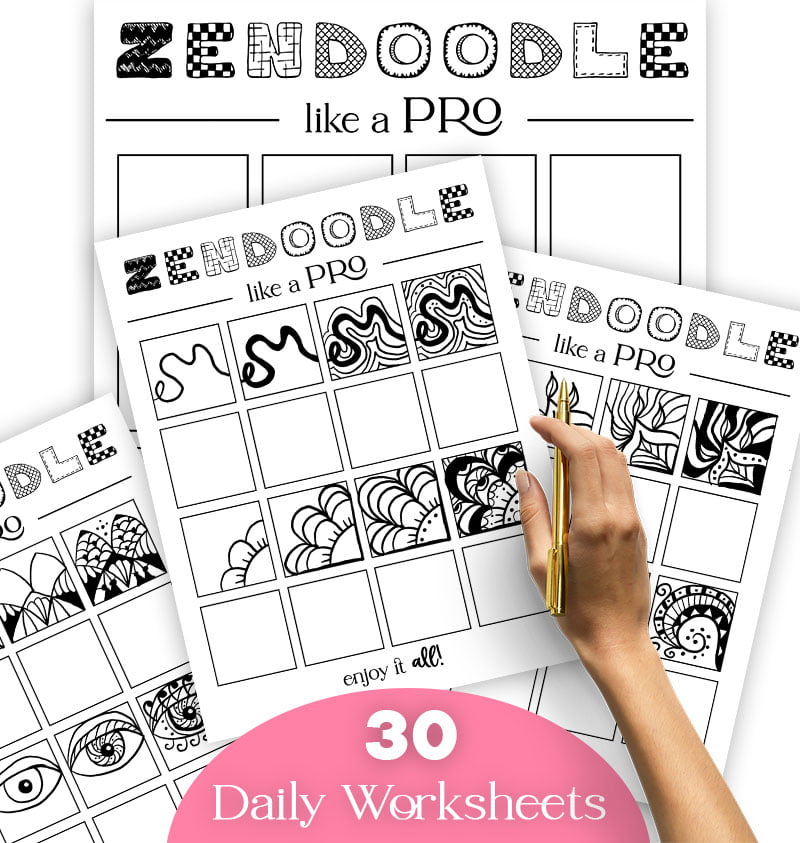
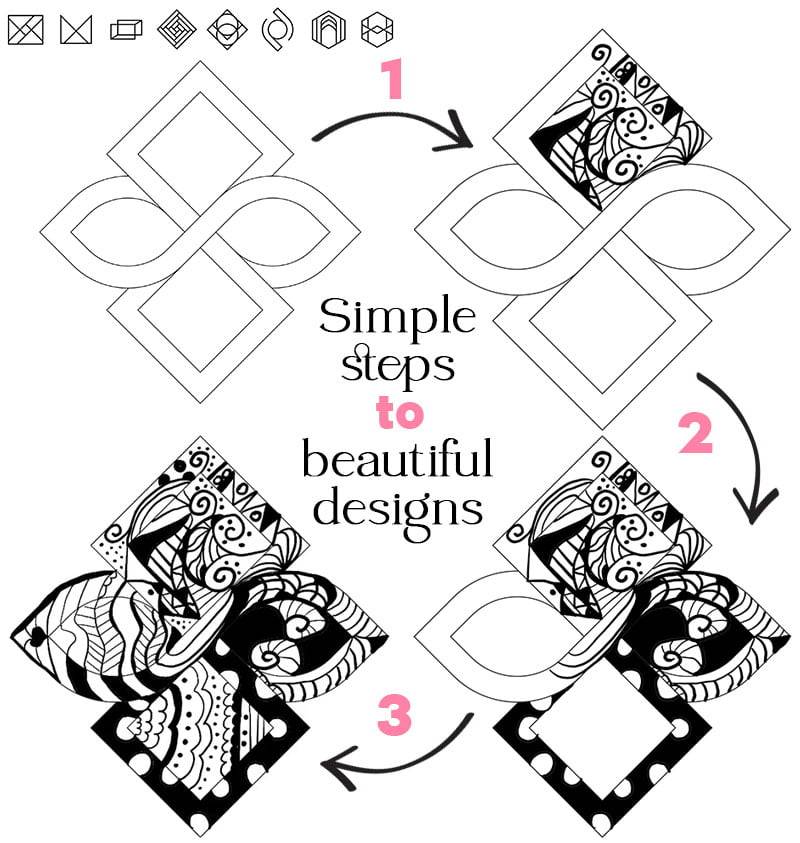
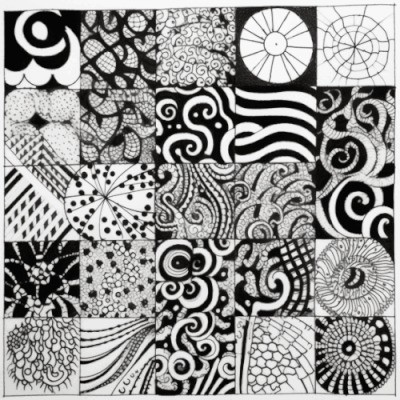
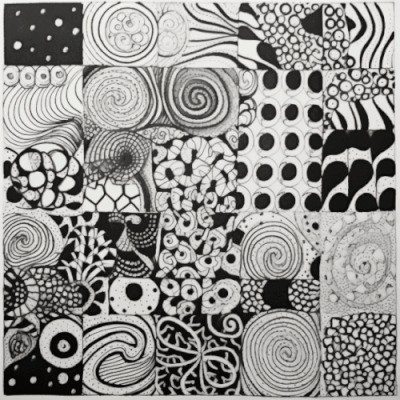
Practise one pattern on paper each evening. When it feels easy, take it out to the pumpkin. Print the worksheets, or draw them freehand.
Instant download · print at home
Out on the step, in the blue part of the evening, a pumpkin sits very still. It is only waiting for somebody to ask what it has to say.
“It immediately began speaking to me in a most animated manner.”
Yayoi Kusama, Infinity Net
Mirabelle wrote this. No training, strong opinions, many pens. Peer reviewed by a cat who requested a second pumpkin and no revisions.