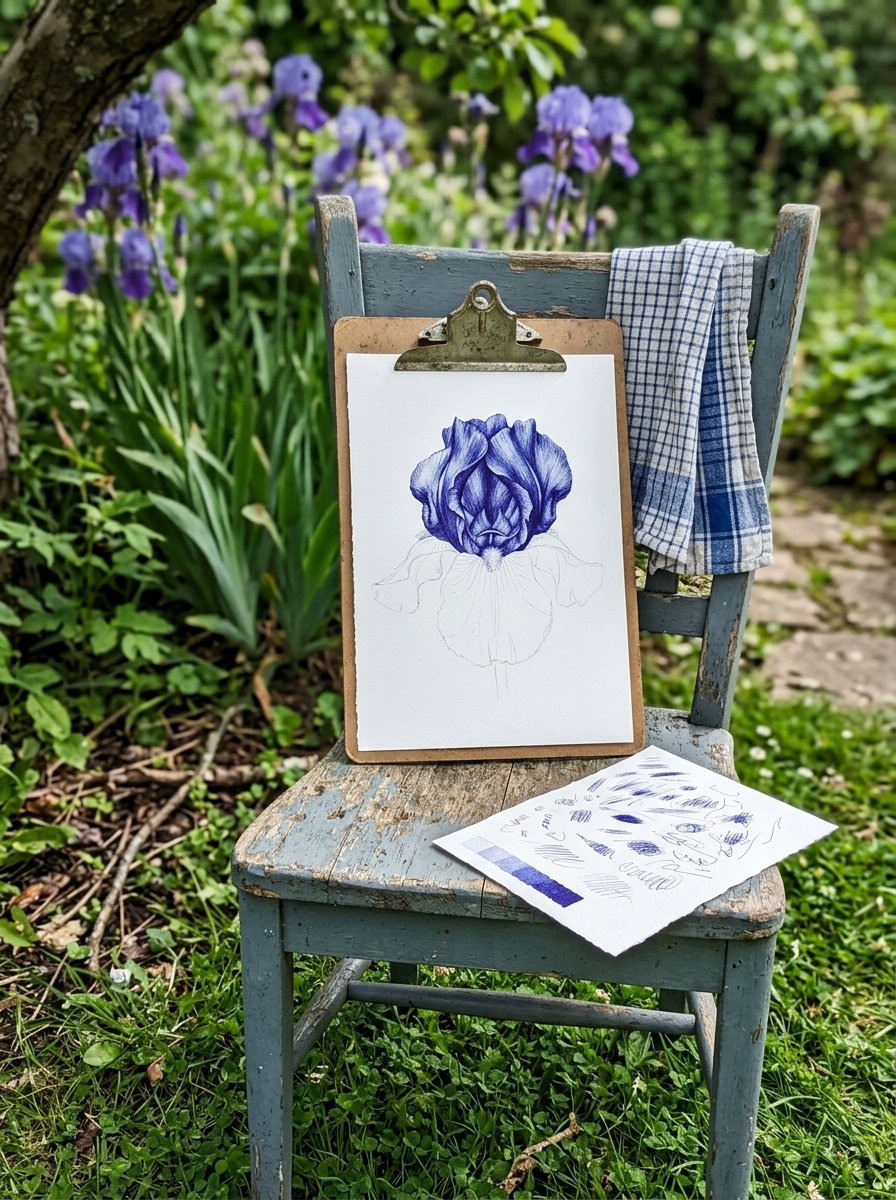
A ballpoint has one tone and no way to change it. So ballpoint pen drawing is not about pressure at all. You build the dark in layers.
I learned the opposite at school. I pressed hard, the line came out dark and final, and every wobble stayed. (I then decided pens were for other people, the ones with neat handwriting and no crossings-out.)
So here is the case for the humble ballpoint, and 17 techniques to go with it. Print the free iris below and keep a pen beside it. Everything on this page can be tried on that sheet.
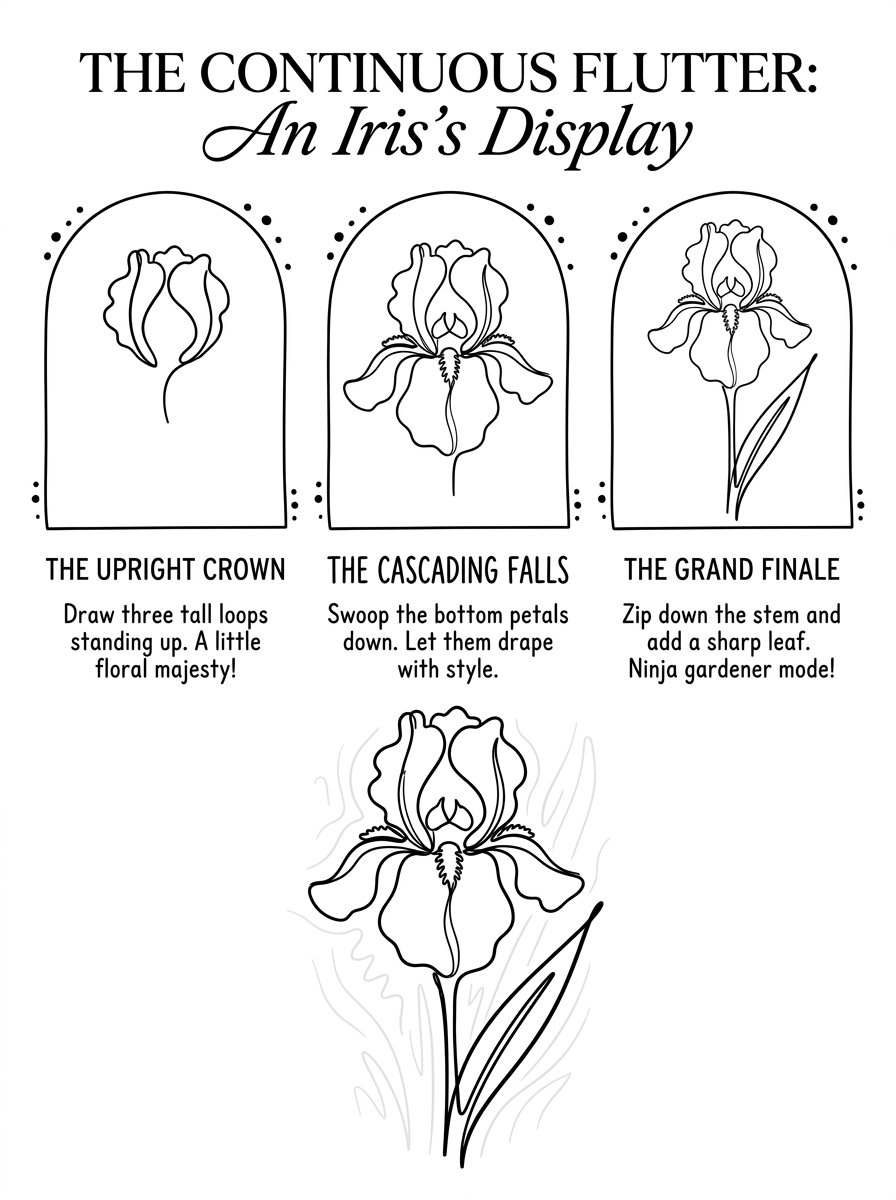
The iris comes in 3 stages. Trace the first stage with your faintest line. Trace the next stage a little firmer, and the last one firmer again. You will see the same flower 3 times, each one darker. Keep the sheet. It becomes your pressure guide further down.
Ballpoint pen drawing gets treated as a school habit, not an art
Here is the claim you will usually hear. A ballpoint is a school pen. It is for forms, lists and the crossword. Real drawing needs a pencil, because a pencil forgives. (The ballpoint lives in the same drawer as the takeaway menus and the key nobody can identify.)
The evidence says otherwise. In the early 1980s, a student at Pratt Institute in New York began drawing with an ordinary ballpoint. His name is Il Lee. He has drawn with it ever since.
He does not press hard. He scribbles, layer upon layer, for weeks. The lines pile up until they become one flat field of ink. Dried ballpoint ink turns a shiny purplish blue, and he lets it. In 2012 the Metropolitan Museum of Art took his work into its permanent collection.
So the ballpoint was never the problem. The pressing was. Once the dark is built in layers, the pen stops being final and starts being patient.
A pencil lets you take a line back. A ballpoint lets you add the next one. The drawing lives in the adding.
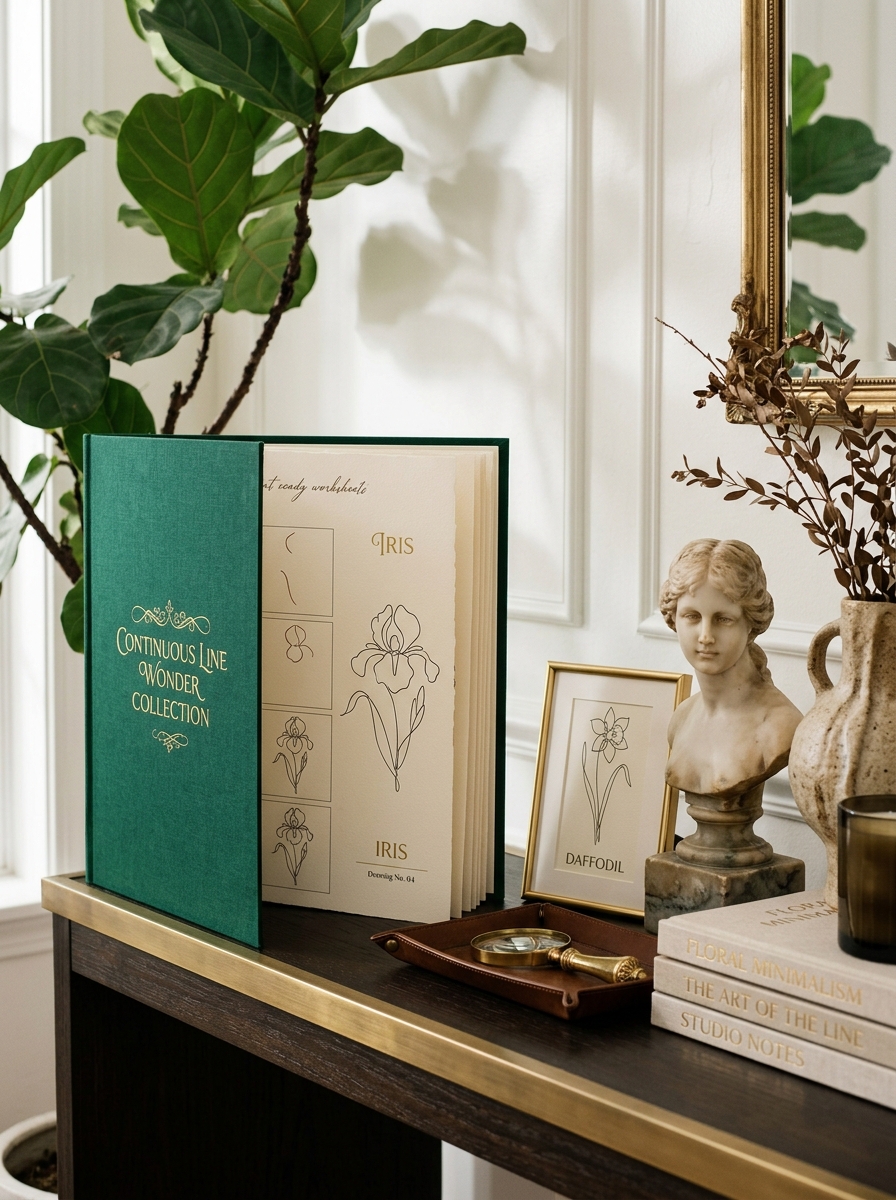
Adding needs something to add to. One iris lasts an evening, and by Sunday you will want a fresh flower under your pen. Flowers drawn in lines that keep moving suit a pen that cannot go back. That is why I keep Continuous Line Wonder beside mine. It has 30 flowers in 3 steps each. Most use one line for the bloom and a second for the stem and leaves.
The Collection
CONTINUOUS LINE WONDER — irises, poppies, and a line that keeps moving.
Running out of flowers to practise on? Inside: 30 flower worksheets, each built in 3 steps from continuous lines. What you get: a new flower for every evening, and a stack of blue-ink drawings worth keeping.
Now the correction, and the reason a pen that cannot erase is the better teacher.
A pen that cannot erase is the easiest pen to learn with
An eraser feels like safety. In practice it turns every line into a meeting. You draw, you doubt, you rub out. The paper goes grey and fluffy, and the drawing waits. (I once rubbed a hole clean through a petal chasing a line 2 mm out of place.)
A ballpoint cancels the meeting. The line is there, so the only question left is what goes next. That sounds strict. It is actually a relief, because you stop fixing and start drawing.
The trick is where you put the commitment. You do not commit to a dark line. You commit to a faint one, and faint lines are cheap. Get one wrong, and the next layer buries it. (Ballpoint ink dries almost at once, so a buried line never smudges into the one on top.)
Each technique below does one of three jobs. It controls pressure, it builds layers, or it turns a mistake into part of the drawing. Try each one on scrap paper first, then on the iris.
In ballpoint pen drawing, pressure does the eraser’s job
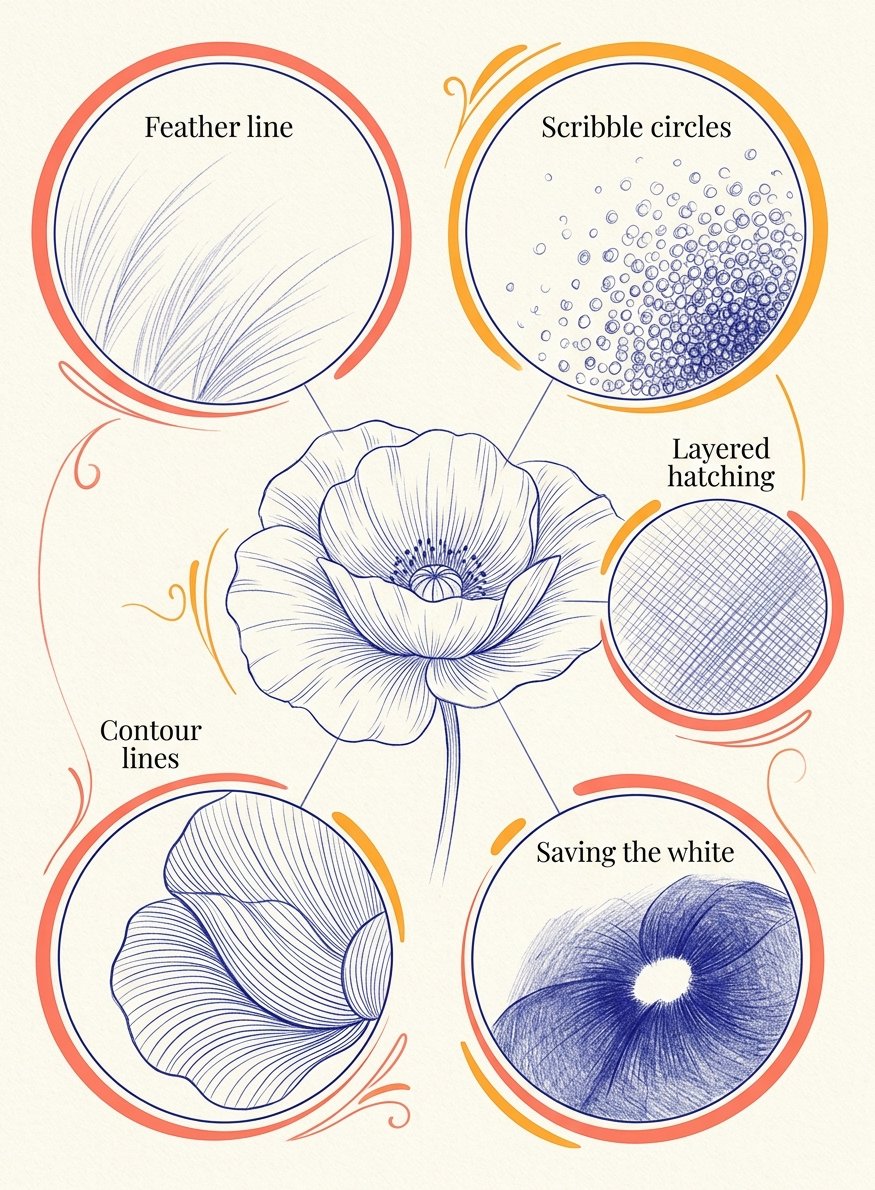
The first technique is the feather line. Hold the pen near the far end of the barrel, not by the tip. Let its own weight do the pressing. I hold mine like a teaspoon I do not trust. You will see a pale blue line with soft edges. If it comes out dark, your fingers have crept down towards the point. Slide them back up.
Next comes the ghost map. Draw the whole subject in feather lines before any shading. It should look like a drawing seen through tracing paper. Every ballpoint pen drawing I make starts this way. If a ghost line lands in the wrong place, draw another beside it. The wrong one vanishes under the shading later.
Then build a pressure ladder. On a scrap, draw 5 small squares of tone, each pressed a little harder than the last. You should get 5 clearly different blues from one pen. If you only get two, you are either pressing or not pressing. Loosen your grip and redo the middle three. My ladder took 3 goes before the middle rungs stopped looking like one another.
The fourth technique is speed. A slow stroke lays down more ink, so it prints darker. A quick stroke skims, so it prints lighter. Use slow strokes for the deepest shadows and quick ones for everything else. If slow strokes leave blobs, you went too slow. Speed up slightly and keep the pressure the same.
The fifth is wiping the tip. Ink gathers on the ball and drops off as a blob. Keep a folded tissue beside the paper and wipe the point every few minutes. (A tissue, not a finger. Blue thumbprints find the clean corner of the page every time.) Every line will start cleaner. If a blob lands anyway, leave it alone. There is a technique for that further down.
The sixth is an upright pen. Held too flat, a ballpoint skips and leaves a dotted line. Hold it closer to upright, nearer the angle of handwriting. The line will run smoothly again. If it still skips, scribble on the scrap for a few seconds to wake the ink up. (It is not broken. It is sulking.)
Layers build the dark, so no single line has to be right
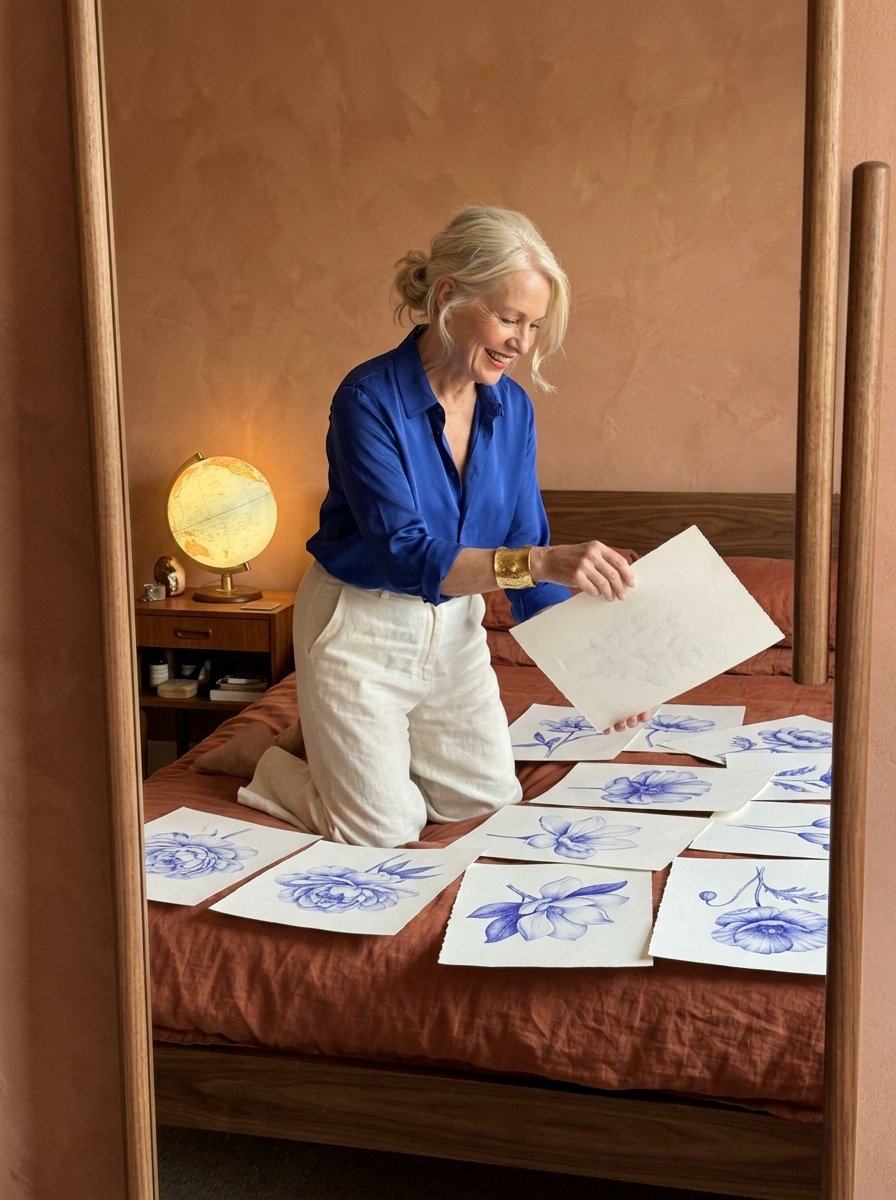
In 1972 an Italian artist named Alighiero Boetti began making large ballpoint works in many panels. He did not fill them himself. He invited friends and acquaintances to colour the big sections with a ballpoint. Usually a man did one sheet and a woman did the next.
Think about what that means. Many different hands, no training asked for, and the colour still reads as one even field. Short strokes, laid side by side in patient rows, add up. I counted the strokes in 1 thumbnail of shadow once and gave up at 120.
The tone comes from repetition, not from talent. What you need is rhythm.
That is the whole secret of layering. You never need one perfect stroke. You need lots of forgettable ones, all light, all going the same way. (Forgettable is the job description. No single stroke is auditioning.)
The seventh technique is scribble circles. Move the pen in tiny overlapping loops, like a spring pulled flat. Go over the area two or three times, very lightly. You will see a soft, even tone with no direction to it. If the loops show, make them smaller and lighter. The tone should look like fog, not wire.
The eighth is layered hatching. Draw rows of short parallel lines, all feather light. Add a second set at a slight angle, not a full cross.
Turn the paper instead of twisting your wrist. The tone deepens without looking like a net. If it starts to look like bars, tilt the next layer a little more. I twisted my wrist for years and wondered why layer 2 always fought layer 1.
The ninth is contour lines. Curve each stroke around the form, the way a ribbon wraps a parcel. On a petal, the lines bend where the petal bends. You will see the shape turn and lift off the paper. If it looks flat, your lines are too straight. Bend them more than feels right.
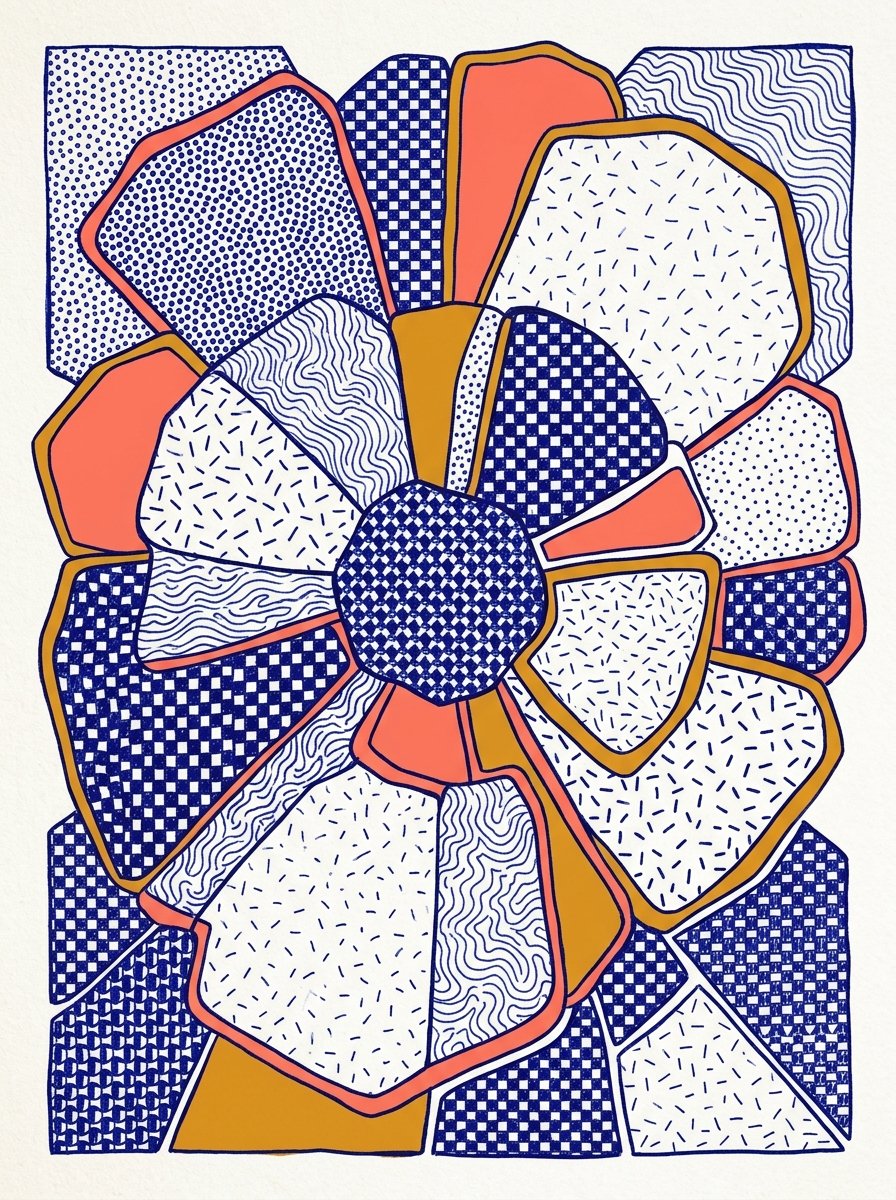
The tenth is pattern as tone. Instead of shading a shape, fill it with a small pattern: dots, little checks or wavy lines. Close patterns read dark, and open ones read light. Patterns also hide wobbly edges. If a pattern looks busy, space it out and it will read paler. (Dots are the slowest and the most forgiving. Checks are the fastest and the least.)
The eleventh is saving the white. The paper is the only white you will get. Before shading, decide where the light hits and ghost a small circle around it. Shade up to the circle and stop.
If you shade over a highlight, it is gone for good. Darken the tone around it instead, and the paper will look brighter. (There is no white pen coming to rescue it. I have checked, twice.)
A ballpoint pen drawing keeps its mistakes and puts them to work
The American artist Dawn Clements drew rooms in ballpoint pen. She drew kitchens and bedrooms, and rooms she saw in melodramas on screen. When a drawing needed more room, she did not start again. She cut more paper, pasted it on, and kept drawing.
The wrinkles and folds stayed in the finished work. You can see where each new piece joined. Nothing was hidden, because nothing needed to be.
That is the correction in one picture. A mistake in ink does not end a drawing. It tells you where the drawing goes next.
A mistake in ink does not end the drawing. It points to the next part of it.
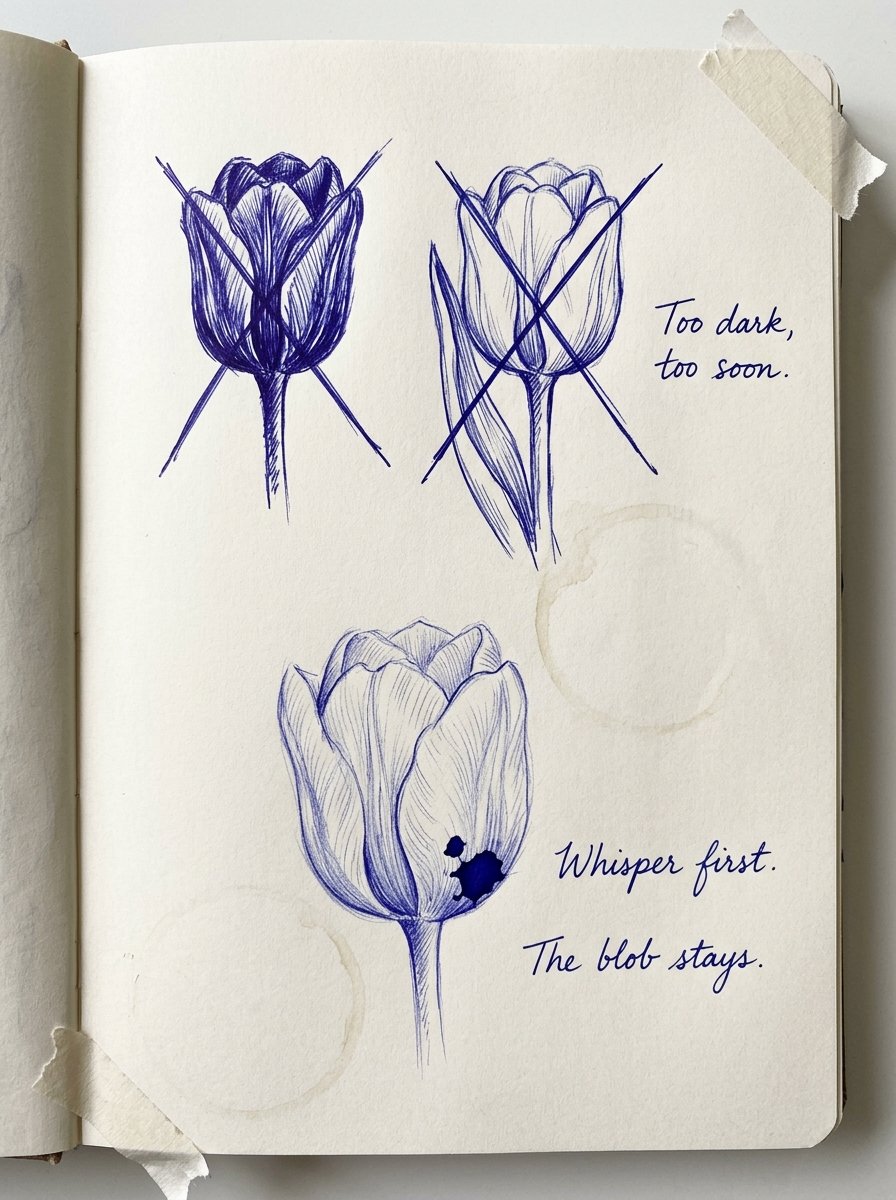
I keep my attempts in one notebook, crossings-out and all. My margin notes repeat themselves. Too dark, too soon. Whisper first. The blob stays.
The twelfth technique is letting the darker line win. When a line lands in the wrong place, redraw it in the right place, slightly firmer. The eye follows the darker line and skips the pale one. The pale one now reads as a sketchy edge, which looks deliberate. If both look equally strong, go over the right one once more.
The thirteenth is the blob into shadow. A blob is the darkest mark on your page, so give it a job. Find the deepest shadow near it, under a petal or inside a fold. Shade outward from the blob until it joins that shadow. If it sits in open light, draw a small leaf over it. (Several of my best leaves began as accidents.)
The fourteenth is adding paper. If the drawing runs off the edge, tape a fresh sheet to that side and carry on. Put the tape on the back so the join stays flat. You will see the drawing stretch into room it did not have. If the join shows, let it. Joins look like decisions. (Tape on the front becomes a shiny stripe that the ballpoint simply refuses to cross.)
The fifteenth is the test strip. Keep a strip of the same paper beside the drawing. Before any dark stroke, try the pressure on the strip first. You stop guessing, and the drawing stops getting surprises. If the strip and the drawing disagree, your hand is tired. Shake it out for a minute. Mine disagrees most around 10pm, which is when most of my drawing happens.
A line that keeps moving never stops to correct itself
A continuous line is the purest test of a pen that cannot erase. You put the tip down and keep going. There is no pause, so the hesitation that spoils a line has nowhere to happen.
The sixteenth technique is the moving line. Put the pen down at the centre of a flower and draw the bloom without lifting. Move slowly and keep the pressure light.
You will see the petals appear as one looping path. If you stop by accident, start again exactly where the line ended, on top of it. The join disappears. (Mine stop most often where a petal turns back on itself. That is the hard corner.)
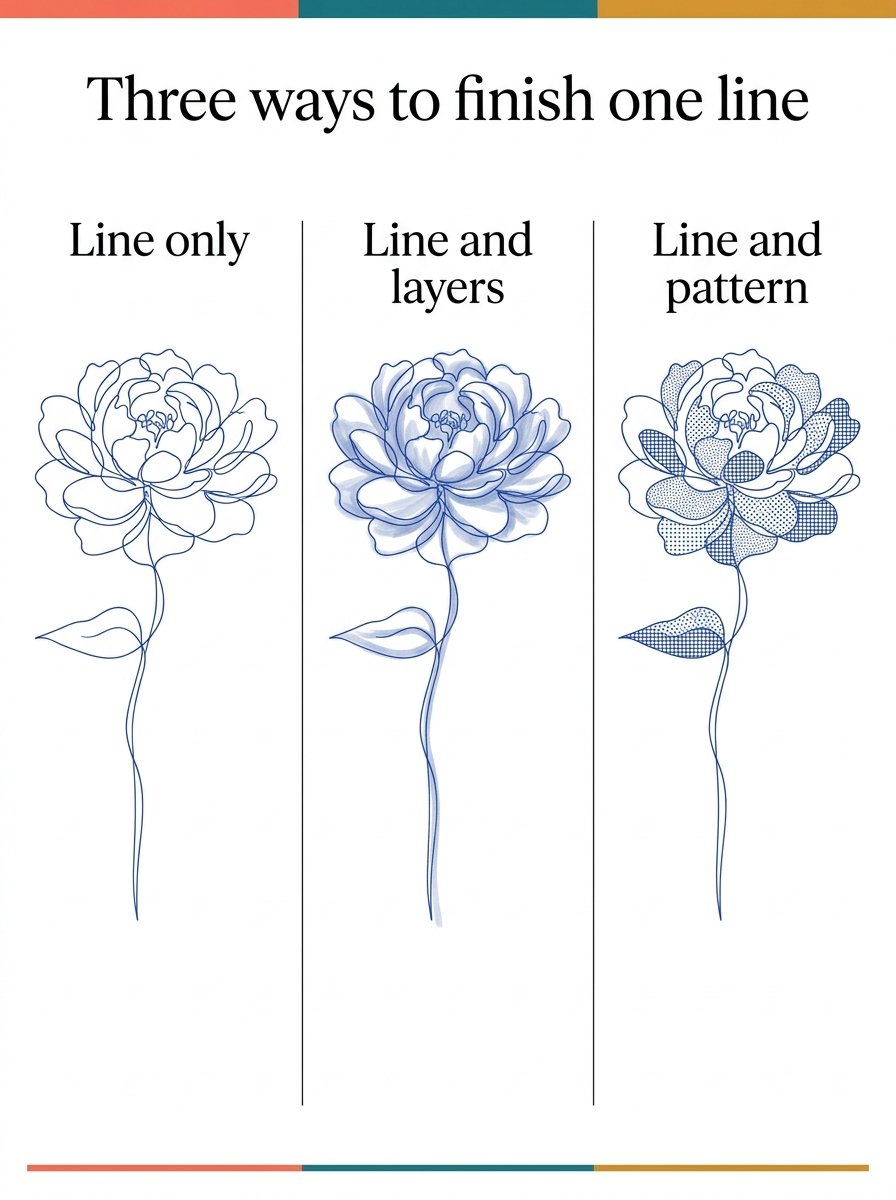
Here are three ways to finish one line. Line only is the cleanest: the loops stay bare and graphic. Line and layers puts light shading behind the loops, so the flower gains some weight. Line and pattern fills a few of the shapes with dots or checks instead. (I change my mind about which one I want halfway through most evenings.)
The seventeenth is doubling back. Where you want a darker edge, let the moving line travel back along itself for a short stretch. Two light passes give a firm edge without pressing. If the edge turns heavy, you went back too far. Double back on the shadow side only.
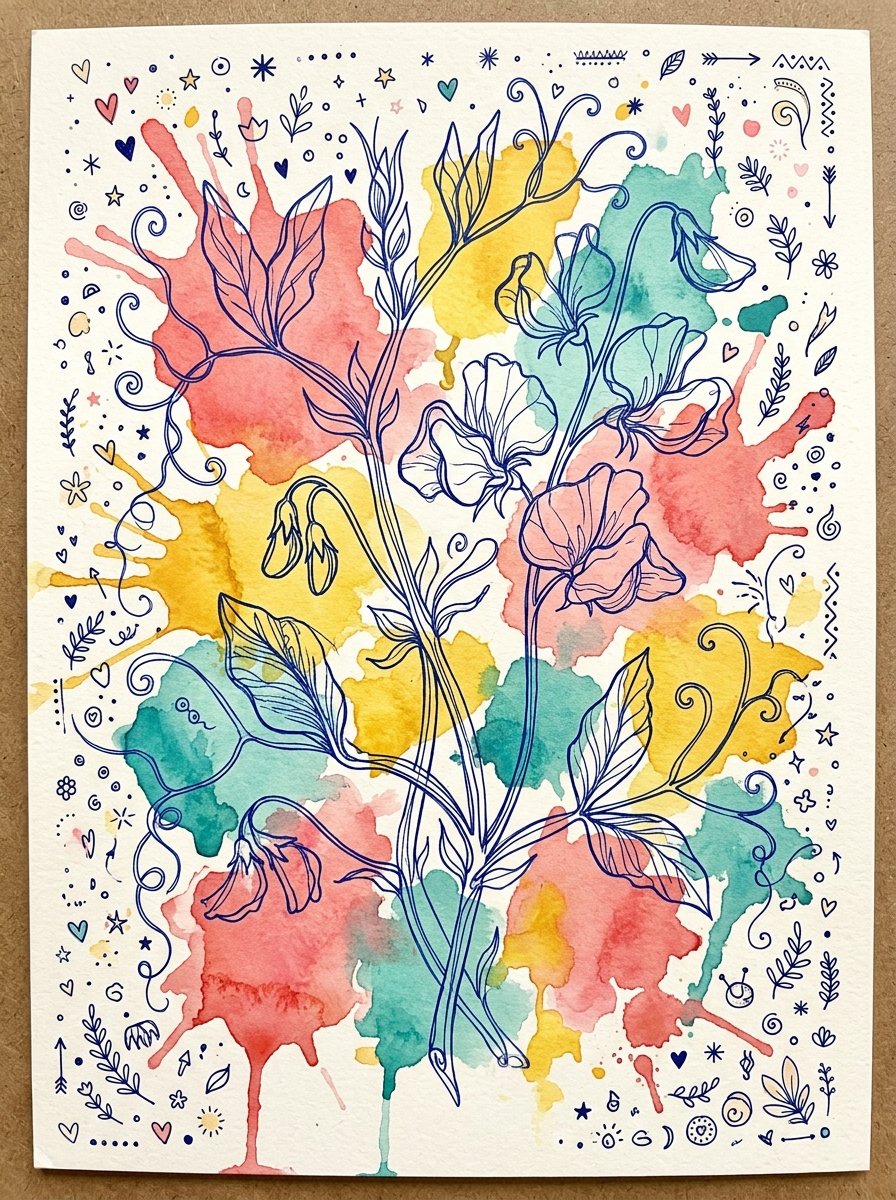
This sweet pea is one moving line, doubled back along its shadow edges. The colour behind it is optional. The blue line did all the work.
The pressure ladder turns one weekend into a plan
Here is how the 17 fit into a weekend. On Saturday morning, work on pressure: the feather line, the ghost map, the ladder, speed, a clean tip and an upright pen. On Saturday afternoon, build layers on the iris.
On Sunday, make mistakes on purpose. Drop a blob on a scrap and hide it in a shadow. Draw a wrong line and let the right one win. Then finish with the moving line on the magnolia. (Deliberate blobs are the only ones that ever land where you want them.)
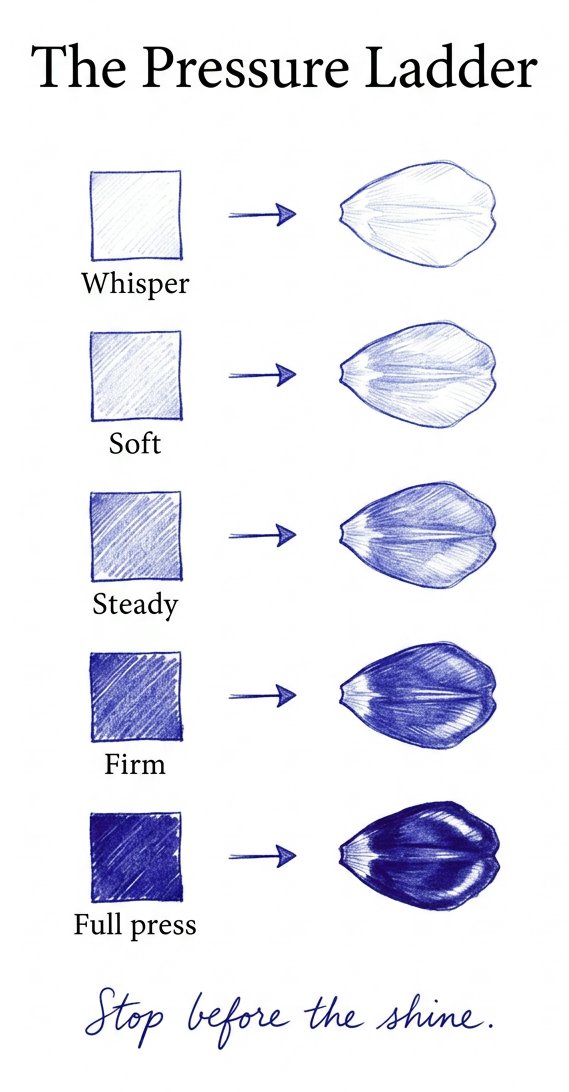
Print the pressure ladder and keep it beside you all weekend. Before you shade anything, pick its rung. Whisper and soft are for ghost maps and far-off petals. Steady and firm build the middle tones. Full press is only for the deepest shadow. When the ink starts to look shiny, the paper is full. The ladder’s own note says it best: stop before the shine.
Free Starter Pack
Get 10 free pattern templates to fill with a ballpoint.
Sent tonight. Dots, checks and waves that turn into tone under a blue pen.
Unsubscribe in 1 click, no hard feelings
By Sunday night the ladder has done its job, and your pen will want new flowers to climb it on. Continuous Line Wonder has 30 of them. Each one is built in 3 steps from continuous lines, which suits a pen that keeps moving.
30 flower worksheets, each built in 3 steps
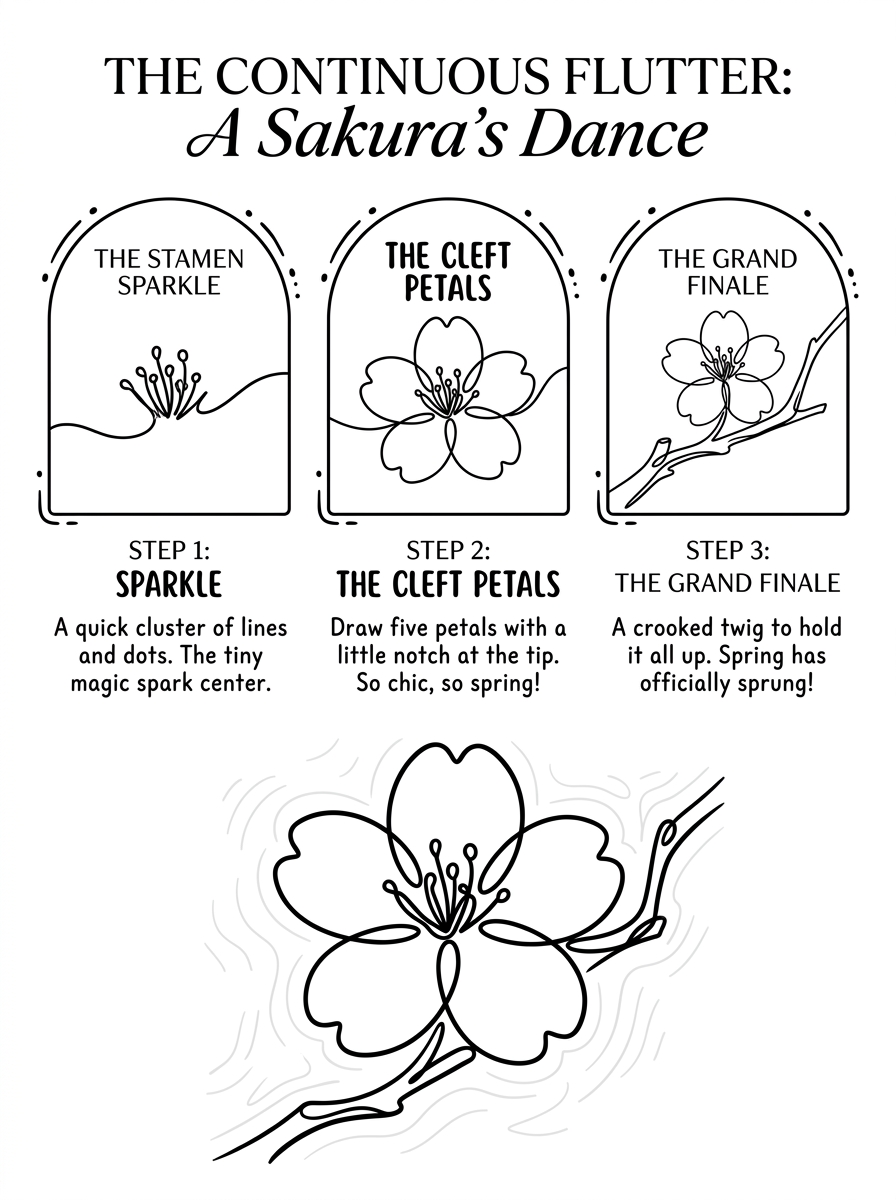
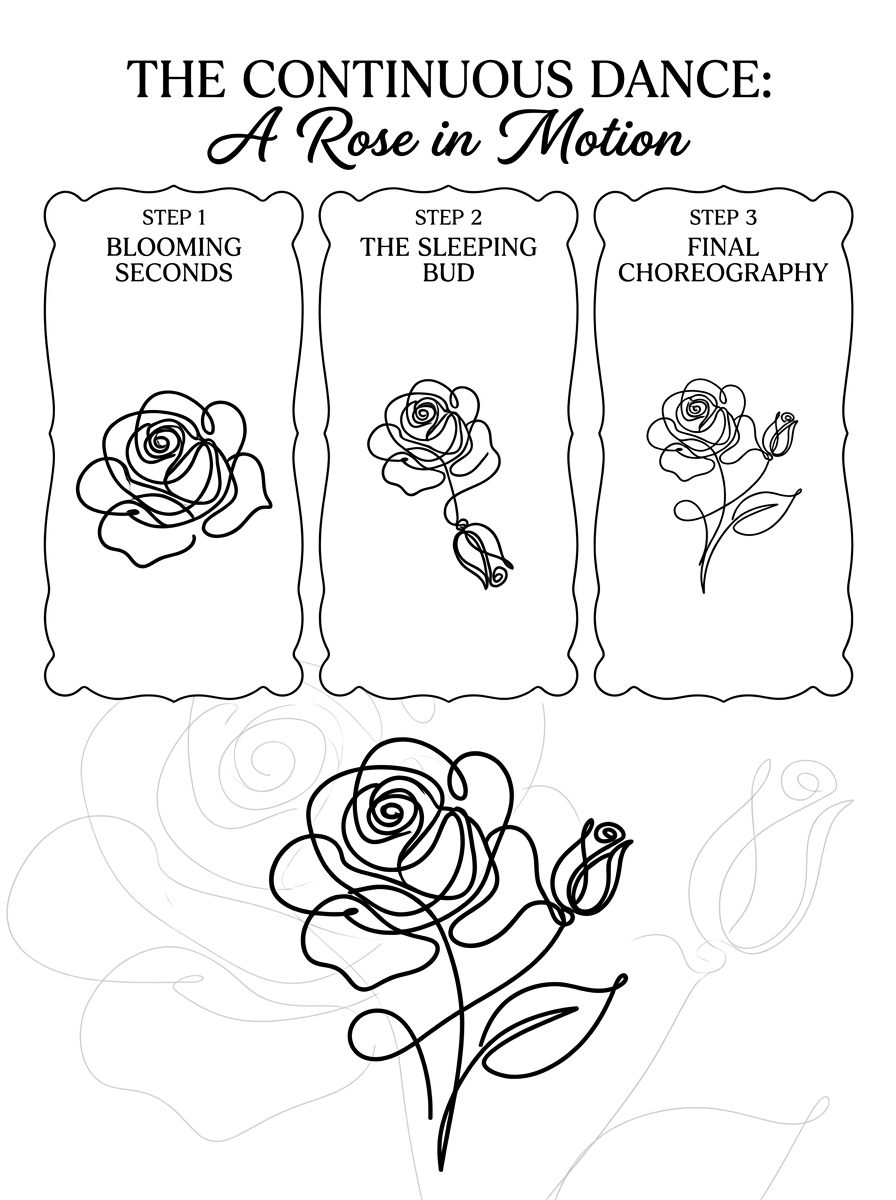
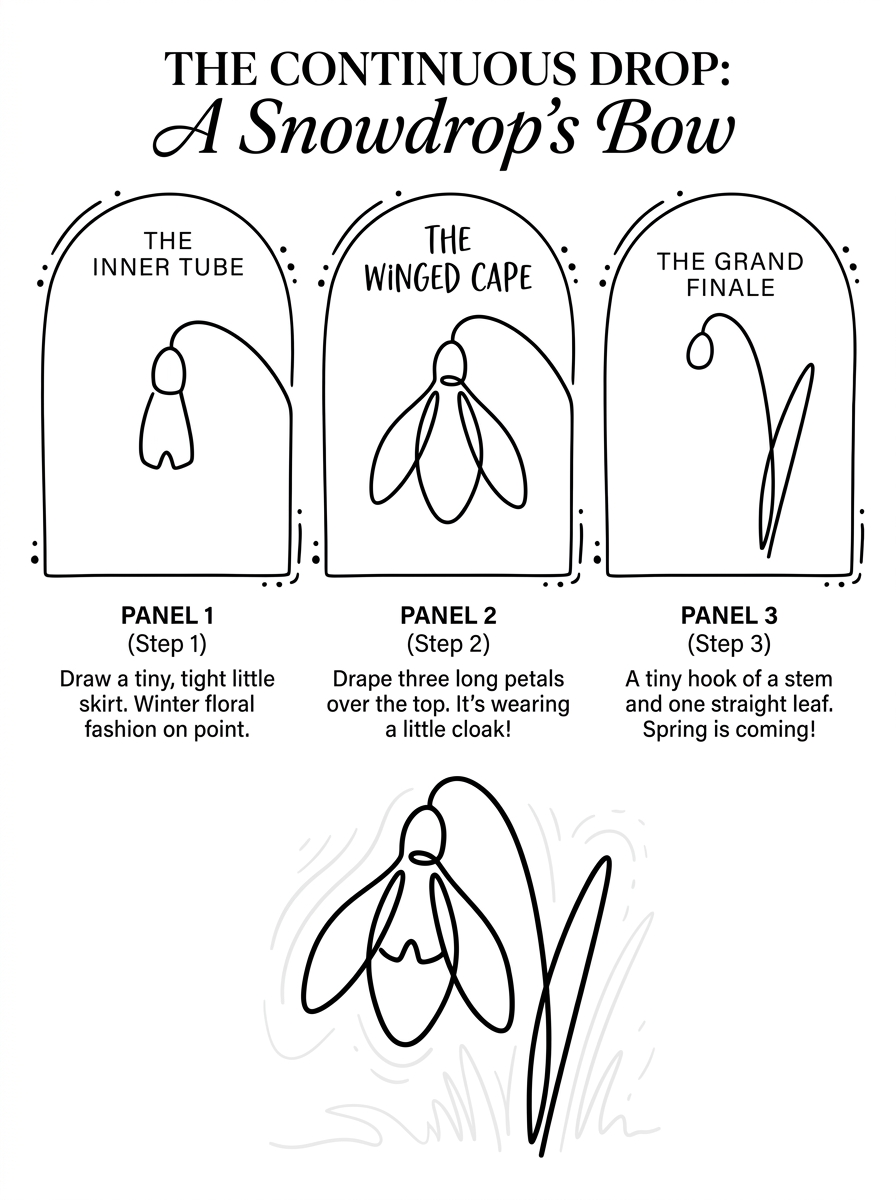
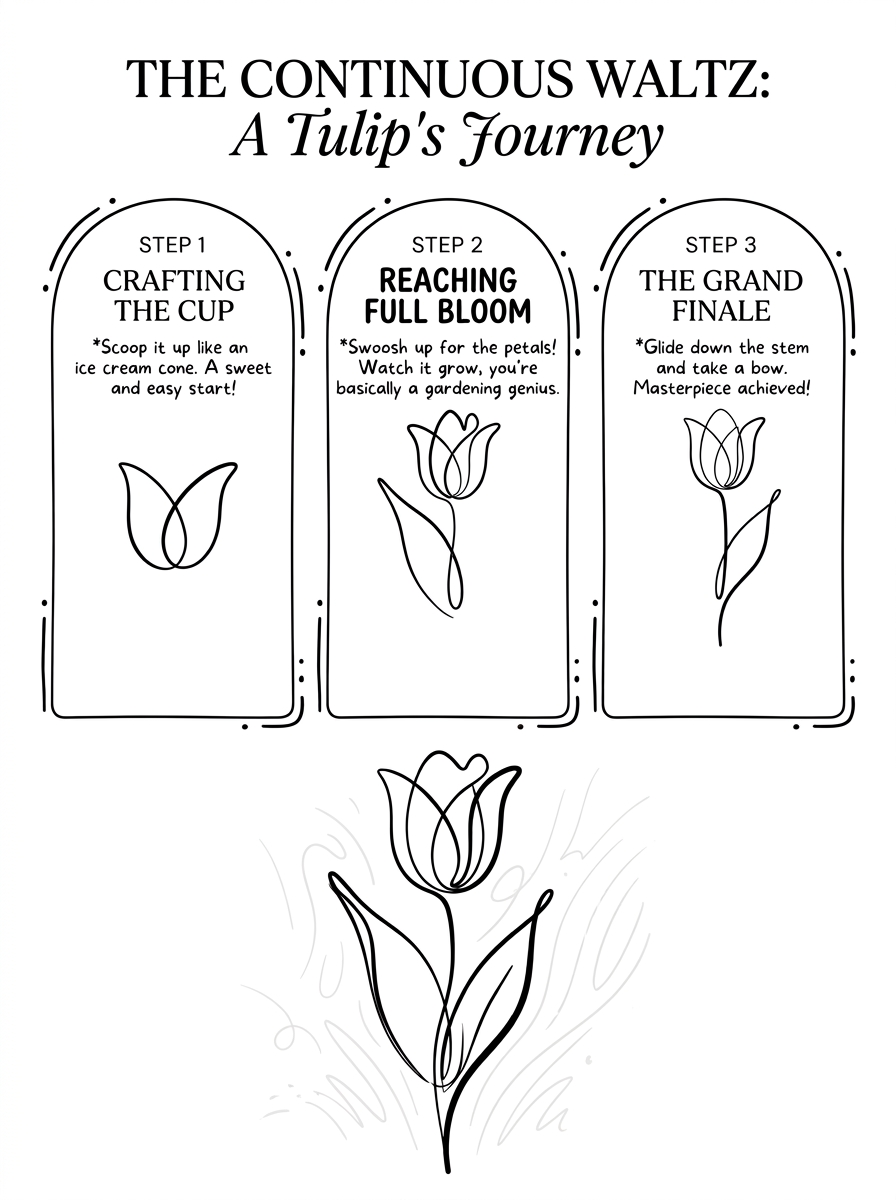
Pick one flower each evening. Ghost it first, then build the petals in light layers. By the end of the month, a blue-ink garden covers your table. Print the sheets, or copy each flower freehand.
Instant download · print as often as you like
Line over line, the blue gathers the way dusk gathers over a garden, one soft layer after another. Nobody hurries dusk, and it has never once asked for an eraser.
“I fell for the profound charm of lines overlapping each other”
Mirabelle wrote this. No training, strong opinions, many pens. Peer reviewed by a cat who knocked the pen off the desk twice, citing sources.