On 18 December 1959 a painter began a single line inside an art school in Hamburg. Look at where a line like that crosses itself. That is neurographic art for beginners.
Every crossing makes 4 sharp corners, and the page looks like a tangle. A dropped ball of wool, with opinions.
Neurographic art for beginners comes down to one change. You round the inside of each corner. The tangle turns into soft, joined shapes.
You need a pen, paper and the 3 steps below. Any pen you already own. (Mine is the one from the bank, and it has outlasted the bank.)
Download the practice page first. It already has a line on it, crossed and waiting to be rounded.
Download the free practice page →
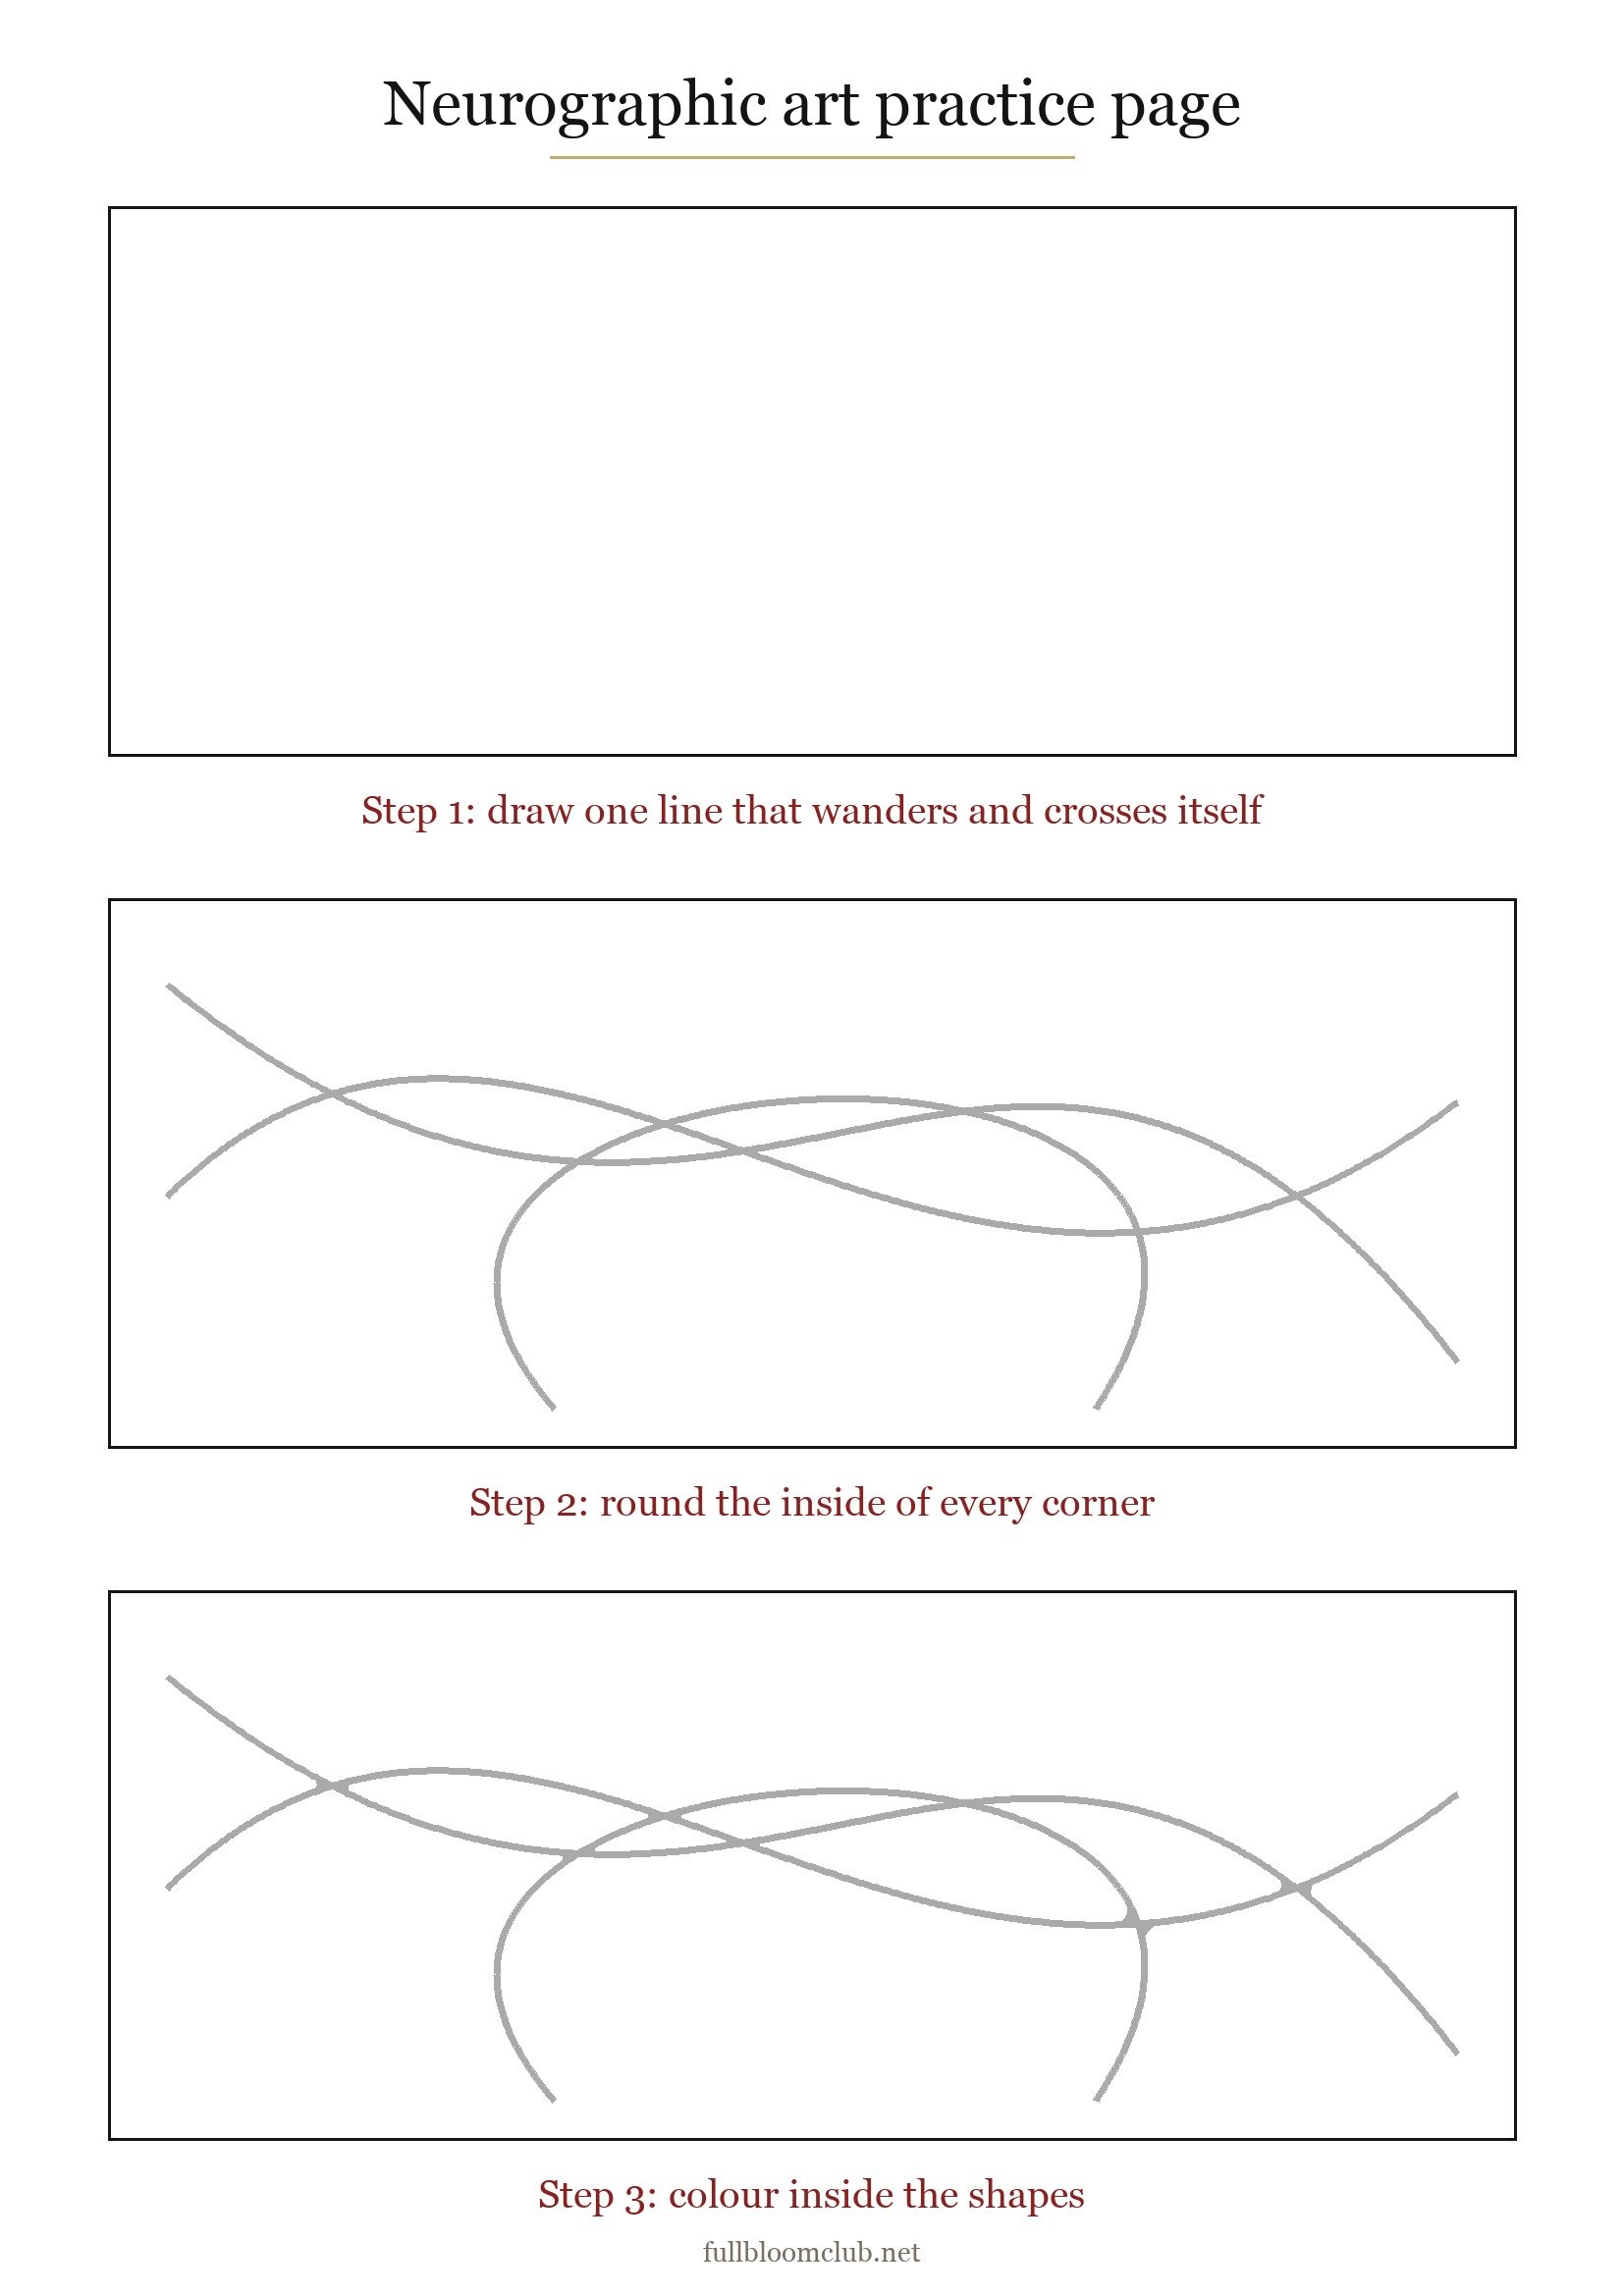
The practice page has 3 boxes. The top box is empty, for your own line. The middle box has a grey line with sharp crossings. Round every corner in that box with your pen.
The bottom box shows the same line already rounded. Use it to check your middle box. Then colour its shapes for practice. (I print two of these. One to work on, one to keep clean for comparing.)
Here is the change up close. The two drawings below use the exact same lines. Nothing was added. Nothing was rubbed out.
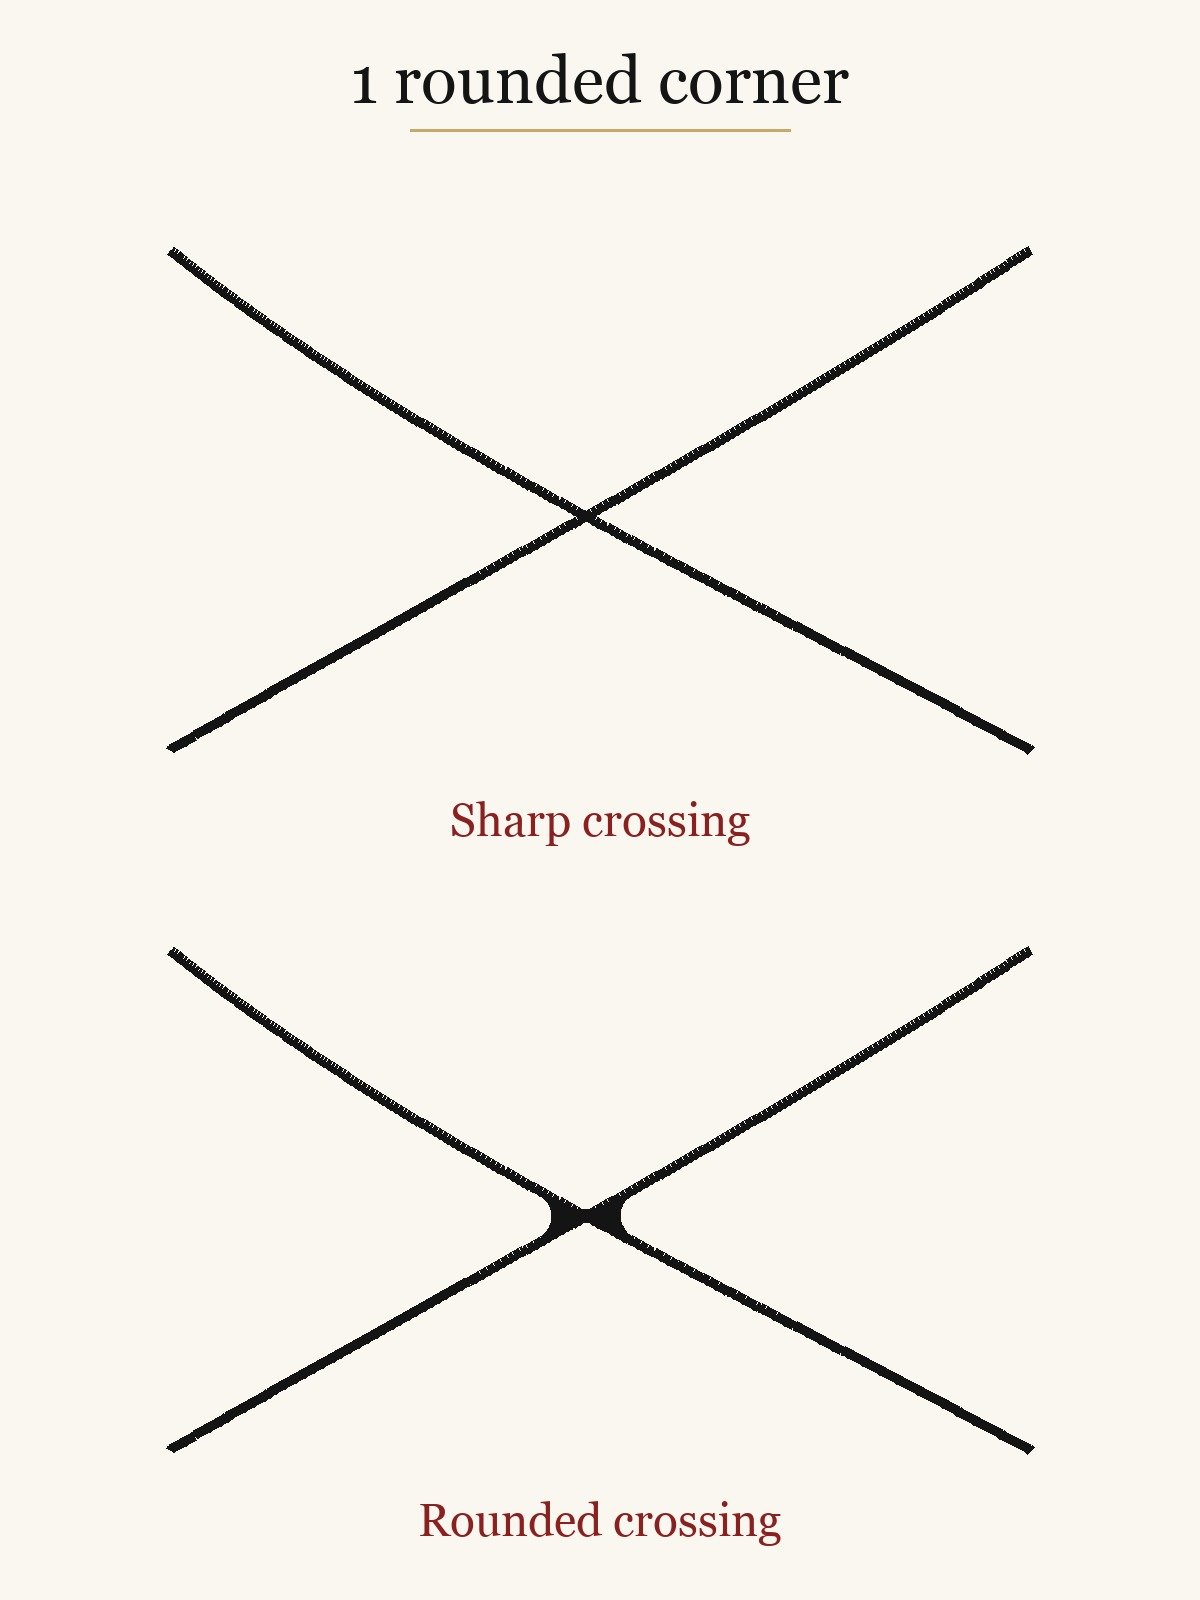
In the top drawing, the lines lie on top of each other. In the bottom drawing, each corner has a small curve of ink filling it. The lines now look like they grow out of each other, the way branches meet a trunk.
I got this wrong on my first page. I rounded the outside of each corner instead of the inside. The lines got fat and bumpy, and nothing looked joined. (It looked like a knitted scarf that had been sat on.)
Once the corners are round, you have a page of empty shapes. Next you choose what goes inside them. Colour works. Patterns work even better, because every shape can hold a different one. Choosing the next pattern is the slow part. I can lose a whole evening to it, quite happily.
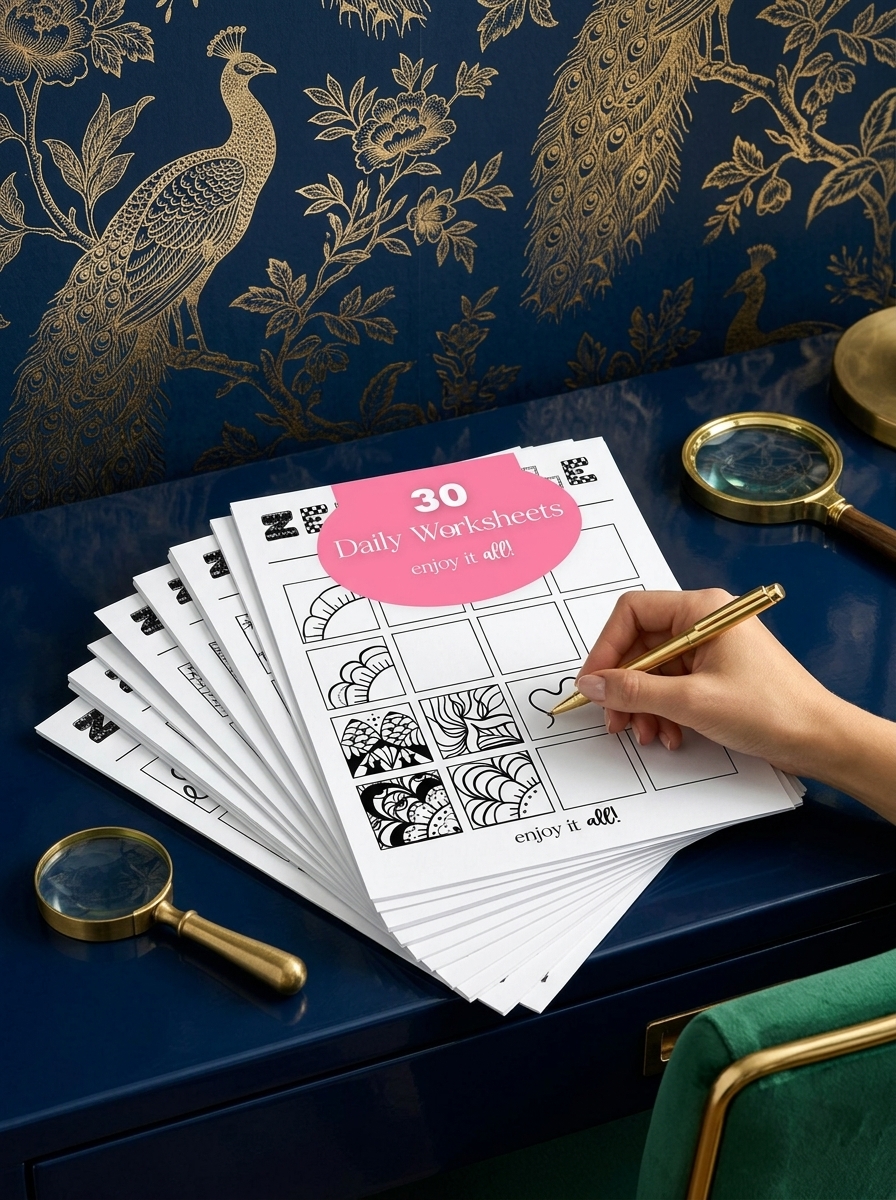
The Collection
ZEN DOODLE MASTERY — dots, stripes, and a pattern ready for each shape.
Use it when your rounded shapes are waiting and you cannot choose what goes inside. Inside: the zen doodle method in 3 steps, 30 daily worksheets and a bank of bold patterns. What you get: a pattern ready for each shape, and pages you will want to keep.
Here is the method in 3 steps. Keep the practice page next to you while you read.
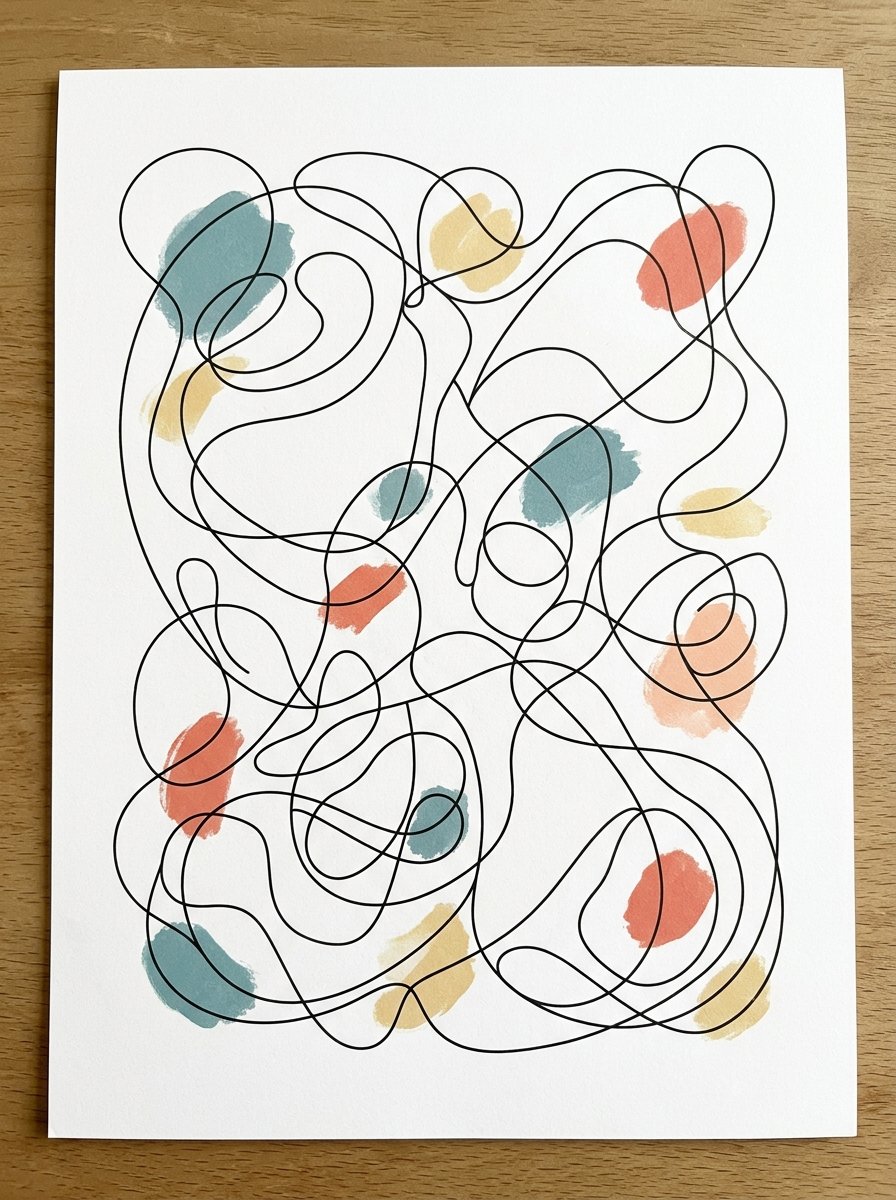
Step 1: Start neurographic art for beginners with one line that wanders and crosses itself
Hold the pen near the back, not near the tip. Start at one edge of the page. Move the pen slowly across to the other edge, changing direction whenever you like. (Holding it near the tip is what your hand does when it thinks it is being marked. It is not.)
Let the line cross itself. Aim for 6 to 10 crossings on a small page. Take the line off the page at an edge, so no loose end stops in the middle. A loose end has nowhere to become a shape.
Keep the pressure the same the whole way. A line that gets darker in places pulls the eye there before you have started rounding. I press harder when I am thinking, which is most of the time.
You will see a mix of big shapes and small shapes. That mix is what you want. A page of same-size shapes looks like a fishing net.
If it looks wrong, it is usually too busy. More than about 12 crossings leaves shapes too small to colour. (My first line had 31 crossings. I spent an evening rounding corners the size of rice grains.) Start again and move the pen more slowly.
Step 2: Round the inside of every corner
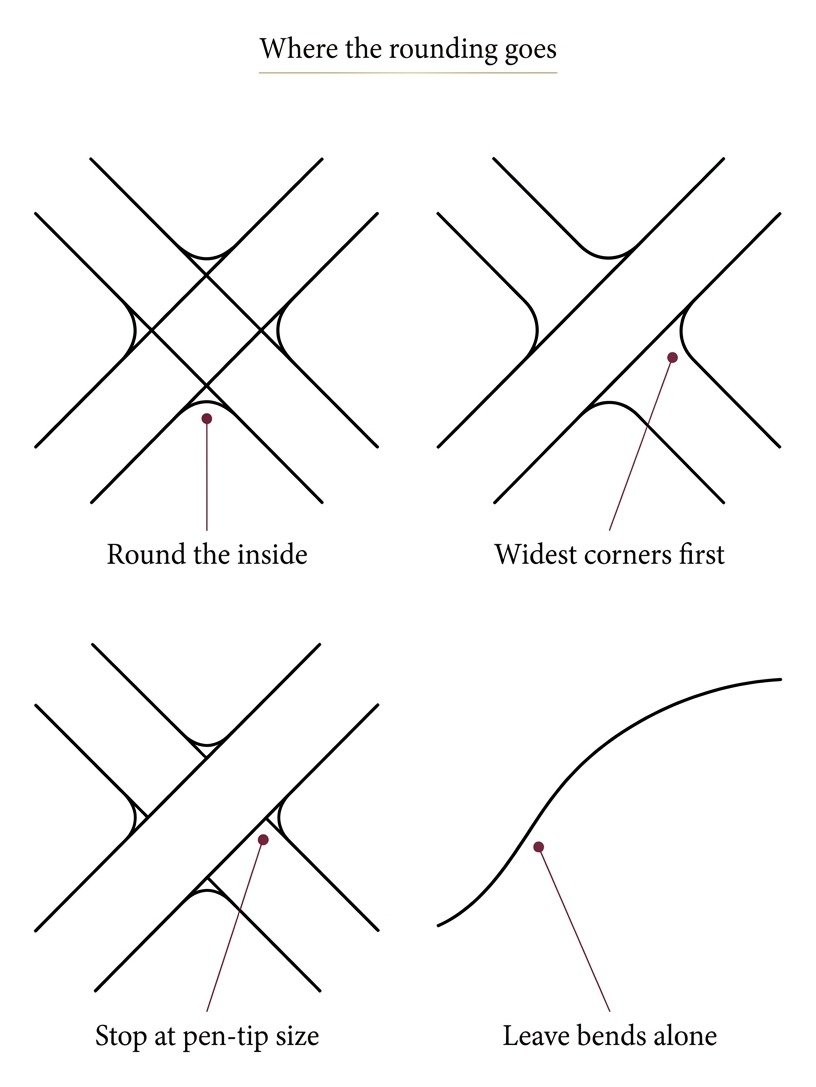
Look at one crossing. It has 4 corners: 2 wide ones and 2 narrow ones. Rounding means filling the inside of each corner with a small curve of ink. It is the bead of filler in the corner where two walls meet.
Put the pen tip right into the corner. Draw a short curve from one line across to the other. Then fill the tiny gap between the curve and the corner. (The gap is small and it matters. Leave it, and the corner still reads as sharp.)
How much to round depends on the corner. Stop at pen-tip size on wide corners. On narrow corners, go further along both lines, about a fingernail’s width. Narrow corners need more, or they still look sharp. I measured mine against my thumbnail for a week before I trusted my eye.
Do the widest corners first. They are the easiest, and they set the size for the rest. Then go back for the narrow ones. I start every page this way. (It is also the only housework principle I have ever applied consistently.)
That is where the rounding goes: inside the corner, never on the outside. Leave bends alone. A line that simply curves has no corner to round. Nothing to fill, so nothing to do.
A crossing has 4 corners. Round the inside of each one, and the lines turn into shapes.
You will see each crossing get a little thicker. That thickness is what joins the shapes. Your eye now reads one connected drawing, not lines lying on top of each other.
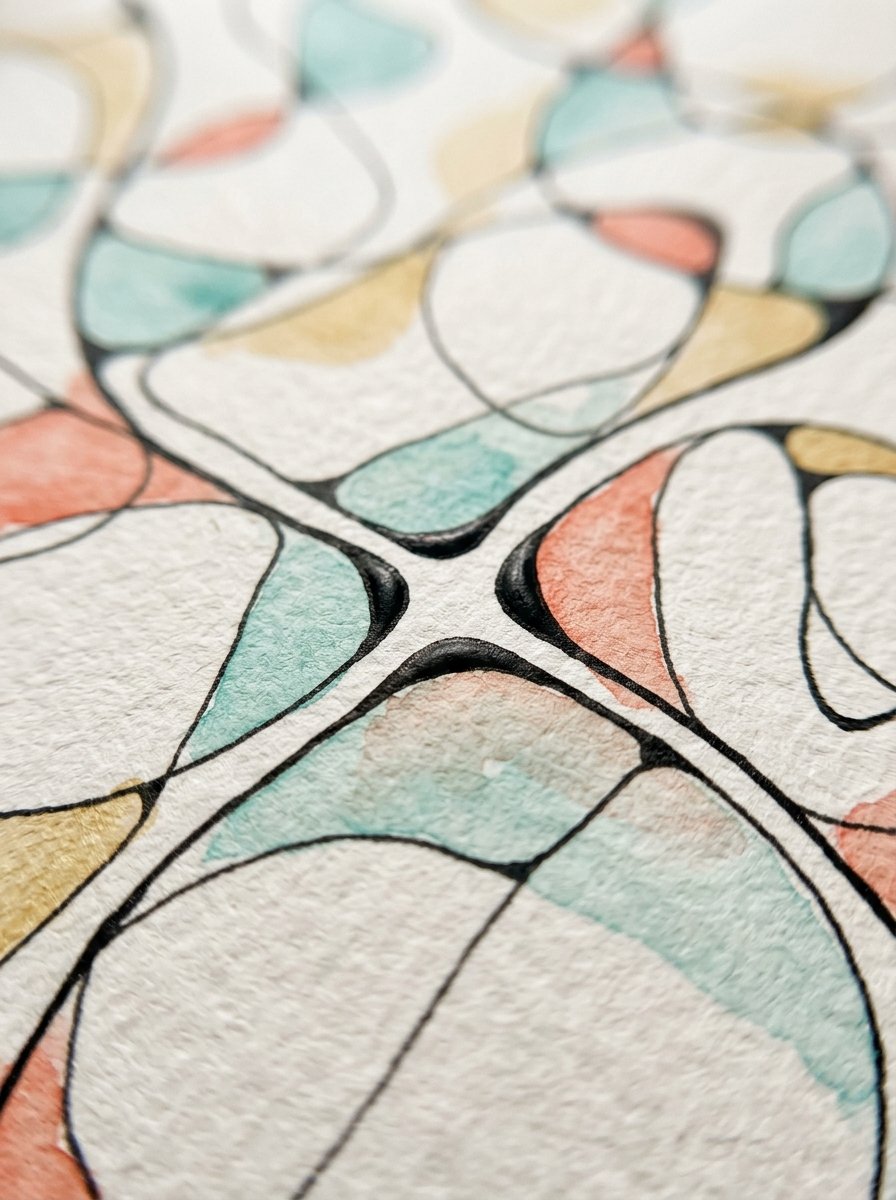
That is what the thickening looks like up close. The ink swells inward on all 4 corners. The lines stop being 2 lines and start being 1 joined shape.
If it looks wrong, check which side you rounded. A curve on the outside of a corner makes a bump. Turn the page upside down to check. Missed corners are much easier to spot that way. (I found 9 of them on a page I had already called finished.)
This is the slow step, and it is where most people stop. It helps to know how far one line can travel. On 18 December 1959, Friedensreich Hundertwasser started a single line at an art school in Hamburg. He drew it on the walls of his classroom.
The line ran over the walls, the doors and the windows. It went round the room in a rising spiral and turned every corner instead of stopping. When the school ended it, the line was about 10 kilometres long.
Your page has perhaps 10 crossings. Round one corner at a time and the page is done in one sitting. I have never had to draw 10 kilometres of anything, and I intend to keep it that way.
Step 3: Colour inside the shapes
Pick 3 colours from one family, such as blues and greens, plus one darker colour. I almost always pick blues and greens. (I own a tin of 36 pencils and reach for the same 4.) Colour pencils or felt-tips both work.
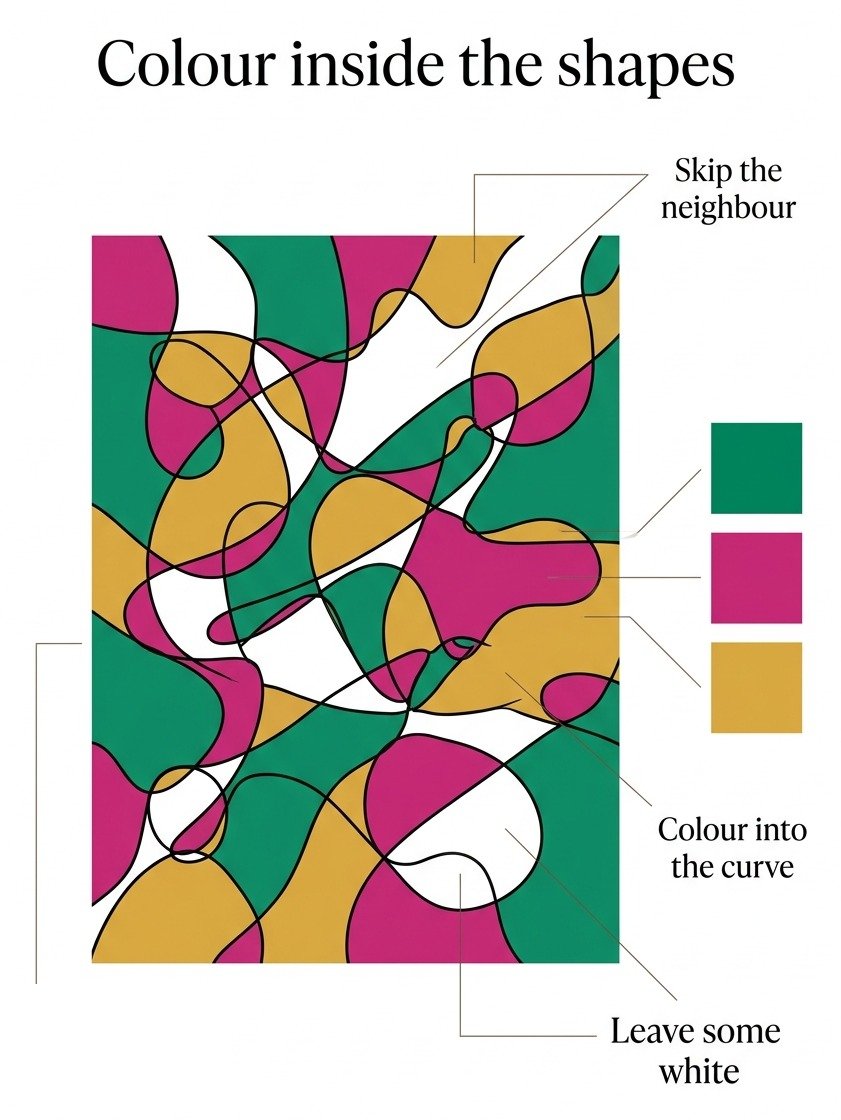
Colour one shape, then skip the neighbour. Come back to the gaps later with a different colour. Two neighbours in the same colour merge into one big shape. Working along in order is the tidy instinct, and it is the one to ignore.
Colour into the curve at every corner. Push the colour right up to the rounded ink. A white gap in a corner hides all the rounding you did in step 2.
Colour right up to the curve. A white gap hides the rounding.
Leave some white. A few empty shapes give the eye a place to rest, and the coloured shapes look brighter beside them. I leave 3 or 4 white on every page now. It took me a year to stop filling them in.
You will see the rounded crossings work like joints between the colours. This is the moment the page stops looking like a tangle.
If it looks wrong, the colours are usually too even. Let one colour fill about half the shapes. Use the darker colour in only 2 or 3 of them.
Step 4: 3 ways to vary it
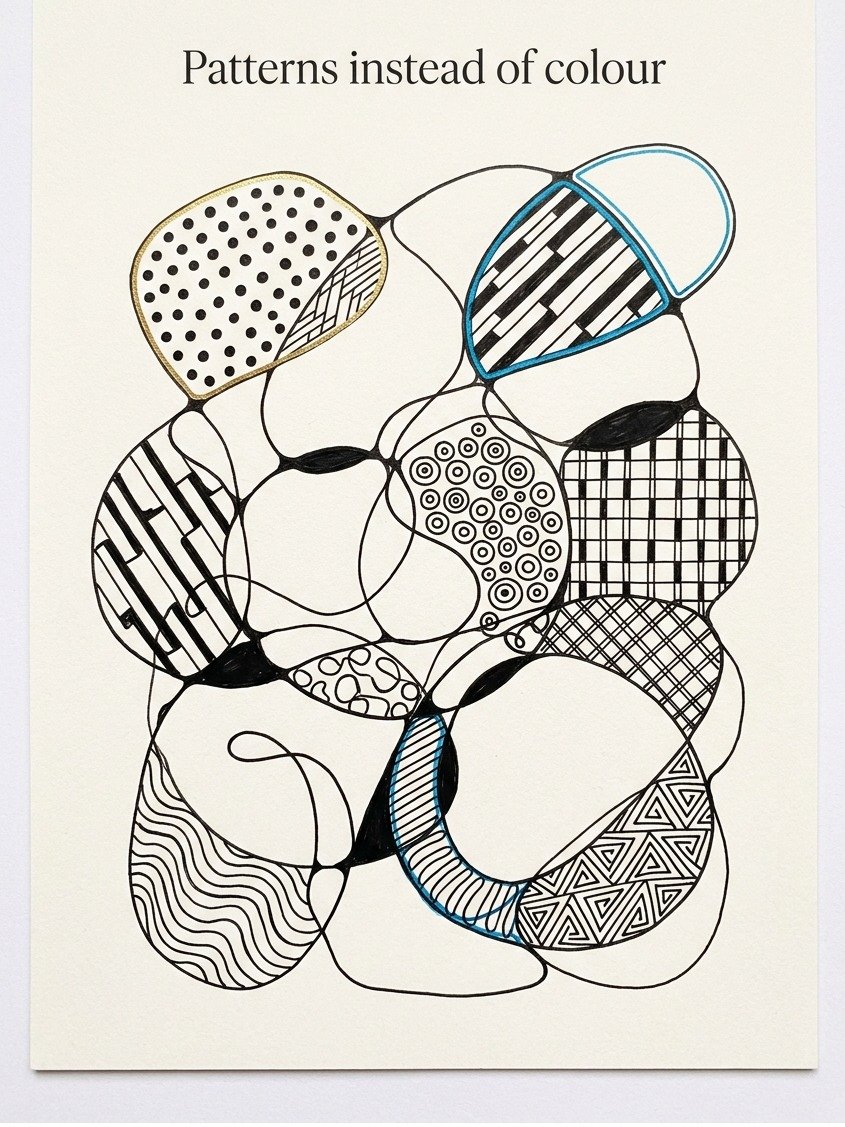
The first way is to use patterns instead of colour. Put dots in one shape, stripes in the next, and small circles in another. Keep the patterns bold and simple, so each shape reads from across the room. (The test is the doorway. Stand in it. If a pattern vanishes, it was too fine.)
Put solid black in the smallest shapes, never the biggest. A big black shape looks like a hole in the page. A small one looks like a jewel.
The second way makes the page look like a glass lamp. Clara Driscoll designed lamp shades at Tiffany Studios in New York. Her Dragonfly lamp won a bronze medal at the 1900 Paris World’s Fair.
Her shades are built from small pieces of coloured glass. A dark line runs round every piece, and the colours look richer against it. It is the same trick as your rounded corners, done in lead instead of ink.
To get that look, go over every line a second time so it is twice as thick. Round the corners again on the thicker line. Then colour every shape, and leave no white. I do this on a second copy, never on a page I already like.
Put solid black in the smallest shapes, never the biggest.
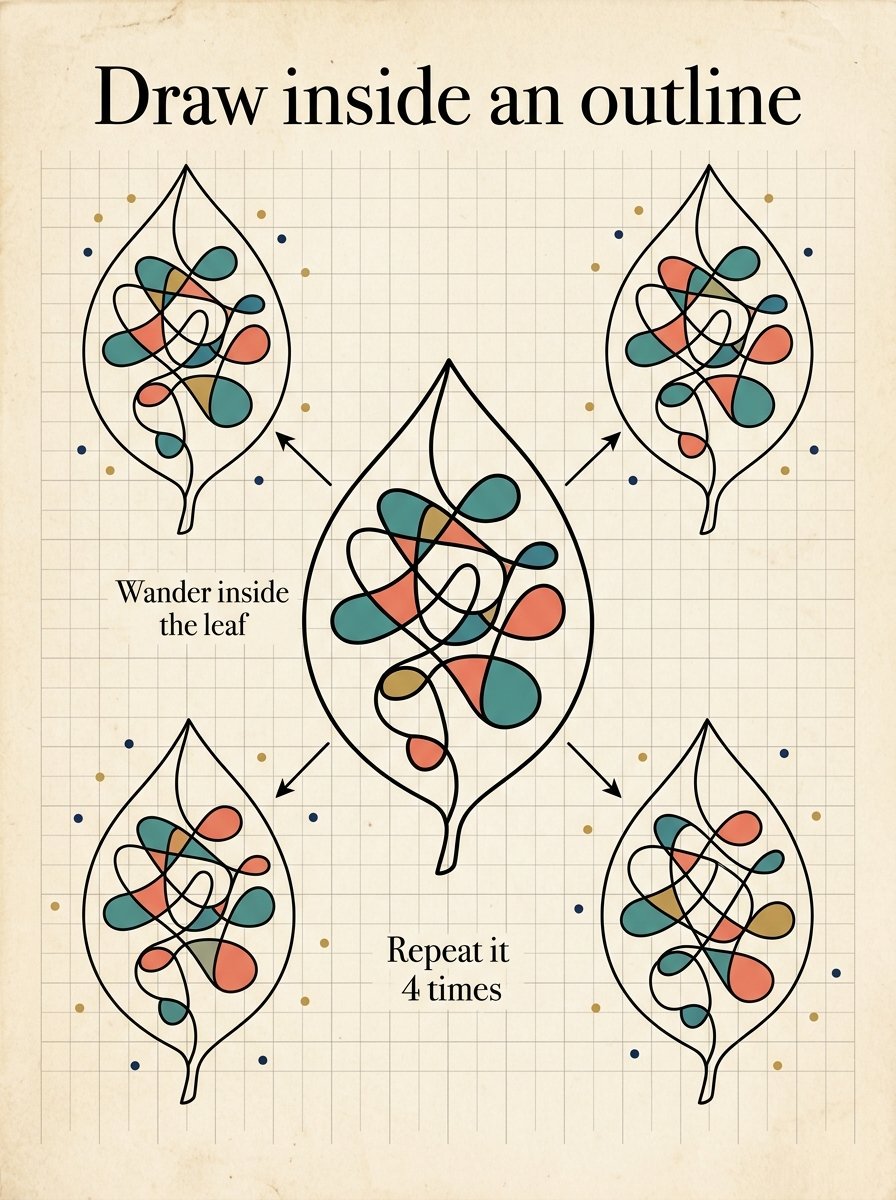
The third way is to draw inside an outline. Draw a simple leaf shape first. Wander inside the leaf with your line, round the corners, and colour it.
Then repeat it 4 times across a page, each leaf slightly different. You now have a pattern sheet made from one small idea. (I keep one of these taped inside a cupboard door. Nobody else knows it is there.)
Step 5: What goes wrong in neurographic art for beginners, and the fix
The shapes are too small to colour. You drew too many crossings. The fix is fewer crossings on the next page, about 8 on a small sheet. Fewer crossings, bigger shapes, and room to put something inside them.
The rounded corners look like blobs. Too much ink went into the narrow corners at once. The fix is to round in 2 passes. Make a small curve first, then add to it only if it still looks sharp.
The line looks stiff and straight. You moved the pen too fast, or held it too near the tip. The fix is to hold it further back and draw slowly, as if tracing a road on a map.
The colours turn muddy. Felt-tip over colour pencil often smears. The fix is to use only one of them per page. Or let the felt-tip dry before you add pencil. (I learned that on a page I had spent 2 evenings on.)
Some corners got missed. That happens on every page I draw. Turn the page upside down and look again, and the sharp ones stand out straight away.
What is neurographic art for beginners, in simple terms?
The name comes from a drawing method built on this idea. It is a drawing made from one wandering line. You round every corner where the line crosses itself. Then you fill the shapes with colour or patterns. That is the whole technique. I went looking for the complicated version. There is not one.
What techniques does neurographic art use?
There are 3 basic techniques: a free line, rounded crossings and filled shapes. The variations in step 4 add three more: bold patterns, a thick glass-lamp line, and a line drawn inside an outline.
Patterns are the technique most people run out of first. Once you have tried dots, stripes and circles, the next shape is often left empty. I use all three on most pages.
Free Starter Pack
Get 10 free pattern templates for your rounded shapes.
Sent tonight. Bold stripes, dots and scallops that fit inside any shape.
Unsubscribe in 1 click, no hard feelings
Rounded shapes fill a page fast. After a few pages I kept reaching for the same 3 patterns. The zen doodle toolkit gave me more to choose from. It has the method in 3 simple steps, 30 daily worksheets and a large pattern bank.
30 pattern worksheets and a full bank of fills
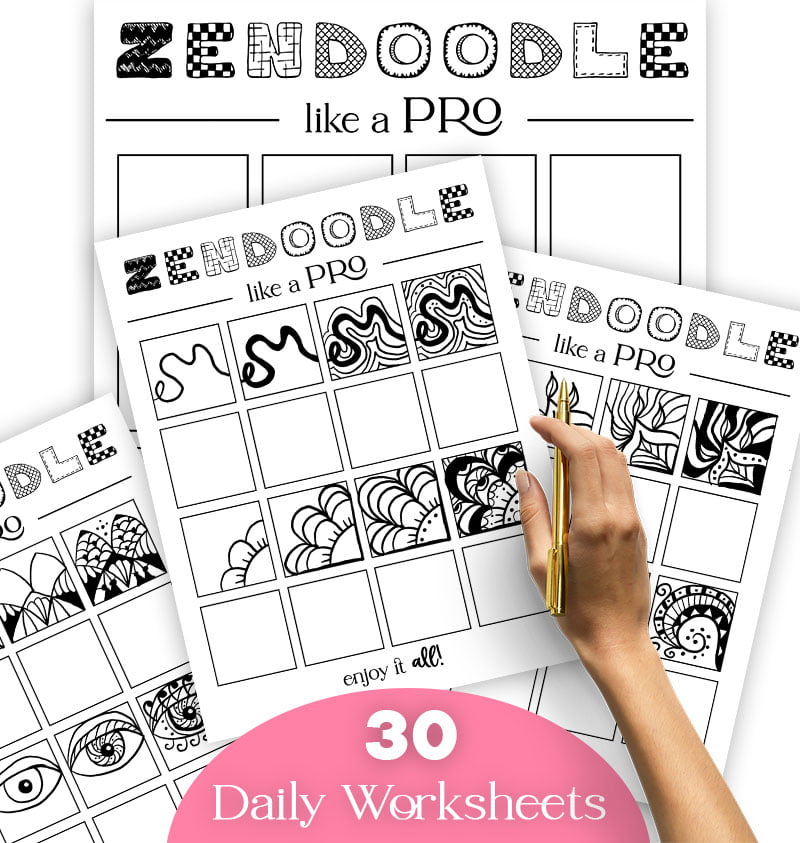
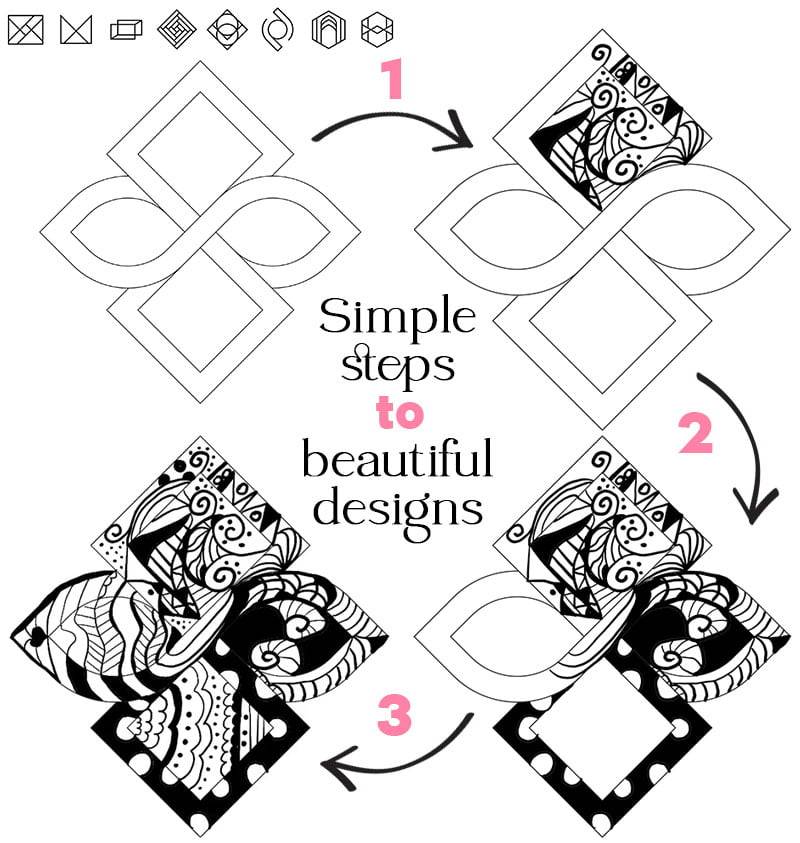
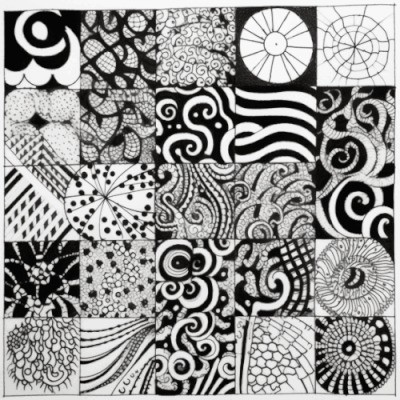
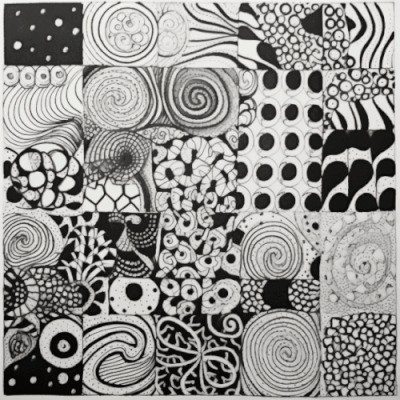
Draw your line and round the corners. Then open one worksheet. Each one teaches a single pattern in 3 steps. Do one each evening, and by the weekend every shape on your page has its own pattern. Print them, or copy them freehand. I have done both, and the freehand ones are the ones I kept.
Instant download · print as often as you like
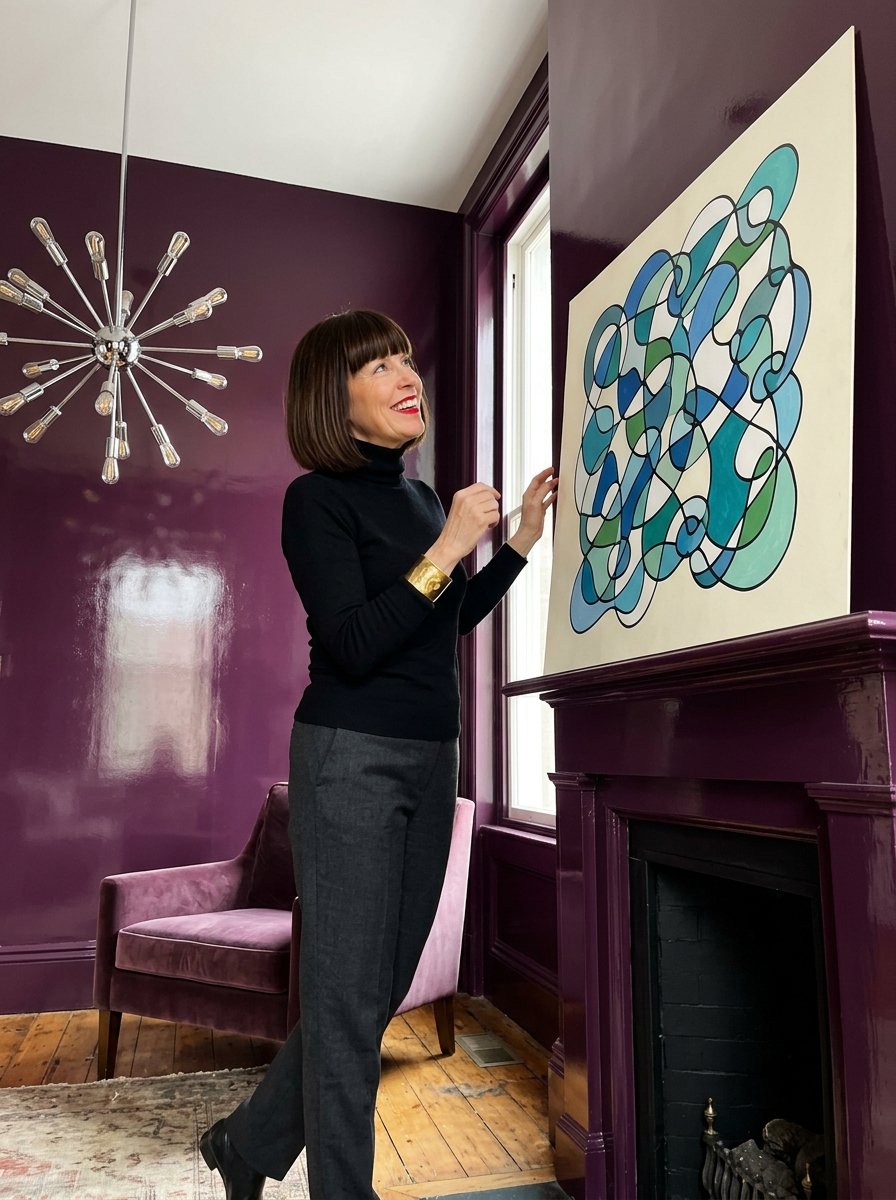
One line wanders across the page. Wherever it meets itself, you soften the corner. By the end, the page is full of shapes that fit together, like glass in a lamp.
“yellow butterflies swarming over a field of wild primroses”
Clara Driscoll, on her Butterfly lamp
Mirabelle wrote this. No training, strong opinions, many pens. Peer reviewed by a cat who rounded off a corner of the practice page with her teeth.