Tonight I am copying a line drawing of a man in a chair, upside down. It is the best way I know to learn to draw as an adult.
It is the first copy I have made that looks like the original. The hands and the sleeves are right.
I changed one thing. I turned the picture over, so I could not tell what I was drawing.
The trick comes from an art teacher who spent years proving that drawing can be learned. This post tells her story. Then it turns her idea into a plan. It runs for 31 days, 11 minutes a day, with a printable lesson for each day.
Download all 31 lessons (PDF) →
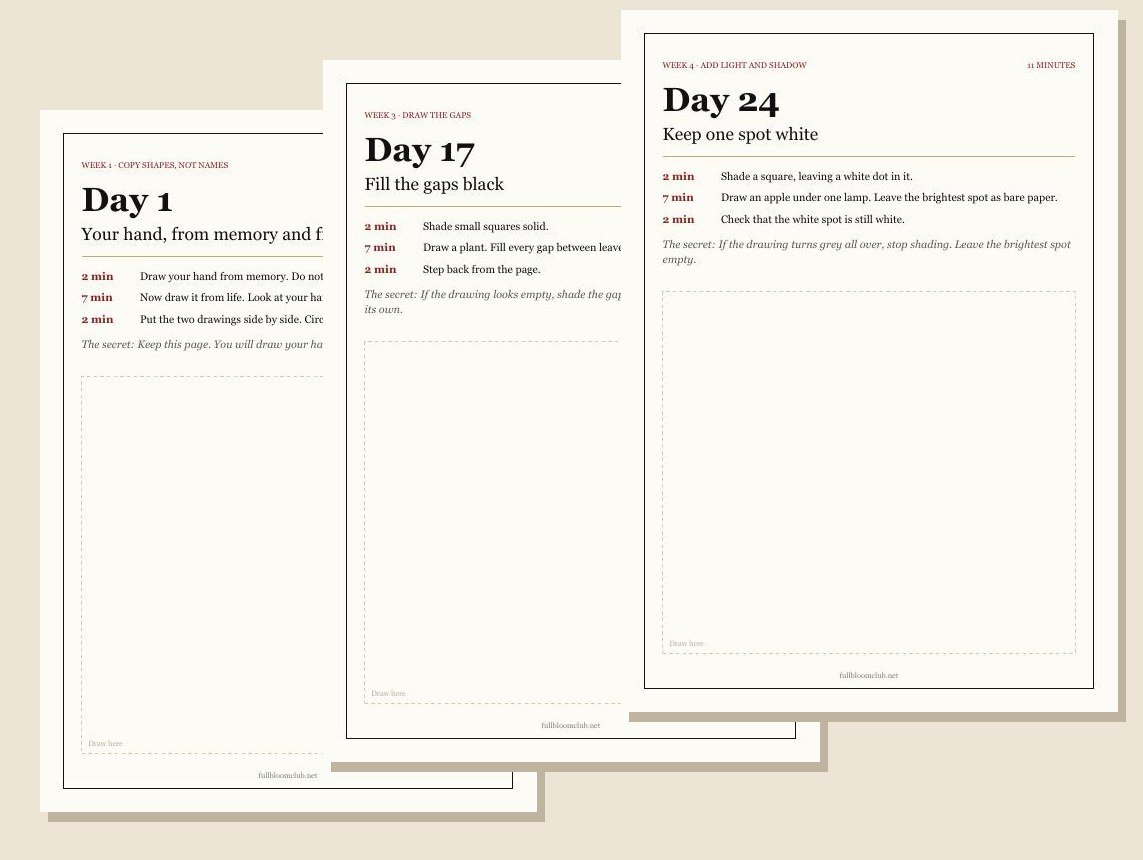
The PDF has one page per day: the 3 parts of the 11 minutes, one secret, and a box to draw in.
Most of us were taught that you either can draw or you cannot
I stopped drawing at school, after a horse that came out looking like a sofa. (It had very good cushions.)
After that, drawing felt like a talent. Some people had it. I did not.
Try this. Draw an eye from memory, right now, in 10 seconds.
If yours is an almond with a circle in it, that is not an eye. It is the sign for an eye that we all learned as children.
A real eye has a lid with thickness, a wet inner corner and a lower lash line. The sign has none of that. Below: the sign, and a real eye.
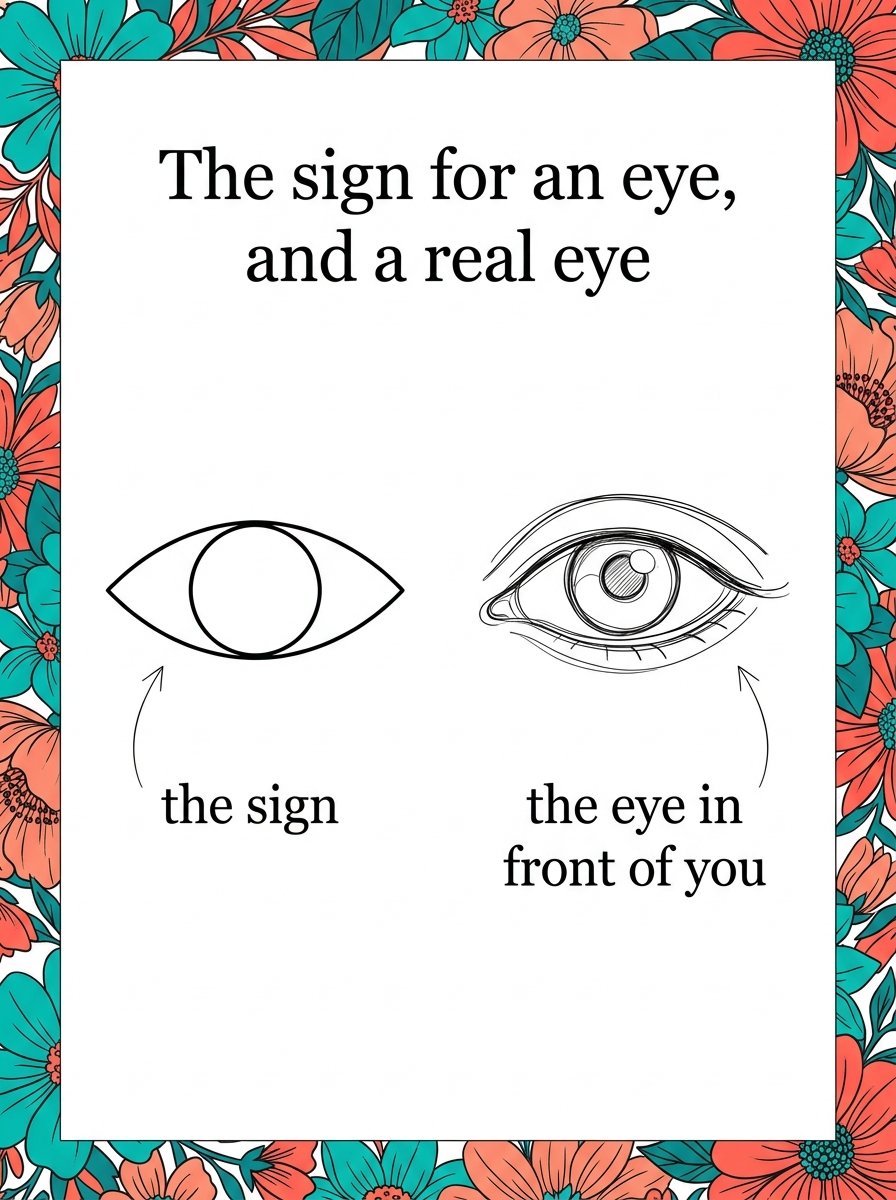
Drawing badly is very often just drawing the sign. The fix is to look at the eye in front of you instead.
Betty Edwards taught people who were sure they could not draw
Betty Edwards taught art at California State University, Long Beach, from 1978. Many of her students were sure they had no talent.
She did not accept that. In 1979 she published Drawing on the Right Side of the Brain. It stayed on a national bestseller list for nearly a year. (A drawing book. Among the thrillers.)
Her book said drawing can be learned by anyone who learns to see.
I read it years after I had given up. It was the first book that blamed the method, not me.
Learning to see takes a month. On the evenings in between, it helps to finish something pretty. Bloom & Pattern turns each flower into simple shapes you fill with patterns. The evening ends with a finished flower.
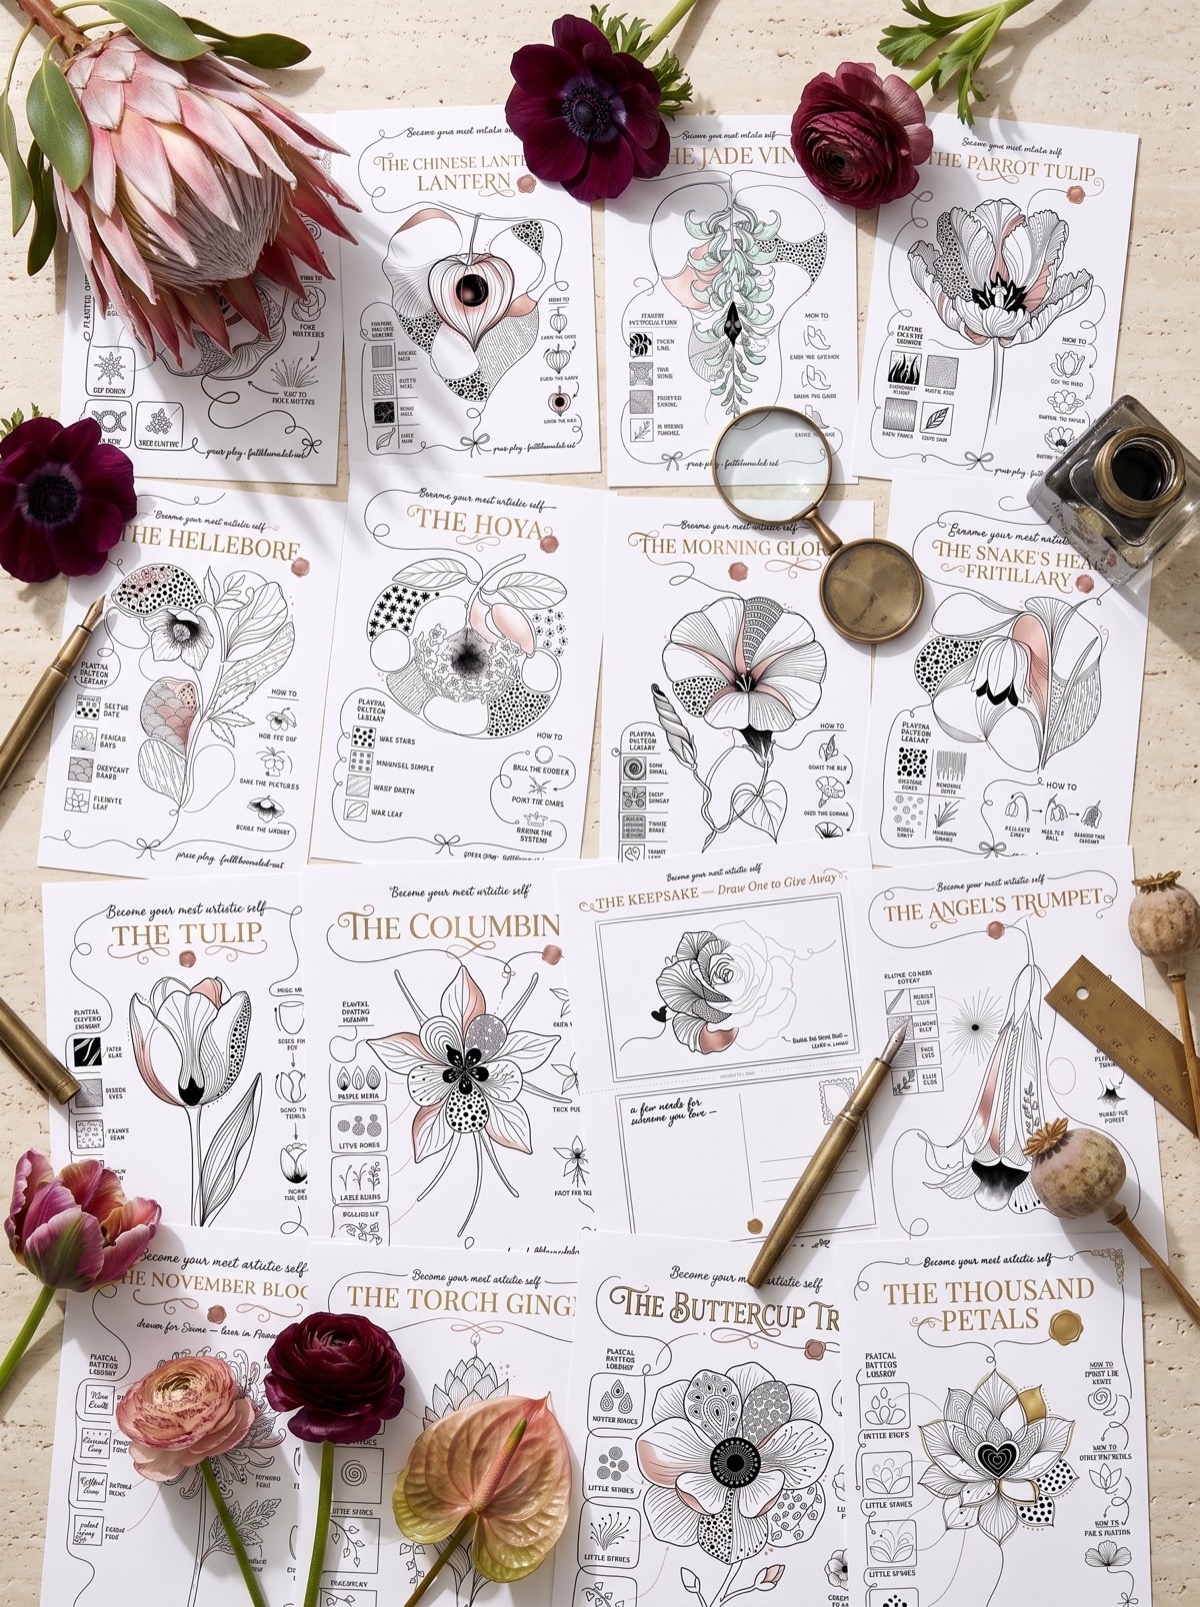
The Collection
BLOOM & PATTERN — tulips, roses, lotus, and 60 flowers built from simple shapes.
Between lessons, finish a flower in 3 steps. Inside: 60 step-by-step flower guides, 30 line-art flower ideas and 30 pattern guides. (Each flower starts as shapes, the same way this plan teaches.) What you get: a finished flower in one evening, and pages good enough to frame.
Now back to Betty Edwards, and the discovery that made her book work.
People draw the name of a thing, not the thing
Edwards explains it on her own website, and the explanation is about words. The part of us that uses words wants to name each part: eye, nose, chair leg.
Once a part has a name, the hand draws the name. It draws the sign from childhood, not the shape on the page.
Her fix was to make naming hard. She turned the picture upside down.
Upside down, it is hard to say “that is a hand”. So you copy a curve, then an angle, then a gap. Mine came out closer to the original than anything I had drawn the right way up.
Her site describes how the word-part of the mind reacts to an upside-down picture. It says: “I don’t do upside-down.” (Fair enough. Nor do I, before breakfast.)
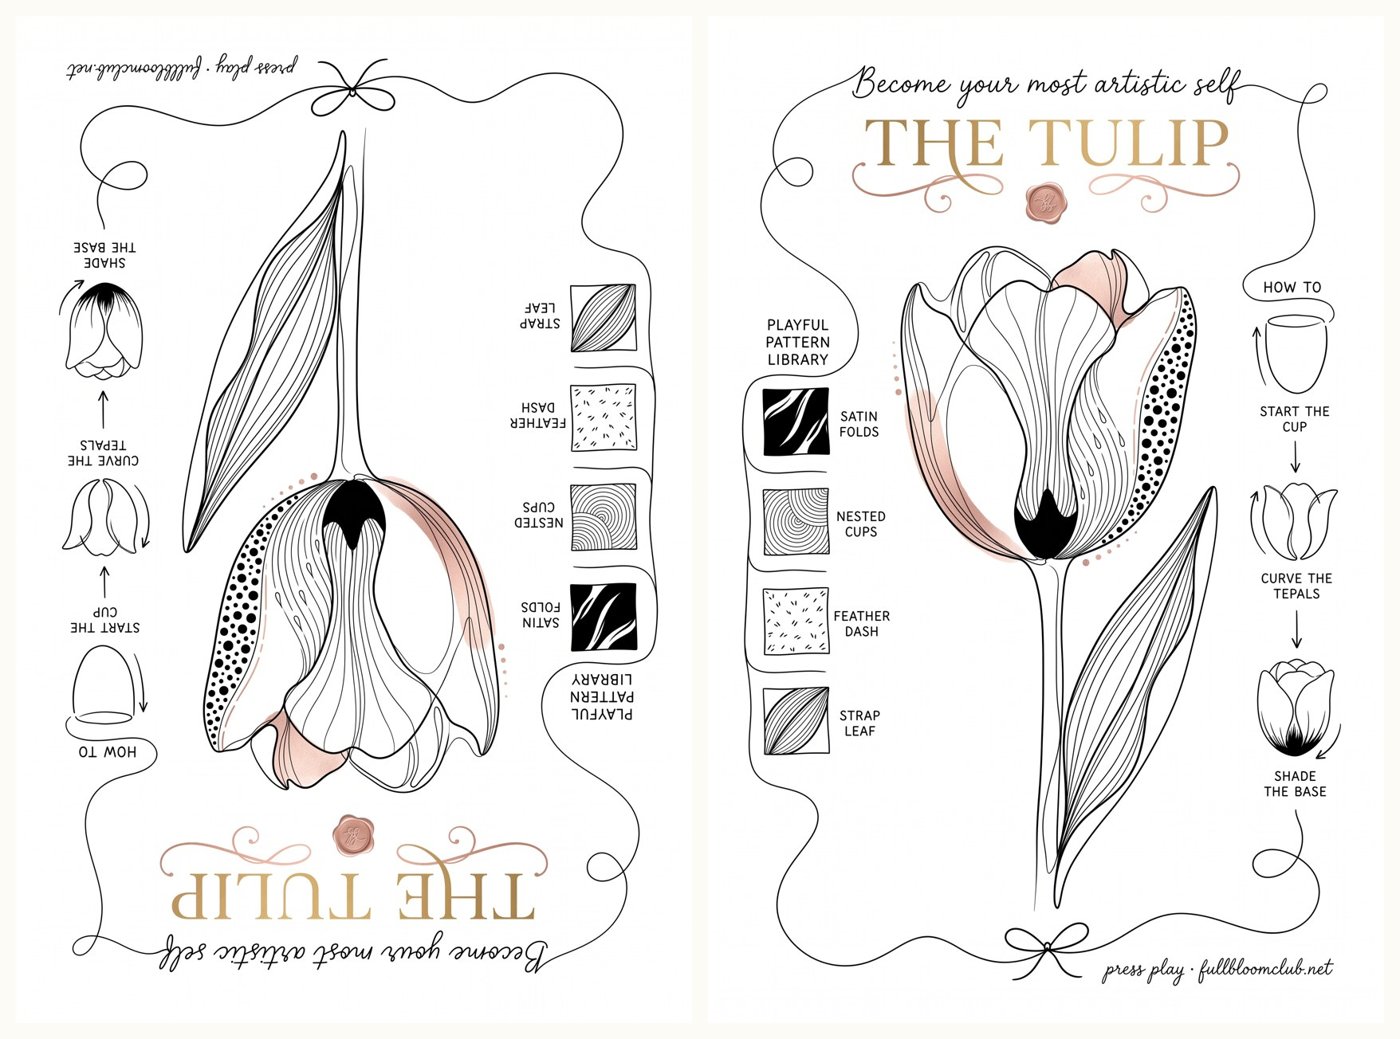
The left copy is the one to draw from. Turn your finished copy the right way up only at the end.
An upside-down copy teaches your hand to follow edges
Here is how to do it tonight, in the 7-minute part of day 2.
Choose a line drawing, not a photo. Turn it upside down. Put your paper beside it.
Upside down, the picture stops being furniture and becomes a road with bends in it. You follow the bends.
Start at the top edge of the picture. Copy one line until it meets another line.
Then copy the next line from that meeting point. Keep going, edge by edge.
Do not turn anything over until you finish. If you peek, the names come back.
I peeked at 3 minutes on my first try. The chair became a chair again at once, and my hand started inventing legs.
When a line looks wrong, check where it touches its neighbours. Fix the meeting points, not the whole line.
Copy the edges, not the names.
The best way to learn to draw as an adult is a short lesson every day
This part of the plan has an earlier supporter. In 1857 John Ruskin published The Elements of Drawing. He wrote it as 3 letters to beginners.
Ruskin told his readers never to draw when they were tired. He said a short, careful practice beats a long, sulky one. He put the short one at a quarter of an hour. (I have tested the sulky version. He is right.)
The plan uses 11 minutes: 2 to warm up, 7 for the lesson, 2 to compare. It is short enough to do every day, which is how people learn to draw as an adult. It is long enough to finish one exercise.
The comparing matters most. Most lessons end with today’s drawing next to an earlier one. You see your progress on paper, not only in your head.
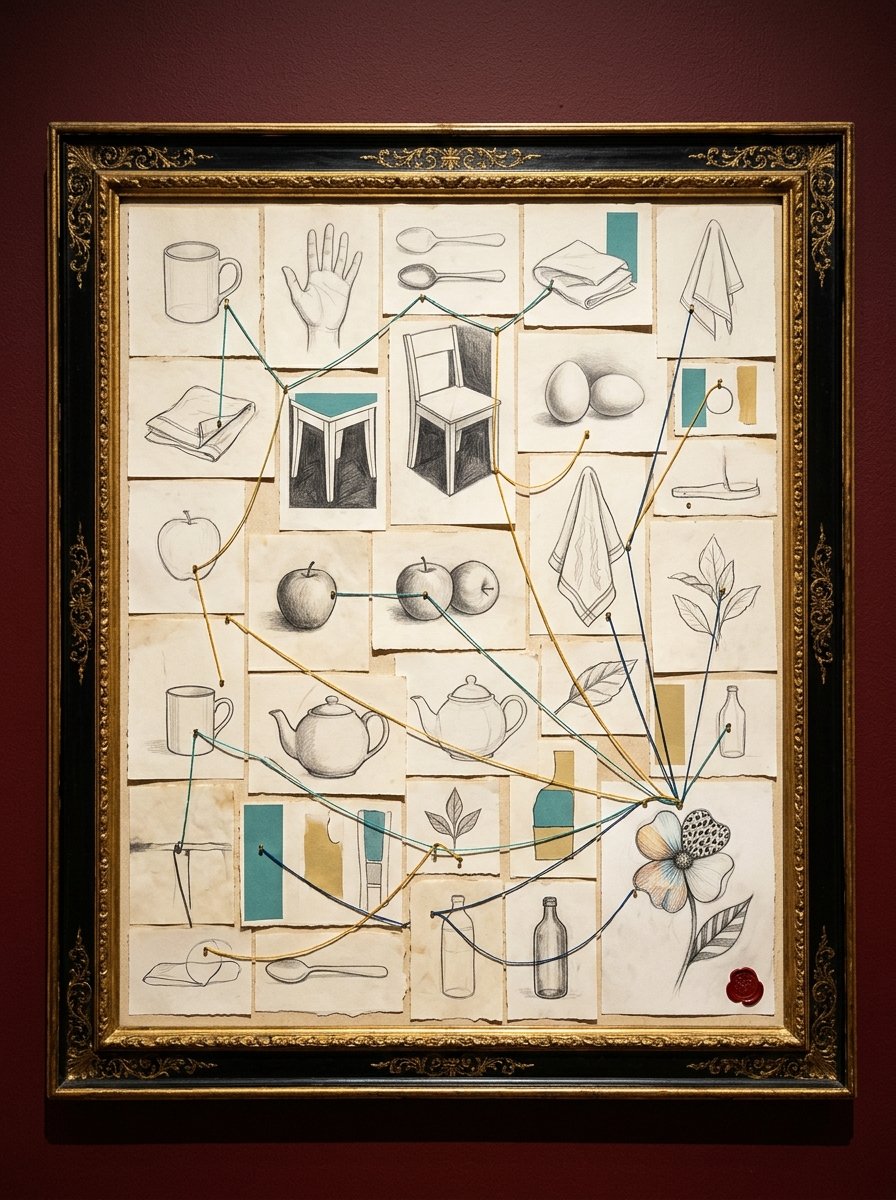
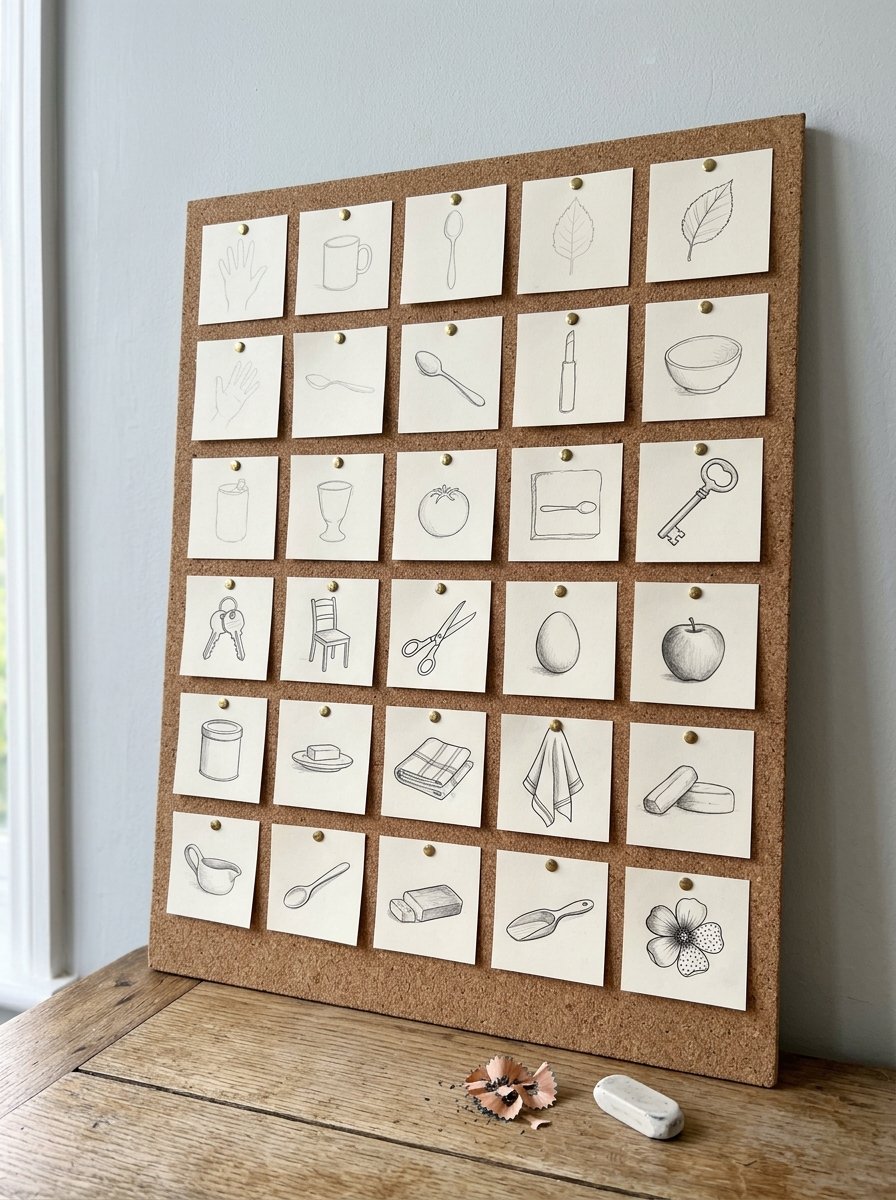
Each small study above stands for one day. The threads join the days that repeat an earlier subject, so you can compare them.
Your first lesson to learn to draw as an adult takes 11 minutes tonight
Day 1 needs a pencil, 2 sheets of paper and a timer.
For 2 minutes, draw your hand from memory. Do not look at it.
For 7 minutes, draw it from life. Rest your hand on the table. Look at it more than at the paper.
For the last 2 minutes, put the two drawings side by side. Circle one difference.
Keep both. On day 31 you draw your hand again and lay all three together. (I kept mine in an envelope marked “day 31”. I opened it on day 4.)
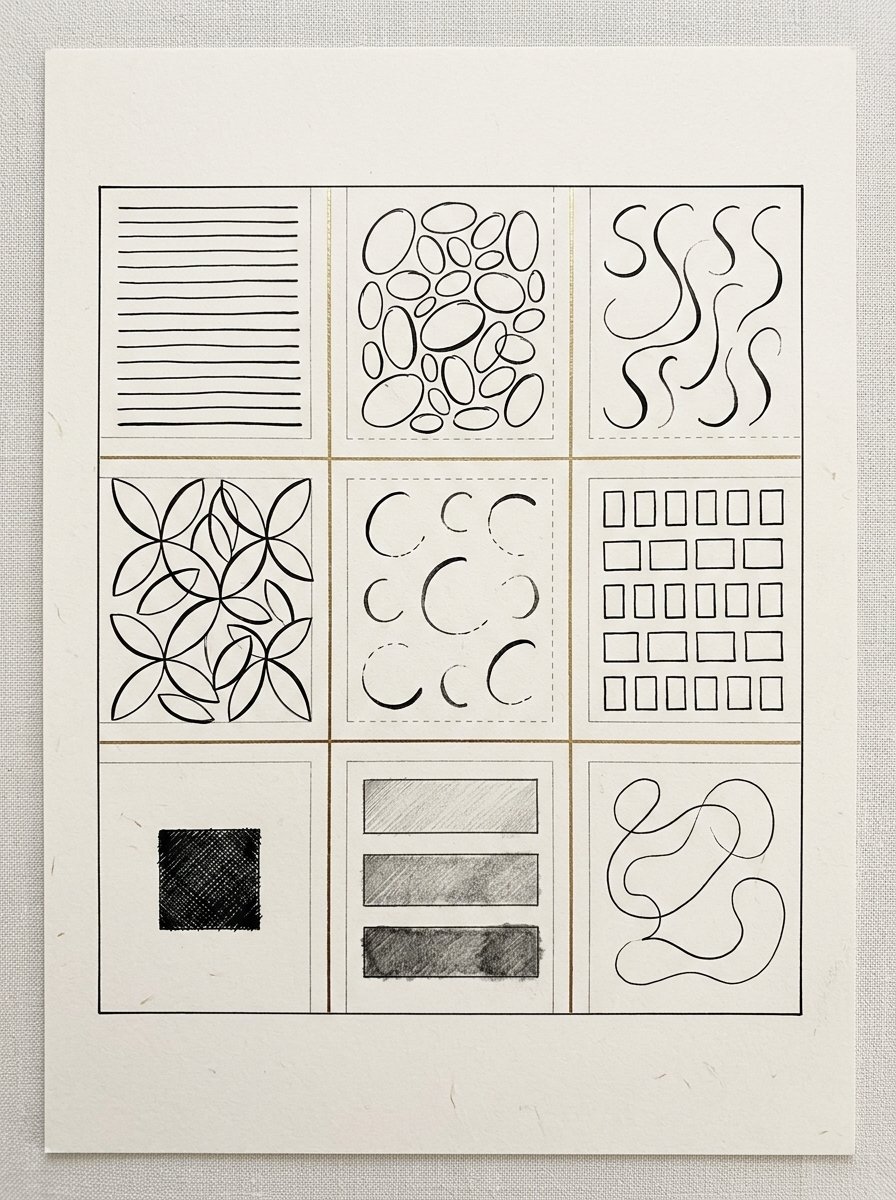
Every lesson starts with a 2-minute warm-up like one of these squares. Lines and ovals come first. Shading comes in week 4.
Week 1: learn to draw as an adult by copying shapes, not names
Days 1 to 7 use upside-down copies, tracing and simple objects. Each day has 2 minutes of warm-up lines, 7 minutes of drawing and 2 minutes of comparing.
The week has 7 subjects. First your hand, an upside-down line drawing, an upside-down chair photo and a traced flower. Then a mug, a leaf, and your hand again.
Day 3 is the first hard day. The chair photo has far more lines than the day 2 drawing. The copy looks worse, and it feels like going backwards.
What to do on day 3: start at one corner of the photo. Copy only the lines that touch that corner. Then move to the next corner.
(The chair photo has more lines than day 2 by design. The hard day sits early, while the plan is still a novelty.)
A nuance for day 5: the top of a mug is an oval, not a circle. It only becomes a circle if you look straight down into the mug.
Use the mug you actually drink from, the one that has survived 2 kitchens. A shape you know by heart is harder to fake.
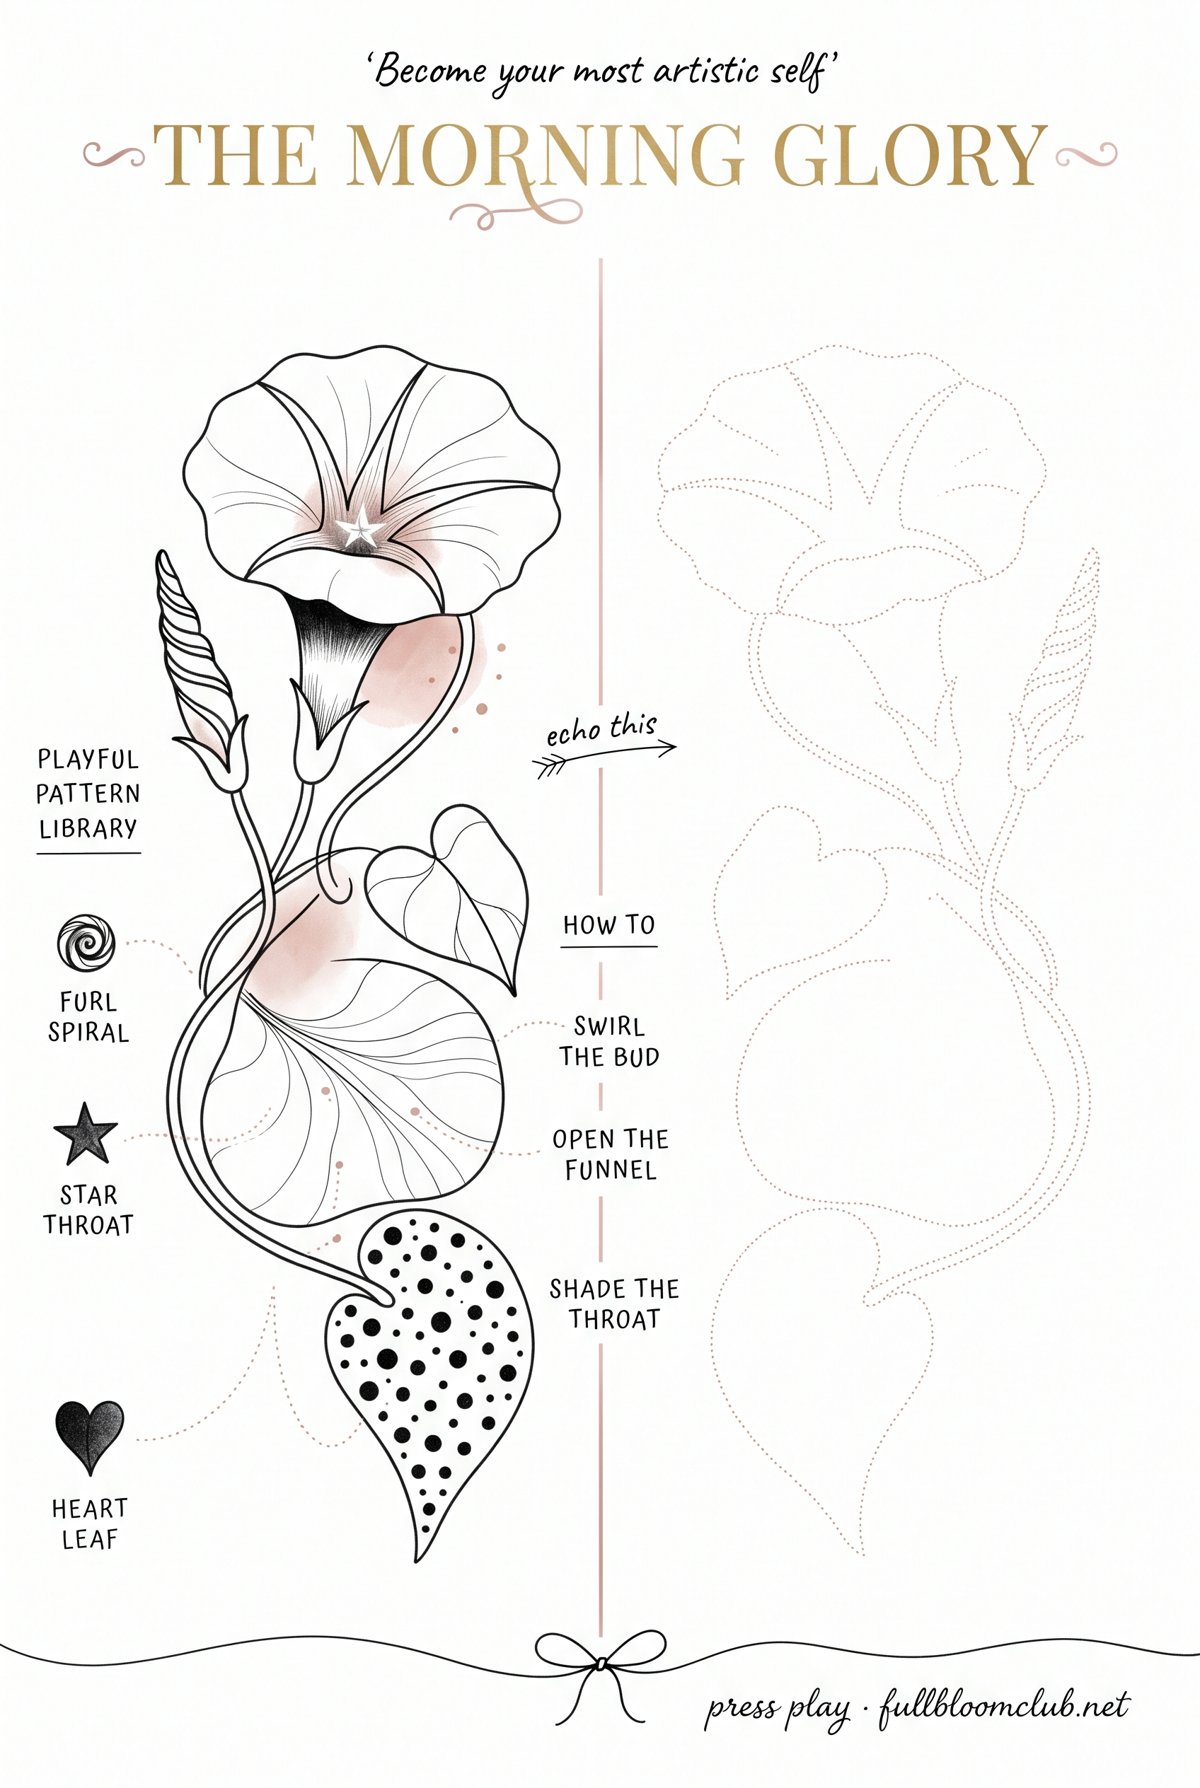
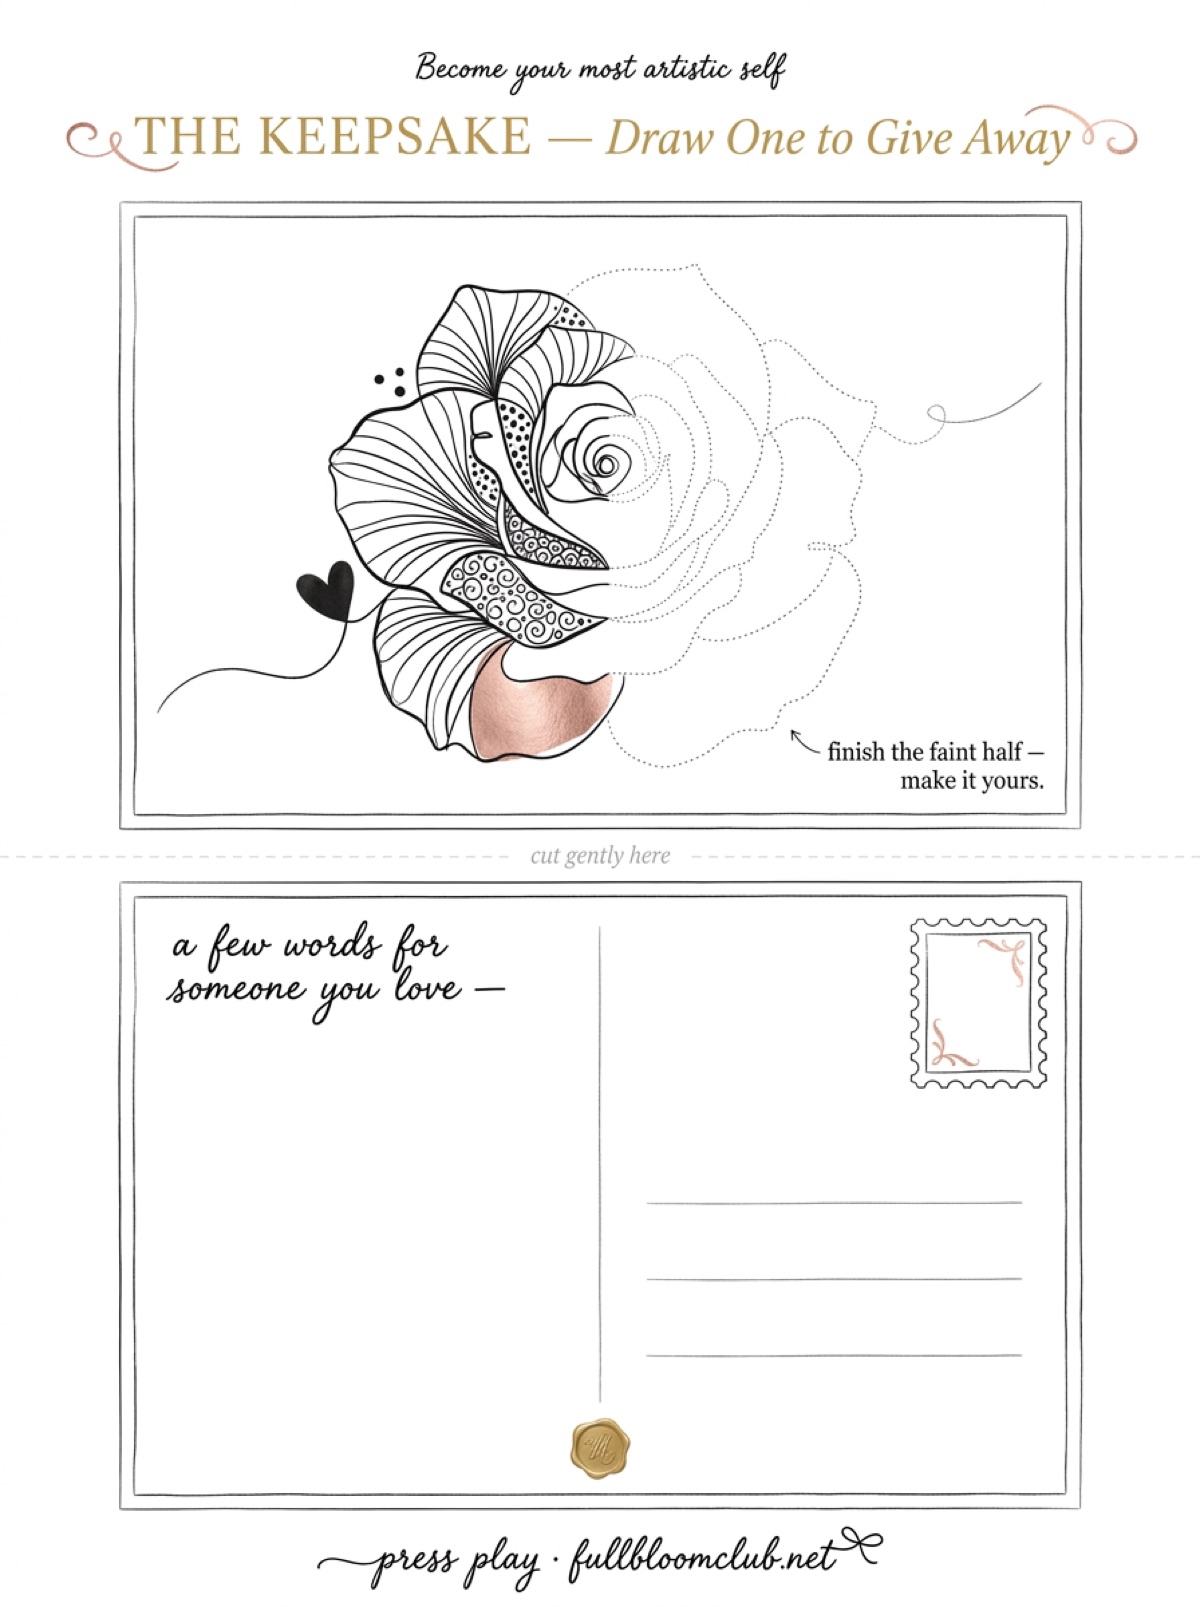
Day 4 uses a sheet like this one. Trace the faint flower first. Then copy it freehand beside your tracing.
Week 2 slows your line down until it follows the edge
Days 8 to 14 are about speed. A fast line guesses. A slow line follows what is really there.
The subjects are a spoon, a tea towel, a cup, a shoe, 3 keys and a flower. Day 14 repeats the day 5 mug.
The rule for the week: look at the object 3 seconds for every 1 second at the paper. Move the pencil only while your eyes move along the edge.
Day 10 is the hard day. Your lines wobble and the cup looks shaky. It is tempting to draw faster. (I did. The cup got worse, faster.)
What to do on day 10: halve your speed and draw only the outline of the cup. A slow line wobbles less than a fast one.
A nuance for day 12: draw the biggest key first. The first object you draw sets the size for everything after it.
Look at the object 3 times longer than at the paper.
Week 3 draws the gaps around things
Days 15 to 21 turn drawing inside out. You draw the air around an object instead of the object.
Gaps have no names. Nobody learned a sign for the space between chair legs. So you draw the real shape.
The subjects are a chair, your fingers, a plant, a plant against a bright window, scissors and a cup handle. Day 21 repeats the chair.
Day 17 is the hard day. The page looks empty, and the exercise feels pointless.
What to do on day 17: shade every gap solid black. Step back from the page. The plant appears on its own, drawn only by the spaces around it.
A nuance for day 20: draw the hole inside a cup handle before the handle. The hole is easier to judge.
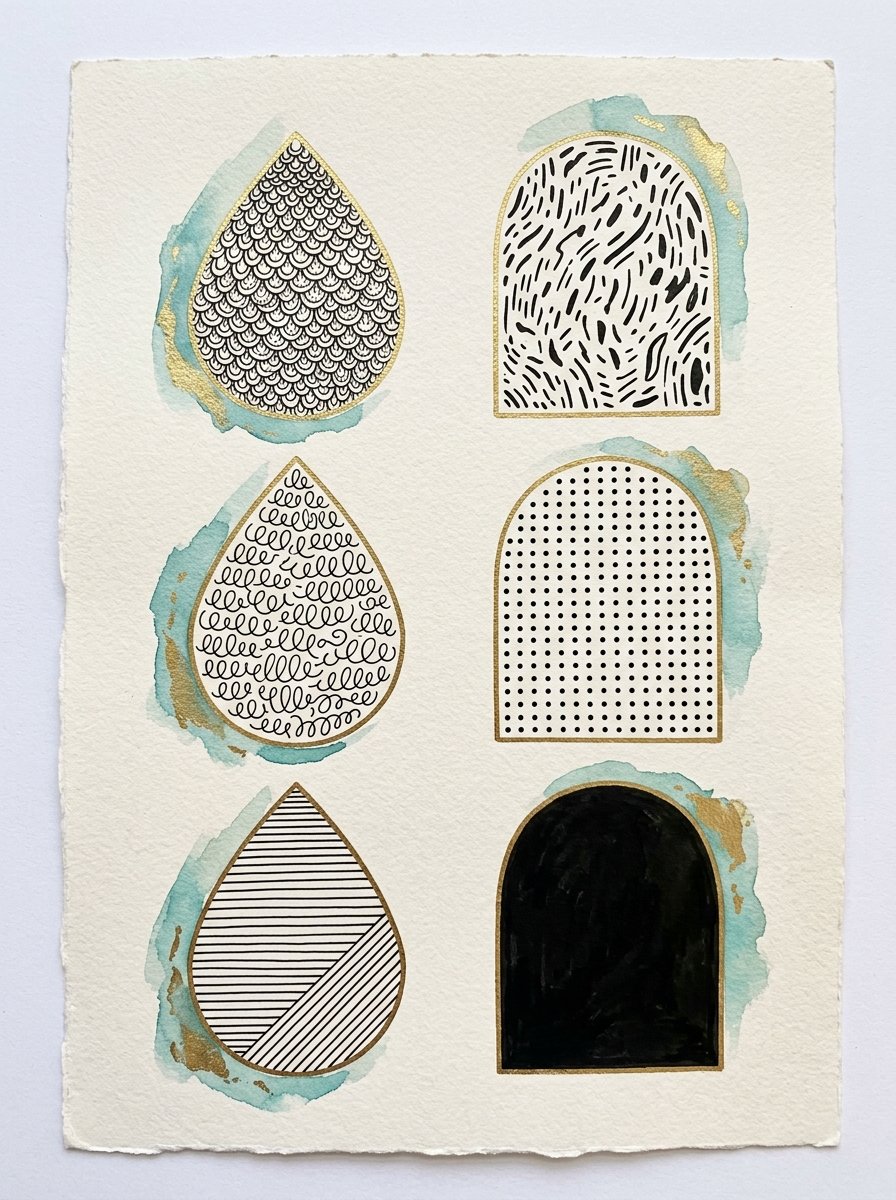
Once the gaps are shaded, you can fill some of them with simple patterns instead of black. These are the easiest fills to start with.
Filling gaps goes faster when the patterns are already drawn for you to copy.
Free Starter Pack
10 pattern templates for filling the gaps in your drawings.
Sent tonight. Simple fills to copy into any gap, from day 17 to day 31.
Unsubscribe in 1 click, no hard feelings
Week 4 moves from lines to light.
Week 4 adds light and shadow without outlines
Days 22 to 28 are about tone. Tone means how light or dark each part of the drawing is.
Georges Seurat is a good guide here. In 1883 and 1884 he drew with conté crayon on textured paper.
Yale University Art Gallery describes one of those drawings in 8 words. “There are no sharp contours in this image.” The forms are made from areas of tone, not lines.
You can try the same idea with a pencil. Shade an apple lit from one lamp, and draw no outline at all. The edge appears where dark meets light.
The subjects are a pencil scale, an egg, an apple, a paper ball, an apple with no outline and a folded cloth. Day 28 repeats the egg.
Day 24 is the hard day. You shade and shade, and the whole apple turns grey.
What to do on day 24: stop shading. Find the brightest spot on the real apple. Rub that spot back to bare paper and leave it alone. (The white paper is the brightest thing on the table. Use it.)
A nuance for day 25: squint. Squinting joins lots of small tones into 3 big shapes: light, middle and dark.
A nuance for day 22: for the darkest box of your scale, go over it twice. Pressing harder only dents the paper.
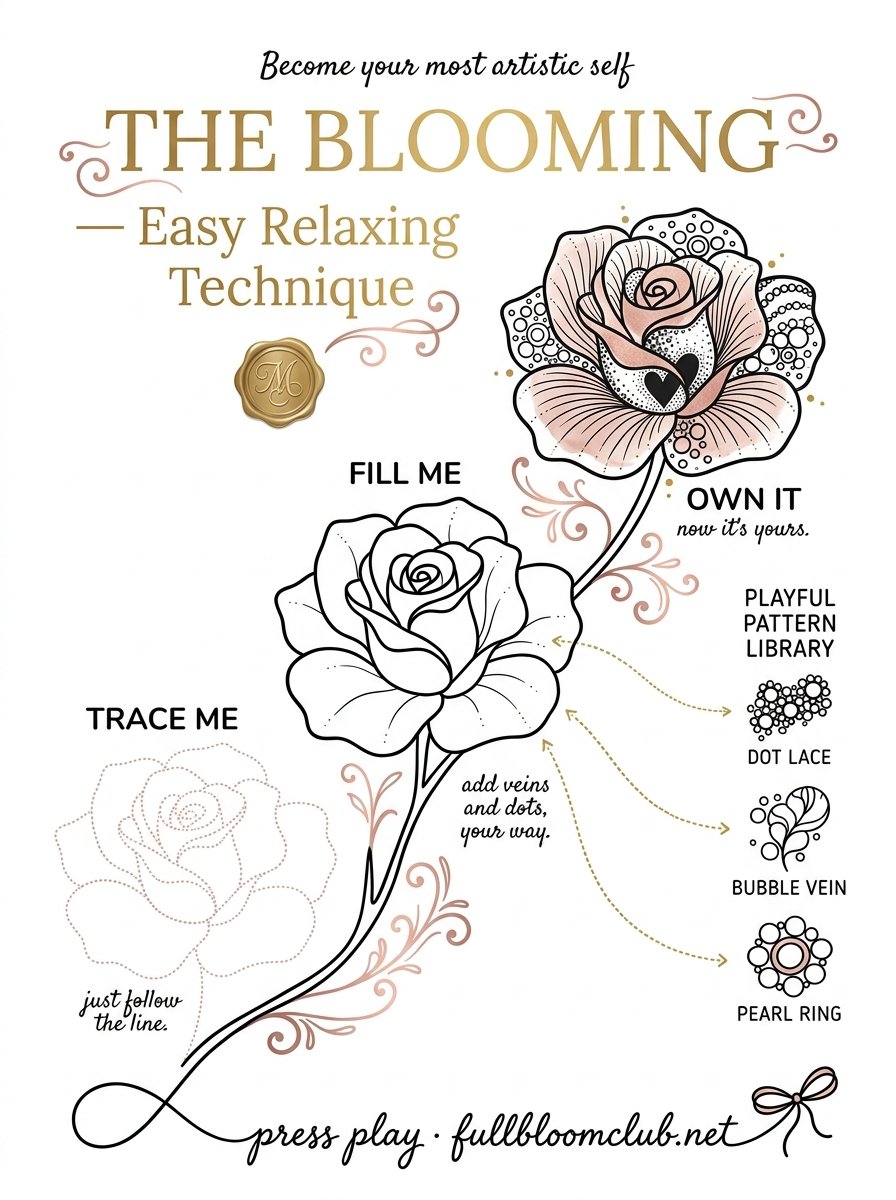
A progression sheet like this one follows the same order as the last 3 days: outline, detail, then pattern.
Days 29 to 31 turn everything into one finished flower
The last 3 days use every week at once, on one drawing.
Day 29: choose a flower with 5 petals or fewer. Draw the gaps first, then the outline.
Day 30: go over the outline slowly and add the inner edges of the petals. Darken only the lines you are sure of.
Day 31: shade from one light. Fill one petal with a simple pattern. Then lay the flower next to your day 1 hand.
Tape both to the same cupboard door for a week. Progress is invisible day to day and plain across a month.
Write the date on the back, not the front. The front belongs to the flower.
(I wrote mine on the front of day 29. It now reads like a receipt.)
Gaps first, then the line, then the light.
The printable plan to learn to draw as an adult, all 31 days
The free PDF holds all 31 lessons to learn to draw as an adult, one per page. Print one week at a time, so the stack stays small.
The tracker below is for ticking the days off. It is 31 days, 11 minutes a day. Draw a tiny version of each day’s subject in its box when you finish.
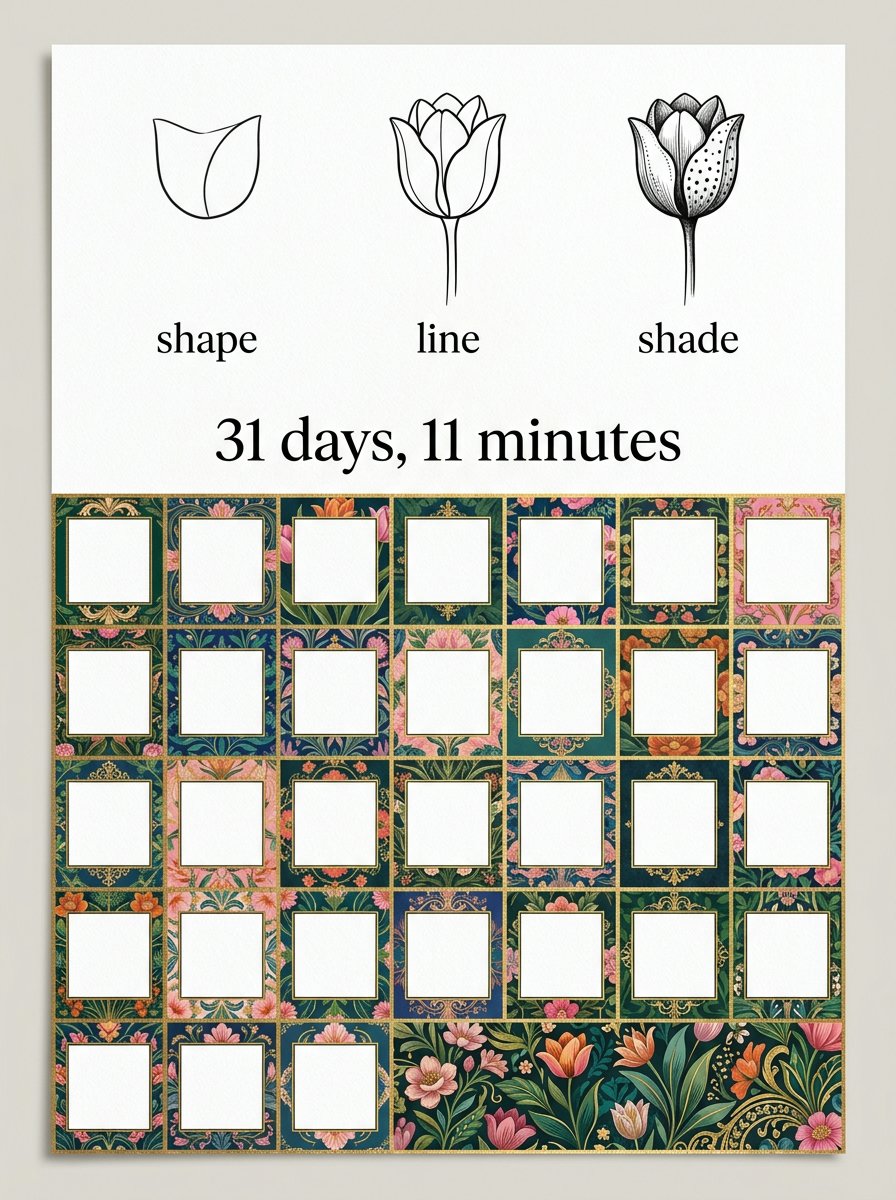
The tulip at the top shows the 3 stages in miniature: shape, line and shade. When faces are next on your list, the 30 days of faces plan uses the same daily rhythm.
I skipped 2 days in my month. I did not start again. I just did the next lesson. (Nothing in the plan checks.)
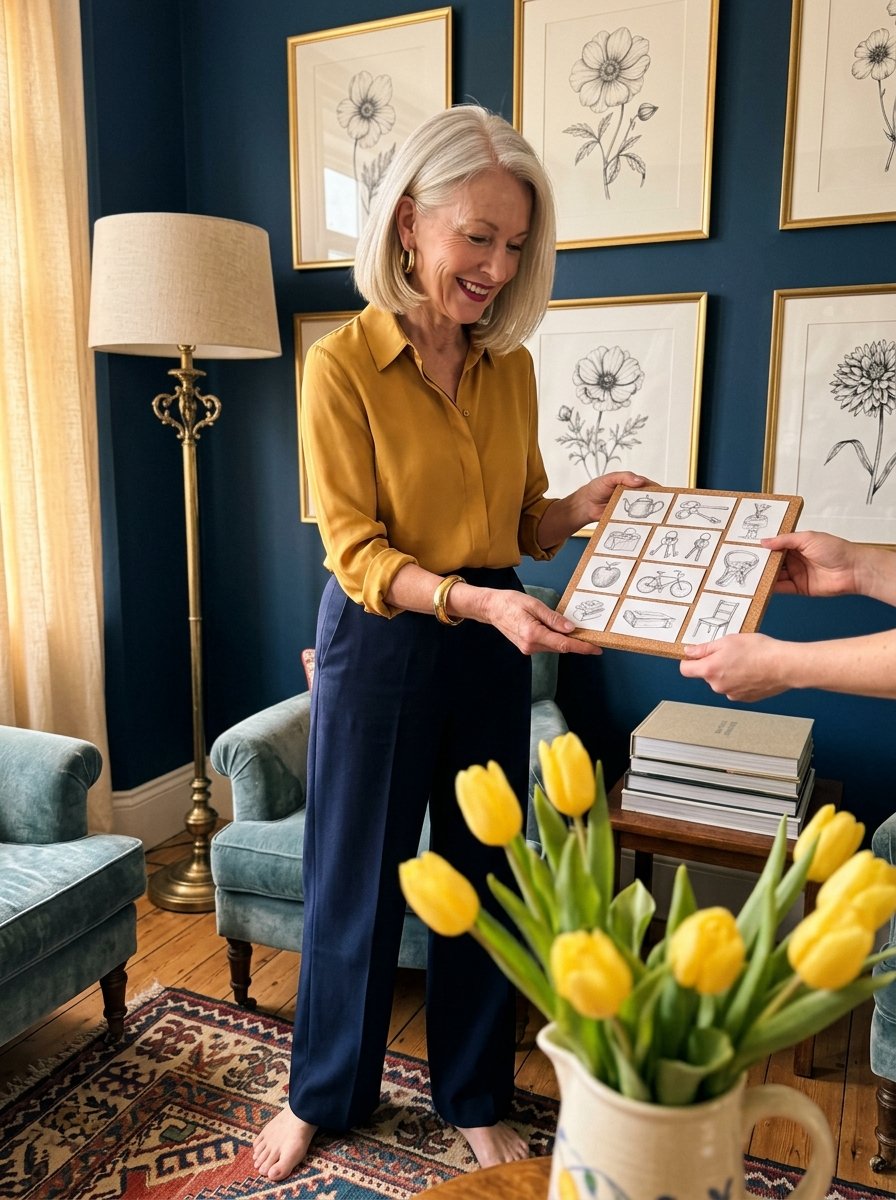
A month of small drawings fits on one cork board. It is a good answer when somebody asks what you have been up to in the evenings.
After day 31 you can see edges, gaps and light. Bloom & Pattern gives you flowers to use them on. Each of its 60 flower guides starts from simple shapes and ends with patterns and one solid black area.
Every flower in 3 steps: shapes, patterns, one black area
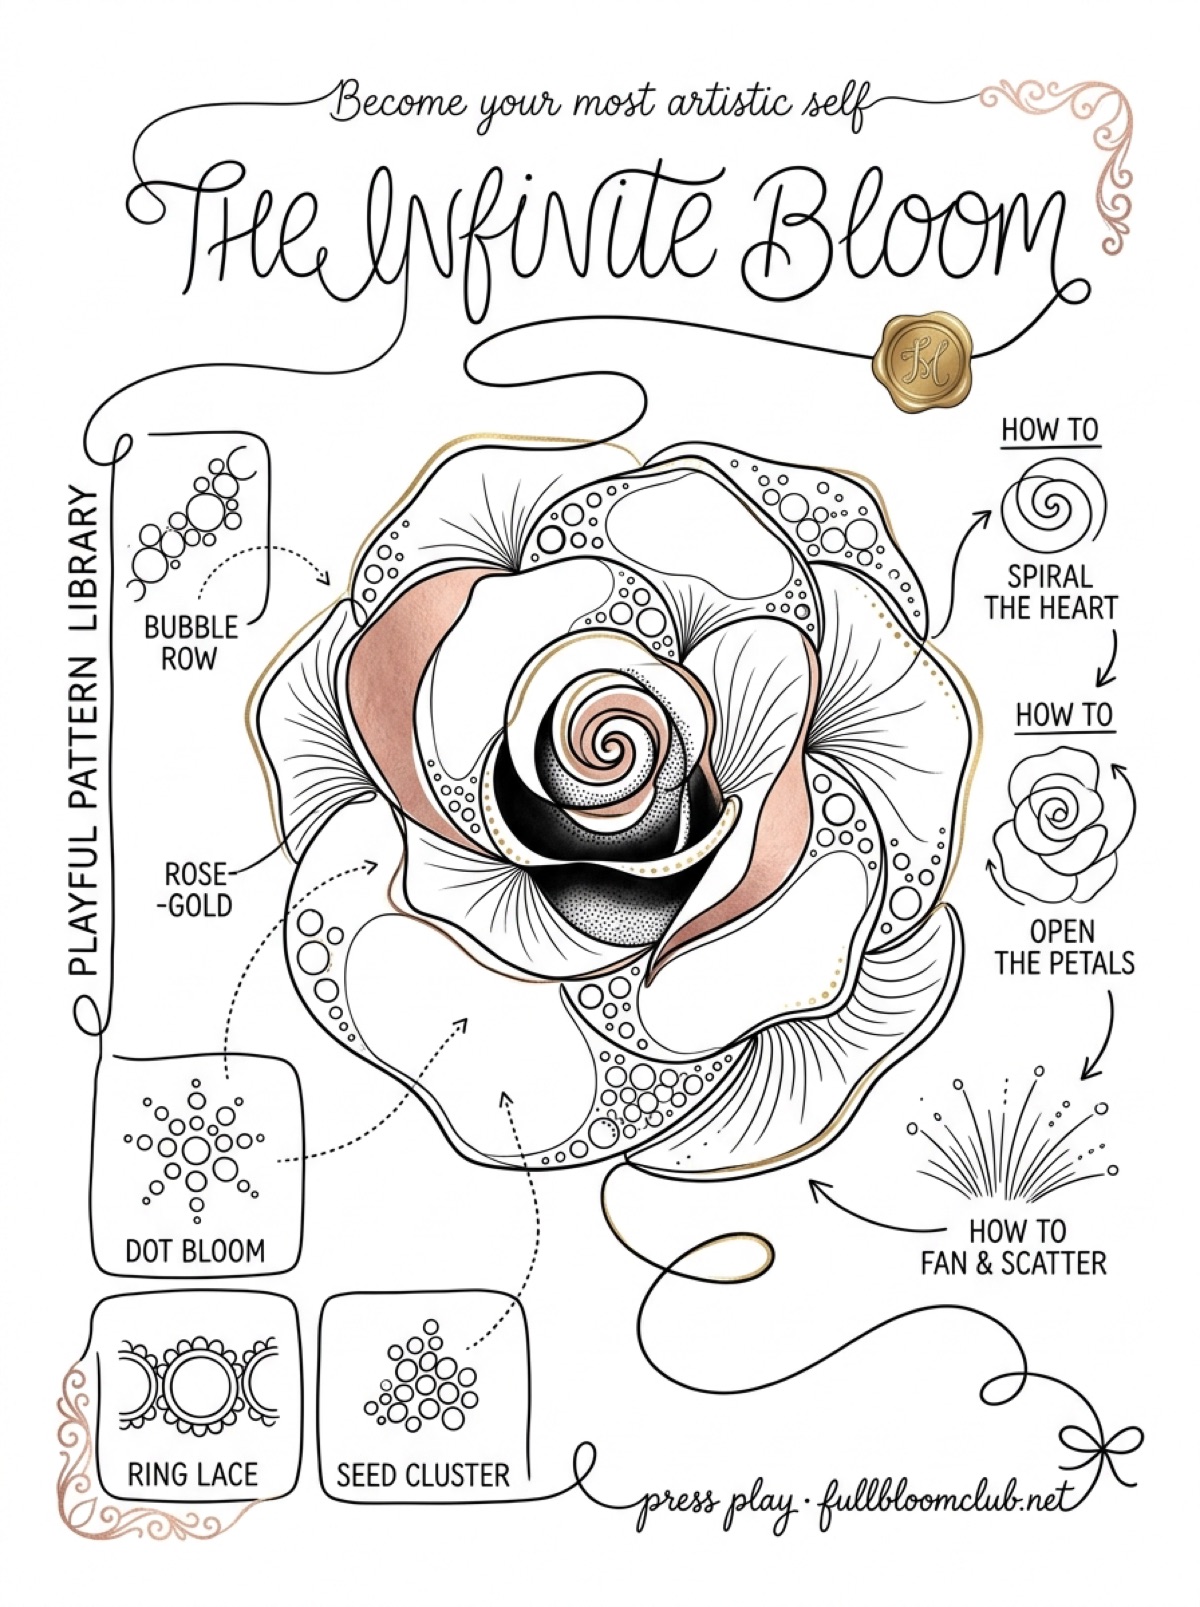
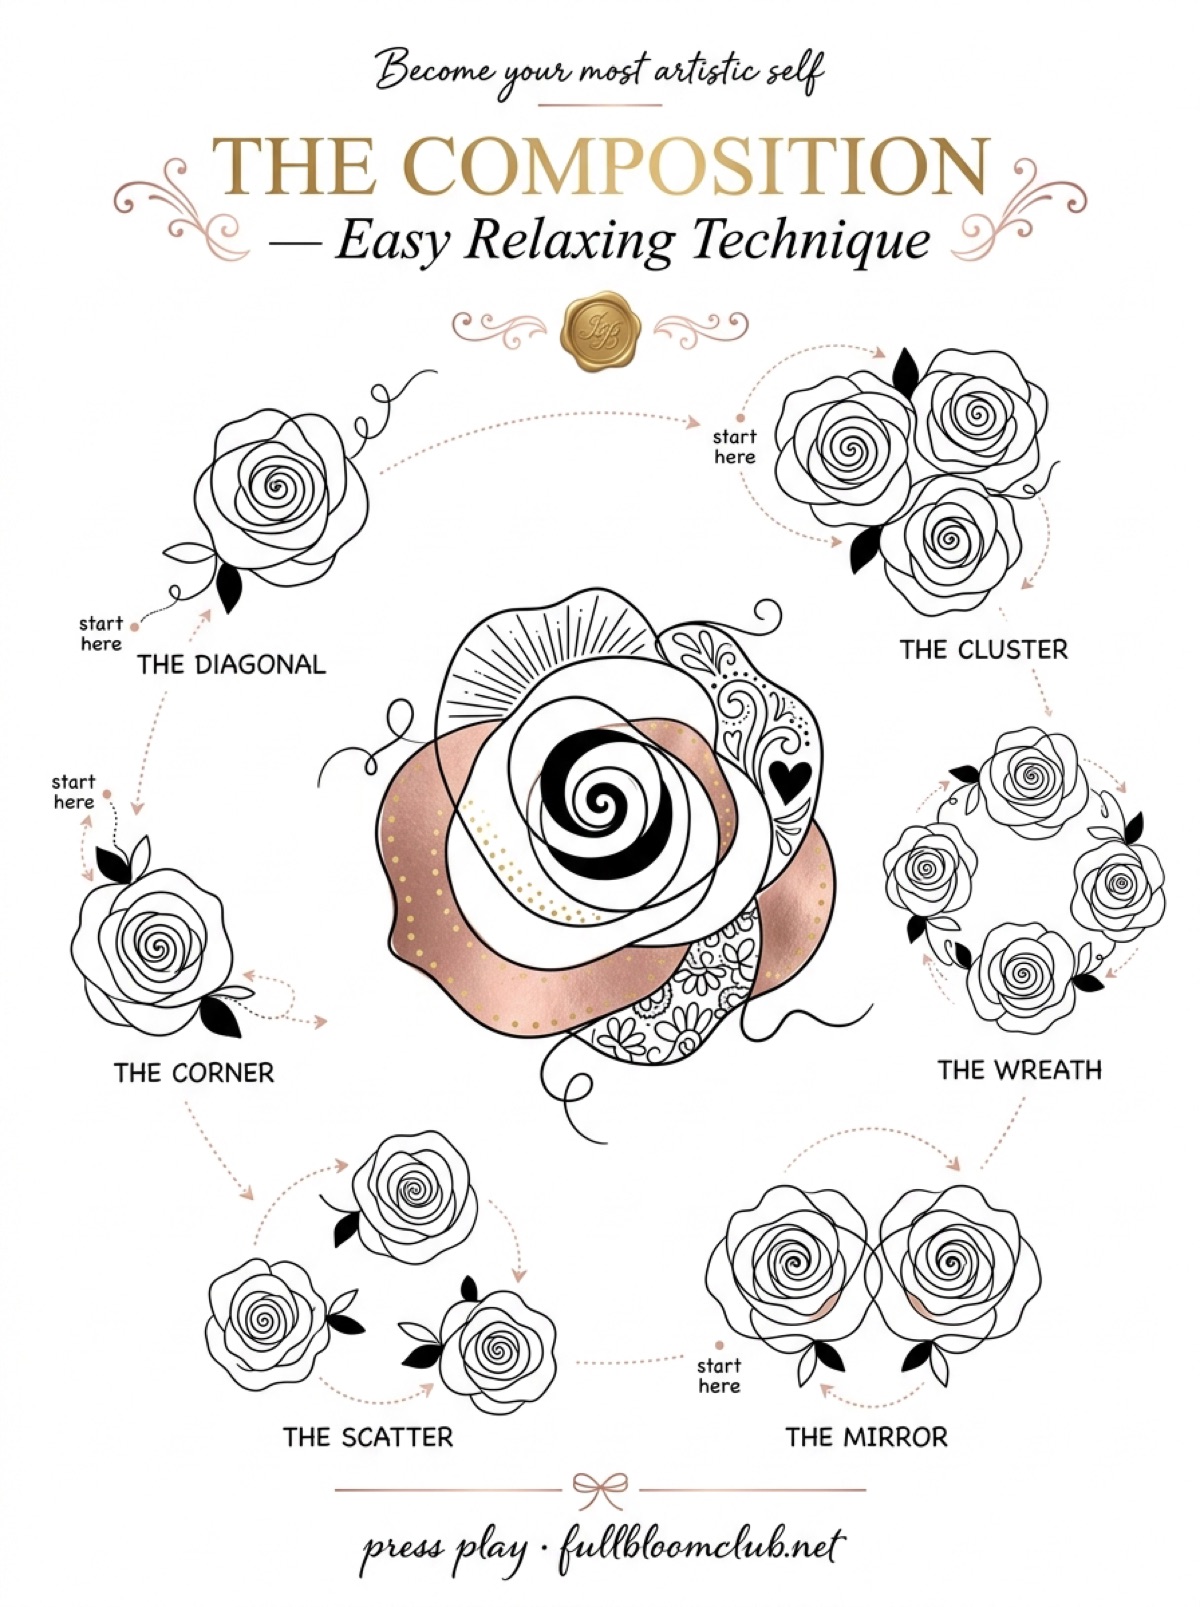
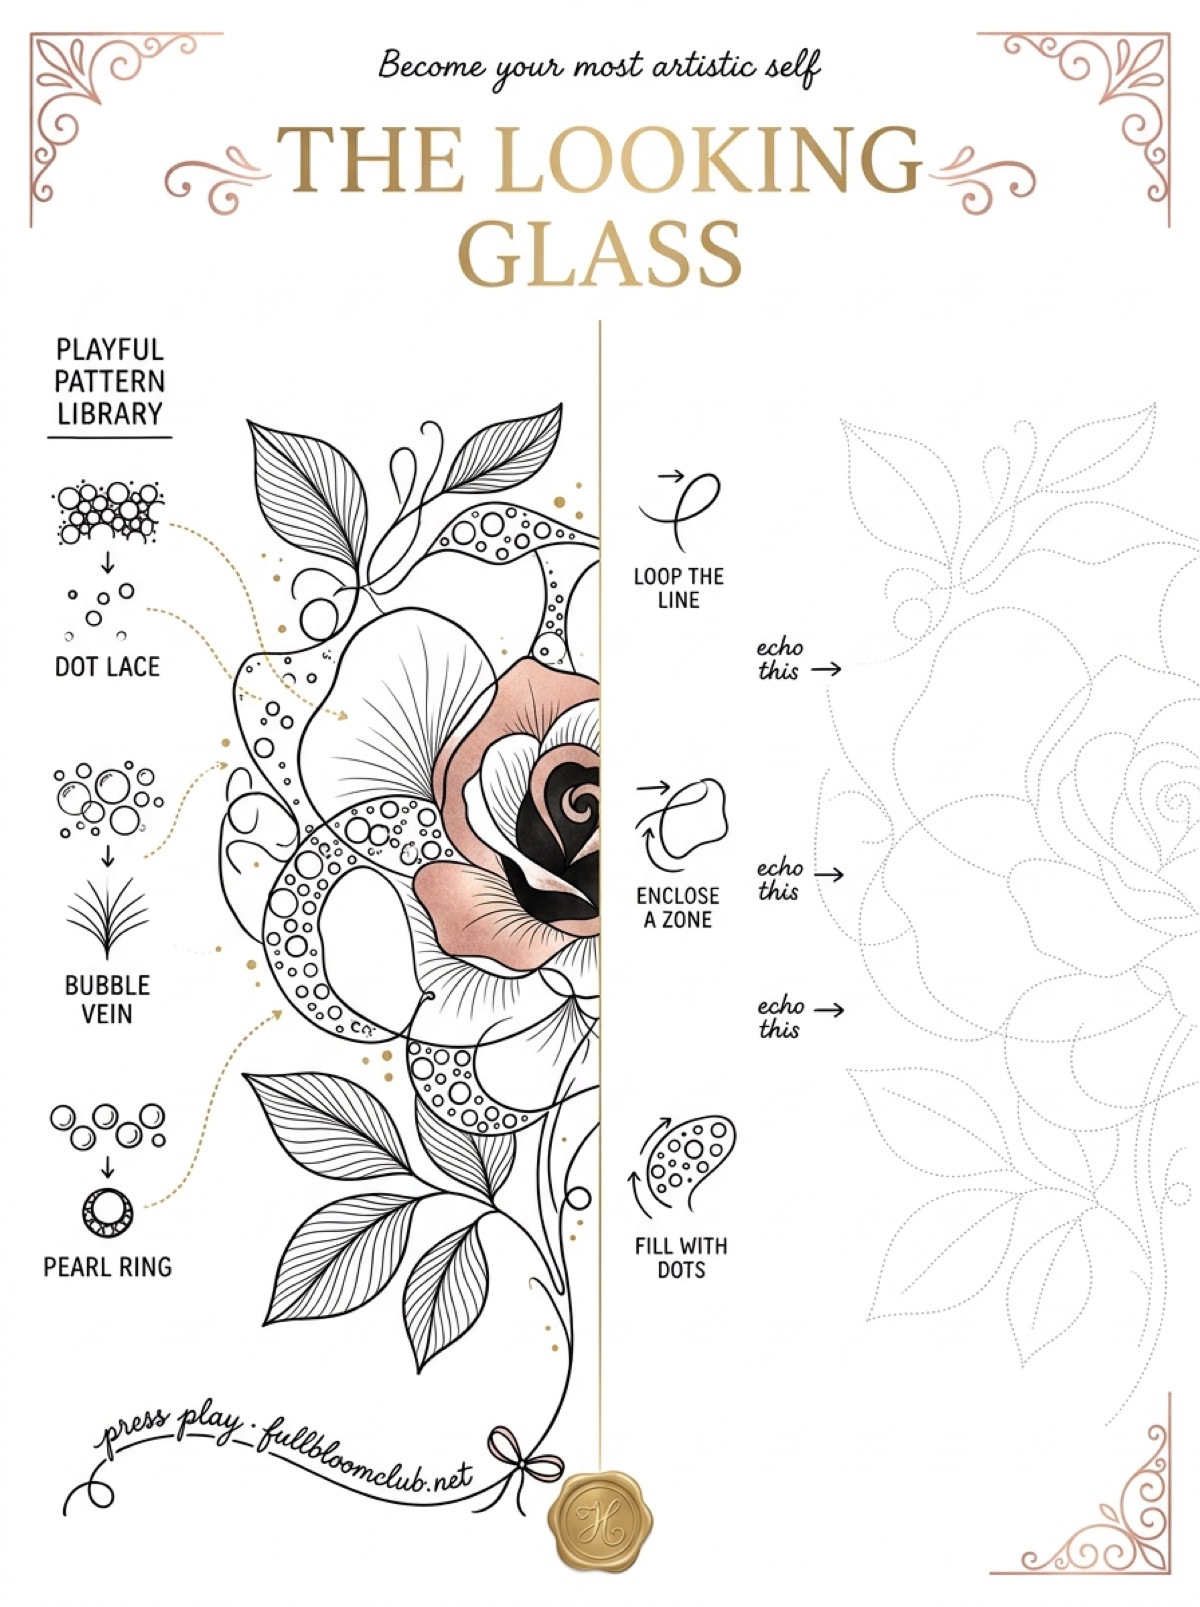
Start with the tulip: a cup, 3 petals and a line. Then fill each petal with one pattern. Then add one solid black area. Inside: 60 step-by-step flower guides, 30 line-art ideas and 30 pattern guides, ready to print.
Instant download · print as often as you like
Somewhere between the first hand and the last flower, the pencil starts to look before it moves. Give it 11 minutes, a lamp on one side, and a quiet corner of the table.
“The true zeal and patience of a quarter of an hour are better than the sulky and inattentive labor of a whole day.”
John Ruskin, The Elements of Drawing, 1857
Mirabelle wrote this. No training, strong opinions, many pens. Peer reviewed by a cat who inspected the upside-down page and declined to turn it over.