

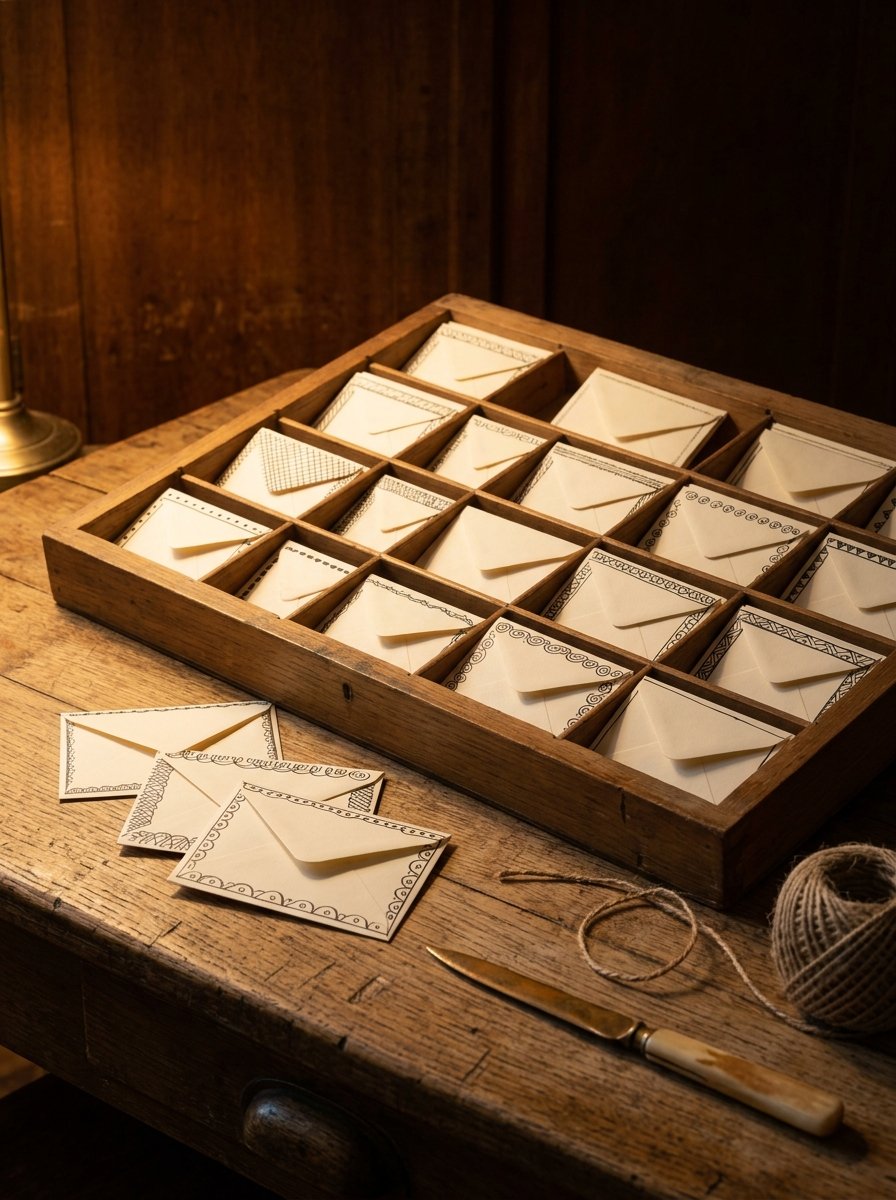
Take the next envelope you have to post and look at what is already printed on it. The address is already there, and it cannot move. You never decorate an envelope on a blank rectangle.
There is a stamp corner you cannot cover. There is a strip along the bottom a machine has to read.
(I ignored that strip once. The letter came back to me, which at least proved the machine was paying attention.)
So the border is not the first decision. The address is.
Write it where it belongs. The space left over is your page, and it is a much better page than a blank one.
Here is the order that works. Mark the zones, write the address, then draw inwards from the corners.
Start with the free template. It carries an envelope outline with every no-go zone already printed on it.
Download the envelope template →
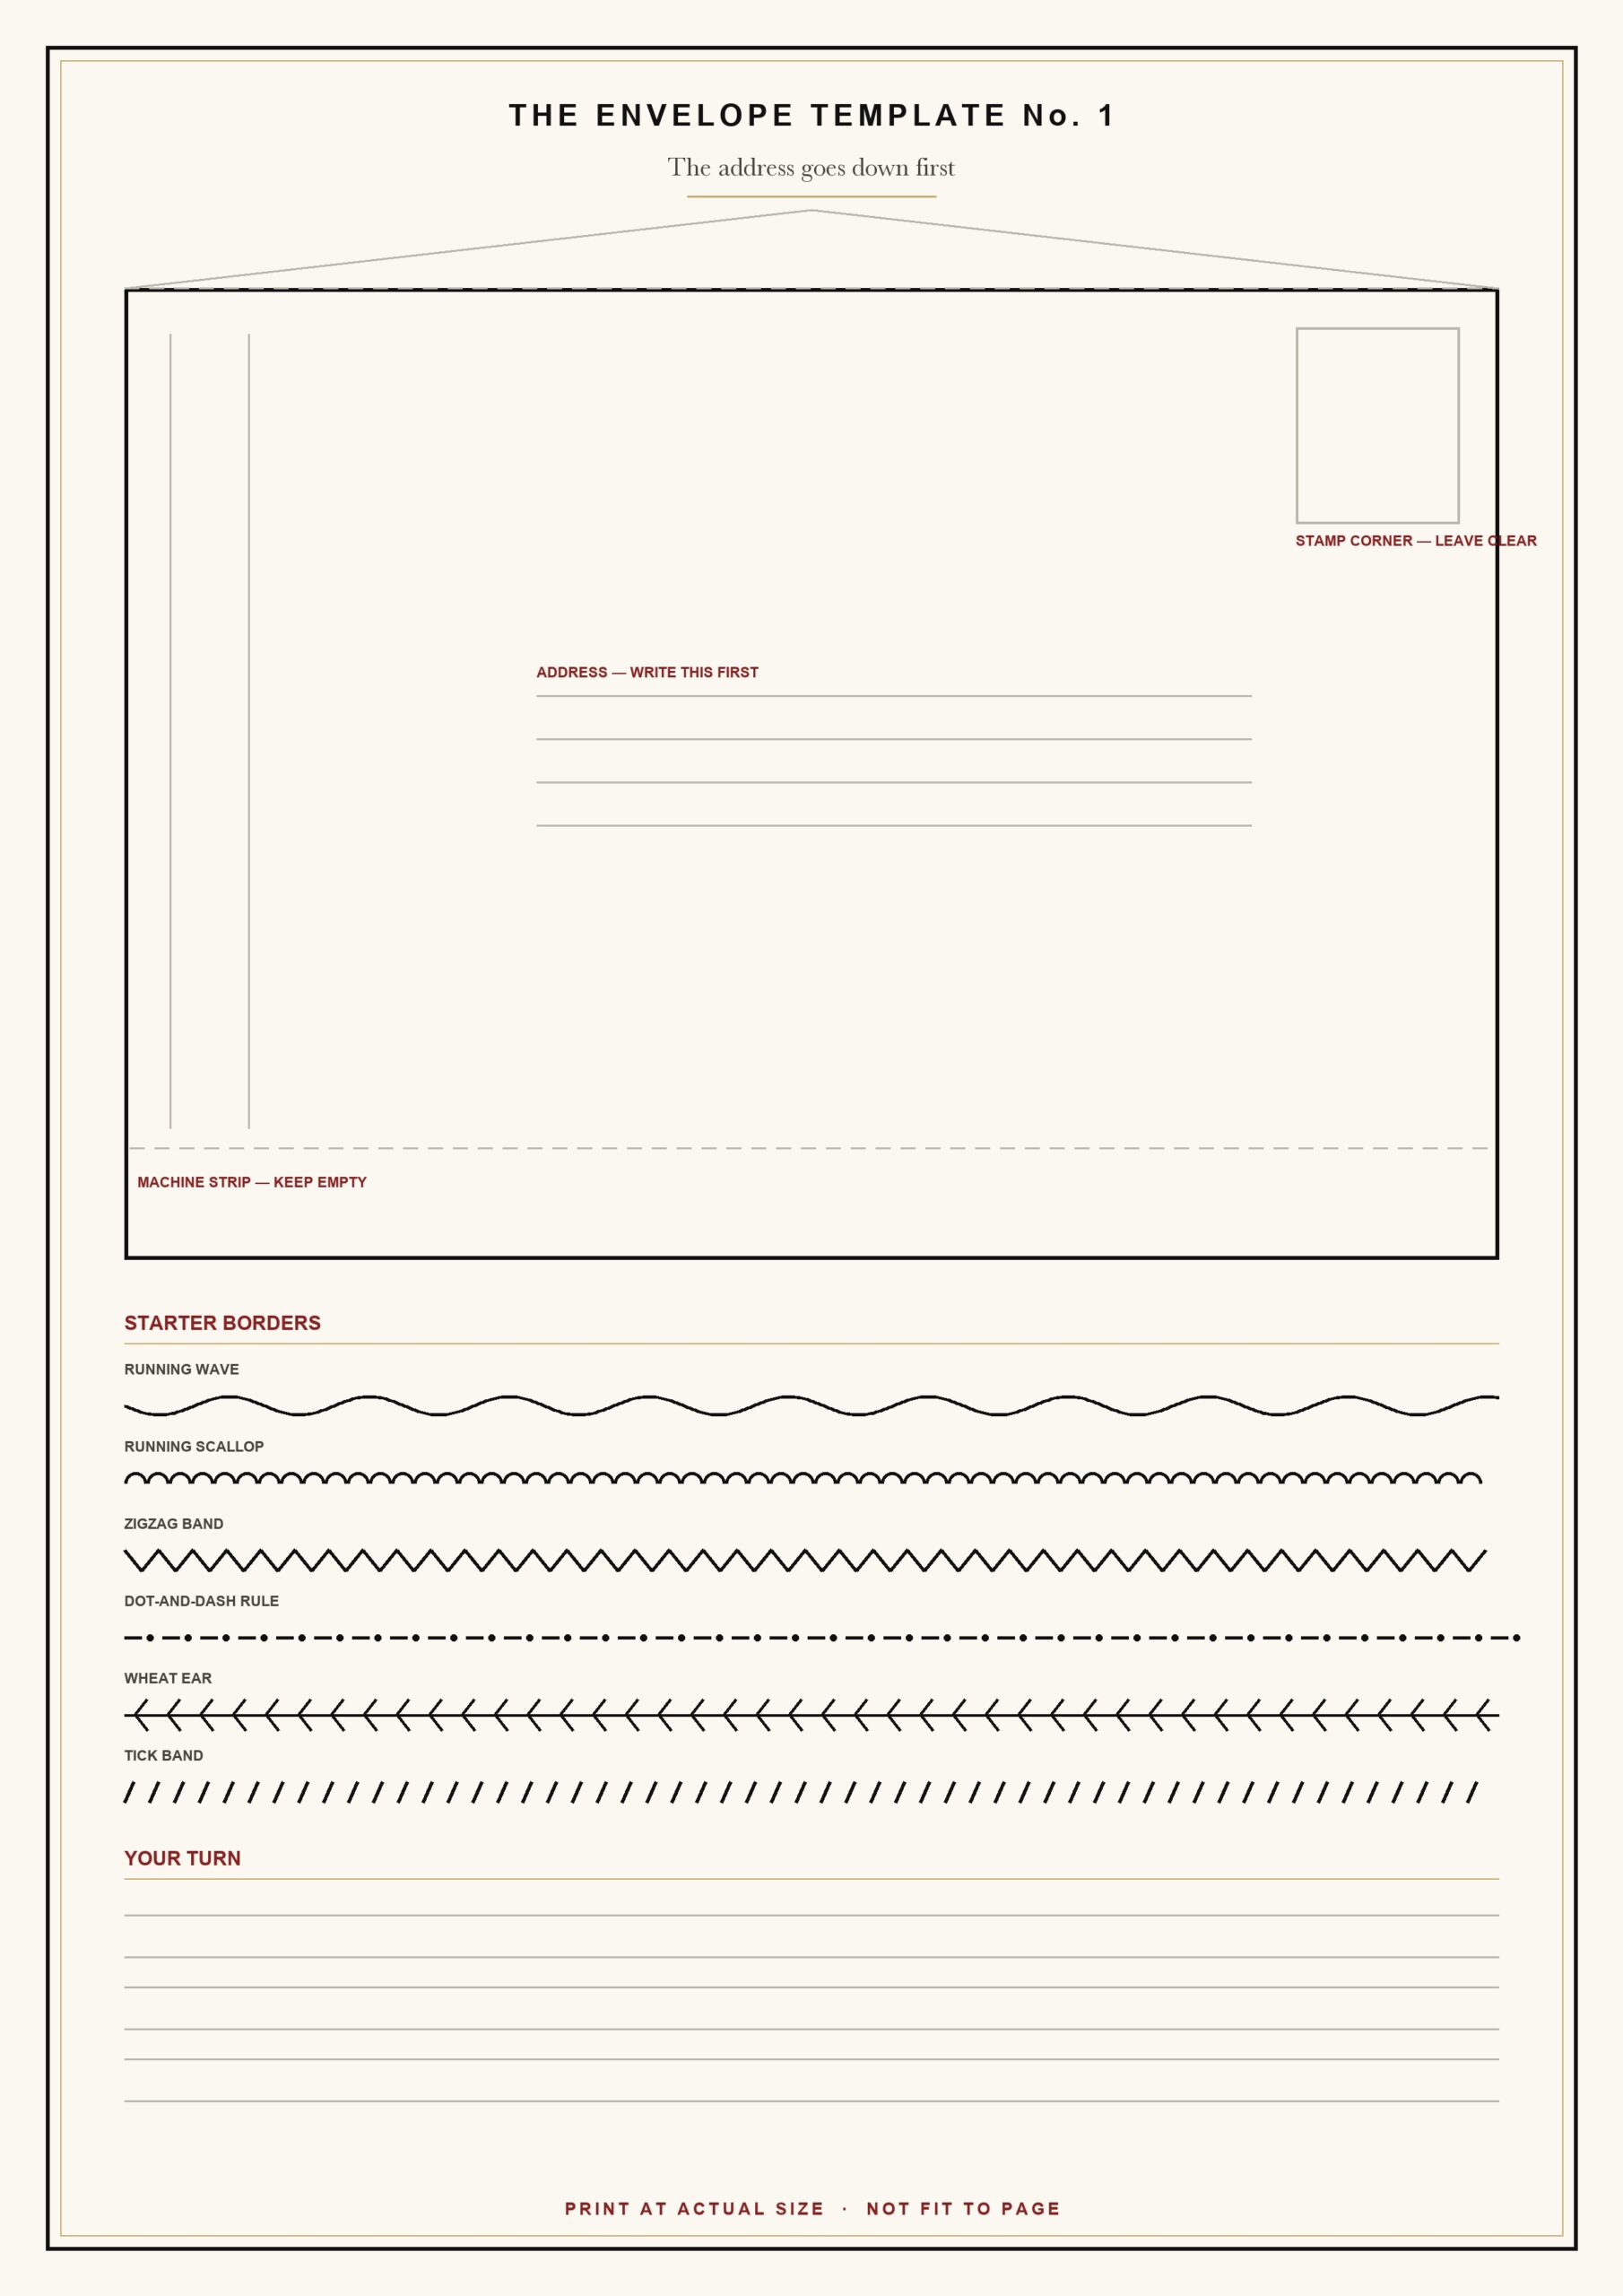
Print it at actual size, not fit to page. (Your printer will propose shrinking it to fit. Do not let it.)
Fold along the printed lines and you have a real envelope. Draw on it flat, before you fold, every time.
The sheet also carries starter bands to copy. Run one along the edge of a spare envelope first.
That is the whole warm-up. It takes about 4 minutes, and it tells you how the paper takes ink.
Envelope paper varies more than you would expect. Some takes a fine line cleanly. Some drinks the ink and furs the edge. A cheap white envelope is usually the thirstiest of the lot.
The borders below are sorted by the edge they were made for. Corners first, then the long edges, then the flap.
Every border below is built from marks a single pen can make. I keep the postcard collection beside me for the card that goes inside. A half-drawn card and a drawn envelope take the same evening.
The Collection
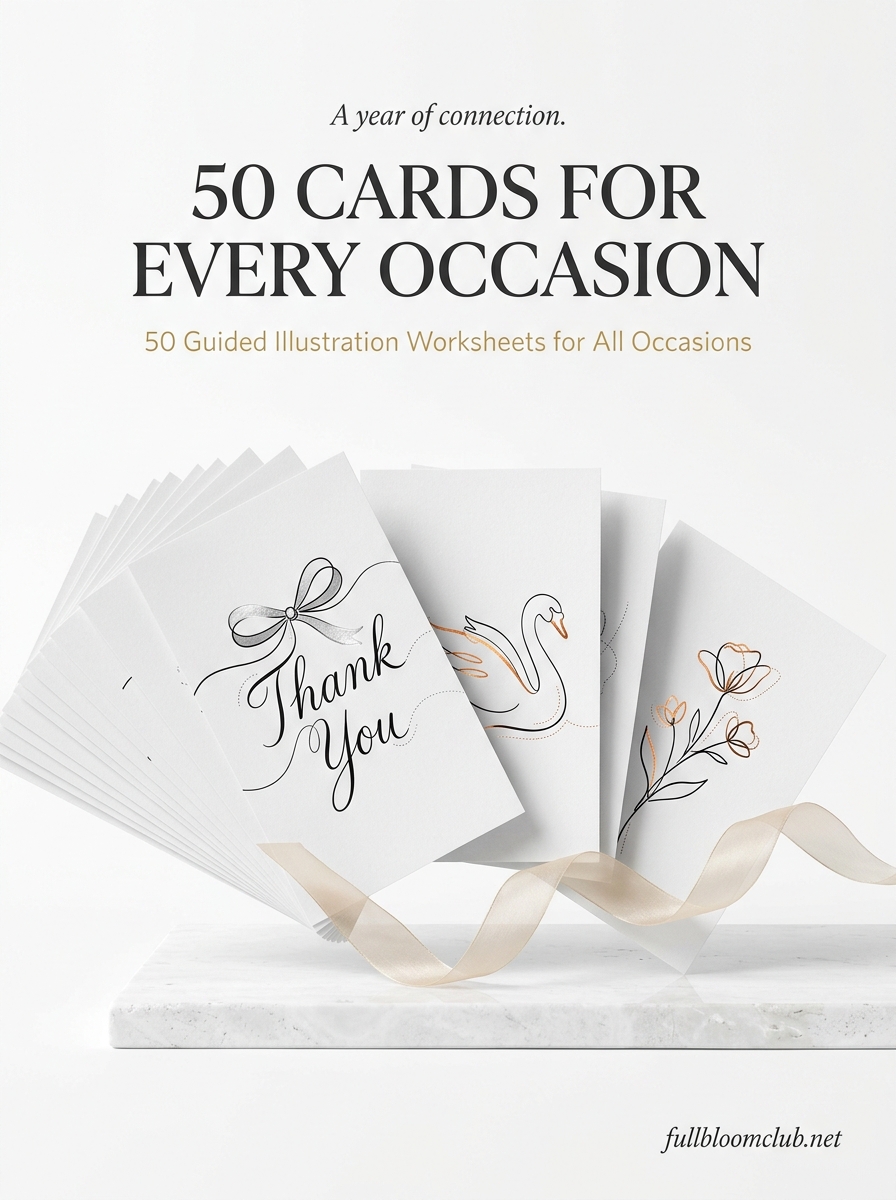
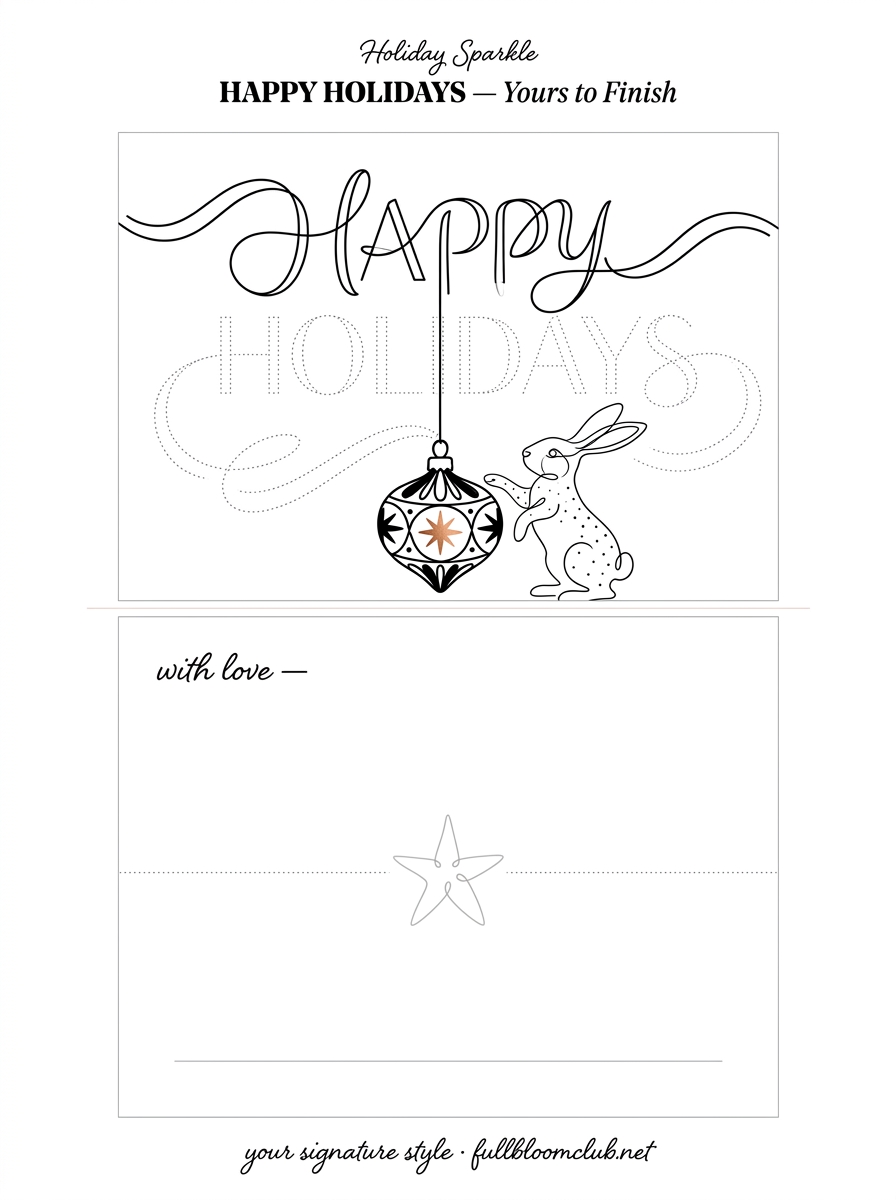
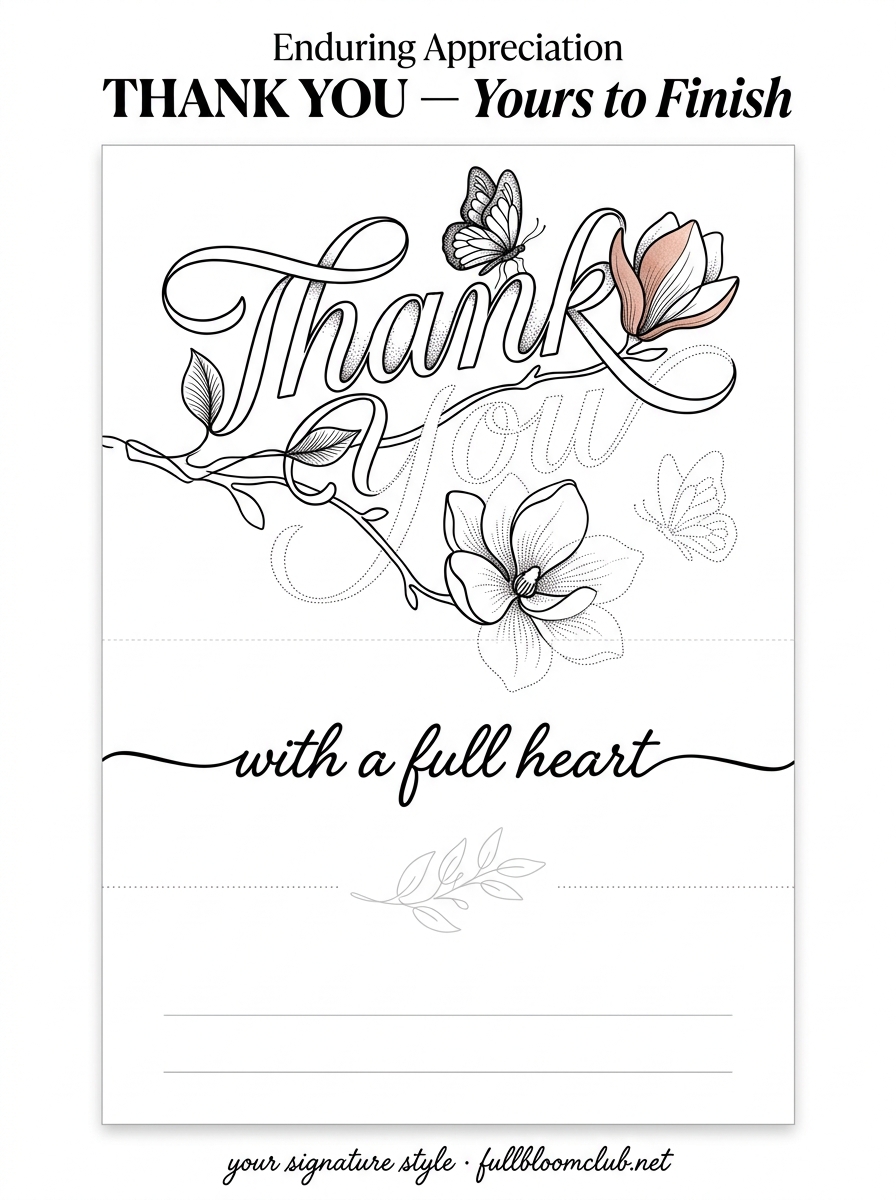
50 DRAW-ALONG KEEPSAKE POSTCARDS — a traced line, a soft pattern, and room to write.
Every card arrives half drawn, so the hard part is behind you. What you get: 50 cards for the occasions that turn up, and a ruled back to write on.
<
Now the zones, because everything else is decided by them.
Mark the two zones before you decorate an envelope
Two areas are not yours. Learn them once and you never think about them again.
The first is the bottom strip, roughly a thumb’s depth up from the bottom edge. Machines read there. Keep it empty.
The second is the top right corner, where the stamp goes. Leave it clear.
That is the whole restriction. Everything else on the envelope is available, which is more than most paper offers.
I draw both zones in pencil first, very faintly. It takes about 10 seconds and it has saved me a lot of redrawing.
The stamp corner is the one people get wrong. They stop short an inch away and leave an awkward gap.
Do not stop short. Draw a frame that acknowledges the stamp, and the corner looks intended.
Try a stamp bracket. That is two short right angles, sitting just outside where the stamp lands. Or a perforated ghost, a rectangle of small dots drawn beside the stamp rather than under it.
A stamp shadow is one thick line down the right side and along the bottom, so the stamp looks lifted. A stamp halo is a ring of tiny dashes set back from all four sides.
For something plainer, a corner ticket is a simple notched rectangle. A dotted stamp frame outlines the space and stops. A stamp ribbon runs a narrow band under the stamp and off the edge. A stamp arch curves over the top of it like a doorway.
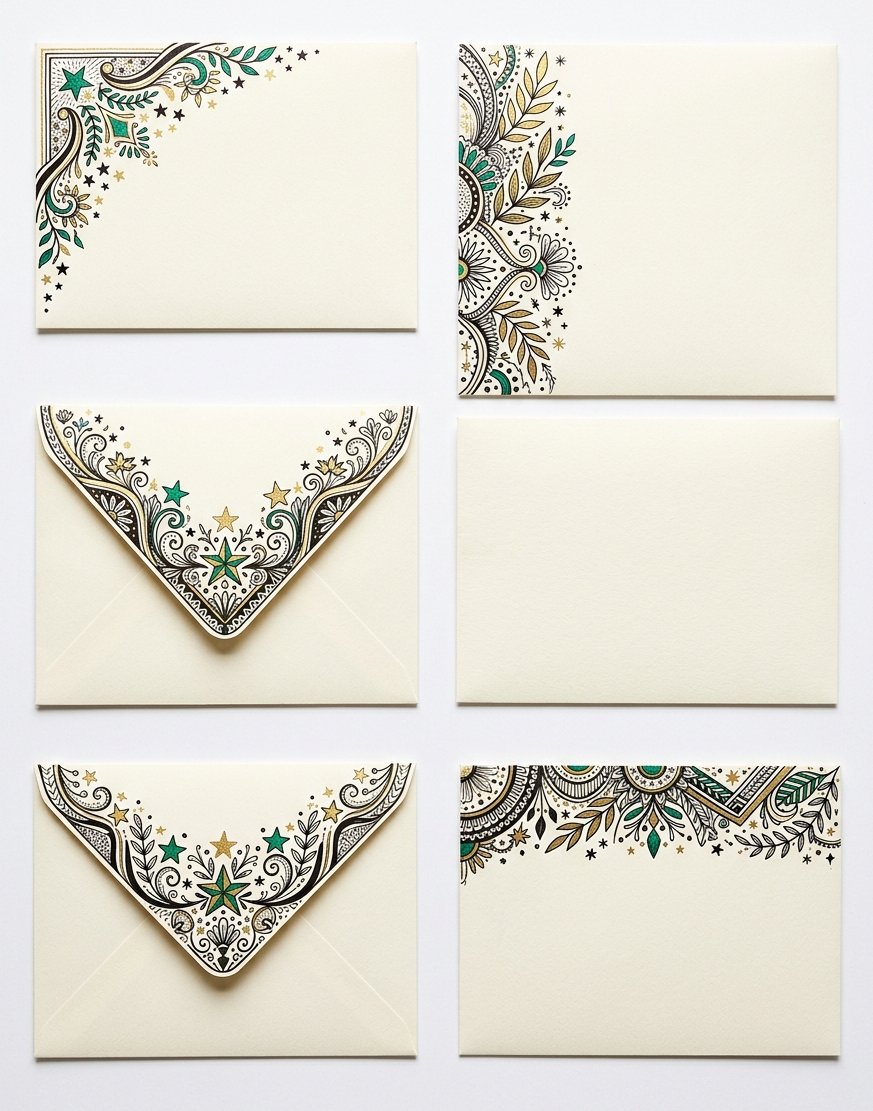
Same pen, different places. The corner one is the safest to start with.
Write the address first, then draw to the space that is left
If you draw first, the address has to squeeze into whatever is left. It never fits. It ends up climbing uphill.
So write the address first, in ink, properly spaced. Then the drawing has a shape to answer.
I spent a year doing this the other way round. Every envelope looked like a poster with an apology written on it.
The left edge is the most useful space on the whole envelope. It is tall, narrow, and nothing official wants it.
Rule two faint pencil lines about a finger apart and fill between them.
The simplest runs are the ones that repeat without thinking. A running wave is one line that rises and falls at an even pace. A running scallop is the same movement made of half circles, all facing the same way. A zigzag band is faster and more forgiving, because a wobble reads as energy.
Then the rules. A dot-and-dash rule alternates a dot and a short line. A double rule is two parallel lines with nothing between them, which sounds dull and looks expensive. A rope twist is a row of leaning ovals. A chain link is interlocking rings, and it is the one to practise on a scrap first.
Botanical runs fill a band fastest. A laurel run is a stem with paired leaves. An ivy trail is a wandering line with leaves hung underneath it. A wheat ear is a spine with short strokes angled upwards. A seed row is a line of small teardrops, all leaning the same way.
Geometric runs hold a straight edge better. A herringbone band is short strokes alternating left and right. A brick run is offset rectangles. A key fret is a continuous line turning right angles, and it needs a ruled guide or it drifts. A basket weave crosses two sets of parallel lines.
The rest are quick fillers for a narrow strip. An arrow run points the eye towards the address. A loop chain is one continuous looping line. A ribbon fold is a band that appears to turn over on itself. A tick band is nothing but angled marks. A comb rule is one long line with short teeth dropping from it.
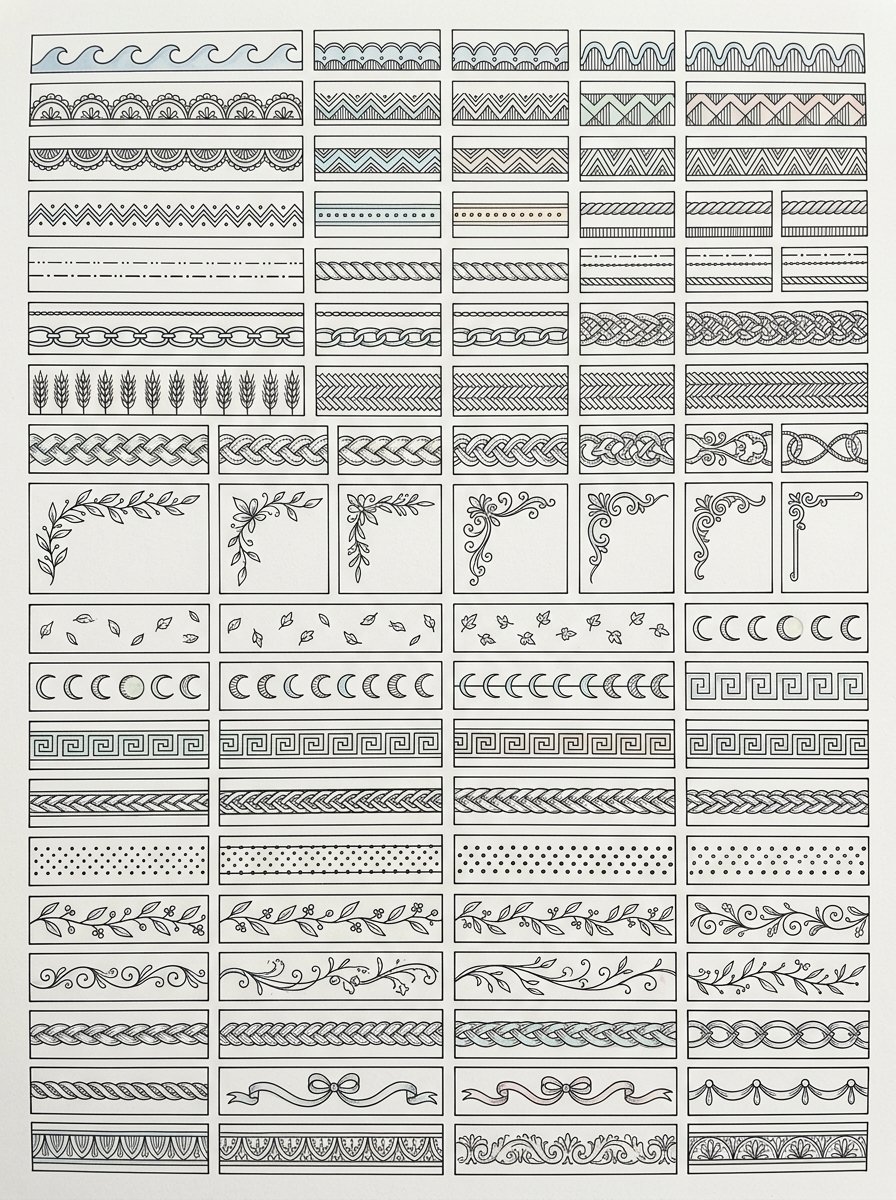
Every band above is made from one of those marks, repeated. Nothing on that page is harder than a tick.
Start in a corner, because a corner hides a wobble
A corner gives you two edges to lean on. The middle of a long edge gives you nothing.
So the first mark goes in a corner, always. The border grows out of it along whichever edge has room.
Simon Bening worked in Bruges and joined the painters’ guild there in 1508. He painted margins for a living.
His trick was a shadow. He painted scattered flowers in the margin, and gave each one a small cast shadow. The flower then reads as lying on top of the page, not printed into it.
That is worth stealing tonight, and it costs one extra stroke. Draw your corner spray, then add a short thick line under one side of it.
The flower lifts off the paper immediately. (I did this to a whole box of envelopes the week I found out. My family absorbed it with good grace.)
Corner borders come in two families. Sprays open outwards, and frames turn the corner.
Start with the sprays. A single corner spray is three stems from one point. A double corner spray mirrors it across the diagonal. A corner fan spreads short strokes from the corner like an open hand. A quarter wreath curves from one edge to the other in a quarter circle.
The turning frames are tidier. A mitred rule is two lines meeting at a clean angle. A stepped corner climbs in right angles. A corner scallop turns the corner in half circles. A corner chevron stack nests angles inside each other.
Then the ornaments, which are slower and worth it. A corner knot loops the line over itself once. A corner scroll rolls inwards and stops. A corner shell is a fan with curved ribs. A corner starburst is straight strokes of alternating length.
And the small clusters for when there is very little room. A corner leaf pair is two leaves and a stem. A corner berry cluster is three dots and a stalk. A corner dot triangle is dots in a tapering group. A corner comb is a short ruled line with teeth, tucked tight to the edge.
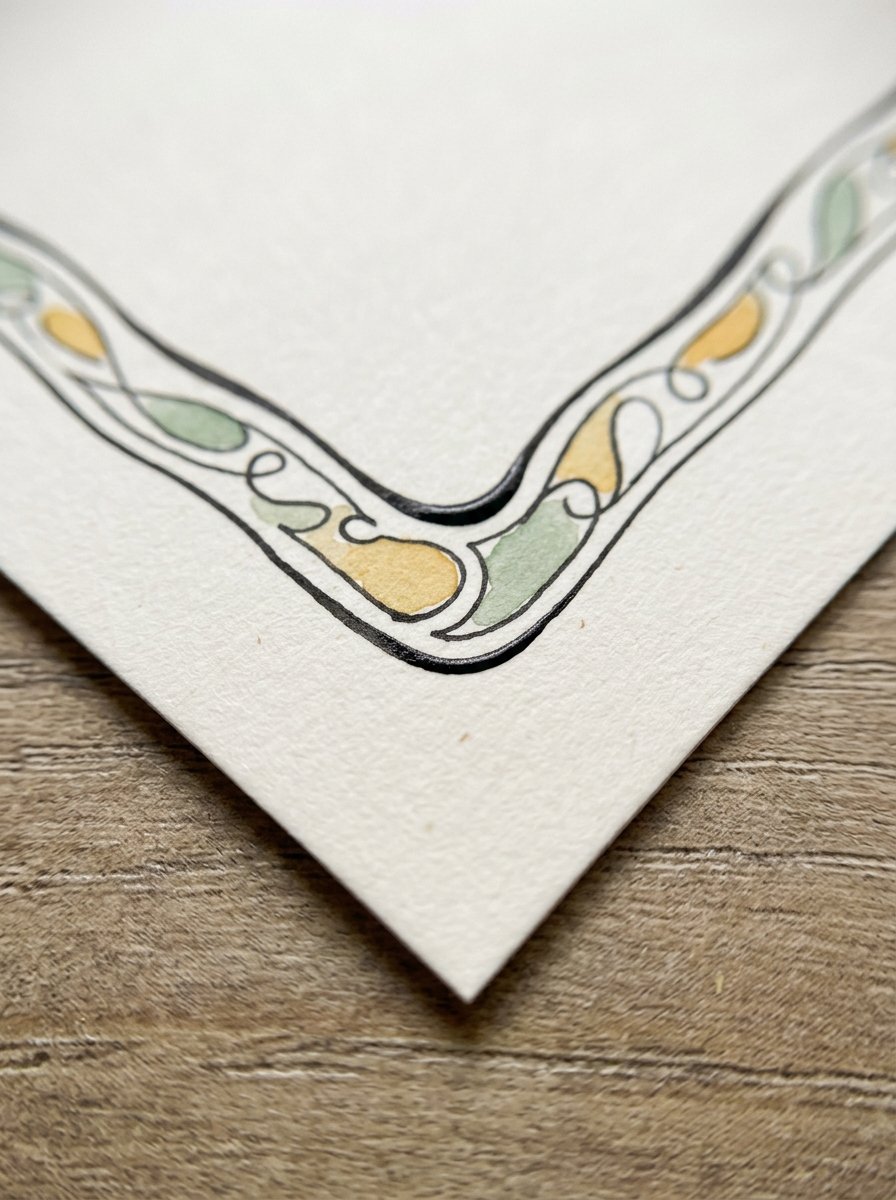
Look at where the two lines meet. The join is rounded, not pointed, and that is why it looks deliberate.
The man who was handed a finished page and told to paint round it
There is a precedent for this exact problem, and it is the best one I know.
In Vienna, between 1561 and 1562, a court secretary wrote a book of scripts. His name was Georg Bocskay, and the book was for Emperor Ferdinand I. Page after page of finished calligraphy.
About 30 years later the book reached Ferdinand’s grandson, Rudolf II. He handed it to a painter called Joris Hoefnagel and asked him to illuminate it.
So Hoefnagel received a book that was already full. He could not move a single letter. He had to work in the space around another man’s handwriting.
The Getty, which holds the book as Ms. 20, calls the collaboration highly unusual. I would call it the oldest version of your Tuesday evening.
What he did is the useful part. He painted fruit, flowers and insects in watercolour and body colour. He also used trompe-l’oeil devices, including cast shadows and stems slipped through fictitious slits cut in the page.
That second one is a gift. He drew a small slit in the paper, then threaded a stem through it. The flower looks tucked into the page.
You can do it on an envelope in two strokes. Draw a short curved line, then draw the stem disappearing behind it and reappearing on the other side.
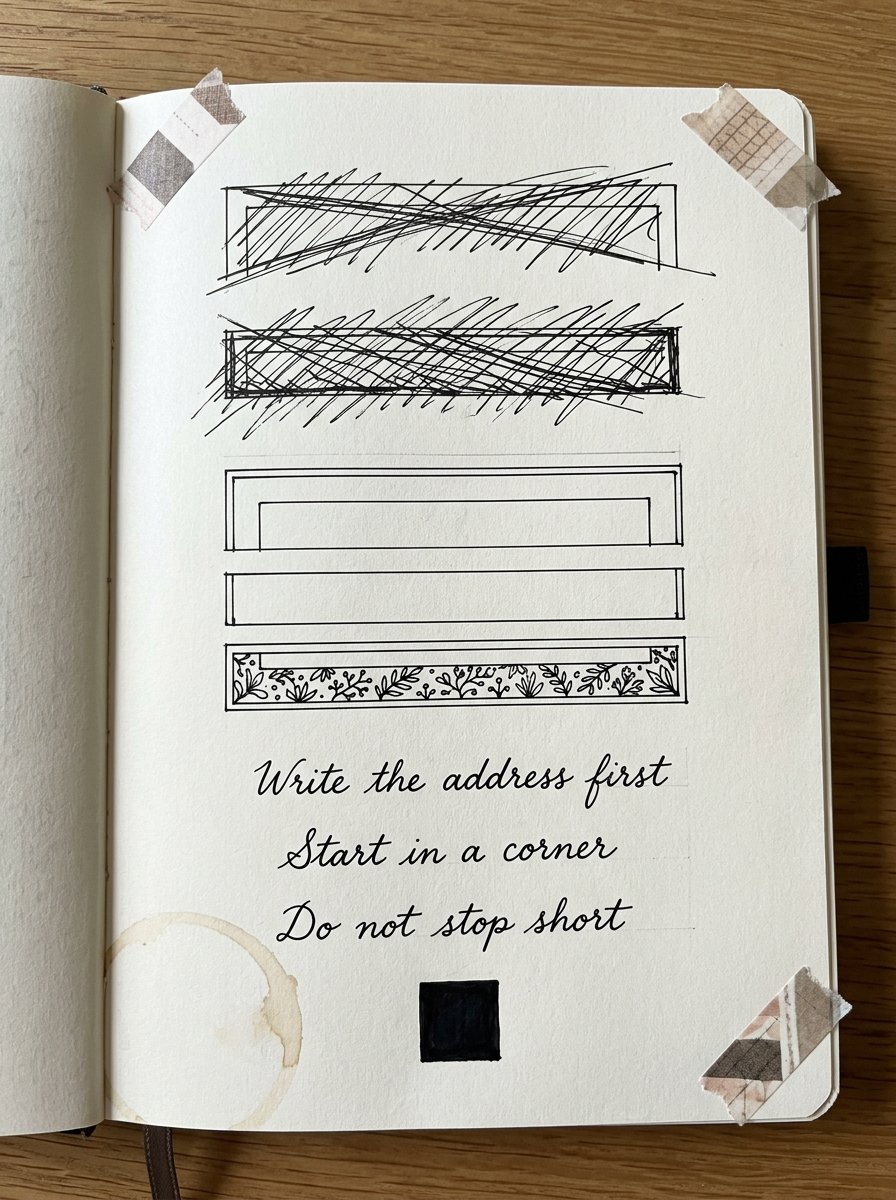
The narrow one at the top is the failure. I made the band wider than the address and the whole envelope tipped.
The flap is the only part you can cover completely
Turn the envelope over. The back has no address, no stamp and no machine strip.
It is the one surface with no rules at all, and almost nobody uses it.
(I checked this properly, twice. There is nothing stopping you covering the entire back of an envelope.)
A border across the flap is the first thing the person sees when they turn it over to open it. That is a good place to put your best work.
A flap arch follows the triangle down and back up. A flap swag hangs a shallow curve between the two bottom points. A flap fan spreads from the point. A flap vine runs along both angled edges and meets at the tip.
A flap lace edge is small loops along the cut edge. A flap braid plaits two lines down the centre fold. A flap feather is a spine with fine angled barbs. A flap tassel hangs from the point like a cord.
Two more sit around the seal. A flap seal ring is a drawn circle where wax would go. A flap keyhole is a small drawn shape the flap point appears to slot into.
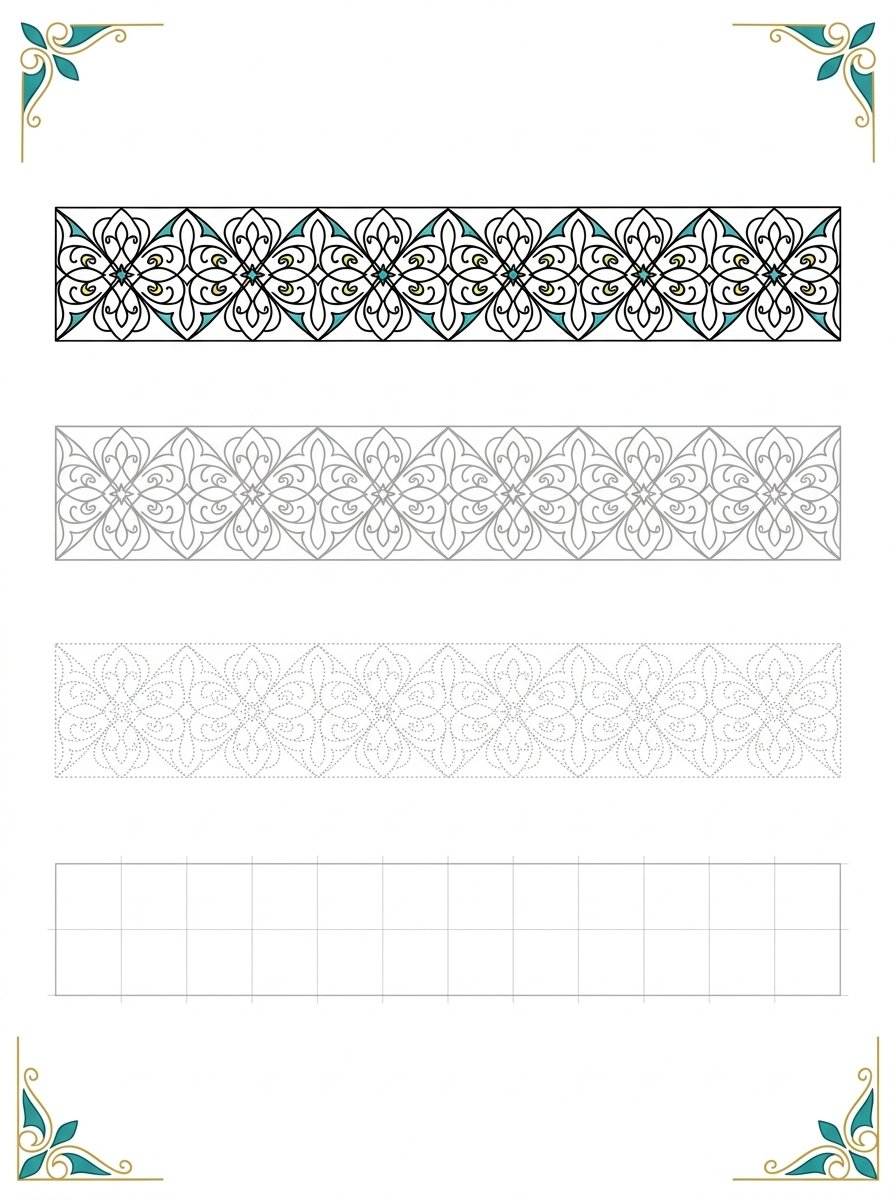
Run the same border four times like this. Around the third one your hand stops negotiating.
Test the pen on the back before you decorate an envelope
Envelope paper is not sketchbook paper. It is thinner, softer and often slightly shiny.
Ink bleeds on it in a way it never does on good paper. Find that out on a spare, not on the one going out.
So take a spare envelope and draw a short line on the back. Wait a moment. If the line has furred at the edges, use a finer nib or a ballpoint.
I keep one ruined envelope in the drawer as a test strip. (See also: the good scissors, the drawer of batteries nobody has ever tested.)
Esther Inglis is the argument for working small. She made around 60 miniature books, and the smallest measure about one and a half inches by two.
She copied engraved borders and ornaments out of printed books, by hand, at that size. A different script on almost every page.
Her borders went on after the writing was already down. That is the order this whole article is arguing for. She signed one of them written and illuminated by me, Esther Inglis.
When a band is drawn and still looks thin, fill it rather than widen it. Widening ruins the spacing you already set.
A hatch block is parallel strokes at an angle. A cross-hatch wedge lays a second set across the first. A stipple drift is dots, dense at one end and thinning out. A solid wedge is simply filled in, and it is the strongest mark on the page.
A spiral fill winds inwards inside a shape. A scale fill is overlapping half circles. A moon row is a line of crescents. A tiny leaf scatter drops single leaves into gaps. And a blank rest is a deliberate empty stretch. That is a real border decision, and the hardest one to make.
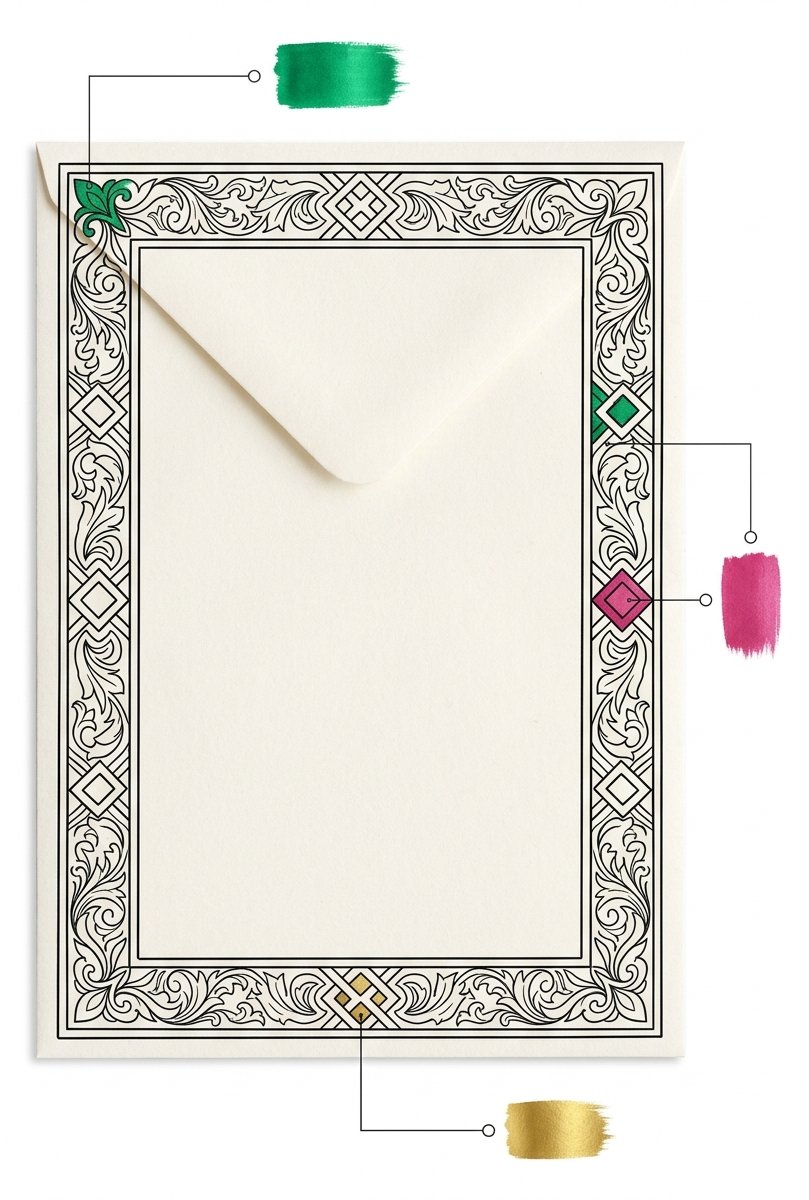
One colour, in two or three places only. The black does the work and the colour points at it.
Where to decorate an envelope for a birthday, and where for Christmas
The occasion does not change the method. It changes which edge you use.
A birthday envelope wants the top edge, above the address, where it is seen first. A candle row is upright lines with small flames. A balloon string is ovals on wandering threads. A party bunting hangs triangles from a slack line. A confetti scatter is small marks thrown across the space at different angles.
A ribbon bow sits at one corner with two trailing tails. A cake band is a narrow strip of stacked rectangles with dots along the top.
Christmas wants the left edge, because the run is long and the motifs are vertical. A holly run is paired spiked leaves with three berries. A pine sprig is a stem with short needles angled down. An icicle edge hangs tapering points from a line. A snow scatter is small starry marks, spaced unevenly.
(I once ran bunting along the bottom strip. The machine read it as part of the barcode and sent the card to the wrong county.)
Then the hanging ones, which all work down a left edge. A bauble string drops circles from short threads. A star row runs points of alternating size. A bell pair is two bells with a ribbon. A cracker row is cylinders with pinched ends. A mistletoe pair is two round leaves and a berry. A wreath corner closes a ring into the corner itself.
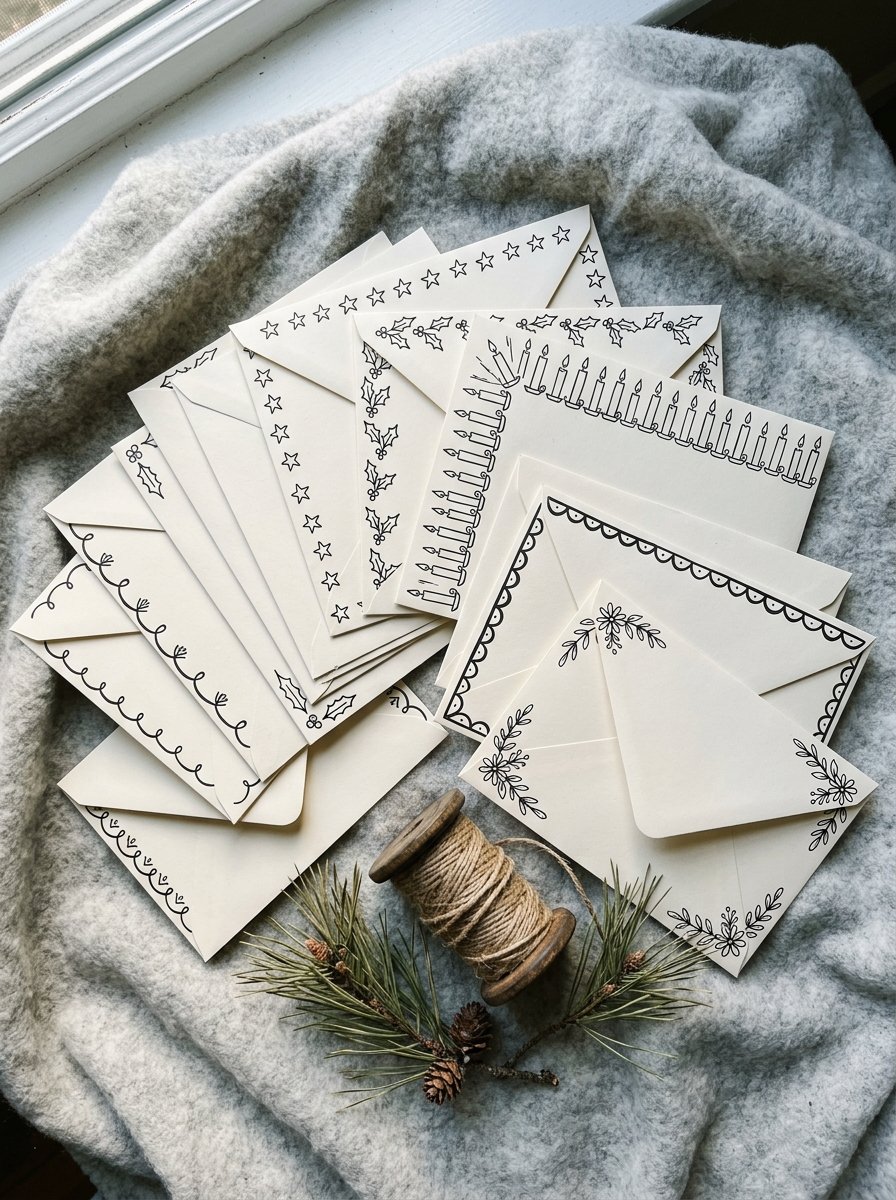
Different occasions, one pen, one evening. The borders vary and the handwriting keeps them a set.
The year the Post Office tried to decorate an envelope for everybody
In 1840 the British Post Office issued a ready-decorated envelope. The artist William Mulready designed it and John Thompson engraved it.
It went on sale on 1 May 1840 and was valid from 6 May. It was elaborate, accomplished and free with the postage.
The public hated it. Rowland Hill wrote, 6 days in, that the public had shown their disregard, and even distaste, for beauty.
It was withdrawn and replaced the following February. Meanwhile stationers whose trade the thing had threatened started printing parody envelopes, and those sold beautifully. A young John Leech made one of the popular ones.
So the decorated envelope survived by being drawn by people who were not told to. I find that enormously cheering.
Free Starter Pack
Get 10 free pattern templates for the band along an envelope edge.
Sent tonight. Bands, corners and small fillers that fit a narrow strip.
Unsubscribe in 1 click, no questions asked
<
That is the only real shortage here. Not skill, and not pens. Small patterns short enough to fit a narrow band. The postcard collection is where I go for the card inside. The line is already drawn, and the back is already ruled.
50 half-drawn cards for the occasions that actually turn up
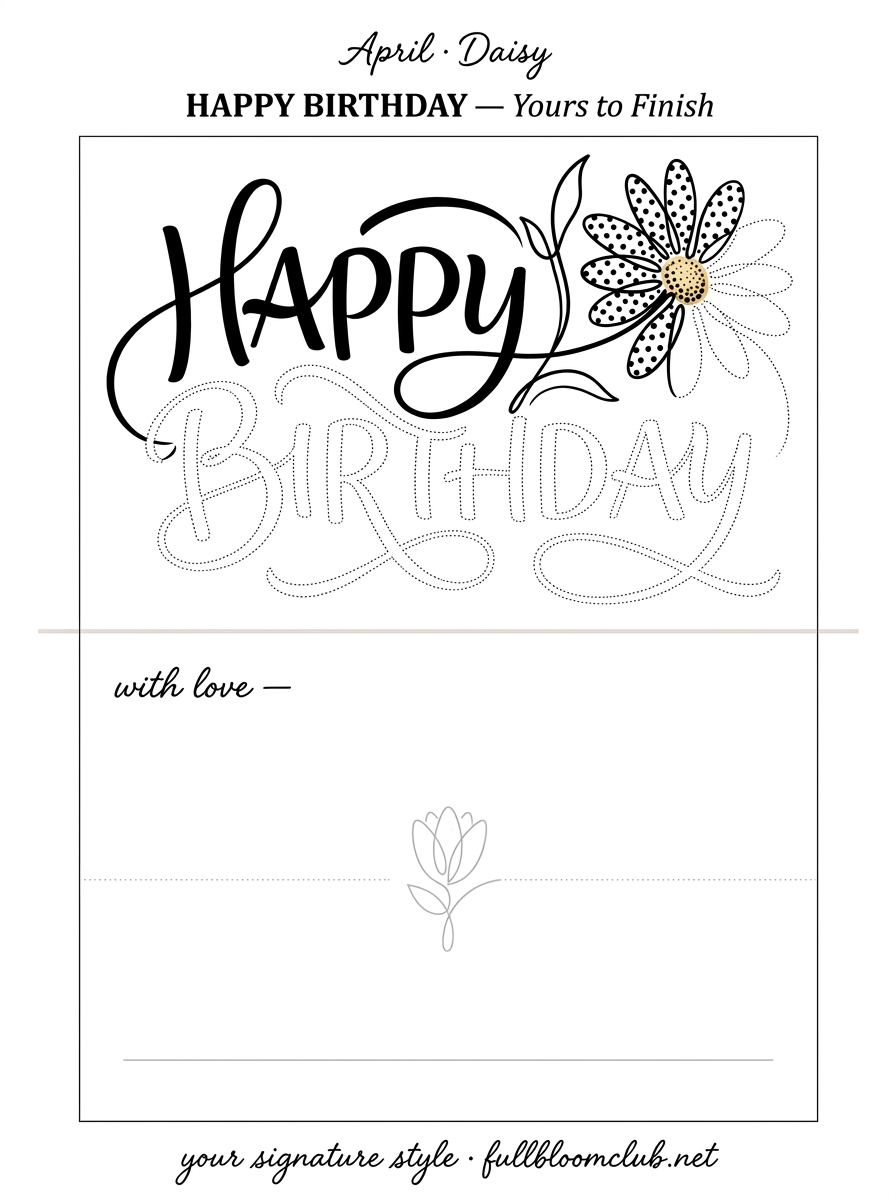
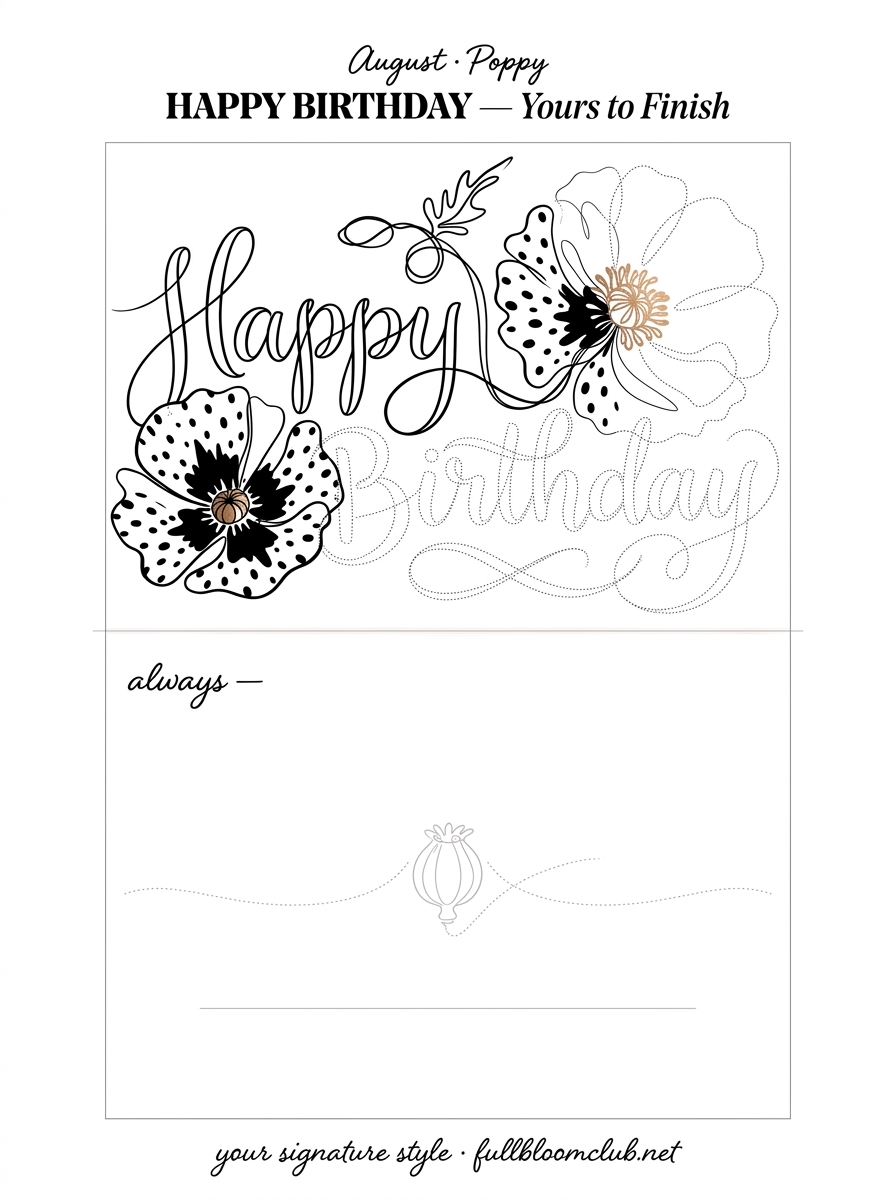
Draw one border tonight on a spare envelope. When the hand knows it, send the card inside it too.
Open the postcard collection →
Instant download · print at home
<
Somewhere tonight a machine will read a strip of numbers along the bottom of an envelope. It will not notice the holly running up the left edge. It was never meant to. The person who turns it over will notice nothing else.
“The public have shown their disregard and even distaste for beauty.”
Rowland Hill on the Mulready envelope, 1840
Mirabelle wrote this. No training, strong opinions, many pens. Peer reviewed by a cat who sat on the envelopes and declined to be moved for the post.