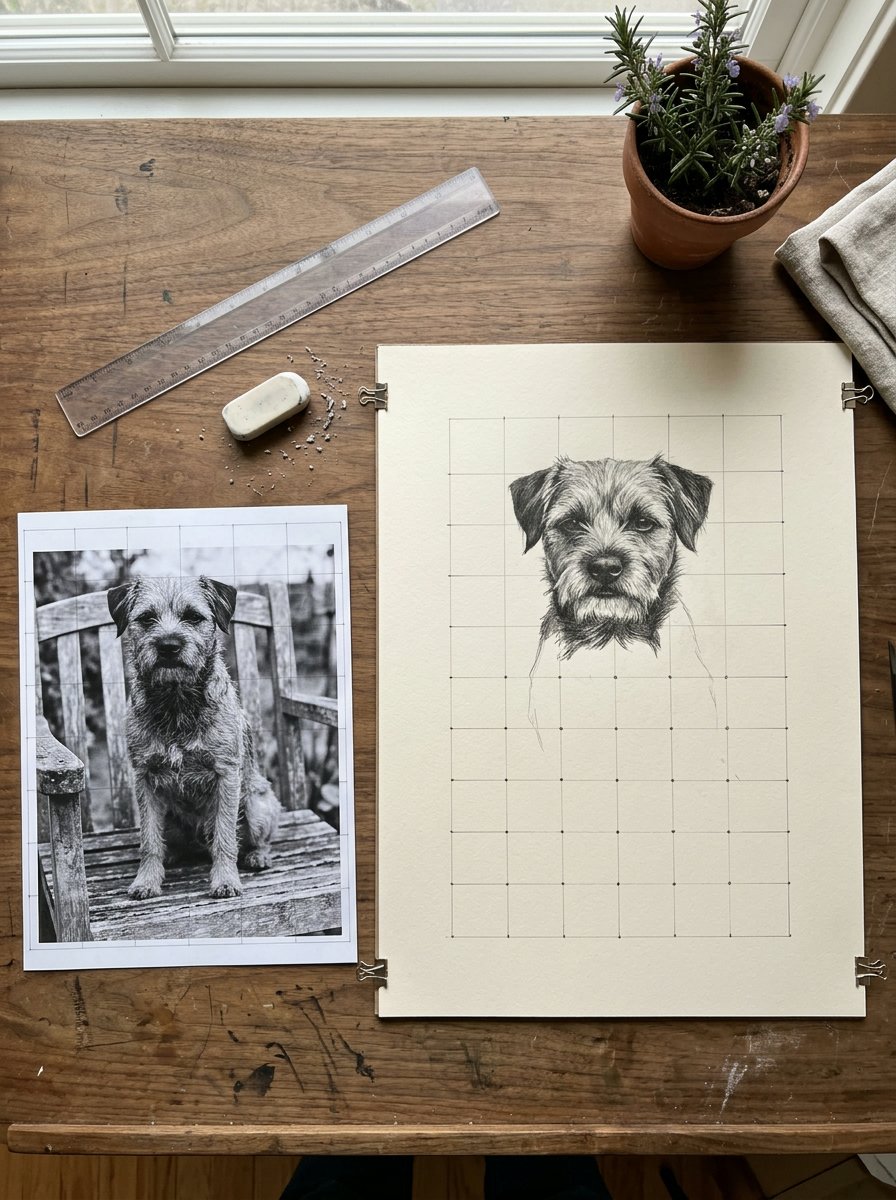
Rule a grid of squares over a photograph. Rule the same grid on your paper. Then copy the photo one square at a time. That is grid method drawing. A face you could never draw in one go becomes 36 small drawings you can.
Copy one square at a time. Look only at that square, never at the whole face.
Is tracing cheating? Painters have argued about it for 500 years. Many of the best used grids and frames anyway. One of them, Albrecht Dürer, printed his drawing machine in a book, with instructions.
Below you get three things. First, three famous artists who used grids, projectors and frames. Second, the method in 6 steps. Third, 2 free printable grids to draw on tonight.
Download the 2.5 cm grid for A4 →Download the 1-inch grid for Letter →
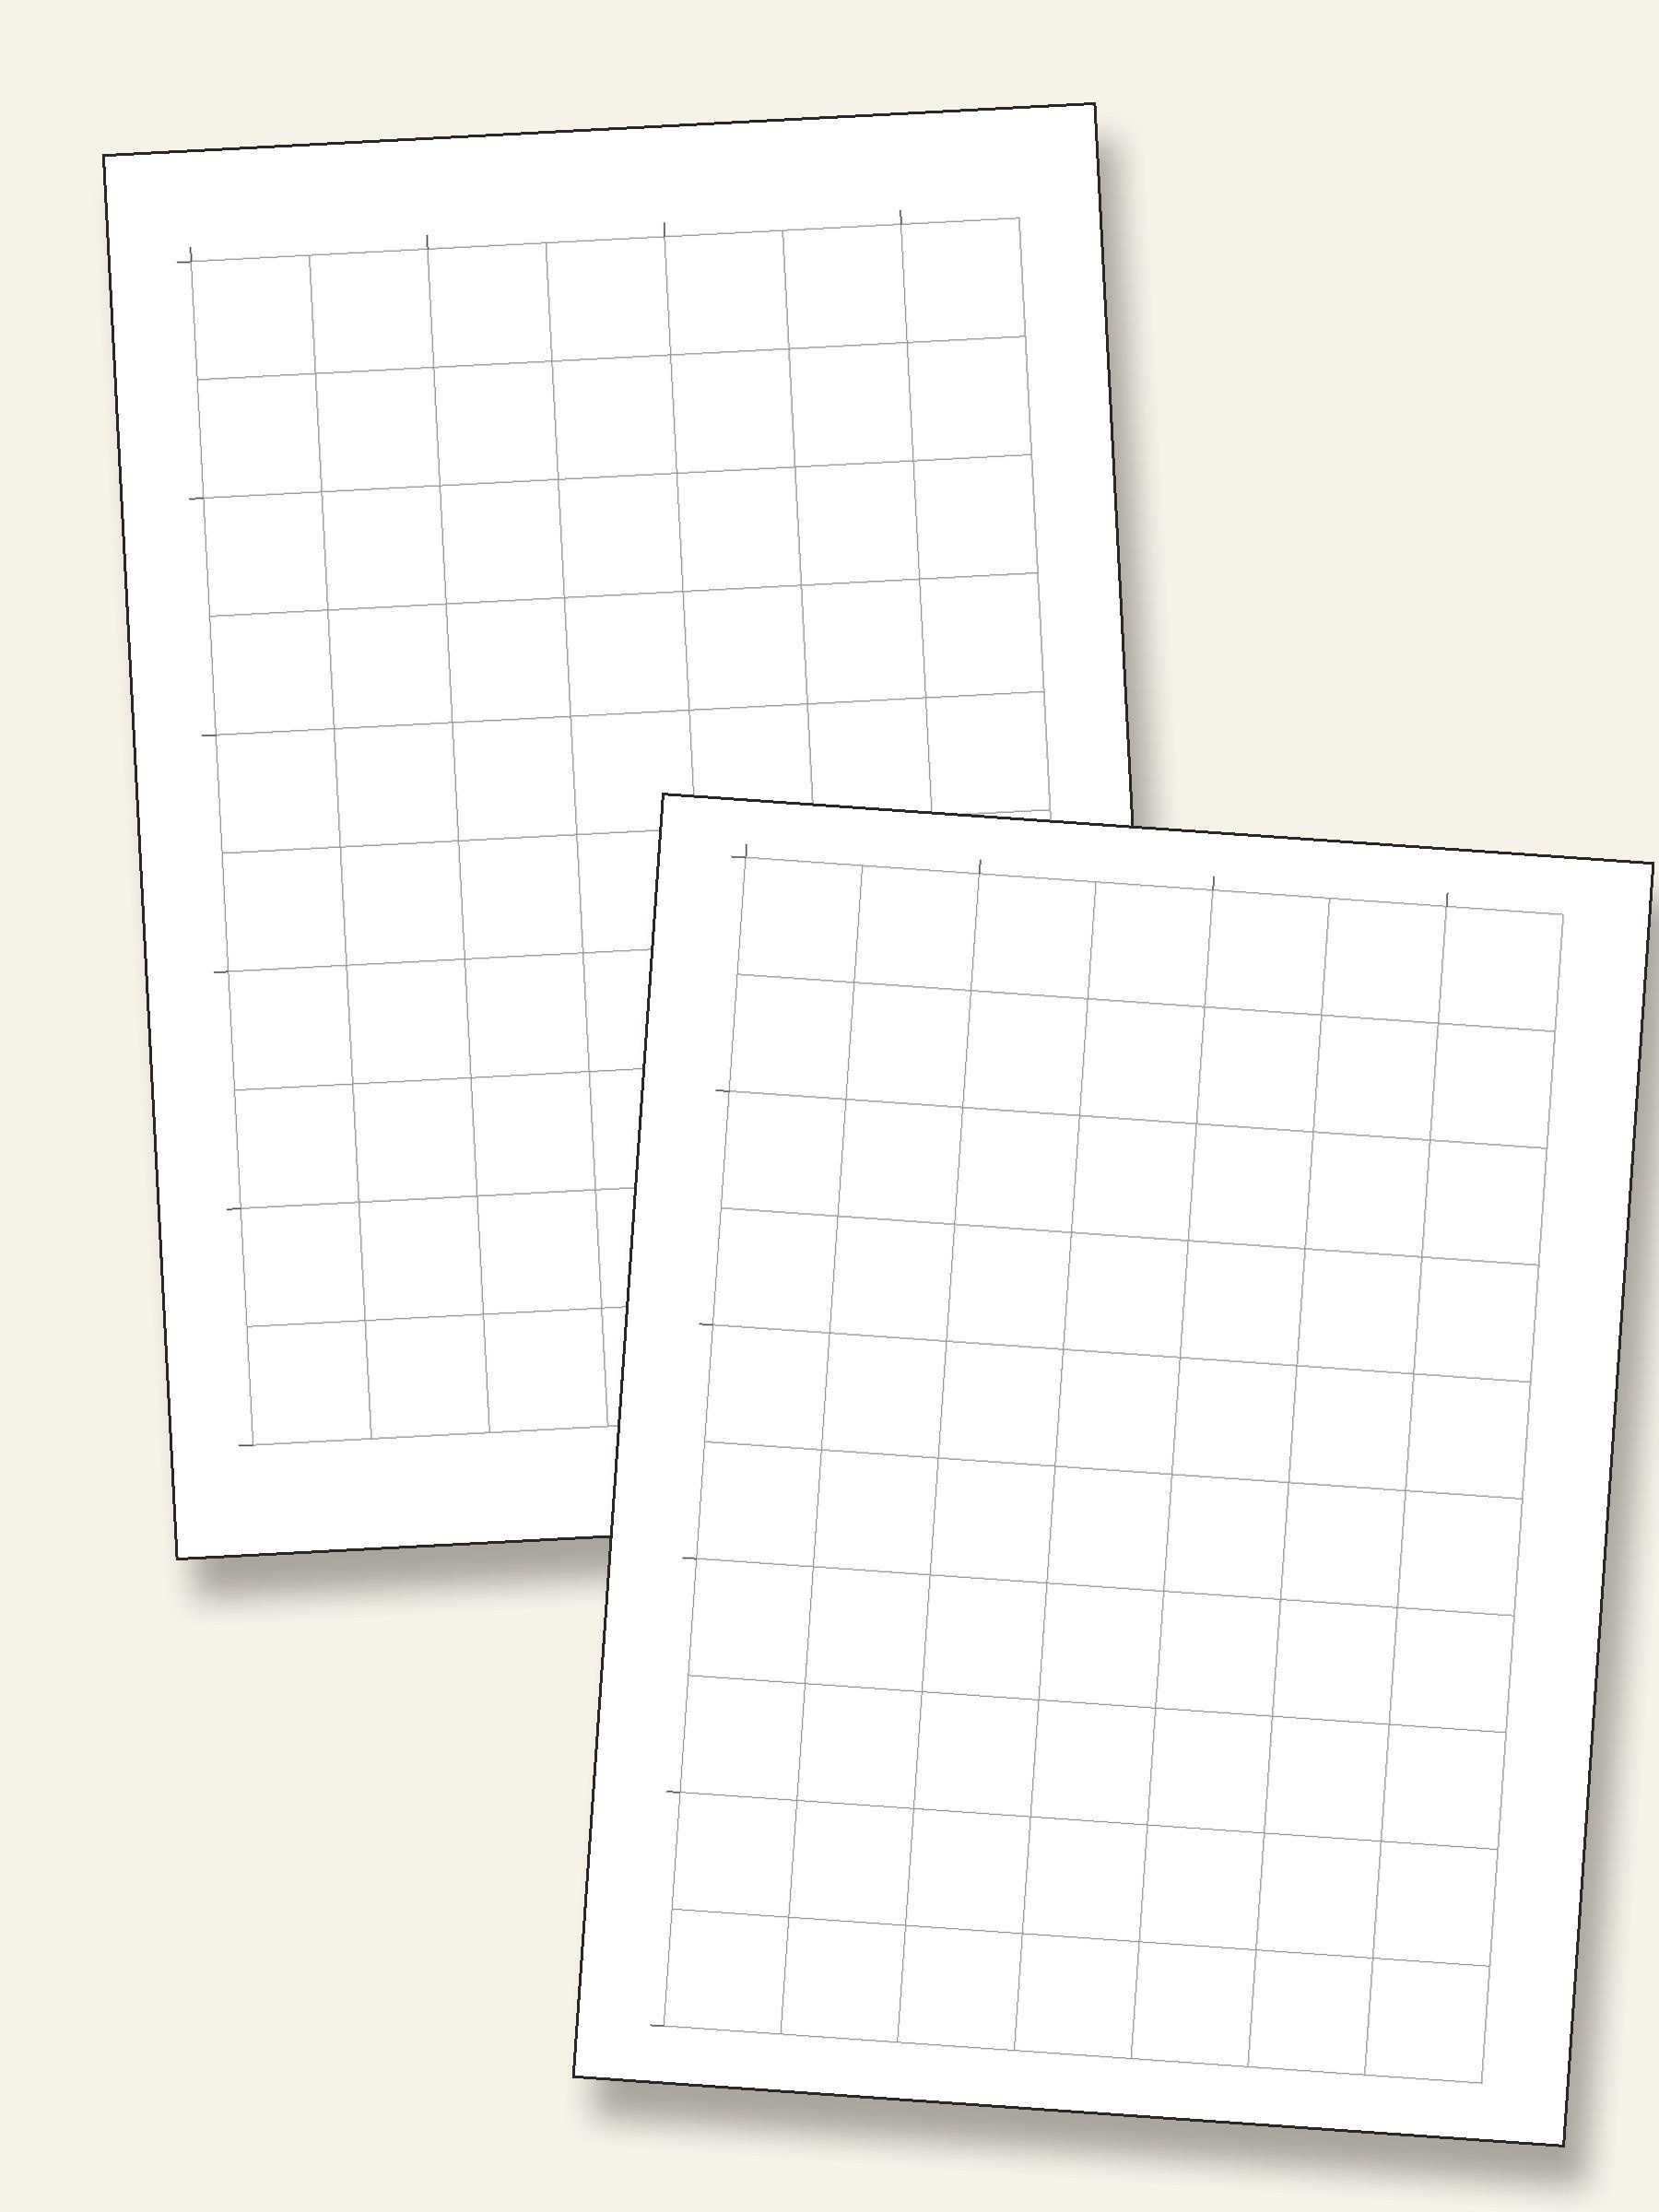
Both grids are free, and you can print them as often as you like. Print the 2.5 cm sheet on A4 paper and the 1-inch sheet on Letter paper. In the print settings, choose actual size, not fit to page. (The printer will offer to shrink them. Say no.)
Before you start, crop the photograph to the same shape as your paper. A tall page needs a tall photo. If the shapes do not match, the grid copies the mismatch and the drawing comes out stretched.
The grid cannot choose the picture for you, and that is the hard part. I have lost whole evenings scrolling through 3,000 family photos, looking for one worth drawing. Most of them were relatives squinting at restaurant menus.
That choosing is the job The 100 Collection does for you. It holds 100 pictures, already picked and ready to draw. Each one comes 3 ways: the finished art, a faint tracing sheet and a step-by-step worksheet.
The Collection
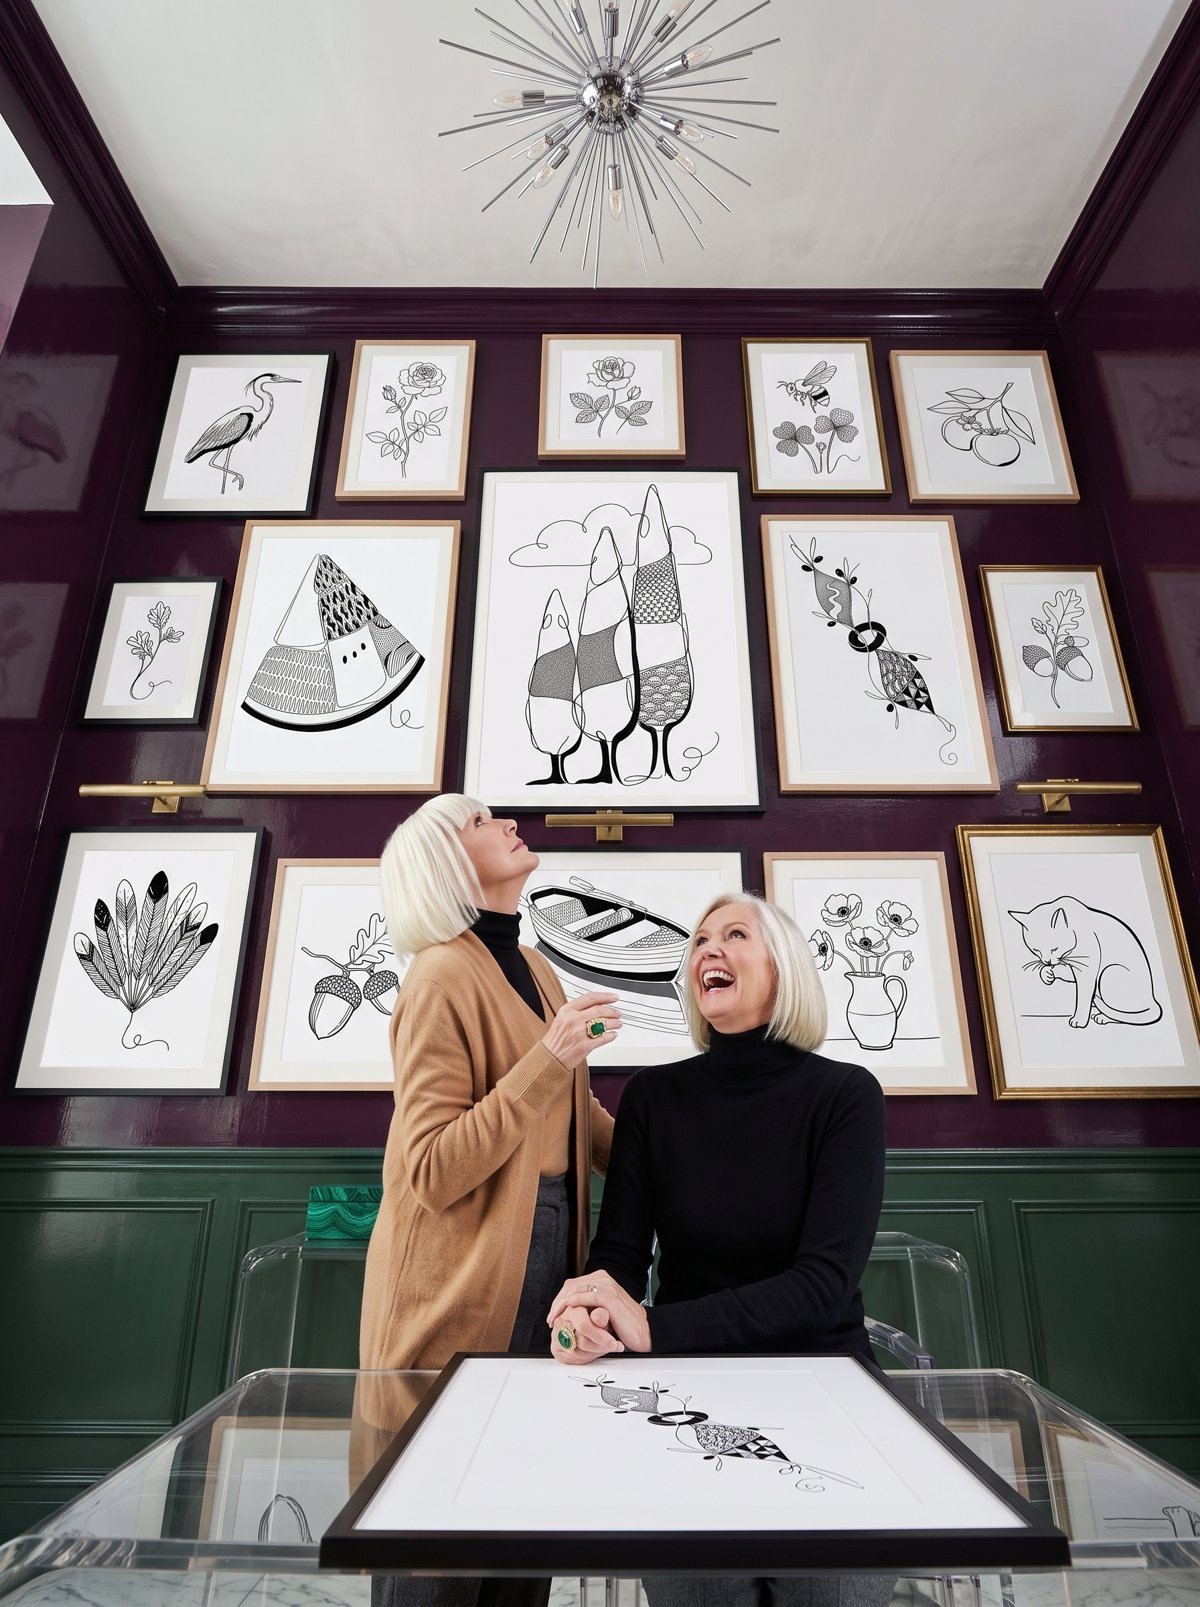
THE 100 COLLECTION — hares, evening gloves, lighthouses, and 100 pictures ready to trace or grid.
For the evening you have ruled a grid but have no photo worth drawing. Inside: 100 finished pieces. Each comes 3 ways: the finished art, a faint tracing sheet and a worksheet. What you get: a picture to start on straight away, and a wall of drawings that match.
First, the argument that tracing is cheating. It deserves a fair hearing before we answer it.
Albrecht Dürer printed a grid drawing machine in his manual for painters
The argument goes like this. A real artist draws what they see. Anything between the eye and the paper is a crutch. (That rule comes from school. It makes sense for spelling tests, not for drawing your dog.)
In 1525 Albrecht Dürer published a manual of measurement for painters. He was one of the most admired draughtsmen in northern Europe. The book includes woodcuts of drawing machines.
In the best known woodcut, an artist sits at a long table. In front of him stands a frame strung with a grid of threads. He looks through it and copies what he sees, square by square, onto paper ruled with the same grid.
A small post stands in front of his eye. It keeps his head in one place, so the view never shifts.
Dürer did not hide the machine. He printed it in the book, so any painter could build one.
(I once built one from an old picture frame and sewing thread. It lasted one afternoon. I learned more from it than from a term of evening classes.)
Here is why that post matters for you. The grid only works if the view stays still. A photograph never moves. A real teapot seems to shift every time you move your head. That is why grid method drawing from a photo is so much easier.
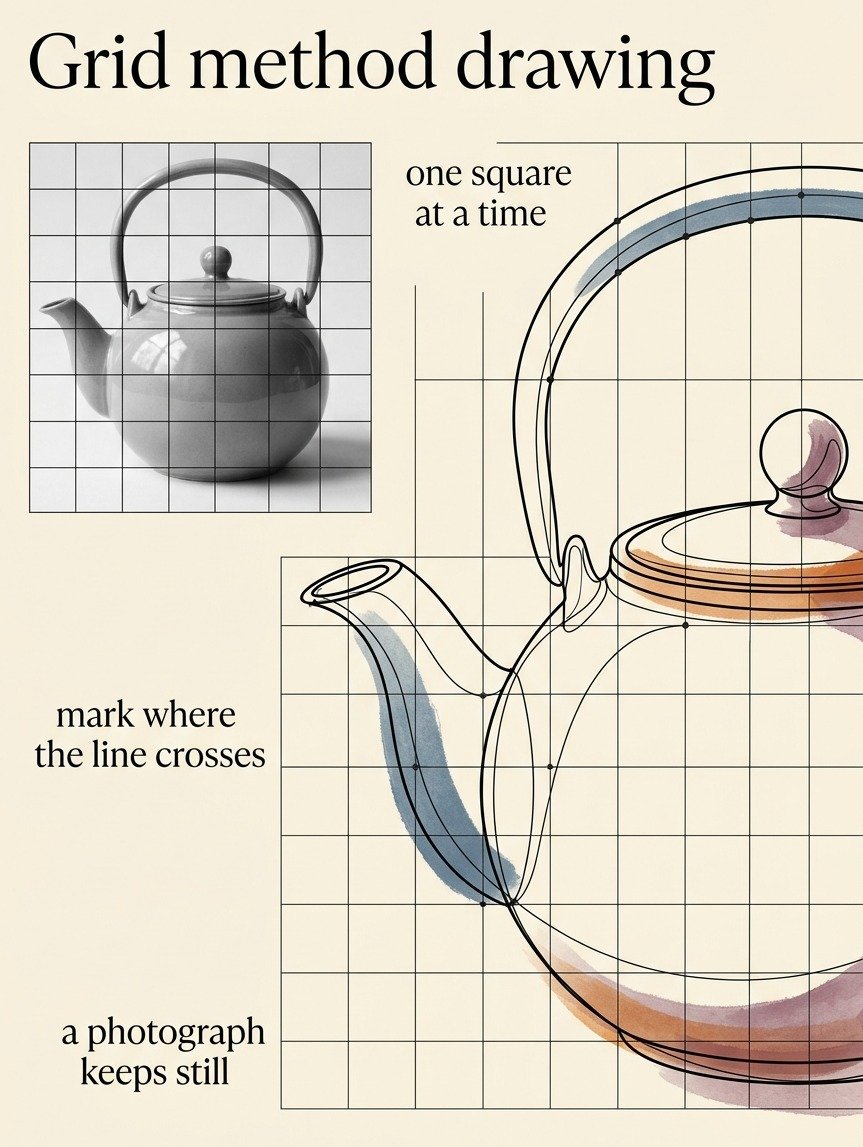
In the diagram, look at where each line crosses the grid. A curve enters a square at one point and leaves at another. Copy those two points into the same square on your paper, then join them.
A photograph holds still for as long as you need.
Vincent van Gogh had a blacksmith fit iron spikes to his drawing frame so it stood in the sand
In summer 1882 Van Gogh was in The Hague, trying to draw the sea. He had a perspective frame made. It was a wooden rectangle strung with lines across, down and diagonally, standing on 2 long legs.
On 5 or 6 August he wrote to his brother Theo. He had just come back from the blacksmith. The blacksmith put iron spikes on the legs so the frame would stand in the sand. It cost him, he wrote, a pretty penny.
(So one of the most famous painters who ever lived paid extra to make his grid sturdier. I think of that whenever someone frowns at my ruler.)
He wanted the frame for speed. With practice, he wrote, it would let him draw at lightning speed. The grid did not draw the lines for him. It showed him where the big shapes went, and then his hand drew them.
Use grid method drawing the same way. Use the grid to place the big shapes: the horizon, the head, where the ear starts. Once they are down, stop looking at the squares and draw the details freehand.
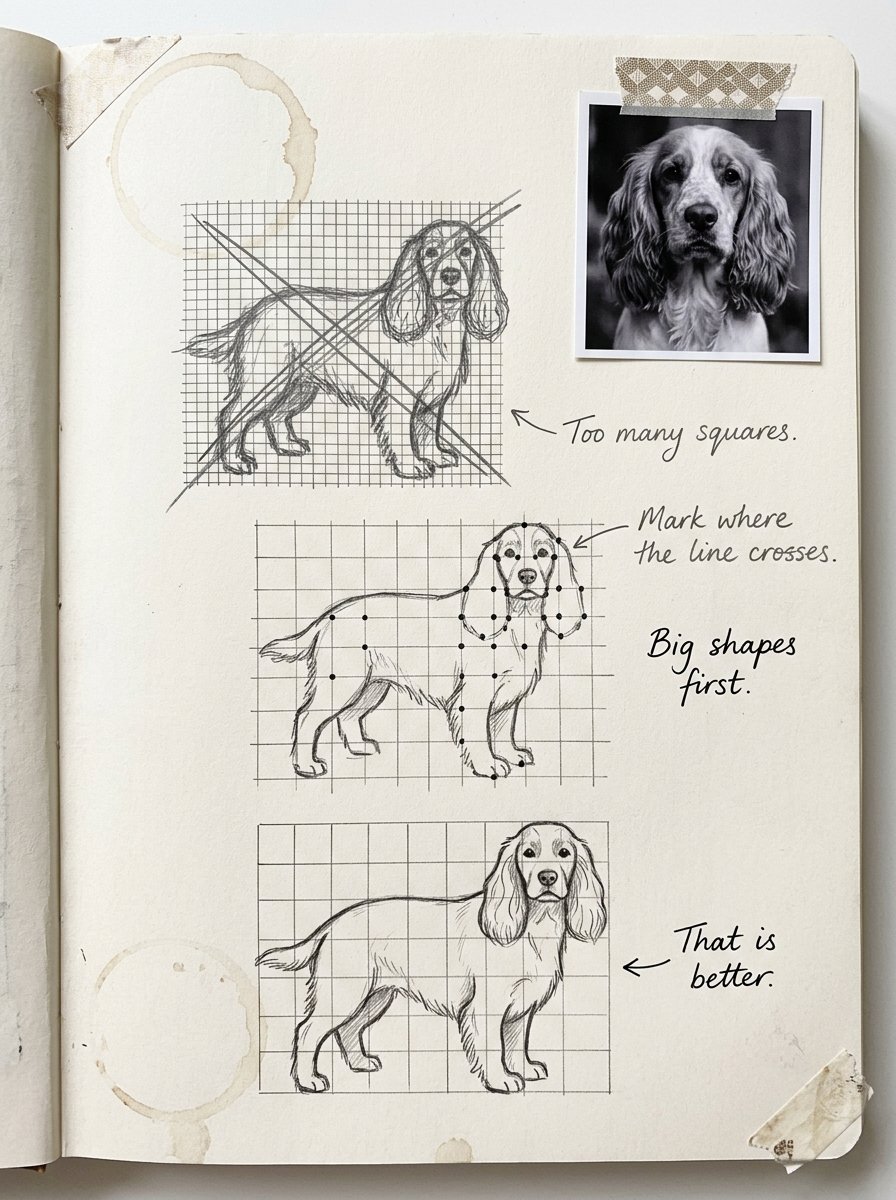
My first grid drawing was a neighbour’s spaniel on 144 squares. Beside it I wrote: Too many squares. A spaniel is mostly two ears and a nose, and it needed about 16 squares.
My second note, a week later, said: Mark where the line crosses. I had been drawing freely inside each square, and the ear kept landing in the wrong place. The fix was dots first, on the grid lines, then join the dots. Big shapes first. That is better.
Norman Rockwell called his projector an evil, lazy machine and still used it often
Rockwell set up his scenes with real people and photographed them. He projected the photos onto his board and drew over them in charcoal before he painted. His 1973 painting First Trip to the Beauty Shop was made that way.
He called the projector “an evil, inartistic, habit-forming, lazy and vicious machine.” In the same breath he admitted he used it often.
(I like that he admitted it. He also kept using it, which tells you how much time it saved him.)
So here is the answer to the question in the title. People do not remember a Rockwell for its outlines. They remember the faces: a tilted head, an untied shoe, a grandmother’s expression.
You can borrow the outline. You cannot borrow the choices that come after it. You decide which lines to keep and which to leave out. You decide where to press hard and where to go light. None of that is in the photograph.
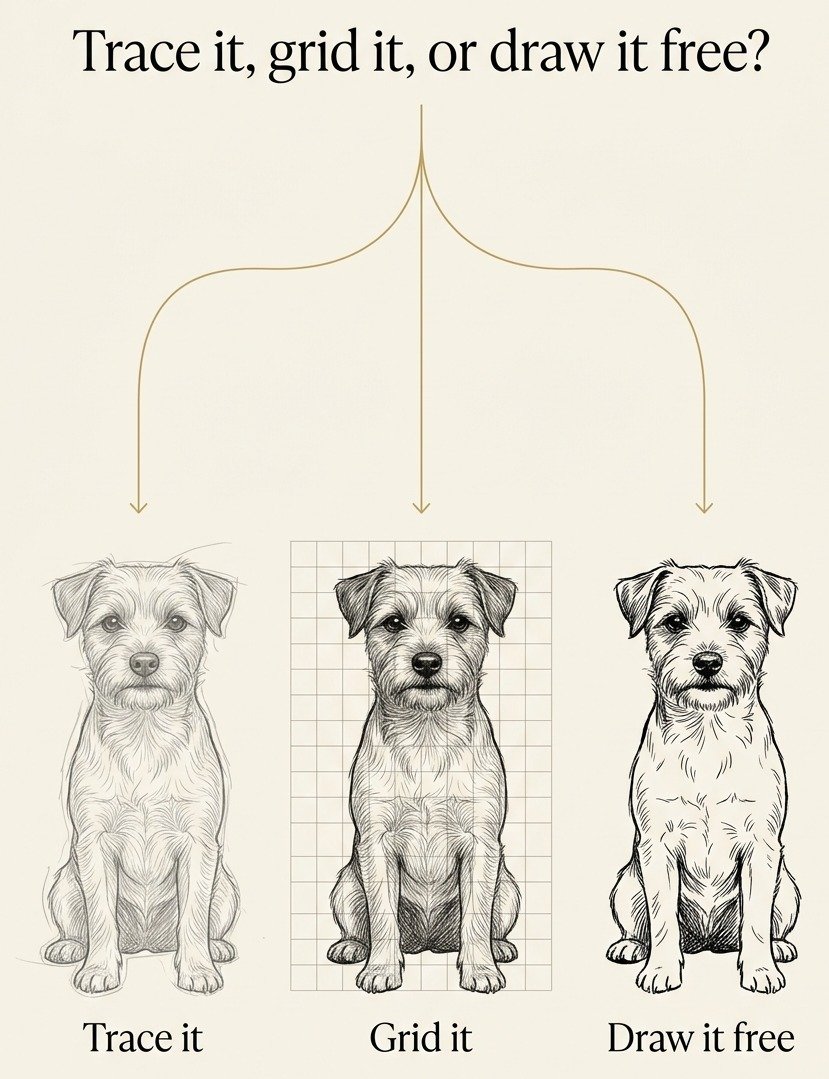
Trace it, grid it, or draw it free? It depends on the evening. Trace it when time is short and you want the finished piece. Grid it when you want the drawing bigger than the photo. Draw it free when you already know the shape well. (Rockwell had a projector and a guilty conscience. You have a ruler and neither.)
Tracing copies the outline. The decisions are still yours.
Grid method drawing in 6 steps, and the first 2 happen before you pick up a pencil
Step 1: crop. Print or photocopy the photograph at the same shape as your paper. Never draw the grid on the original photo. Use a copy, so the original stays safe. (Ruling a grid across the only print of a wedding photo is a mistake you make once.)
Step 2: decide how many squares. Most people use too many. A simple shape needs very few. For a face, add extra lines only around the eyes and mouth, and leave the forehead in big squares.
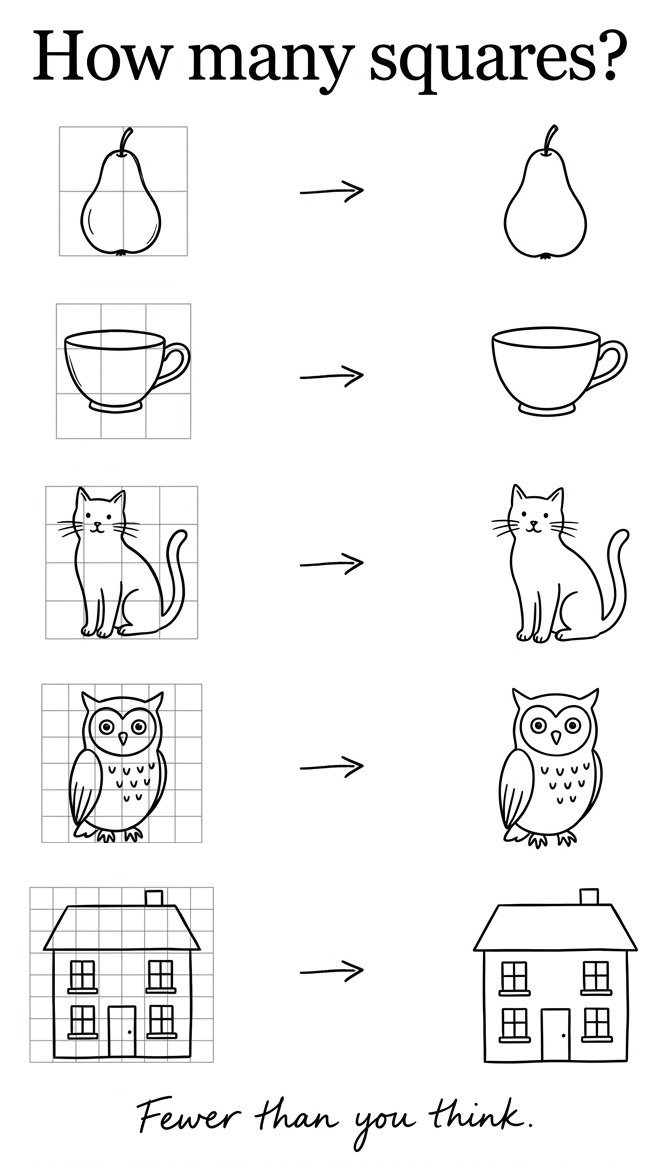
How many squares? Fewer than you think. A pear needs about 4, a teacup 9 and a sitting cat 16. An owl needs about 36, and a house front with windows about 64. Start with fewer than feels safe. Add lines only where one square holds too much detail.
Think of the squares as stepping stones across a stream. Too many and you shuffle. Too few and you have to jump.
Step 3: rule the grid lightly on the copy of the photo. Do not rule a grid on your drawing paper. Instead, put a printable grid under the paper and tape both to a bright window. The squares show through, and there is nothing to erase at the end.
Step 4: label the squares. Write letters across the top and numbers down the side. Do it on the photo and on the grid, so C4 always matches C4. (I skipped this once. The nose ended up one square too high.)
Step 5: before you draw any curve, put a small dot wherever a line crosses a grid line. It feels slow, but it is the fastest step. After that you only join the dots.
Step 6: cover the rest of the photo with a sheet of paper. Only the square you are copying should show. You are not drawing a dog. You are drawing one square with a curve in it. That is much easier to get right.
The grid tells you where the line goes. Your hand only has to draw it.
How tracing sheets, grid method drawing and freehand drawing fit together
A tracing sheet puts the lines right under your pen. Grid method drawing gives you only the squares, so you find the lines yourself. Freehand gives you nothing but your memory. Each one leads to the next, and all three are fine to use. (It is the same as learning a tune. First with the music, then with a glance at it, then without.)
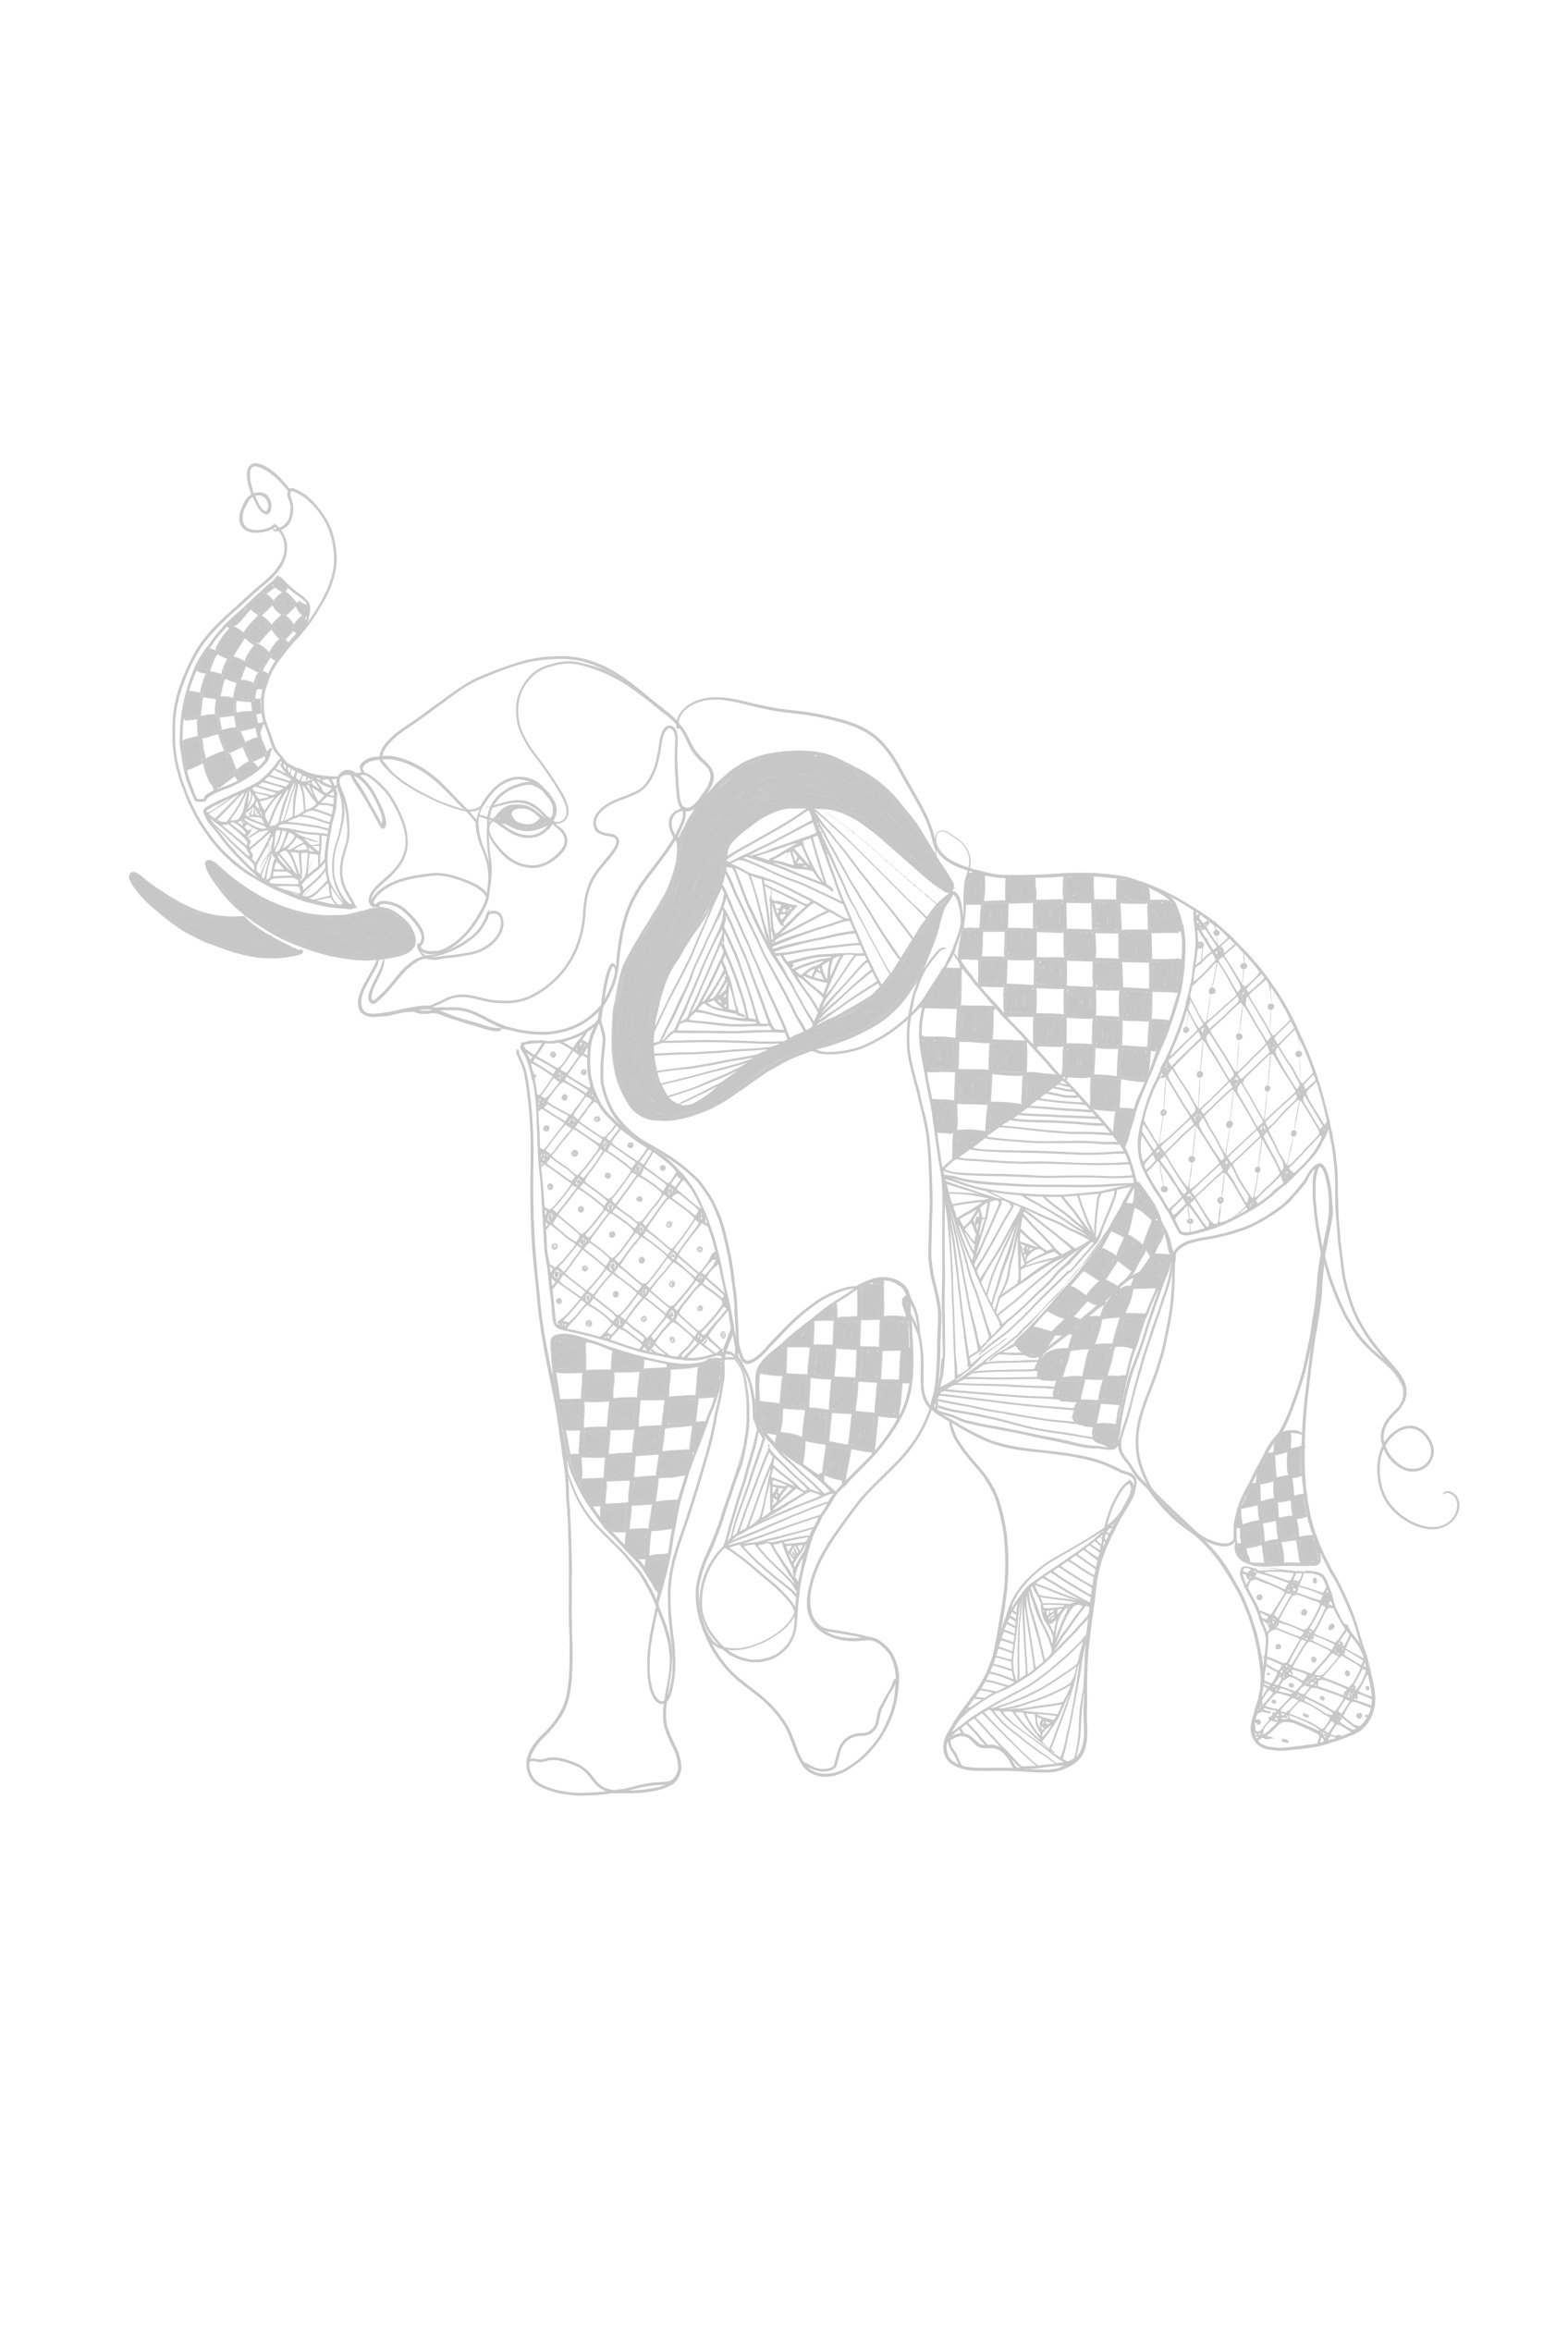
On a faint tracing sheet like this elephant, you ink over lines that are already there. While you trace, notice the shapes. The trunk is one long curve down, and the ear hangs forward. Trace it twice and you start to remember them.
Then remove the guide in stages. Trace it once over full lines, then over dots only, then over very faint lines. The fourth time, draw it on blank paper with only a faint grid underneath.
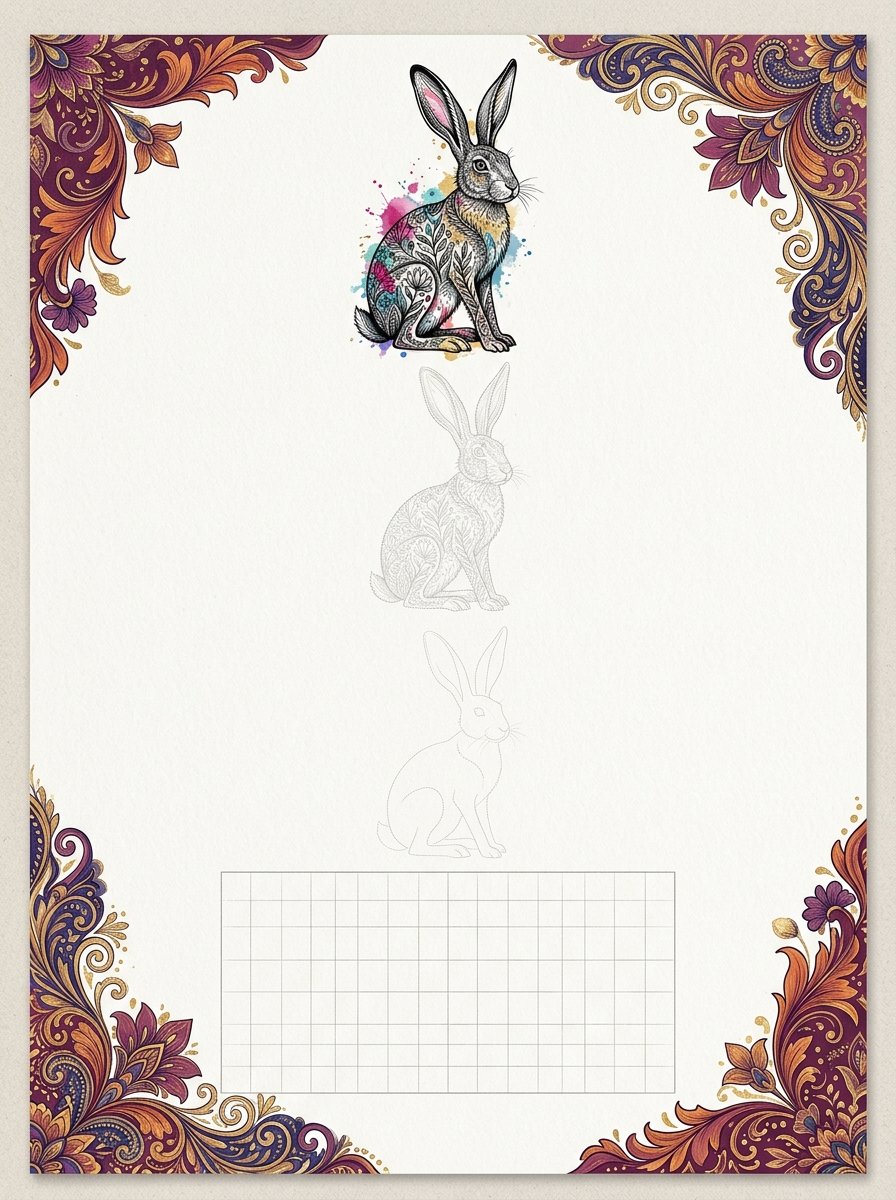
I did this with a hare over one week in March. The fourth hare was the first one that looked alive. The first three were practice, and I threw them away without regret.
A worksheet is the last step before a blank page. It breaks the drawing into its steps, so you can see where each line starts and where it turns.
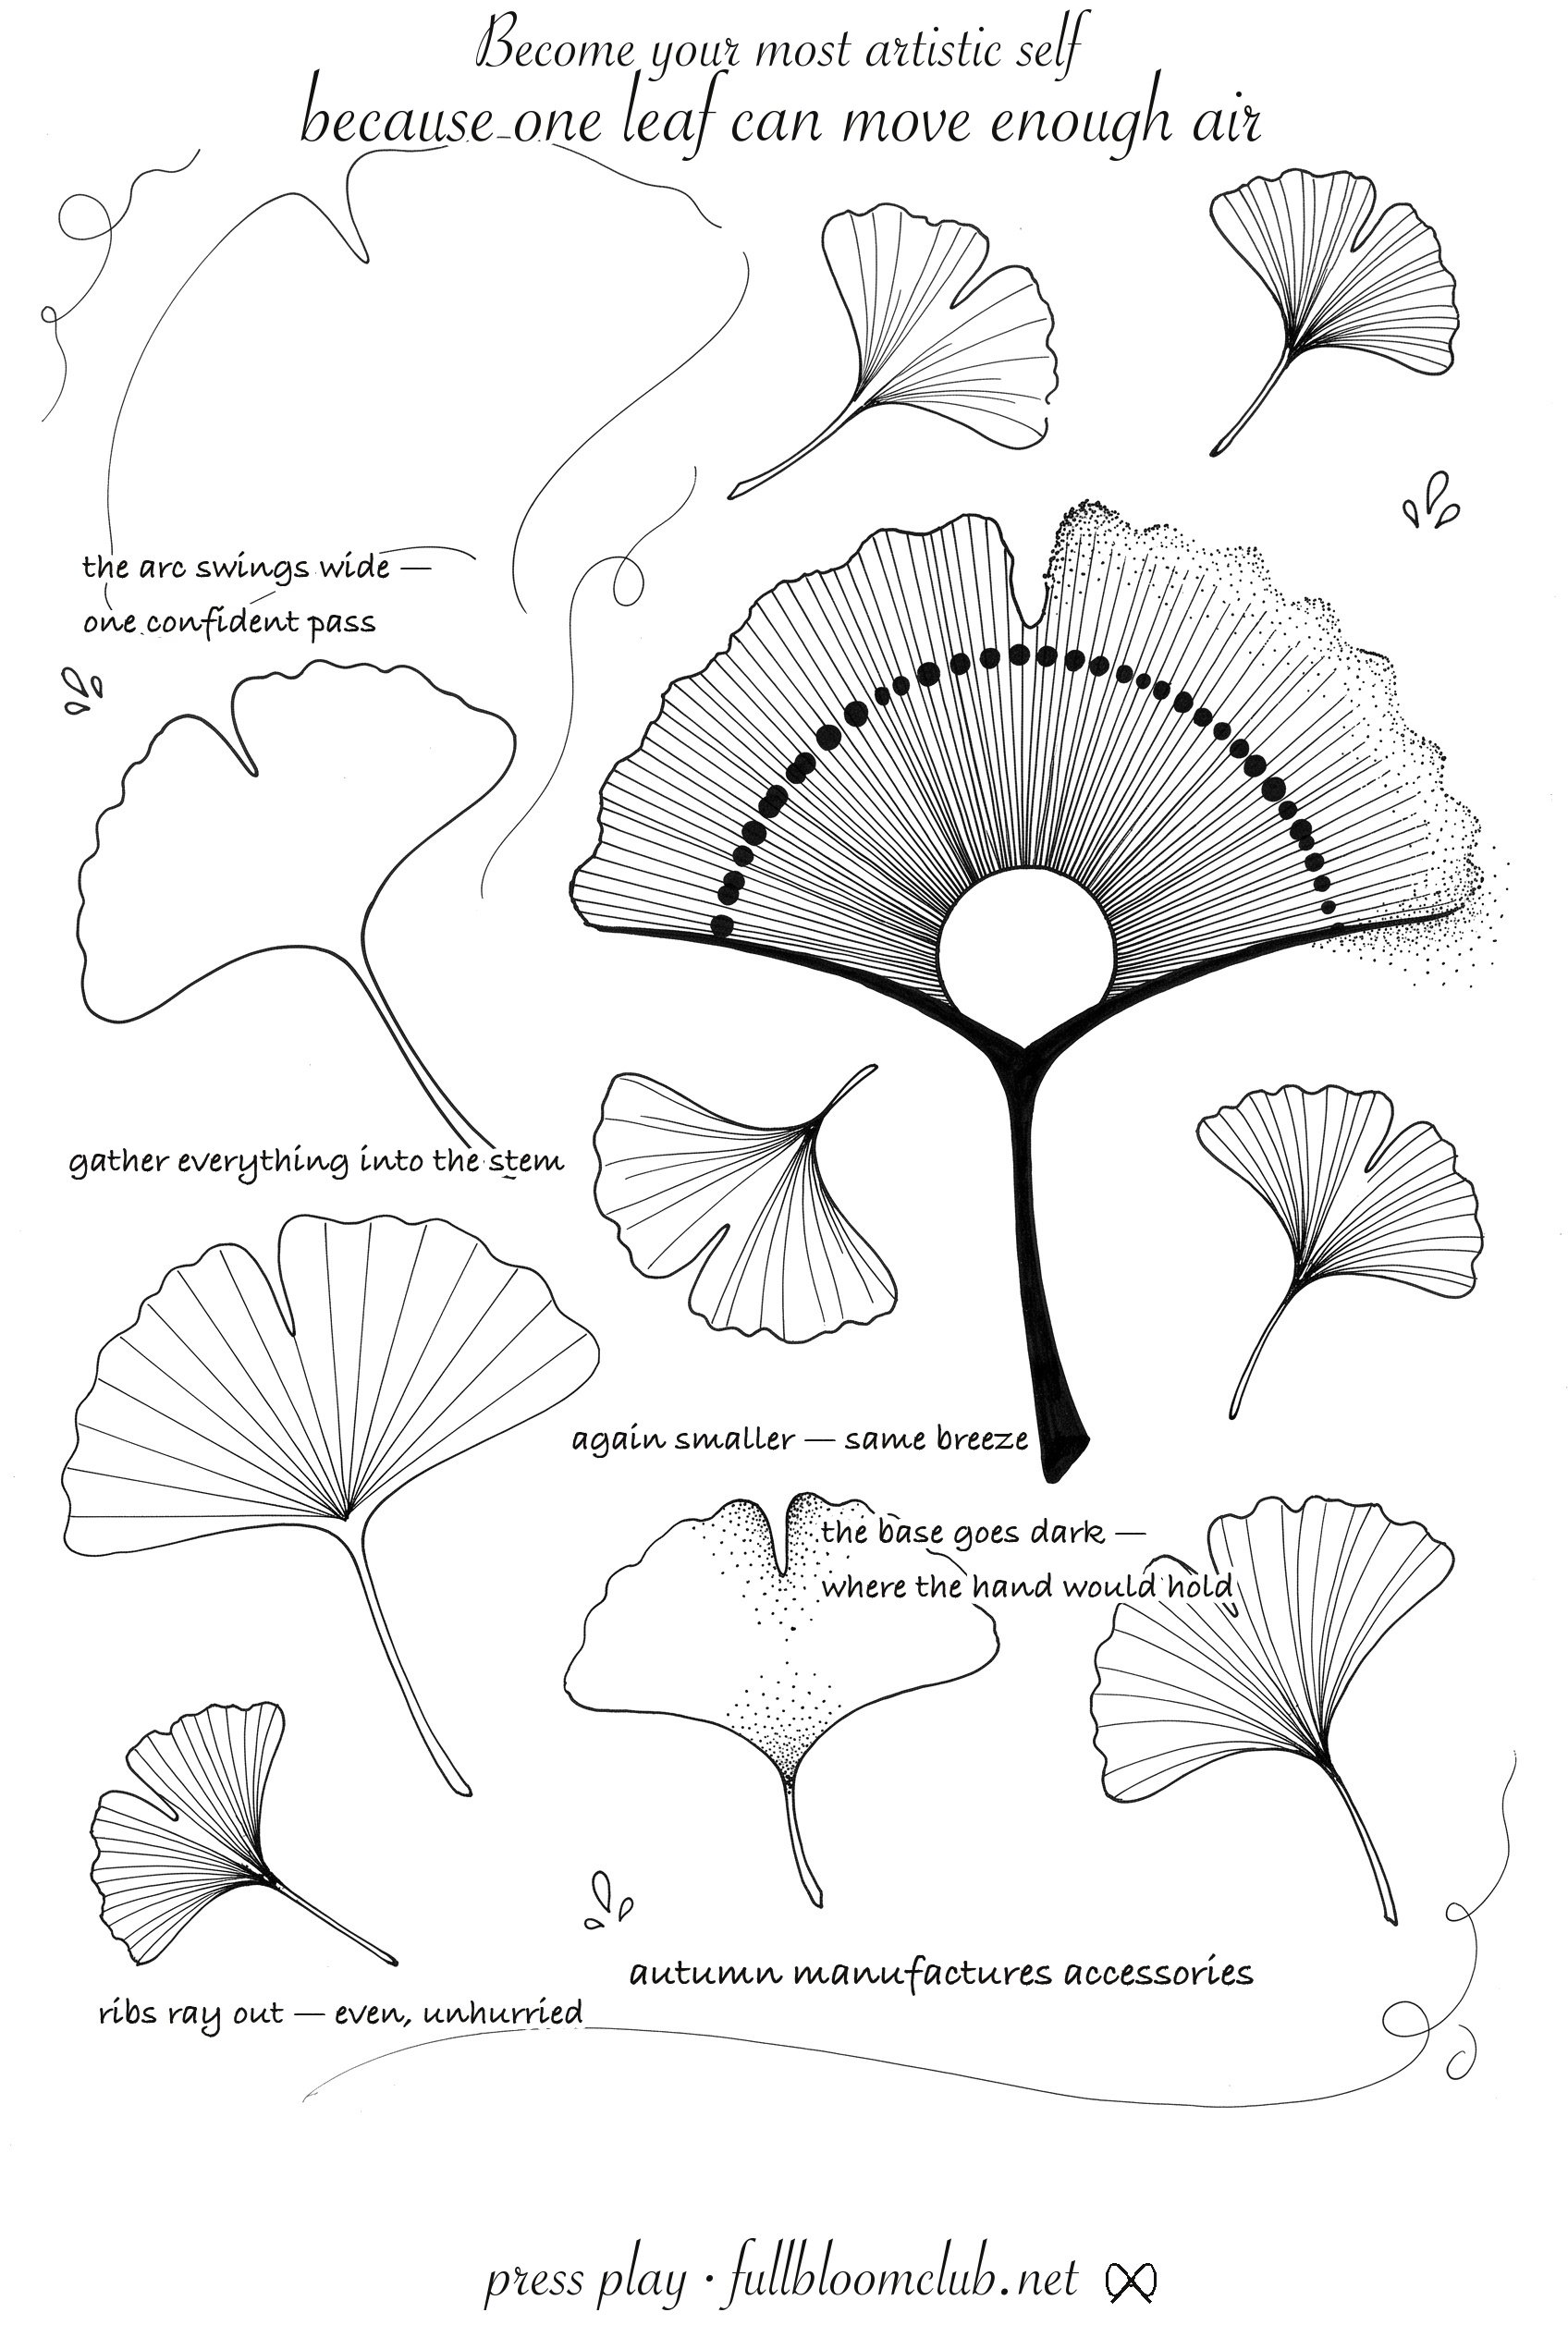
The best photos to draw with a grid are your own family photos
Anyone can find a photo of a lighthouse. Only you have the photo of your terrier on the good chair. Or the back door of your first flat, or the teapot that survived 3 house moves.
I drew that back door 4 times before I got the letterbox right. Nobody who has seen it knows the letterbox was wrong. (That is the quiet advantage of drawing a thing only you remember.)
Grid method drawing suits these photos, because nobody sells drawings of them. Draw 4 of them in the same ink and at the same size. Hang them side by side, and they look like a planned set.
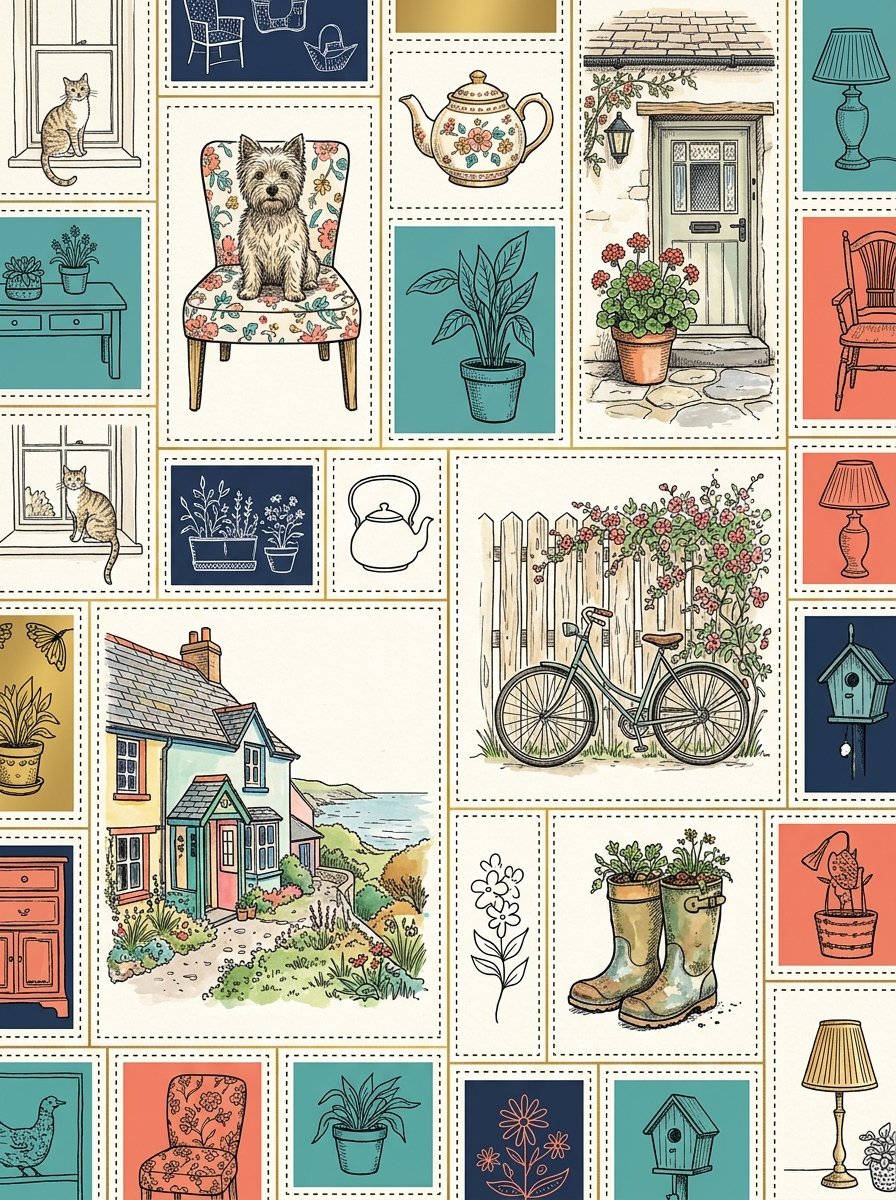
Draw them at 2 or 3 different sizes. Keep one very simple, just the outline. The simple one makes the detailed ones look deliberate.
How do you use grid method drawing to enlarge a picture?
Grid method drawing enlarges a picture by keeping the same number of squares and making them bigger. A photo on 2 cm squares, copied onto 5 cm squares, comes out 2.5 times larger. Want it wider? Crop the photo first. Never stretch the grid.
I use 2 cm squares on the photo and 5 cm on the paper. That sum is easy even after supper. (2 into 5 is the whole of the arithmetic. No second sum is hiding behind it.) Small details get harder to copy as you enlarge. So add a few extra grid lines through the detailed parts.
Does the grid method work for portraits?
Yes, and grid method drawing is especially useful for portraits, because a small mistake shows most on a face. Use squares half the size around the eyes. Put dots at the corners of the eyes and mouth before you join any lines.
One more tip: turn the photo and your paper upside down. Upside down, a face stops looking like a face. You see plain shapes, and shapes are easier to copy accurately. I turned a photo of my father upside down and finally got his chin. (Right way up I had drawn the chin I thought he had, 3 times running.)
Once the outline is down, the grid has done its job. The inside of the shape is not in the photo. You fill it yourself, with patterns of your own.
Free Starter Pack
10 outlines with the grid work already done, and nothing inside them yet.
Sent tonight. The outline is on the page; every fill inside it is yours to invent.
Unsubscribe in 1 click, no hard feelings
Tracing and gridding are both skills, and both need a photo worth drawing. On evenings with no such photo, The 100 Collection has 100 pieces ready. Each comes as the finished art, a tracing sheet and a worksheet.
All 100 pieces, each one ready 3 ways
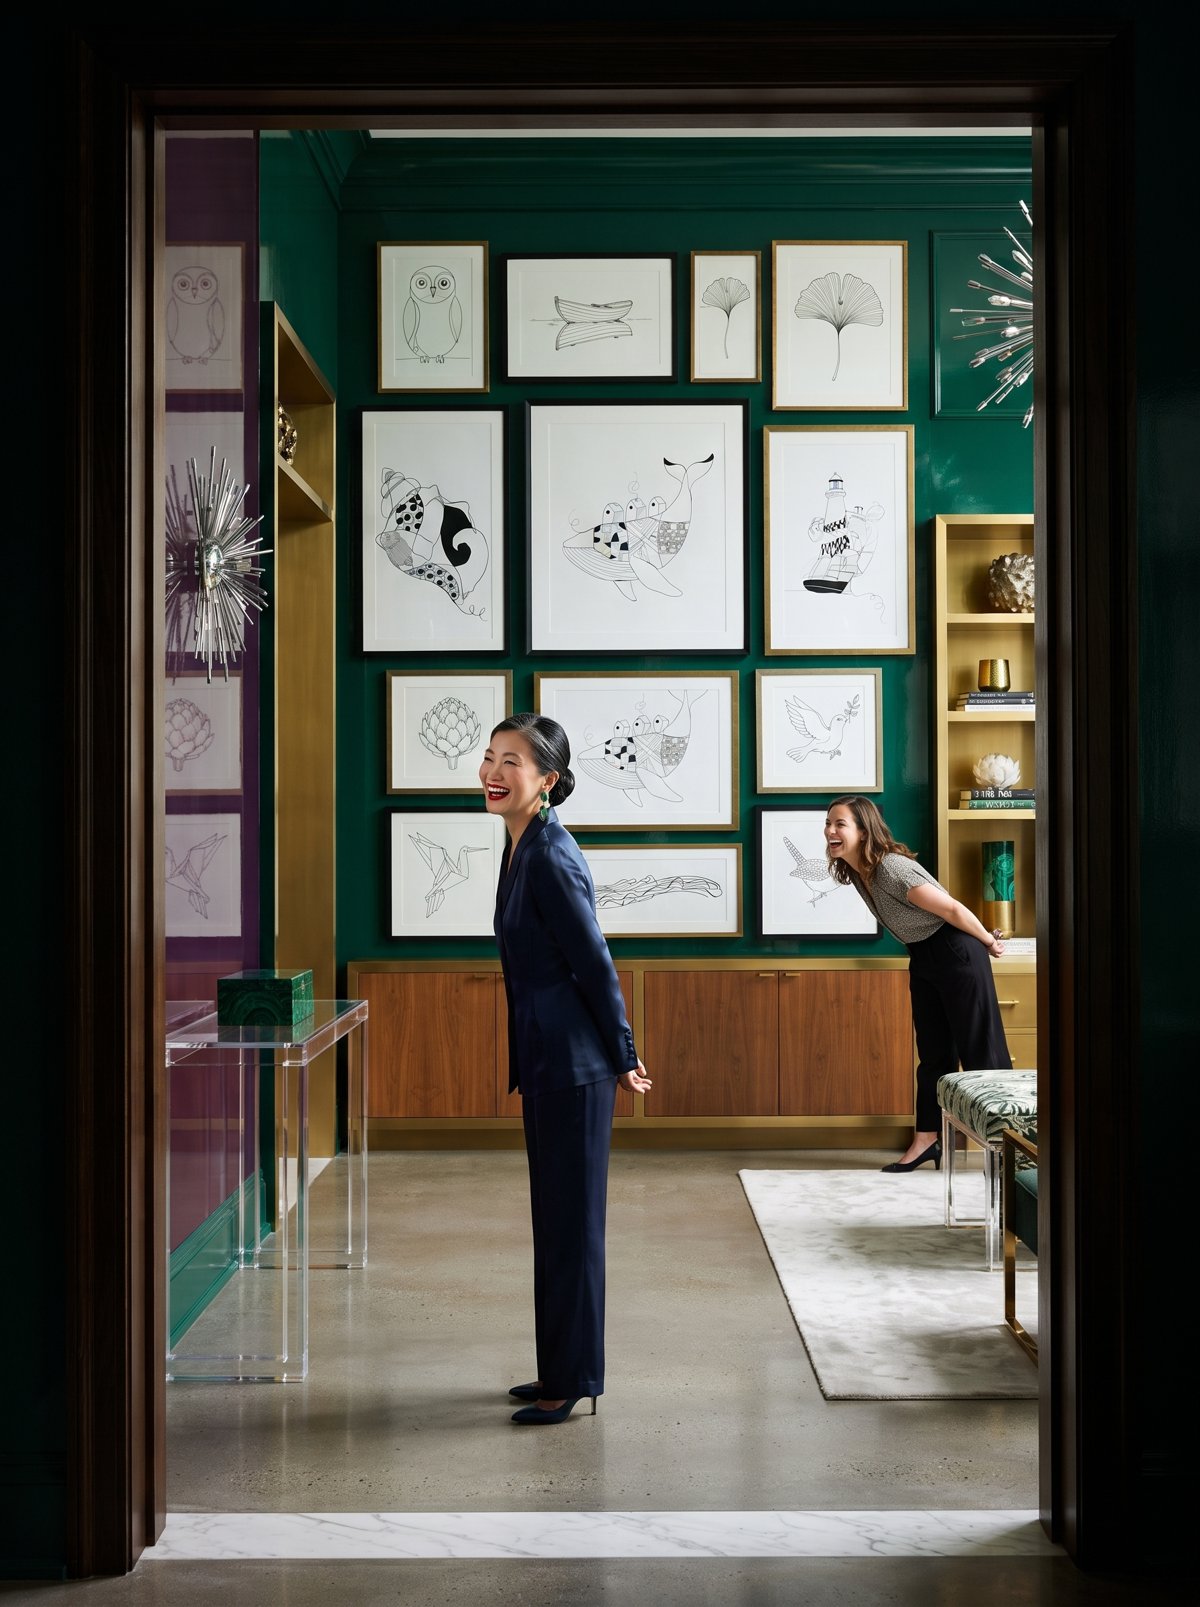
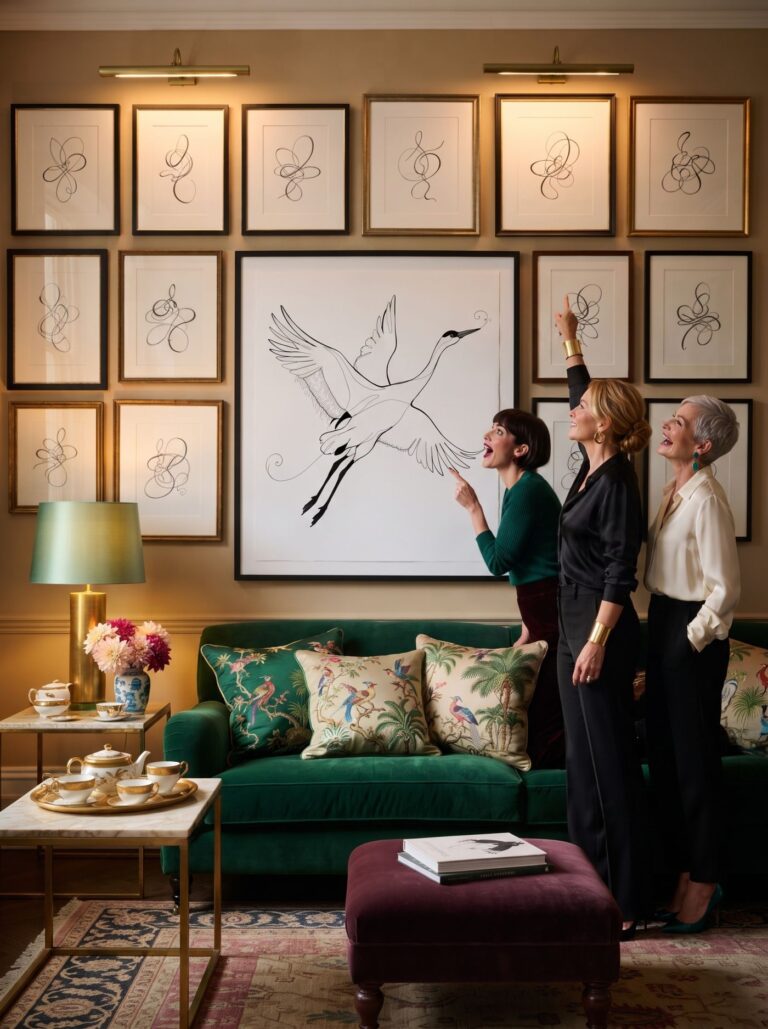
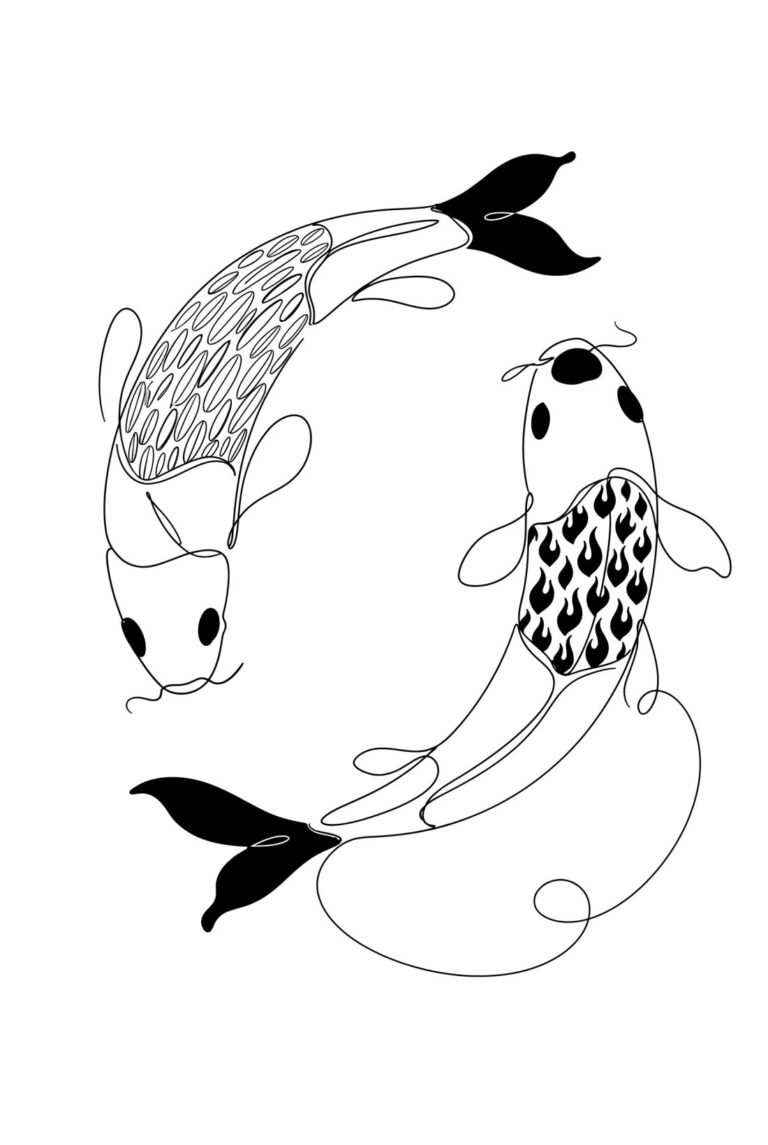
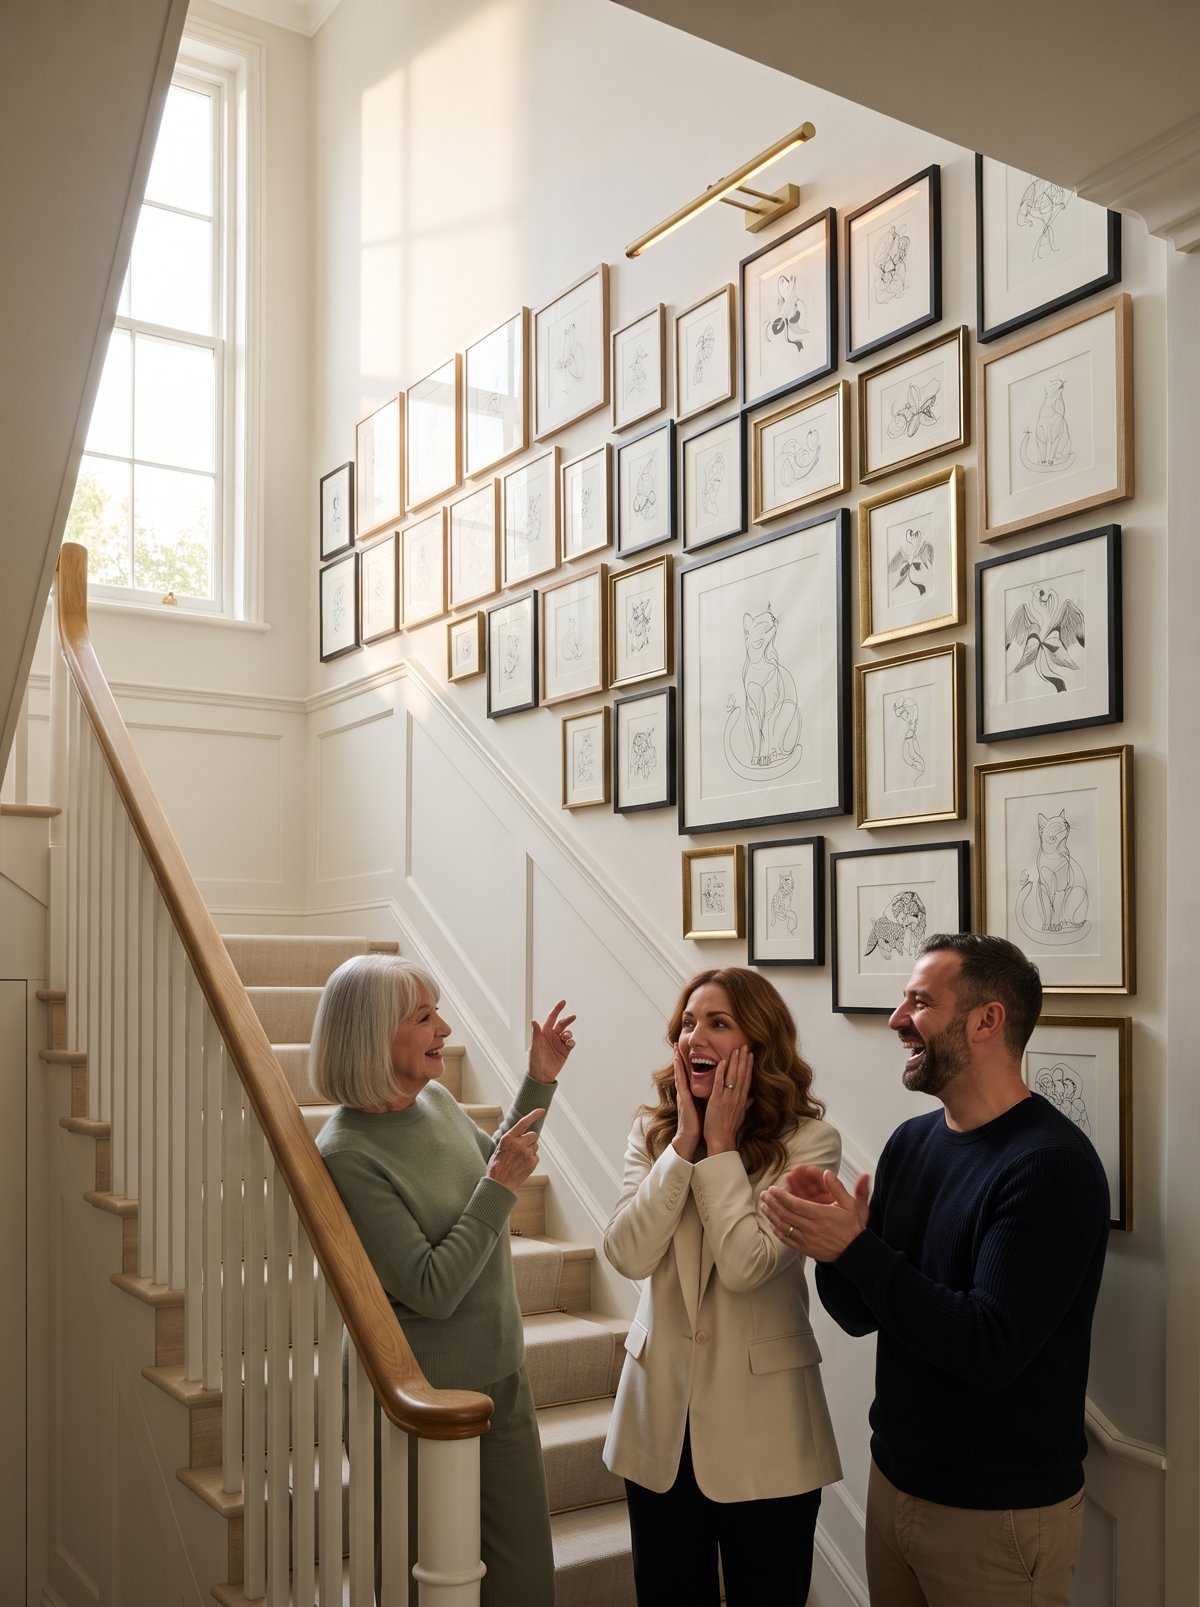
Start by tracing one faint line. Draw one piece each evening. By the weekend you can frame 3 matching pieces for the hallway. There are dachshunds, doves, elephants, ginkgo leaves and lighthouses. Each comes as the finished art, a tracing sheet and a worksheet, ready to print.
Instant download · print as often as you like
Van Gogh had spikes put on a wooden frame so he could draw the sea through its squares. A printed grid under your paper does the same job at the kitchen table, and the sea will wait.
“it enables one to draw at lightning speed and, once the lines are fixed, to paint at lightning speed.”
Vincent van Gogh, letter to Theo, August 1882
Mirabelle wrote this. No training, strong opinions, many pens. Peer reviewed by a cat who lay down across the photograph and called it a second opinion.